
Looking to add a stylish touch to your space without spending a fortune? Making floating shelves from wood is a simple and rewarding way to do just that.
Imagine having sleek, sturdy shelves that seem to magically float on your walls, perfect for displaying your favorite books, plants, or décor. In this guide, you’ll discover easy steps to create your own floating shelves, even if you’ve never worked with wood before.
By the end, you’ll have the confidence and know-how to transform your walls and impress everyone who visits your home. Ready to get started? Let’s dive in!

Credit: www.rjliving.com.au
Choosing The Right Wood
Choosing the right wood is crucial for making strong and attractive floating shelves. The wood must support weight and fit your room’s style. Picking the right type, thickness, and length helps ensure your shelves last long and look great.
Popular Wood Types
Many wood types work well for floating shelves. Pine is soft, easy to cut, and affordable. Oak is strong and has a beautiful grain. Maple is durable and smooth. Walnut offers a rich, dark look. Choose based on strength and the color you want.
Wood Thickness And Length
Thickness affects how much weight your shelf can hold. Thicker wood means more strength. Most floating shelves use wood between 1 inch and 1.5 inches thick. Length depends on your wall space. Longer shelves need thicker wood or extra support to stay sturdy.
Sustainability Considerations
Pick wood that is good for the environment. Look for FSC-certified wood, which comes from responsibly managed forests. Reclaimed wood is another eco-friendly choice. It gives your shelves a unique look and reduces waste. Sustainable wood helps protect forests for the future.
Gathering Tools And Materials
Before you start crafting your own floating shelves, gathering the right tools and materials is crucial. Having everything ready prevents interruptions and makes the process smoother. It also helps you avoid last-minute runs to the hardware store, saving time and frustration.
Essential Tools
Every woodworker needs a solid set of essential tools to create floating shelves. A drill is vital for making precise holes and securing the shelves to the wall. A level ensures your shelves sit straight, avoiding that awkward tilted look.
- Power drill with drill bits
- Stud finder
- Level
- Measuring tape
- Screwdriver(manual or electric)
- Sandpaper or power sander
- Wood saw(hand saw or circular saw)
Consider your available tools. Do you have a drill or will you need to borrow one? Planning ahead here can make your build more efficient.
Additional Supplies
Aside from tools, specific supplies are needed to bring your shelves to life. Choose wood that fits your style and strength requirements—pine is affordable and easy to work with, while hardwoods like oak add durability and character.
- Wood boards(cut to your desired shelf size)
- Wall anchors or screws(suitable for your wall type)
- Wood glue
- Wood filler(for filling gaps or holes)
- Paint or wood stain(optional, for finishing)
- Brackets or mounting hardware(if not building hidden supports)
Think about the wall where you’ll mount your shelves. Drywall needs different anchors than brick or concrete. Have you checked what your wall requires?
Safety Gear
Your safety should never be an afterthought. Working with wood and power tools can cause injuries if you’re not protected. Simple gear can prevent accidents and keep you comfortable during the project.
- Safety glassesto protect your eyes from dust and debris
- Ear protectionif using loud power tools
- Dust maskto avoid inhaling sawdust
- Work glovesto protect your hands from splinters
I once skipped wearing safety glasses and ended up with sawdust in my eye—an experience I don’t want you to repeat. Do you have your gear ready to keep your project safe and enjoyable?
Preparing The Wood
Select smooth, sturdy wood free of cracks and knots for best results. Sand the surface evenly to create a clean, splinter-free finish. Measure and cut the wood precisely to fit your space and style.
Preparing the wood is a crucial step in crafting floating shelves. It ensures the shelves are sturdy and have a polished finish. This step involves measuring, cutting, and sanding the wood for optimal results. Let’s dive into the details.Measuring And Marking
Accurate measurements ensure the shelves fit perfectly. Use a tape measure to determine the shelf length and width. Mark these measurements on the wood with a pencil. This helps in visualizing the cuts needed. Double-check each mark to avoid errors.Cutting Techniques
Choose the right saw for clean cuts. A circular saw works well for straight lines. Ensure the wood is stable before cutting. Follow the marked lines carefully. This precision reduces waste and ensures a snug fit.Sanding For Smoothness
Sanding creates a smooth surface for finishing. Use medium-grit sandpaper to remove rough edges. Then switch to fine-grit for a silky finish. Sand along the wood grain for the best results. Dust off the wood before moving to the next step.Creating Shelf Brackets
Creating shelf brackets is a key step in building floating shelves. The brackets support the shelf and keep it steady. Well-made brackets ensure the shelves hold weight without visible support. This section guides you through choosing bracket styles, cutting wood pieces, and securing brackets firmly to the wall.
Choosing Bracket Style
Pick a bracket style that fits your shelf design and wall type. Common styles include:
- Invisible brackets for a clean, floating look
- Right-angle brackets for extra strength
- L-shaped brackets for simple support
Consider the shelf thickness and weight it needs to carry. Invisible brackets require precise measurements. Simple L-shaped brackets are easier for beginners.
Cutting And Assembling Brackets
Use sturdy wood like hardwood or plywood for brackets. Cut pieces to match your chosen style. Smooth edges with sandpaper to avoid splinters.
For invisible brackets, cut a long rod or wooden strip to fit inside the shelf. Assemble by joining pieces with wood glue and screws for strength. Check that brackets are square and even.
Securing Brackets To Wall
Locate wall studs to anchor brackets securely. Use a stud finder for accuracy. Mark bracket positions with a pencil.
Drill pilot holes to prevent wood splitting. Attach brackets with strong screws or wall anchors. Check bracket level with a spirit level before tightening screws fully.
Test the bracket strength by applying gentle pressure. Properly secured brackets keep shelves safe and steady.
Installing Floating Shelves
Installing floating shelves is a crucial part of the project that transforms raw wood pieces into a sleek, functional display. It requires accuracy and patience to ensure the shelves are secure and look seamless on your wall. Let’s break down the key steps that will help you install your floating shelves like a pro.
Finding Wall Studs
Start by locating the wall studs behind your drywall. Use a stud finder to scan the wall slowly, marking the edges of each stud with a pencil. Securing your shelves into studs is essential for strength and stability; drywall anchors alone won’t support heavy loads.
If you don’t have a stud finder, you can try tapping the wall and listening for a solid sound, or measure 16 to 24 inches from a corner where studs are commonly spaced. Have you ever hung something heavy only to see it fall? That’s why finding studs is non-negotiable.
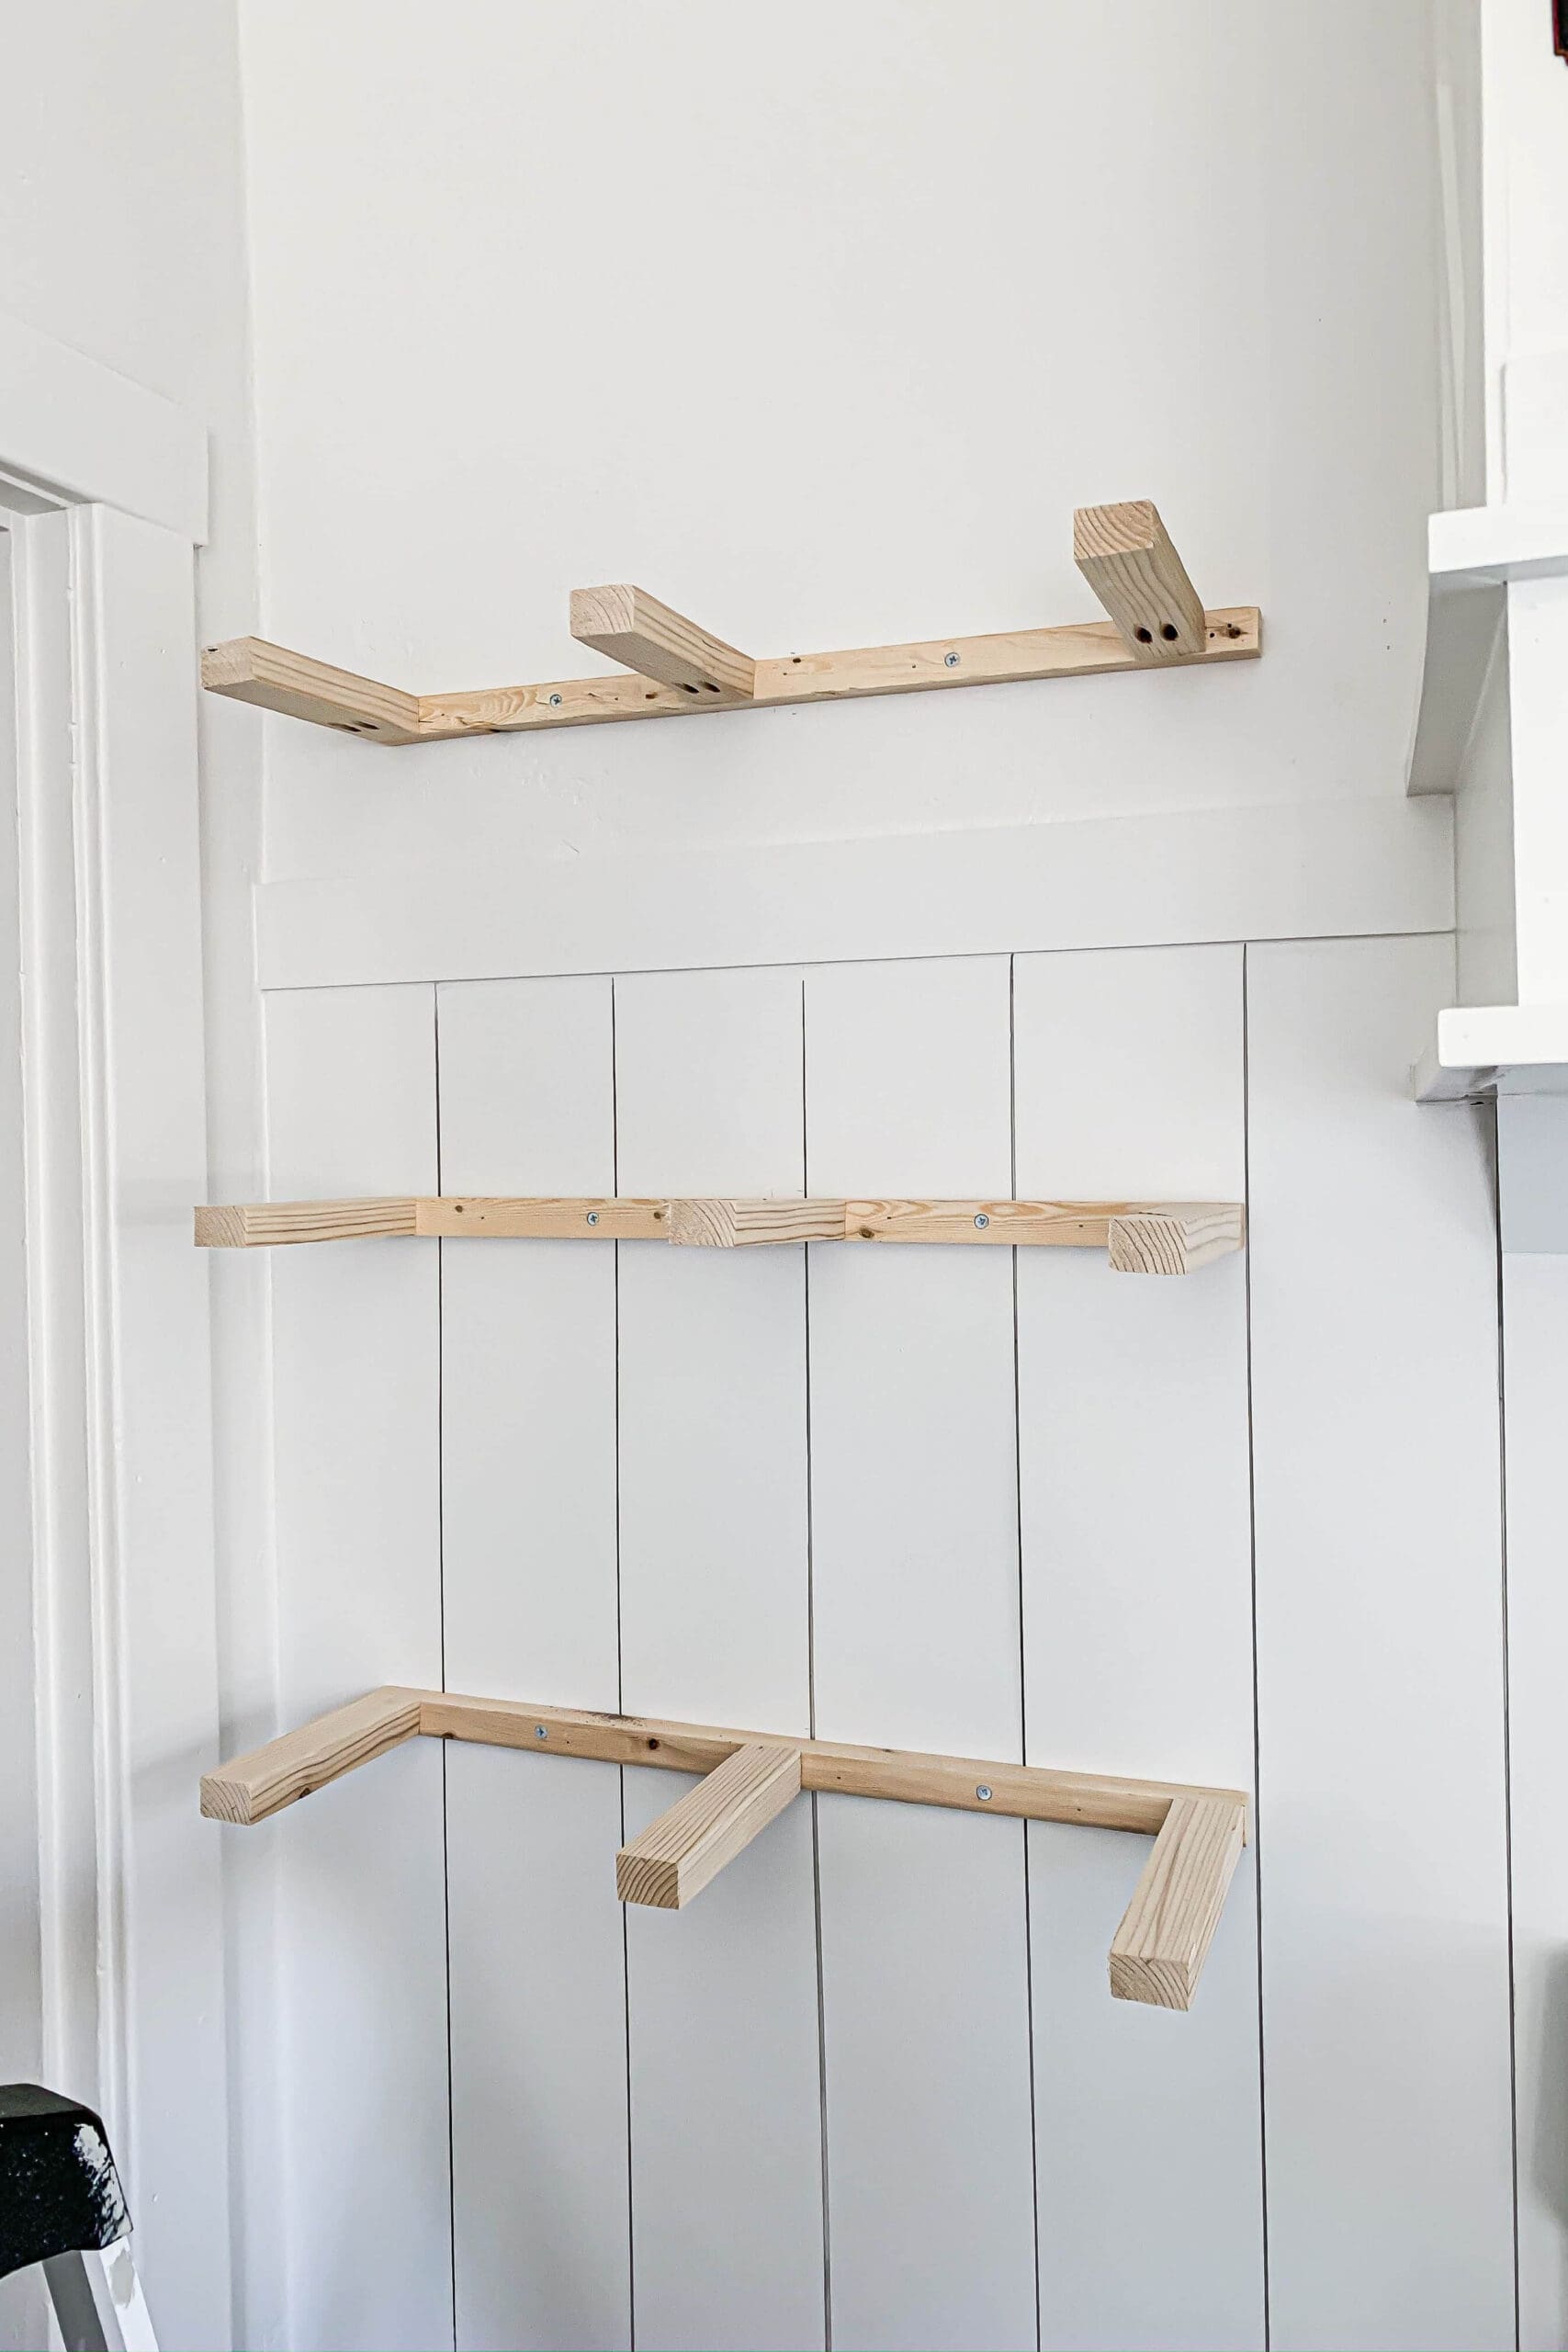
Mounting Brackets
Select mounting brackets designed for floating shelves, often called “floating shelf brackets” or “hidden brackets.” These brackets slide into pre-drilled holes on the back of your wooden shelf, providing the illusion that the shelf is floating without visible supports.
Attach the brackets to the wall first. Use a level to make sure they are perfectly horizontal. Screw them firmly into the studs, as loose brackets will make your shelves wobble or even fall.
Attaching Shelves
Once the brackets are secured, slide your wooden shelf onto them. The fit should be snug but not forced; this ensures the shelf sits flush against the wall. Double-check the shelf’s level and adjust if needed before tightening any set screws or securing mechanisms.
Consider the weight of items you plan to place on the shelves. If you’re displaying heavy books or décor, make sure the brackets and screws are rated for that weight. How would it feel to see your careful handiwork collapse under pressure? Proper attachment avoids that scenario entirely.

Credit: www.youtube.com
Finishing Touches
Adding the finishing touches to your floating shelves is what truly brings your project to life. This phase enhances both the look and durability of the wood, making sure your shelves stand out and last long. Let’s break down some simple yet effective ways to polish off your creation.
Staining And Painting
Choosing between staining and painting depends on the style you want. Staining highlights the natural grain of the wood, giving a warm, rich finish. Painting, on the other hand, offers a bold splash of color that can match or contrast your room’s decor.
Try testing a small piece of scrap wood before applying the stain or paint to your shelves. This helps you see how the color will look once dry and ensures you’re happy with the tone. Have you ever been surprised by how different a stain looks after it dries?
Sealing For Protection
Sealing your shelves protects them from scratches, moisture, and daily wear. Clear polyurethane or varnish are popular options that add a layer of durability without changing the color too much. Apply thin, even coats and let each dry completely before adding the next.
Think about the environment where your shelves will live. If they’re in a kitchen or bathroom, sealing becomes even more critical to guard against humidity. Could skipping this step shorten the life of your hard work?
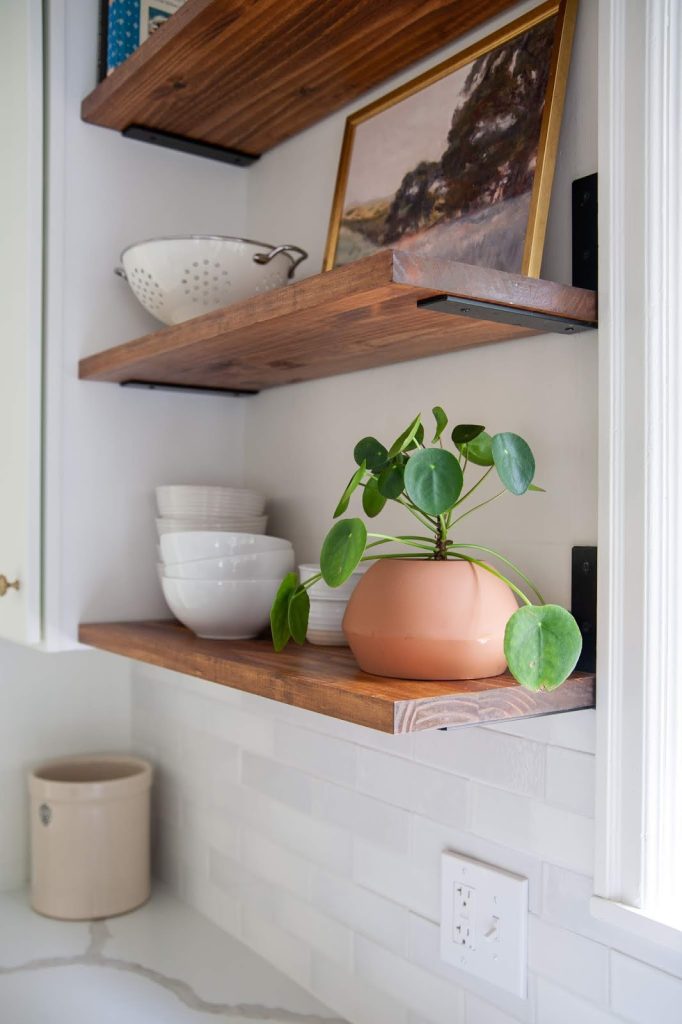
Decorating Ideas
Once your shelves are finished, it’s time to style them. Mix books with small plants, framed photos, or unique collectibles to create a personal touch. Using items with different heights and textures keeps the display interesting and balanced.
Consider changing your shelf decor with the seasons or your mood. This simple habit keeps your space feeling fresh without extra cost. What personal items do you have that would look great on your new shelves?
Troubleshooting Common Issues
Building floating shelves from wood is rewarding but can bring some common challenges. Troubleshooting these issues ensures your shelves look great and last long. This section helps solve typical problems for a smooth experience.
Shelf Stability Problems
Unstable shelves often result from poor wall anchors or weak brackets. Choose heavy-duty anchors suited for your wall type, such as toggle bolts for drywall.
Check that brackets are firmly screwed into studs. Avoid using only drywall anchors for heavy loads.
Use a level to align shelves perfectly. Uneven mounting causes wobbling and stress on fasteners.
If shelves sag, add extra brackets or use thicker wood. Reinforce the shelf’s back with metal strips for more strength.
Wall Damage Prevention
Protect walls by selecting the correct fasteners. Use anchors that spread the load evenly to avoid holes widening.
Mark drilling spots carefully before drilling. Use a stud finder to locate safe anchor points.
Drill pilot holes to reduce wall cracking. Clean dust from holes for a firm fit.
Cover screw heads with matching wood filler or paint for a neat finish. Avoid over-tightening screws, which can break the wall surface.
Adjusting Shelf Height
Plan shelf heights based on items you want to place. Measure and mark before installation.
Use adjustable bracket systems for flexible height changes. These allow easy repositioning without damage.
Consider vertical spacing between shelves for easy access and good display.
Double-check measurements with a level for evenness. Small adjustments improve the shelf’s look and function.
Credit: crystelmontenegrohome.com
Frequently Asked Questions
What Materials Are Needed For Wooden Floating Shelves?
You need wood boards, wall anchors, screws, a drill, a level, and brackets. Choose sturdy wood like pine or oak for durability and appearance.
How Do You Securely Mount Floating Shelves On Drywall?
Use wall anchors or toggle bolts rated for shelf weight. Locate studs for extra support. Ensure brackets are firmly fixed and level for stability.
Can I Customize The Size Of Floating Wood Shelves?
Yes, you can cut wood to any desired length and width. Measure your space carefully to ensure a perfect fit and balanced look.
How Much Weight Can Wooden Floating Shelves Hold?
Weight capacity depends on wood type, thickness, and mounting hardware. Properly installed shelves can hold 20-50 pounds or more. Always check hardware specifications for safety.
Conclusion
Making floating shelves from wood is simple and rewarding. Choose the right wood and tools before you start. Measure carefully and cut with patience. Secure the shelves properly to hold weight safely. Personalize your shelves with paint or stain for a unique look.
These shelves save space and add style to any room. Try this project to improve your home step by step. Enjoy the satisfaction of creating something useful and beautiful.


