

Are you ready to add a personal touch to your space and create something useful at the same time? Building a shelf might sound tricky, but it’s easier than you think—and you don’t need to be a pro to do it.
Imagine having a sturdy shelf that holds your favorite books, plants, or decorations, made by your own hands. In this guide, you’ll discover simple steps that anyone can follow to build a shelf that fits your style and needs. Keep reading, and you’ll feel confident turning plain wood into a functional and attractive piece for your home.

Credit: www.youtube.com
Choosing The Right Shelf Design
Choosing the right shelf design sets the foundation for a successful project. It affects both the look and function of your space. Thoughtful selection ensures the shelf fits your needs and style perfectly.
Types Of Shelves
Shelves come in many shapes and styles. Floating shelves offer a clean, modern look without visible supports. Wall-mounted shelves provide strong support for heavier items. Corner shelves use space efficiently in tight spots. Ladder shelves add a decorative and functional touch. Consider what fits best in your room and what items you want to store.
Selecting Materials
Material choice impacts durability and appearance. Wood is classic and sturdy. Plywood offers a budget-friendly option with good strength. Metal shelves bring an industrial vibe and high durability. Glass shelves look sleek but hold lighter items. Think about weight capacity and style when picking materials.
Measuring Your Space
Accurate measurements prevent problems later. Measure the wall space where the shelf will go. Note the height, width, and depth available. Consider the items you plan to place on the shelf. Leave extra room for easy access and cleaning. Double-check measurements before buying materials or hardware.
Gathering Tools And Supplies
Before you start building your shelf, gathering the right tools and supplies is crucial. Having everything ready can save you from frustrating interruptions and help your project go smoothly. Let’s break down what you need to get started.
Essential Tools
Every shelf-building project requires a basic set of tools. You’ll definitely need a drill to make holes and drive screws quickly. A measuring tape helps you get accurate dimensions, which is key for a sturdy shelf.
A level ensures your shelf won’t tilt, while a saw lets you cut wood to the right size. Don’t forget a pencil to mark measurements and a screwdriver for those finishing touches. These tools form the backbone of your project and make the process easier.
Recommended Materials
Choosing the right materials can make a big difference in how your shelf turns out. Most people use solid wood or plywood for durability and a clean look. If you want something budget-friendly, MDF is an option, but it’s less durable in humid areas.
Also, grab screws that match the wood thickness and wall anchors if you’re mounting your shelf on drywall. Sandpaper or a sanding block will help smooth rough edges. Think about paint or wood stain if you want to customize the finish.
Safety Gear
Safety should never be an afterthought. Protect your eyes with safety goggles, especially when drilling or cutting wood. Gloves can keep your hands safe from splinters and sharp edges.
Consider wearing a dust mask to avoid inhaling sawdust, which can irritate your lungs. If you’re working with loud tools, ear protection is a smart choice too. Taking these precautions can keep your project fun instead of painful.
Preparing The Workspace
Creating a shelf is a rewarding DIY project that transforms your space and showcases your skills. Before you dive into cutting and assembling, laying the groundwork by preparing your workspace is crucial. A well-organized environment can make the difference between a smooth project and a frustrating experience.
Clearing The Area
Start by clearing the area where you’ll be working. Remove any unnecessary items that might clutter your space or pose a hazard. Have you ever tripped over a rogue tool mid-project? It’s not fun, and it can derail your momentum.
Consider how much space you need for your materials and movements. Whether it’s a garage or a corner of your living room, ensure you have enough room to maneuver. Having a clean and open area can significantly enhance your focus and efficiency.
Setting Up Workbench
Next, set up a sturdy workbench where you’ll be doing most of the assembly. If you don’t have a workbench, a strong table can suffice. The key is stability, so your work doesn’t wobble or shift.
Make sure your workbench is at a comfortable height to prevent strain. You’ll be spending a fair amount of time here, so comfort is key. Have you ever thought about how a slightly higher or lower bench could impact your back?
Organizing Tools
Gather all the tools you’ll need and organize them within reach. A toolbox or pegboard can keep everything tidy and accessible. There’s nothing worse than pausing your flow to hunt down a missing screwdriver.
Lay out your tools in the order you plan to use them. This simple strategy can save you precious time and keep you focused. How much smoother could your project run with everything in its place?
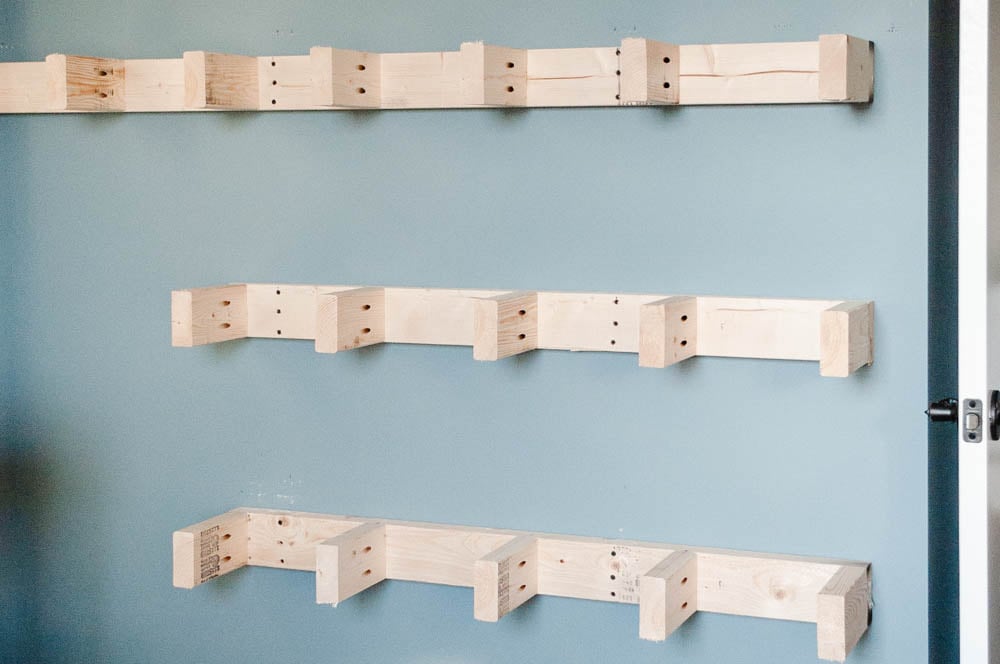
Credit: www.woodshopdiaries.com
Cutting And Sanding Wood
Cutting and sanding wood are the backbone of building a sturdy, attractive shelf. These steps shape your raw materials into perfect pieces that fit together seamlessly. Taking your time here ensures your shelf looks professional and lasts long.
Marking Measurements
Accurate measurements make all the difference. Use a tape measure and pencil to mark where you’ll cut. Double-check these marks—measure twice, cut once is advice for a reason.
Try marking all your pieces before cutting. This helps you visualize the project and avoid mistakes. Think about where the shelf will go and measure the space carefully.
Using A Saw Safely
Safety should never be an afterthought. Always wear protective goggles and gloves when handling a saw. Keep your fingers clear of the blade and maintain a steady hand while cutting.
If you’re new to using a saw, start with straight cuts on scrap wood to build confidence. Remember, slow and steady cuts reduce splintering and give you cleaner edges. What’s your experience with saws so far?
Sanding For Smooth Finish
Sanding removes rough edges and prepares the wood for painting or staining. Start with a coarse grit sandpaper to smooth out cuts, then switch to finer grits for a polished feel. Use a sanding block or an electric sander for even pressure.
Don’t rush this step—smooth wood not only looks better but also prevents splinters. Feel the surface after sanding; if it’s not smooth, sand a bit more. How important do you find sanding in your woodworking projects?
Assembling The Shelf Frame
Assembling the shelf frame is where your project starts to take real shape. This phase sets the foundation for the entire shelf’s strength and appearance. Paying close attention here ensures your shelf will hold up over time and look great in your space.
Joining Pieces Together
Begin by aligning the side panels with the top and bottom pieces. It’s important to keep the edges flush so the frame stays square. You can use clamps to hold the pieces steady while you work, which makes a big difference in accuracy.
Think about how you want the joints to look—do you prefer visible or hidden fasteners? Butt joints are simple and effective, but if you want extra strength, try pocket holes or dowels. These methods add durability without compromising the clean look of your shelf.
Using Screws And Nails
Screws provide a strong hold and allow adjustments if needed, making them a popular choice for assembling shelves. Use screws long enough to penetrate both pieces securely but not so long they poke through the wood.
Nails can be quicker to install but usually don’t hold as well under weight. If you use nails, consider adding wood glue for added strength. Always pre-drill holes for screws to prevent the wood from splitting, especially near edges.
Checking For Stability
After assembling, it’s crucial to test the frame’s stability before moving forward. Place the frame on a flat surface and gently press on different corners to check for wobbling or gaps.
If you notice any movement, tighten screws or add corner braces to reinforce weak spots. Have you ever built a shelf that wobbled later? Fixing these issues now saves frustration down the road.
Attaching The Shelf To The Wall
Attaching the shelf to the wall is a crucial step for stability and safety. A well-secured shelf holds weight without risk of falling. This part requires careful preparation and the right tools. Follow clear steps to ensure your shelf stays strong over time.
Locating Wall Studs
Wall studs provide the best support for your shelf. Use a stud finder to locate them behind the drywall. Move the finder slowly across the wall surface. Mark the edges of each stud with a pencil. Studs are usually spaced 16 or 24 inches apart. Mark several spots along the stud for secure attachment.
Drilling And Anchoring
Choose drill bits that match your screws or anchors. Drill pilot holes at the marked stud locations. If no stud is found, use wall anchors for extra support. Insert anchors into the drilled holes until flush with the wall. Anchors help distribute the shelf weight evenly. Avoid drilling too large holes which reduce holding power.
Securing The Shelf
Hold the shelf bracket or mounting plate against the wall. Align holes with the pilot holes or anchors. Use screws that fit the bracket and wall type. Tighten screws firmly but avoid over-tightening. Check the shelf level before fully securing. Test the shelf by applying gentle pressure to confirm stability.
Finishing Touches
Finishing touches bring your shelf to life. They protect the wood and add style. Simple details make your project look complete and polished.
Painting Or Staining
Choose paint or stain based on your room’s style. Paint offers solid colors and covers imperfections. Stain shows the wood’s natural grain and adds warmth.
Use a brush or cloth to apply evenly. Allow each coat to dry well before adding another. Seal with a clear finish to protect your work.
Adding Decorative Elements
Decorative touches add personality to your shelf. Try simple options like:
- Wood trim or molding on edges
- Decorative brackets for support and style
- Patterned wallpaper or contact paper on the back panel
- Small hooks under the shelf for hanging items
These details make your shelf unique and fit your space better.
Final Inspection
Check the shelf for any rough spots or uneven areas. Sand lightly if needed. Test the shelf’s sturdiness by placing light objects on it.
Make sure all screws and nails are secure. Clean off dust and debris before use. A careful final check ensures your shelf looks great and lasts long.
Credit: www.christeneholderhome.com
Maintaining Your Shelf
Maintaining your shelf keeps it strong and looking good for years. Regular care prevents damage and extends its life. Simple steps can protect your investment and keep your space tidy.
Cleaning Tips
Dust your shelf often to avoid buildup. Use a soft cloth or duster for gentle cleaning. For wood shelves, use a damp cloth with mild soap. Avoid soaking the wood to prevent warping. Metal shelves clean well with a dry or slightly damp cloth. Remove stains quickly to stop permanent marks.
Regular Safety Checks
Check your shelf’s stability every few months. Look for loose screws or brackets that need tightening. Make sure the shelf does not lean or wobble. Inspect the wall anchors to ensure they hold firmly. Remove heavy items if the shelf shows signs of strain. Keep the load within the shelf’s weight limit to avoid collapse.
Repairing Minor Damages
Fix small scratches with wood filler or touch-up markers. Tighten loose screws or replace missing ones right away. Use wood glue to reattach loose parts on wooden shelves. Sand rough edges to avoid splinters and improve appearance. Replace damaged brackets or supports to keep the shelf safe. Quick repairs stop small problems from growing.
Frequently Asked Questions
What Tools Are Needed To Build A Shelf?
Basic tools include a saw, drill, measuring tape, level, screws, and brackets. These ensure precise cuts and secure assembly.
How Do You Choose The Right Wood For Shelves?
Select wood based on strength, appearance, and budget. Pine is affordable; oak is durable and stylish for shelves.
What Are The Steps To Install A Wall Shelf?
Measure and mark the wall, drill holes, insert anchors, mount brackets, and secure the shelf firmly.
How Can I Ensure My Shelf Holds Heavy Items?
Use sturdy brackets, solid wood, and wall anchors rated for heavy loads to prevent sagging or falling.
Conclusion
Building a shelf can be simple and rewarding. Start with good planning and the right tools. Measure carefully and choose sturdy materials. Take your time to cut and assemble each part. Secure the shelf properly to keep it safe. A homemade shelf adds space and style to any room.
Enjoy the feeling of creating something useful with your own hands. Keep practicing, and your skills will grow stronger. You can make shelves for many needs and places. Simple steps lead to great results.


