
Are you looking to add style and extra storage to your space without taking up floor room? Building a floating shelf on your wall is a smart and simple way to do just that.
Imagine having a sleek shelf that seems to float, giving your room a modern touch while holding your favorite books, plants, or decor. In this guide, you’ll discover easy steps to create your own floating shelf, even if you’ve never done a project like this before.
Keep reading, and soon you’ll have a beautiful shelf that’s both practical and eye-catching.
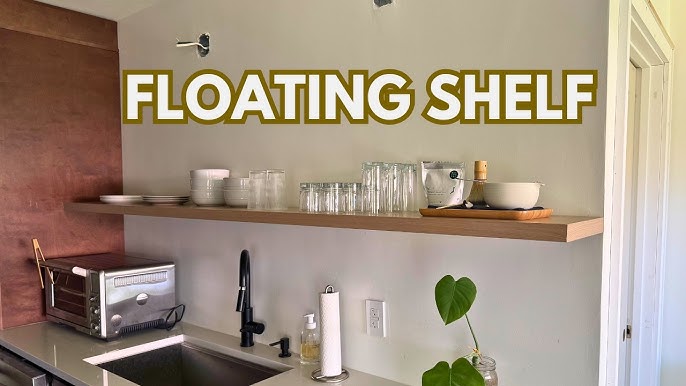
Credit: crystelmontenegrohome.com
Choosing The Right Shelf Materials
Choosing the right materials for your floating shelf is crucial for both its strength and style. The materials you pick will determine how much weight your shelf can hold and how well it fits with your room’s decor. Let’s break down the key elements you need to consider before you start building.
Types Of Wood
Wood choice affects durability and appearance. Pine is affordable and easy to work with but might dent easily. Oak offers great strength and a classic look but is heavier and costs more.
Consider plywood for a budget-friendly option that resists warping. MDF is smooth and perfect for painting but not as strong as solid wood. Think about how much weight your shelf will hold and pick wood accordingly.
Shelf Brackets And Supports
Invisible brackets are popular for floating shelves because they keep the look clean. Steel supports offer strong backing but need precise installation. Make sure your brackets can handle the shelf length and weight.
Also, check if the wall can support the weight. Drywall anchors or studs make a big difference. Have you checked your wall type yet? It’s key to picking the right support system.
Finishing Materials
Finishing protects your shelf and enhances its look. Clear varnish keeps the wood’s natural beauty while adding durability. Paint gives you endless color options but may require more prep work.
Wax and oil finishes provide a smooth feel and are easy to touch up. Think about where you’ll place your shelf—humidity and sunlight can affect your finish choice. What kind of look do you want to maintain over time?
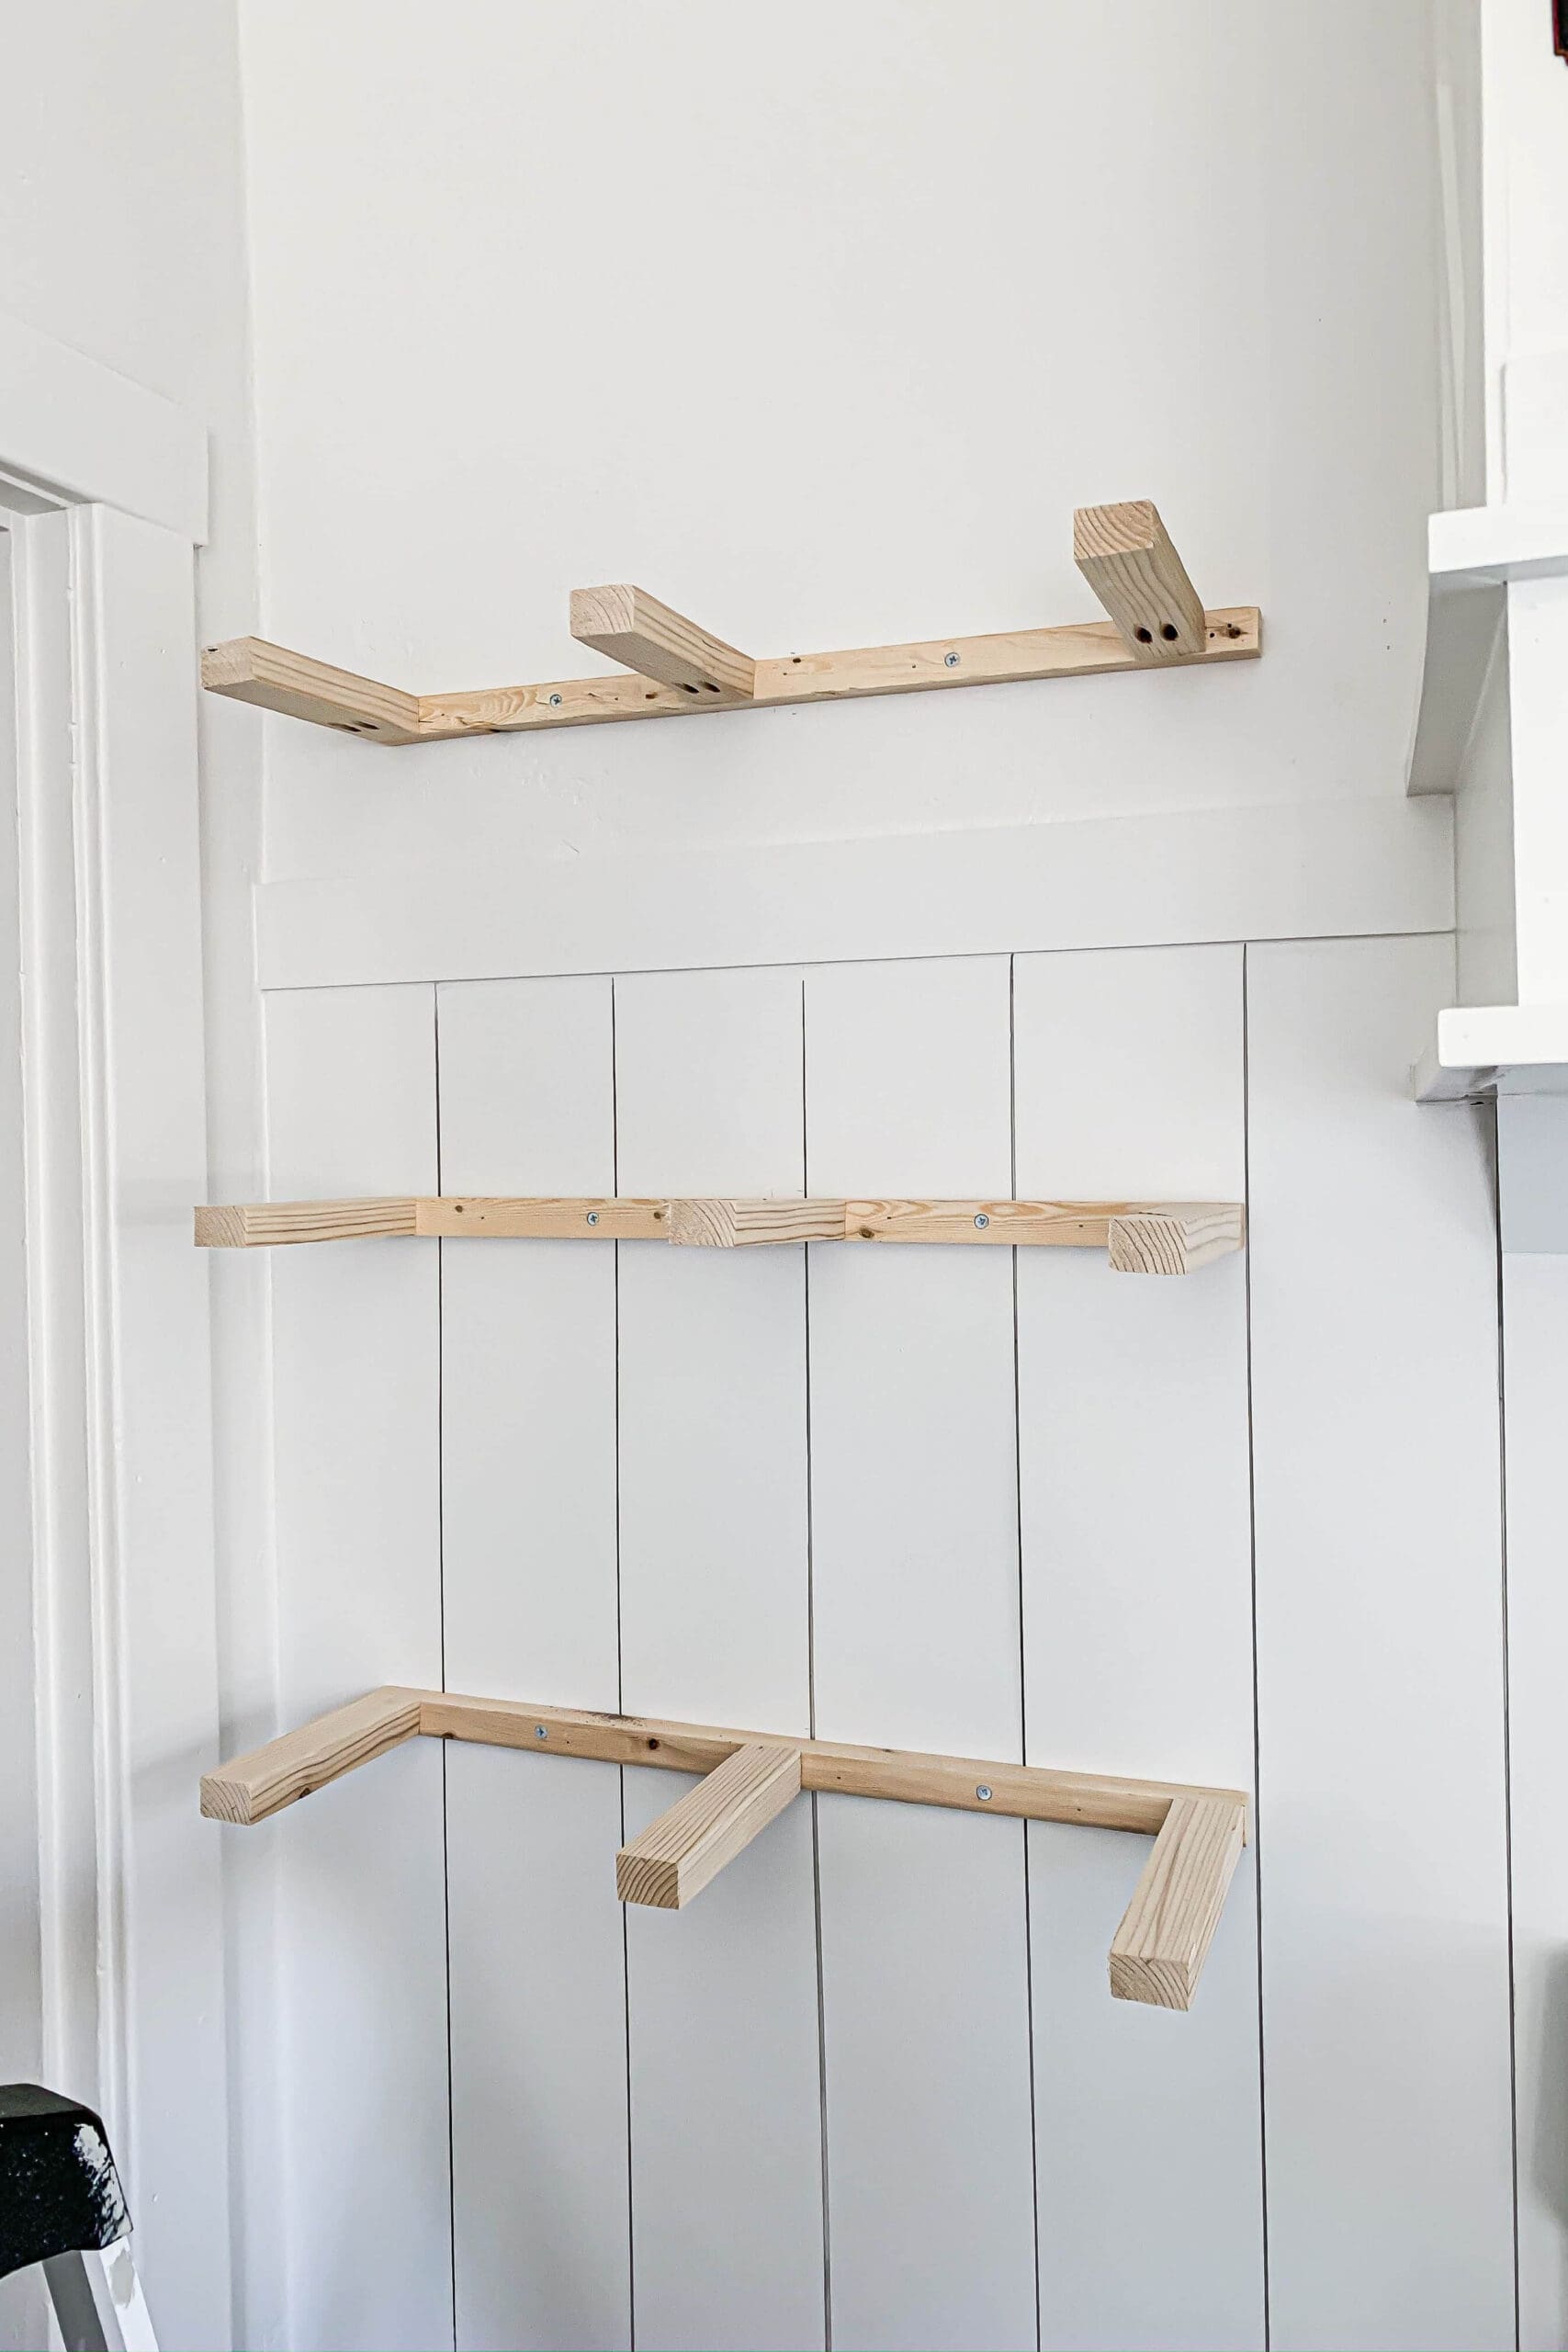
Credit: littlegiants.co.nz
Tools And Supplies Needed
Building a floating shelf requires the right tools and supplies. Having these ready makes the work easier and safer. This section breaks down the essential items into three categories. Basic hand tools, power tools, and safety gear. Each plays a key role in your project.
Basic Hand Tools
- Tape measure – for accurate measurements
- Level – ensures the shelf is straight
- Pencil – marks drilling points on the wall
- Screwdriver – tightens screws and brackets
- Stud finder – locates wall studs for support
- Hammer – useful for light tapping or adjustments
Power Tools
- Drill – makes holes in the wall and wood
- Drill bits – different sizes for screws and anchors
- Electric screwdriver – speeds up screw driving
- Jigsaw or circular saw – cuts wood to size
- Sander – smoothens shelf edges and surface
Safety Gear
- Safety glasses – protect eyes from dust and debris
- Dust mask – prevents inhaling sawdust
- Work gloves – protect hands from splinters and cuts
- Ear protection – guards against loud tool noise
Preparing The Wall
Clear the wall surface and remove any nails or hooks. Use a stud finder to locate wall studs for strong support. Mark the spots where the shelf brackets will go.
Preparing the wall is an essential step in building a floating shelf. It sets the foundation for a successful installation and ensures your shelf will be sturdy and level. Skipping these steps can lead to a crooked shelf or, worse, a collapsed one. Let’s dive into the key aspects of getting your wall ready for your new floating shelf.Finding Studs
Begin by locating the studs in your wall. Studs are vertical wooden beams that provide support and are crucial for anchoring heavy objects. Use a stud finder, a handy tool that saves time and ensures accuracy. If you don’t have one, a simple method is to knock on the wall and listen for a solid sound, which usually indicates the presence of a stud.Measuring And Marking
Accurate measurements are the backbone of any good DIY project. Measure the space where you plan to install your shelf. Mark the desired height and width using a pencil. Ensure your markings are level by using a spirit level, which can prevent a lopsided shelf and unwanted frustration.Wall Condition Check
Take a moment to assess the condition of your wall. Is it dry and free from moisture? Moisture can weaken the wall and lead to problems down the line. Check for any cracks or damage that might affect the shelf’s stability. If you find issues, consider repairing them before proceeding. Have you ever ignored a small crack only to have it become a bigger problem later? Addressing these issues now can save you a headache and keep your shelf secure.Cutting And Finishing The Shelf
Cutting and finishing your floating shelf is where your project starts to take shape. This stage requires precision and care, as it sets the foundation for a shelf that looks polished and lasts long. Let’s break down how to measure, cut, sand, and apply the perfect finish to your wood.
Measuring And Cutting Wood
Start by measuring your wall space carefully. Double-check the length and width you want for your shelf to avoid costly mistakes. Use a pencil to mark the wood clearly, ensuring your lines are straight and easy to follow.
Cutting the wood is more than just following lines—it’s about steady hands and the right tools. If you have a circular saw, it will give you clean, straight cuts quickly. Remember to clamp the wood securely to prevent movement while cutting, and always wear safety goggles.
Sanding And Smoothing
After cutting, your shelf edges will likely be rough or splintered. Sanding is essential to create a smooth surface that feels good to touch and looks professional. Start with a coarse grit sandpaper (around 80 grit) to remove rough spots.
Then, switch to a finer grit (120 or 220) to smooth the wood further. Don’t rush this process—running your hand over the wood will tell you when it’s ready. Sanding not only improves the feel but also helps the finish adhere better.
Applying Finish Or Paint
Choosing between paint or finish depends on your desired look and the wood type. If you want to highlight the natural grain, a clear varnish or wood stain is a great choice. Apply it evenly with a brush or cloth, following the wood grain direction.
If you prefer a bold color, use a primer first, then apply your paint in thin, even coats. Allow each coat to dry completely before adding the next. Have you considered how the finish will protect your shelf from dust and moisture? This step is crucial for durability.
Installing The Shelf Bracket
Installing the shelf bracket is a key step in building a floating shelf. This part holds the shelf firmly on the wall. Proper installation ensures the shelf stays stable and can carry weight safely. Take care with each action to get the best result.
Positioning The Bracket
Choose the right spot on the wall for your bracket. Use a level to make sure it is straight. Mark the holes where you will fix the bracket. Check for wall studs behind the marks for better support. Position the bracket at the height you want the shelf.
Drilling Pilot Holes
Drill small pilot holes on the marks you made. These holes guide the screws and prevent the wall from cracking. Use a drill bit that matches the size of your screws. Drill slowly and steadily to keep control. Make sure the holes go into the stud or use wall anchors if needed.
Securing Bracket To Wall
Align the bracket with the pilot holes. Insert screws and tighten them firmly with a screwdriver or drill. Avoid over-tightening to prevent damage. Check the bracket is steady and level after fixing. This holds the shelf securely and ready for the next step.
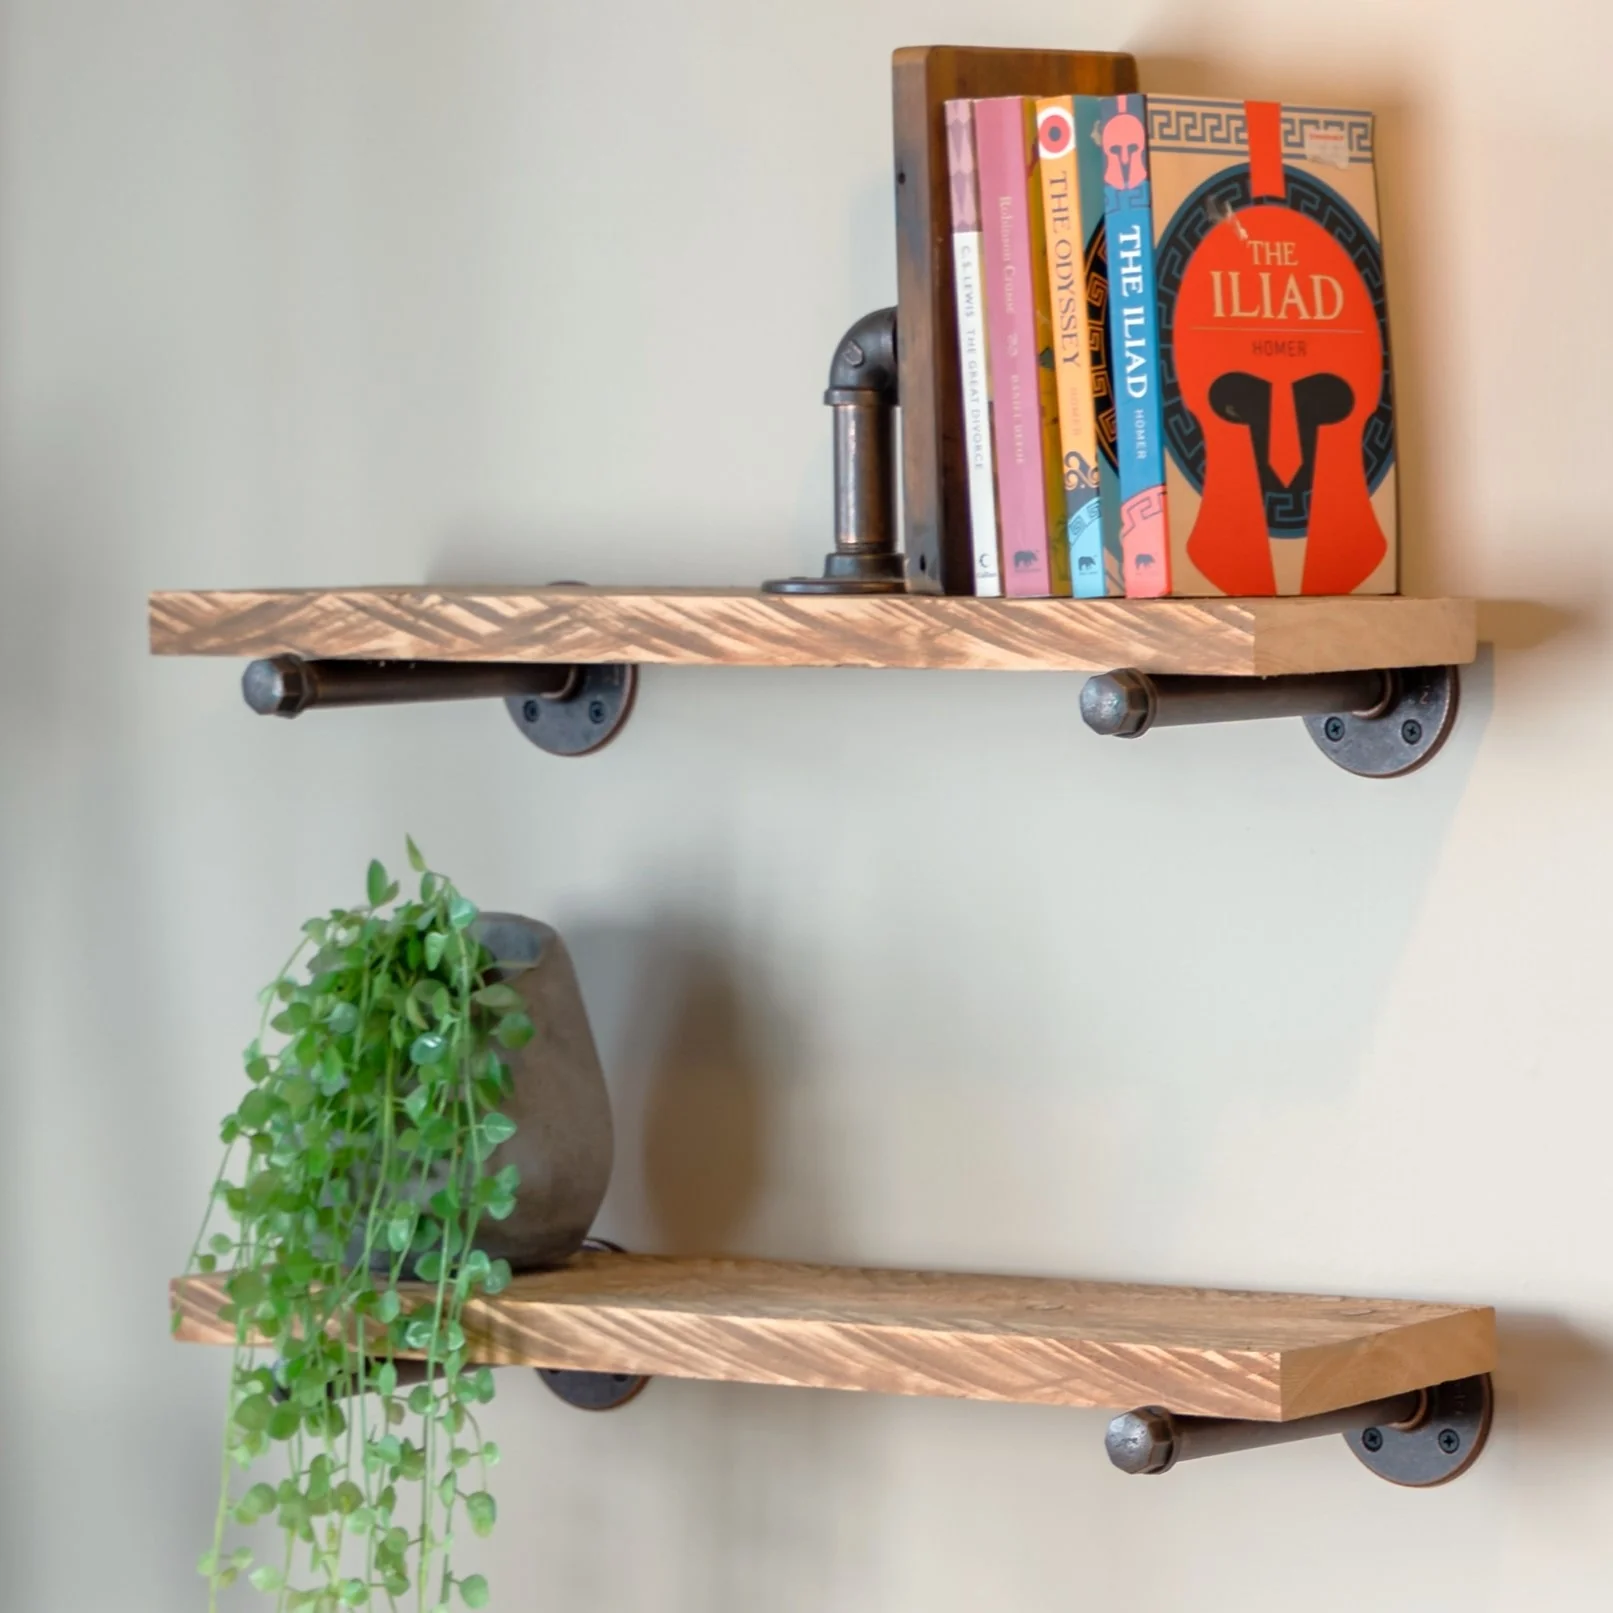
Credit: www.christeneholderhome.com
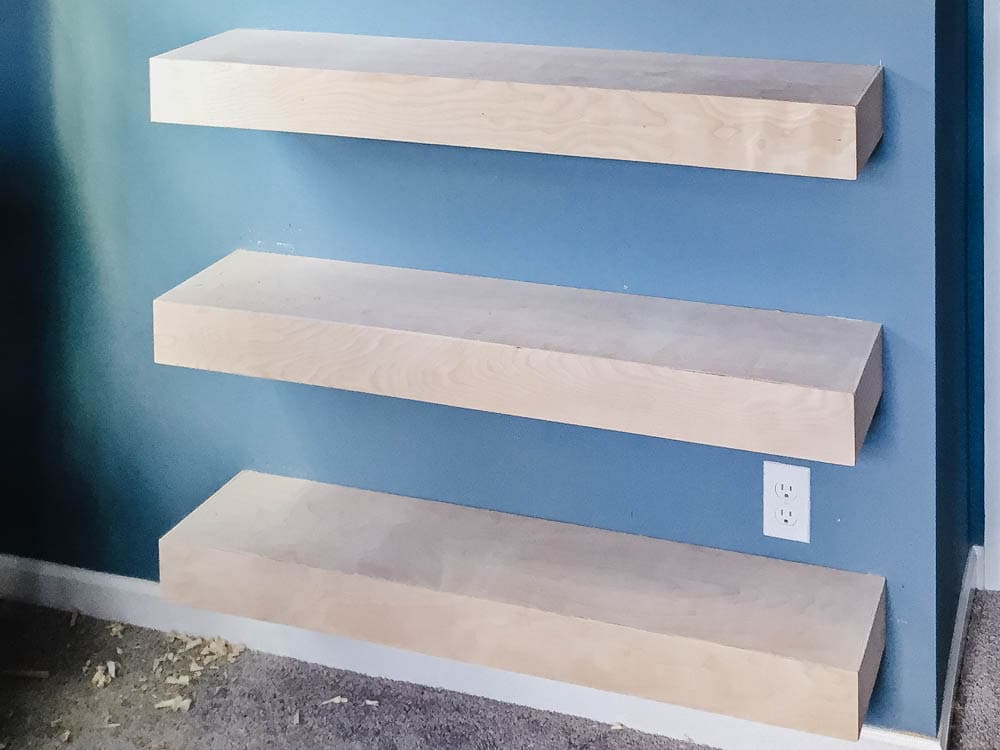
Mounting The Shelf
Mounting the shelf is the moment where your hard work starts to take shape. This step requires precision and patience to ensure the shelf is secure and looks great on your wall. Let’s break down the key parts of this process to help you get a perfect finish.
Sliding Shelf Onto Bracket
Begin by carefully sliding the shelf onto the wall bracket. Make sure the bracket is fully secured to the wall before attempting this. You want the shelf to fit snugly without forcing it, which could damage either the shelf or the bracket.
Check that the shelf aligns with the bracket slots or grooves designed to hold it. Sometimes, a slight wiggle helps the shelf lock into place, giving you a solid hold. Have you ever pushed too hard and ended up scratching your freshly painted wall? Avoid that by moving gently and steadily.
Leveling The Shelf
Once the shelf is on the bracket, grab a spirit level to check its horizontal alignment. Place the level on top of the shelf and adjust it until the bubble sits perfectly in the center. This simple tool makes a huge difference in avoiding that awkward, slanted look.
If the shelf leans even slightly, it can cause items to slide off or the shelf to loosen over time. Sometimes, minor adjustments in the bracket or adding small shims behind the shelf can fix the tilt. Do you notice any unevenness in your current shelves that could have been avoided with this step?
Final Adjustments
After leveling, tighten any screws or fasteners holding the shelf in place. Double-check the stability by gently pressing down on different parts of the shelf. It should feel firm without any wobble or movement.
Don’t forget to wipe off any dust or fingerprints to give your shelf a clean, polished look. Small details like these can elevate your project from good to professional. How satisfying will it feel to step back and see your perfectly mounted floating shelf ready to use?
Tips For Maintaining Floating Shelves
Maintaining floating shelves ensures they stay sturdy and attractive for a long time. Proper care helps avoid damage and keeps shelves safe for everyday use. Follow simple steps to protect your investment and enjoy your shelves fully.
Weight Limits
Know the maximum weight your floating shelf can hold. Avoid placing heavy items that exceed this limit. Use lightweight decor or books to prevent strain on the wall and brackets. Evenly spread weight across the shelf for better support.
Cleaning And Care
Dust shelves regularly with a soft cloth to keep them clean. Use mild soap and water for tougher stains but avoid soaking the wood. Dry shelves immediately after cleaning to prevent moisture damage. Avoid abrasive cleaners that can scratch the surface.
Periodic Checks
Inspect shelves every few months for any signs of loosening or damage. Tighten screws and brackets if you notice wobbling. Look for cracks or chips in the shelf material and fix small issues quickly. Early checks prevent bigger problems and keep shelves safe.
Frequently Asked Questions
What Tools Do I Need To Build A Floating Shelf?
You need a drill, level, stud finder, screws, anchors, a saw, and a measuring tape. These tools ensure precise installation and sturdy support for your floating shelf.
How Do I Find Studs For Mounting A Floating Shelf?
Use a stud finder to locate wall studs behind drywall. Mark the stud positions clearly to ensure secure mounting and avoid shelf collapse.
What Materials Are Best For Floating Shelf Construction?
Solid wood or plywood are ideal materials. They offer strength and durability while providing an attractive finish for your floating shelf.
How Much Weight Can A Floating Shelf Hold?
Weight capacity depends on materials, wall anchors, and mounting. Typically, a well-installed shelf holds 20-50 pounds safely.
Conclusion
Building a floating shelf on the wall is simple and rewarding. You only need basic tools and clear steps. Measure and mark carefully to keep the shelf steady. Use strong anchors to hold weight safely. Take your time with each step for the best results.
This project adds style and storage to any room. Try it yourself and enjoy a neat, modern look. Small efforts can make big changes in your space. Give your wall a fresh, clean update today.


