
Are you ready to add more space and style to your room? Mounting a shelf on the wall is a simple way to organize your things and make your space look amazing.
But if you’re not sure where to start, don’t worry. This guide will walk you through every step, making it easy for you to hang a shelf that’s strong, safe, and looks great. Keep reading, and soon you’ll have a perfect shelf that fits your needs and boosts your room’s charm.
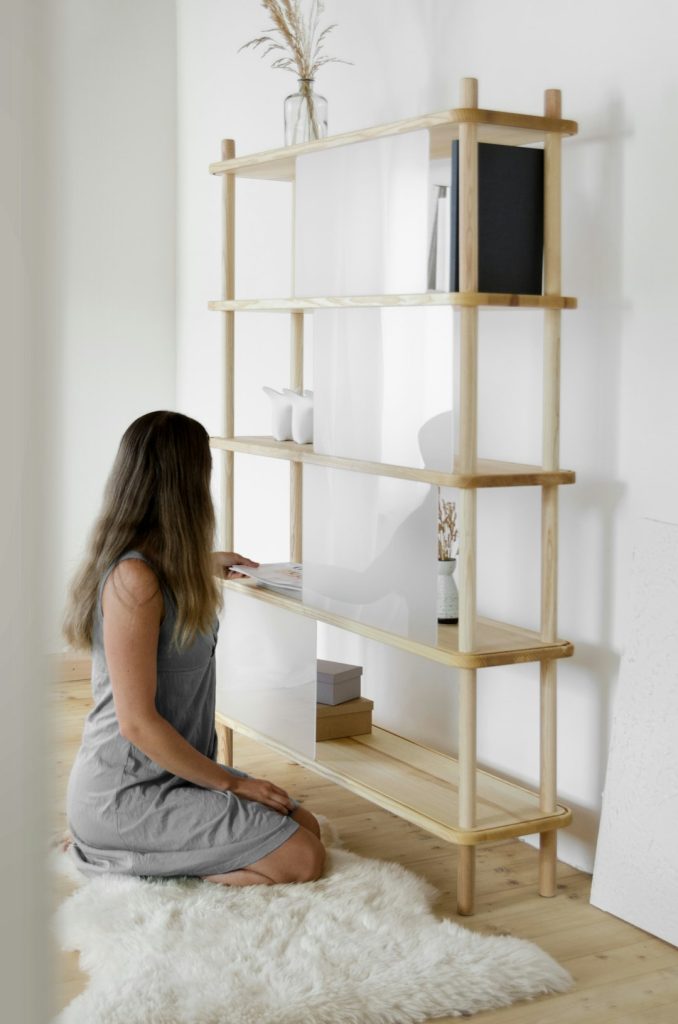
Credit: www.familyhandyman.com
Choosing The Right Shelf
Choosing the right shelf is key to a successful wall mounting project. The shelf must fit the space and hold your items safely. This choice depends on style, strength, and size needs.
Types Of Shelves
Shelves come in many styles. Floating shelves have hidden brackets and look clean. Bracket shelves use visible supports and are very strong. Corner shelves fit into tight spaces well. Wall-mounted cabinets offer extra storage with doors.
Material Considerations
Wood shelves add warmth and can hold heavy items. Metal shelves are durable and modern-looking. Glass shelves look elegant but hold less weight. Choose a material that matches your room and supports what you plan to place.
Size And Weight Capacity
Measure the wall space before buying a shelf. Larger shelves hold more but need stronger support. Check the weight limit to avoid accidents. Balance size and strength to keep your items safe and the shelf stable.

Credit: www.amazon.ca
Gathering Tools And Materials
Gathering the right tools and materials is the first step to mounting a shelf securely. Having everything ready helps the process go smoothly and saves time. This section covers the essential tools and different mounting hardware options to choose from.
Essential Tools
- Drill with drill bits for making holes
- Screwdriver to fasten screws
- Level to ensure the shelf is straight
- Measuring tape for accurate placement
- Stud finder to locate wall studs
- Pencil for marking drill points
- Hammer for tapping anchors if needed
Mounting Hardware Options
Choosing the right hardware depends on the wall type and shelf weight. Here are common options:
| Hardware Type | Best For | Notes |
|---|---|---|
| Wall anchors | Drywall without studs | Provide support but limited weight capacity |
| Toggle bolts | Hollow walls | Strong hold for heavier shelves |
| Wood screws | Studs in walls | Best for maximum strength |
| Brackets | Various wall types | Support shelf from underneath |
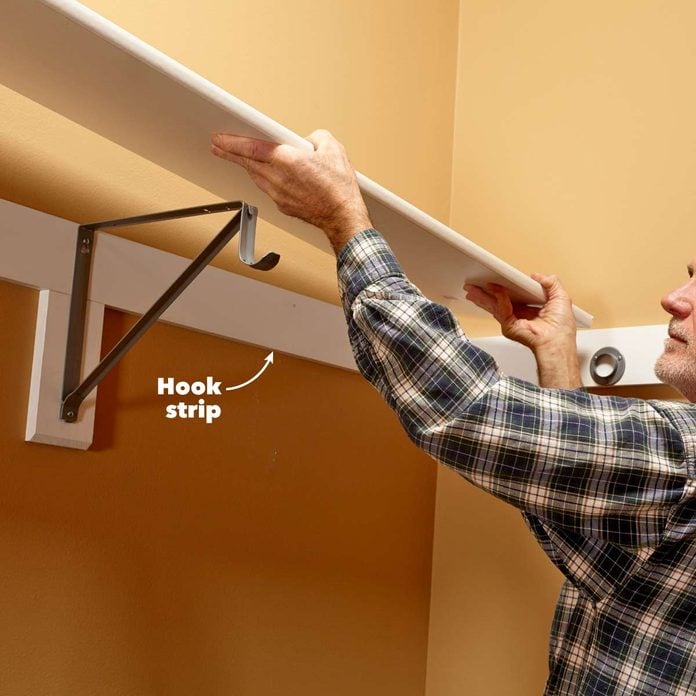
Preparing The Wall
Clean the wall surface and remove any dust or dirt. Locate studs or use anchors for strong support. Mark the spots carefully before drilling.
Mounting a shelf on your wall can transform your space, offering both functionality and style. However, the key to a successful installation lies in how well you prepare the wall. Without proper preparation, your shelf might end up crooked, unstable, or even worse, on the floor. So, let’s dive into the crucial steps of preparing the wall for your new shelf.Locating Studs
Before anything else, you need to find the studs in your wall. Using a stud finder is the most reliable method. These handy devices can easily detect the stud’s location, ensuring your shelf has a solid anchor. If you don’t have a stud finder, gently knock on the wall and listen for a solid sound, indicating a stud. Mounting directly into a stud provides the most support, especially for heavier items.Marking Placement
Once you’ve located the studs, it’s time to mark where your shelf will go. Use a pencil to lightly mark the wall, creating guide points for your shelf brackets. Be precise and consider the height and level of the shelf. A crooked shelf is not only unsightly but also impractical. Use a level to make sure your marks are straight. This little tool is a game-changer and can prevent the frustration of a tilted shelf.Checking For Obstacles
Before drilling, check for any potential obstacles behind the wall. Electrical wires, plumbing pipes, or even HVAC elements could be lurking unseen. One quick way to check is using a stud finder with a wire detection feature. This will help you avoid any costly mistakes or safety hazards. If unsure, consult a professional or a wall blueprint if available. It’s better to be safe than sorry, ensuring your wall remains intact and your shelf secure. So, are you ready to create that perfect space for your books, plants, or knick-knacks? With these steps, you’re well on your way to a sturdy and stylish shelf installation!Drilling And Anchoring
Drilling and anchoring are key steps for mounting a shelf securely on the wall. Proper drilling ensures the holes fit the anchors well. Strong anchors hold the shelf steady and safe. These steps prevent damage to the wall and avoid shelf accidents. Use the right tools and techniques for a sturdy installation.
Choosing Drill Bits
Select drill bits that match the wall type and anchor size. For drywall, use a bit slightly smaller than the anchor. Masonry walls require special masonry bits. Wood walls need standard wood bits. Check the anchor package for recommended drill bit size. Using the wrong bit can cause loose holes or cracks.
Using Wall Anchors
Wall anchors provide extra support for screws in hollow or weak walls. Choose anchors based on shelf weight and wall material. Plastic anchors work for light loads on drywall. Metal anchors hold heavier shelves on drywall or plaster. Toggle bolts spread weight across a larger area. Insert anchors fully and flush with the wall surface.
Drilling Techniques
Mark the drill spots carefully with a pencil. Use a level to keep shelf marks straight. Hold the drill perpendicular to the wall for straight holes. Start drilling slowly to avoid slipping. Increase speed after the bit grips the wall. Drill to the depth of the anchor length. Clean dust from holes before inserting anchors.
Attaching The Brackets
Attaching the brackets is a key part of mounting a shelf. Brackets hold the shelf in place and support its weight. Proper attachment ensures safety and durability. Focus on alignment, securing screws, and checking stability for a strong hold.
Aligning Brackets
Start by marking the wall for bracket placement. Use a level to keep brackets straight. Measure equal distances from the floor and between brackets. Proper alignment prevents the shelf from tilting or falling.
Securing Screws
Choose screws that fit your wall type and bracket holes. Drill pilot holes to avoid wall damage. Insert screws firmly into studs or anchors. Tighten screws until the bracket is snug but avoid overtightening.
Ensuring Stability
After attaching brackets, test their firmness by applying gentle pressure. The brackets should not move or wiggle. Adjust screws if needed and recheck. Stable brackets create a safe base for your shelf.
Mounting The Shelf
Mounting the shelf is where your preparation meets action. This part transforms your wall from bare space to a functional area. Taking your time here ensures safety and a clean look.
Placing The Shelf
Start by carefully positioning the shelf on the brackets. Hold it steady and check if it’s level using a spirit level or a smartphone app. Even a slight tilt can make a big difference in appearance and stability.
Ask yourself: Is the shelf at a comfortable height for the items you plan to place? Adjust if needed before moving forward.
Securing The Shelf To Brackets
Once satisfied with the placement, it’s time to secure the shelf. Use screws that fit your brackets and are long enough to hold the shelf firmly without damaging it. Tighten them evenly on both sides to avoid any wobbling.
Double-check that the screws don’t crack or split the shelf material. If your shelf is wooden, pre-drill small pilot holes to prevent splitting and make screwing easier.
Final Adjustments
After securing, give the shelf a gentle shake to test stability. If it moves, tighten the screws a little more or check the bracket fittings again. Sometimes, small shifts happen during tightening.
Consider adding rubber pads under the brackets if your wall surface is uneven. This can prevent rocking and protect your wall from scratches. How confident do you feel about the shelf’s strength now?
Safety Tips And Maintenance
Mounting a shelf on the wall is just the beginning. Ensuring it stays safe and sturdy over time requires attention to safety tips and regular maintenance. Neglecting these can lead to accidents or damage to your walls and belongings.
Weight Limits
Every shelf has a weight limit, which depends on its material, brackets, and the type of wall anchors used. Ignoring these limits can cause the shelf to collapse unexpectedly. Always check the manufacturer’s guidelines or test the shelf with lighter items first.
Ask yourself: How much weight am I really placing on this shelf? Overloading it with heavy books or decorations can be risky. Spread out heavy items evenly to avoid pressure on one point.
Regular Checks
After mounting your shelf, don’t just forget about it. Regularly inspect the brackets, screws, and wall anchors for any signs of loosening or damage. Tighten screws if you notice any wobbling.
Think about how often you use the shelf and what you keep on it. High-use shelves may need monthly checks, while less-used ones can be inspected every few months. Catching small problems early saves bigger headaches later.
Cleaning And Care
Keeping your shelf clean helps maintain its appearance and structural integrity. Use a soft cloth or microfiber duster to remove dust regularly, avoiding abrasive materials that can scratch the surface.
If your shelf is wooden, consider using a suitable polish to protect it from drying out or cracking. Metal shelves benefit from occasional wiping to prevent rust, especially in humid areas. How often do you clean your shelves? It might be more important than you think for their longevity.

Credit: www.youtube.com
Frequently Asked Questions
How Do I Find Studs To Mount A Shelf?
Use a stud finder or tap the wall to locate solid areas. Mark the stud positions before drilling to ensure a secure shelf mount.
What Tools Are Needed To Mount A Shelf?
You need a drill, level, screws, wall anchors, a tape measure, and a screwdriver for a proper shelf installation.
Can I Mount A Shelf On Drywall Without Studs?
Yes, use heavy-duty wall anchors designed for drywall to safely support the shelf’s weight without studs.
How High Should I Mount A Shelf On The Wall?
Mount shelves at a comfortable height based on their use, typically between 48 to 60 inches from the floor.
Conclusion
Mounting a shelf on the wall is a simple task anyone can do. Choose the right tools and follow the steps carefully. Measure twice to avoid mistakes. Use the correct anchors for your wall type. Take your time to ensure the shelf is level and secure.
A well-mounted shelf adds space and style to your room. Try it yourself and enjoy a neat, organized area. Small efforts bring big results. Ready to start your project?


