
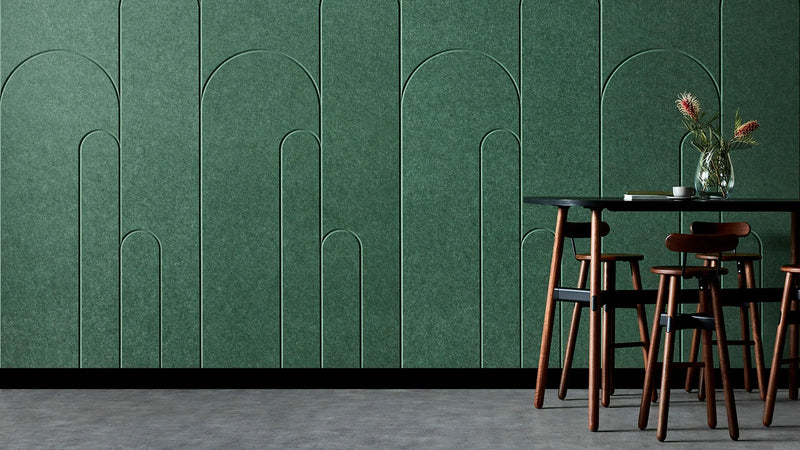
Are you ready to transform your space but unsure how to remove those stubborn 3D wall panels? Taking them down might seem tricky, but with the right steps, you can do it quickly and without damage.
In this guide, you’ll discover simple, effective methods to remove your 3D wall panels safely. Keep reading, and you’ll learn how to refresh your walls and get your room ready for a new look — hassle-free.
Tools You’ll Need
Removing 3D wall panels requires the right set of tools to make the job smoother and safer. Having everything ready before you begin can save you time and prevent damage to your walls. Let’s look at what you’ll need to get started.
Safety Gear
Your safety should always come first. Wear protective gloves to avoid cuts from sharp edges or nails. Safety goggles are essential to protect your eyes from dust and debris that may fly off during removal.
Consider a dust mask, especially if your panels have been on the wall for a long time and might release particles. Wearing old clothes or a work apron can keep your outfit clean. Would you skip safety gear if it meant risking an injury?
Basic Removal Tools
Start with a sturdy putty knife or a flat pry bar to gently lift the edges of the panels. A hammer is helpful for tapping the pry bar in tight spots. If nails or screws hold the panels, a claw hammer or screwdriver set will come in handy.
For glued panels, a heat gun or hair dryer can soften the adhesive, making removal easier. Don’t forget a utility knife to cut through caulking or paint sealing the edges. Having these tools ready means you won’t have to stop mid-job searching for something simple.
Cleaning Supplies
After the panels come down, you’ll face residue and dust. Keep a bucket with warm soapy water and a sponge nearby for wiping the wall surface. A scraper can help remove stubborn glue or paint spots.
Also have a vacuum cleaner with a brush attachment to clear dust from corners and crevices. Clean walls mean a better surface for any new decoration you plan next. How much easier is your next project when the prep work is done right?
Preparing The Area
Preparing the area before removing 3D wall panels is crucial to avoid damage and make the process smoother. Taking time to clear the space and protect your surroundings saves you from extra cleaning and repairs later. Have you ever started a project only to realize the mess was worse than the task itself?
Clearing Furniture
Start by moving all furniture away from the walls. This creates enough room for you to work comfortably and prevents accidental bumps or scratches.
If moving large pieces isn’t possible, cover them with thick plastic sheets or old blankets. This simple step keeps dust and debris from settling on your belongings.
Protecting Floors And Walls
Lay down drop cloths or old sheets on the floor directly beneath the panels. This protects your flooring from falling debris or adhesive residue.
Use painter’s tape to secure protective coverings on adjacent walls to avoid any accidental scrapes. Small precautions can save you hours of cleanup and repainting.
Turning Off Power
Check if there are any electrical outlets, switches, or lighting fixtures near the wall panels. Turning off the power supply to those areas is essential for your safety.
Use the circuit breaker to cut power and test with a voltage tester to be sure. It’s better to spend a few minutes here than risk an electric shock while working.
Removing The Panels
Gently pry the edges of the 3D wall panels using a flat tool to avoid damage. Work slowly and carefully to separate panels from the wall surface. Clean any leftover adhesive for a smooth finish.
Removing the Panels Removing 3D wall panels might seem daunting at first, but with the right approach, it can be a straightforward task. Understanding the specific attachment method used is crucial. Whether your panels are glued, nailed, or attached with clips, knowing this will guide your removal process.Checking Attachment Method
Start by inspecting how the panels are attached to the wall. You might notice visible nails or screws if fasteners were used. If the panels appear seamless, adhesive is likely the method of attachment. Run your fingers along the edges. Can you feel any gaps or give? This can indicate how firmly they’re attached.Loosening Adhesive Or Fasteners
For adhesive-attached panels, gently apply a heat gun or hairdryer. This softens the adhesive, making it easier to remove without damage. If fasteners were used, locate and unscrew or pry them out carefully. Always use appropriate tools to avoid damaging the wall or panels. Consider the tools you have on hand. A putty knife or flathead screwdriver can help ease off stubborn sections.Peeling Off Panels Safely
Once adhesives are softened or fasteners removed, begin peeling the panels from a corner. Use steady, even pressure to avoid bending or breaking them. For stubborn sections, reapply heat or use a gentle prying motion. Patience is key here to prevent unnecessary damage. Ask yourself if you want to reuse the panels. If so, handle them with extra care during removal.
Credit: dundeedeco.com
Dealing With Adhesive Residue
Removing 3D wall panels often leaves behind stubborn adhesive residue. This leftover glue can be tricky to handle, but tackling it properly ensures your walls look smooth and clean. Let’s discuss practical ways to deal with adhesive residue without damaging your walls.
Using Heat To Soften Glue
Applying heat is a smart way to soften the adhesive, making it easier to remove. You can use a hairdryer or a heat gun on low settings. Heat the residue for about 30 seconds to 1 minute, then gently try peeling or wiping it off.
Be careful not to overheat the area, as this can damage paint or drywall. Have you noticed how adhesive becomes more pliable when warm? This simple trick saves you from excessive scraping and potential wall damage.
Scraping Off Residue
Once the glue softens, use a plastic scraper or an old credit card to lift the residue. Avoid metal tools as they can scratch your wall surface. Work slowly and gently to prevent gouging or peeling paint.
Scraping feels tedious, but it’s necessary for stubborn spots. If residue resists, heat it again to soften further before scraping. Patience pays off in protecting your walls during removal.
Cleaning With Solvents
For sticky leftovers, certain solvents can break down adhesive effectively. Rubbing alcohol, white vinegar, or commercial adhesive removers work well on most residues. Apply a small amount to a cloth and dab the area—don’t soak it.
Test solvents on a hidden spot first to check for paint reaction. After the glue dissolves, wipe the area clean with warm soapy water to remove solvent traces. Have you tried household items like vinegar for cleanup? They’re often safer and eco-friendly choices.
Repairing The Wall Surface
After removing 3D wall panels, the wall surface often needs repair. This step improves the wall’s look and prepares it for painting. Small holes and cracks are common and must be fixed to create a smooth finish.
Filling Holes And Cracks
Use a putty knife to apply wall filler or spackling paste over holes and cracks. Press the filler firmly into the damaged areas. Let the filler dry completely before moving on. For deep holes, apply filler in layers, letting each dry before adding more.
Sanding For Smoothness
Sand the filled spots with fine-grit sandpaper. Sand gently until the surface feels even and smooth. Wipe off dust with a damp cloth. Smooth walls help paint stick better and look nicer after drying.
Priming For Repainting
Apply a coat of primer over the repaired wall. Primer seals the surface and improves paint adhesion. Use a roller or brush for even coverage. Allow the primer to dry fully before painting the final color.
Credit: www.thepanelhub.com
Tips For A Flawless Finish
Removing 3D wall panels can be tricky. The goal is a smooth wall without damage. Follow these tips for a flawless finish. They help protect your wall and save time.
Choosing The Right Materials
Select tools that suit the panel type and wall surface. Use a putty knife or scraper for gentle removal. Keep sandpaper handy to smooth rough spots. Have spackle or wall filler ready for repairs. Pick paint that matches the wall color for touch-ups.
Working Slowly And Carefully
Take your time to avoid wall damage. Gently pry panels from the edges using even pressure. Stop if the wall starts to peel or crack. Remove leftover glue or adhesive softly with warm water or adhesive remover. Smooth any bumps or holes before painting.
Maintaining Safety Throughout
Wear gloves to protect your hands from sharp edges. Use safety goggles to shield your eyes from debris. Keep the work area clean and free from obstacles. Ensure good ventilation, especially when using adhesive remover. Take breaks to avoid fatigue and stay focused.

Credit: dundeedeco.com
Frequently Asked Questions
How Do I Safely Remove 3d Wall Panels?
Start by gently prying the panel edges with a putty knife. Use a heat gun to soften adhesive if needed. Peel off slowly to avoid wall damage. Clean residue with adhesive remover for a smooth surface.
What Tools Are Needed To Remove 3d Wall Panels?
You’ll need a putty knife, heat gun, adhesive remover, and gloves. A utility knife helps cut stubborn adhesive. Have a drop cloth ready to protect the floor and a scraper for residue.
Can I Reuse 3d Wall Panels After Removal?
Reusing panels depends on their condition and removal method. If panels remain intact without damage, they can be reused. Avoid pulling too hard to prevent cracks. Store panels flat in a dry place for future use.
How Do I Remove Adhesive From Walls After Panel Removal?
Apply an adhesive remover or warm soapy water to the residue. Let it sit for a few minutes to soften glue. Gently scrape with a plastic scraper or cloth. Wipe the surface clean and dry before repainting.
Conclusion
Removing 3D wall panels can be simple with the right steps. Take your time and work carefully to avoid damage. Use basic tools and follow safety tips for best results. Clean the wall after removing the panels to prepare for new decor.
This process helps keep your space fresh and updated. You can handle this task yourself without extra help. Enjoy your refreshed room once the panels are gone.


