
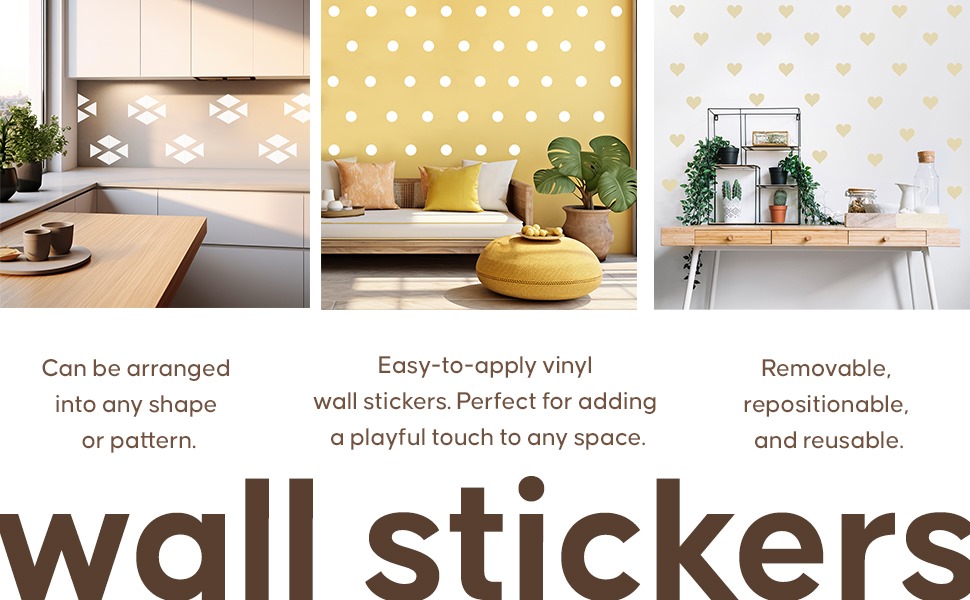
Are you ready to transform your space quickly and easily? Vinyl wall stickers are a fantastic way to add personality and style without the mess of paint or wallpaper.
But you might wonder, how do you put them on so they look perfect and last long? This guide will walk you through simple, step-by-step tips to help you apply your vinyl wall stickers flawlessly. By the end, you’ll feel confident to refresh any room with ease and create a look that truly reflects you.
Keep reading to discover the secrets to a smooth, bubble-free application!
Choosing The Right Wall Stickers
Choosing the right vinyl wall stickers is the foundation of a successful decorating project. It’s not just about picking what looks good but also what works best for your space and walls. Taking time to understand the types, designs, and compatibility ensures your stickers stay vibrant and damage-free for a long time.
Types Of Vinyl Stickers
Vinyl stickers come in various forms, each suited for different purposes. You’ll find:
- Matte vinyl:Non-glossy and great for a subtle, modern look without reflections.
- Glossy vinyl:Shiny finish that makes colors pop and is easier to clean.
- Removable vinyl:Designed to peel off without leaving residue, perfect if you like changing decorations often.
- Permanent vinyl:More durable and long-lasting, ideal for high-traffic areas but trickier to remove.
Choosing the right type depends on your wall’s texture and how long you want the stickers to last.
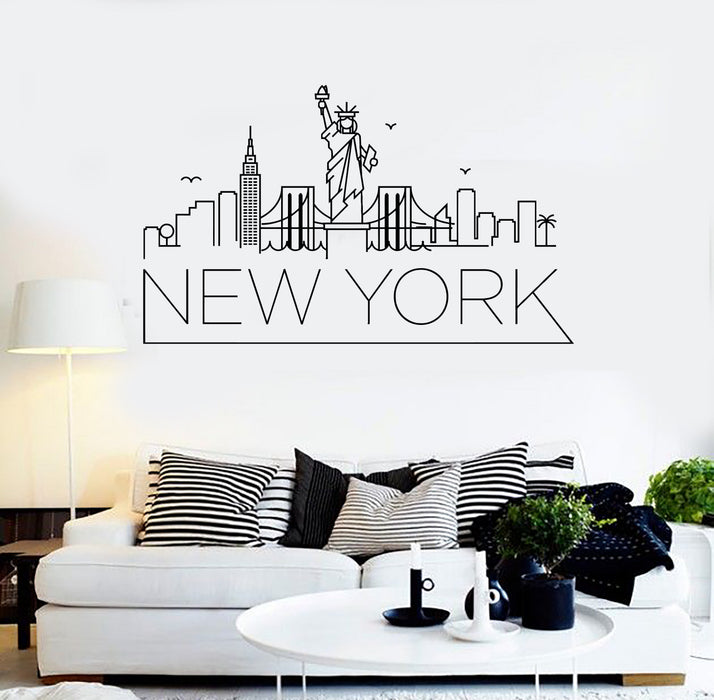
Selecting Designs For Your Space
Think about the room’s style and mood before selecting a design. Are you aiming for a playful vibe in a kid’s room or a sleek, professional look in your home office?
Consider the size and scale too. Large, bold stickers can make a statement on a big wall, while smaller, detailed designs suit cozy corners.
Ask yourself: Will the design complement your existing décor or clash with it? This question helps avoid regret later.
Checking Wall Surface Compatibility
Not all walls welcome vinyl stickers equally. Smooth, painted walls tend to be the best match because stickers adhere better and peel off cleaner.
Rough or textured surfaces like brick or popcorn ceilings can cause stickers to lift or tear. Before buying, test a small sticker piece if possible.
Also, walls with fresh paint or wallpaper may require extra caution. Do you want to risk peeling paint or damaging wallpaper when removing stickers? That’s a key factor to consider.

Credit: www.ebay.com
Preparing Your Wall
Preparing your wall before applying vinyl wall stickers is crucial for achieving a smooth, long-lasting finish. Skipping this step can cause bubbles, peeling, or uneven adhesion. Taking time to prepare will save you from frustration and help your sticker look professional.
Cleaning The Surface
Start by wiping the wall with a damp cloth to remove any dirt or grime. Use mild soap if needed, but avoid harsh chemicals that might damage the paint. Let the wall dry completely before moving on.
Removing Dust And Grease
Dust and grease can prevent the vinyl from sticking properly. Use a lint-free cloth with rubbing alcohol or a gentle cleaner to remove oily residues. Have you ever placed a sticker only to find it peeling off within days? This step helps avoid that common issue.
Ensuring A Smooth Wall
Check for bumps, holes, or rough patches that could affect the sticker’s appearance. Fill any holes with spackle and sand the area smooth once dry. A flawless surface makes it easier to apply the sticker evenly and prevents air bubbles from forming under the vinyl.
Gathering Essential Tools
Gathering essential tools ensures a smooth application of vinyl wall stickers. Prepare a clean cloth, a squeegee or credit card, and a measuring tape for best results. These simple items help achieve a neat and lasting finish.
Gathering the right tools is key for applying vinyl wall stickers. A smooth application process makes your stickers look professional. Let’s explore the supplies needed and optional tools for precision.List Of Necessary Supplies
To start, gather these essential items:- Vinyl wall stickers
- Masking tape
- Level
- Scissors
- Soft cloth or squeegee
- Measuring tape
Optional Tools For Precision
For more precise application, consider these additional tools:- Craft knife for detailed trimming
- Pencil for marking positions
- Hairdryer for warming the vinyl
Credit: wallstickers4you.com
Positioning The Sticker
Positioning your vinyl wall sticker correctly can make all the difference between a stunning focal point and a frustrating redo. Taking the time to plan where your sticker will go ensures a smooth application and a professional look. Let’s break down how to place your sticker with precision and confidence.
Measuring And Marking
Start by measuring the wall space where you want to place your sticker. Use a tape measure to find the center point or the exact spot based on your design idea.
Mark the spot lightly with a pencil or painter’s tape—something easy to remove without damaging the wall. These marks act as your guide and prevent guesswork during placement.
Using A Level For Alignment
Even if your eyes tell you it looks straight, using a level ensures perfect alignment. Hold the level along the top or side of the sticker’s backing paper to check horizontal or vertical straightness.
A crooked sticker can distract more than you realize. Taking this extra step helps your design look intentional and polished. Have you noticed how a slight tilt can throw off an entire room’s vibe?
Testing Placement Before Application
Before peeling off the backing, place the sticker gently on the wall without pressing it down. Step back and observe it from different angles and distances.
This dry run helps you confirm if the placement feels right or if it needs a small adjustment. If it doesn’t look quite right, reposition it without stress—vinyl stickers are forgiving in this phase.
Applying The Sticker
Applying vinyl wall stickers requires a steady hand and a bit of patience, but the result can transform your space instantly. The key is to handle each step carefully to ensure the sticker adheres smoothly without wrinkles or bubbles. Let’s break down how you can achieve a flawless look with simple actions.
Peeling Backing Paper
Start by gently lifting a corner of the sticker to peel away the backing paper. Take your time here—ripping or stretching the vinyl can cause damage. If the sticker is large, peel back only a small section at first to keep control over placement.
Have you ever tried peeling off a sticker too quickly and ended up with a crooked mess? Taking it slow helps you avoid that frustration. Keep the exposed adhesive side clean and avoid touching it too much to maintain stickiness.
Smoothing The Sticker Onto The Wall
Once the backing paper is partially removed, place the exposed part onto the wall where you want the sticker. Use a flat tool like a credit card or a squeegee to press the vinyl down firmly. Move from the center outwards to spread the sticker evenly.
This step is crucial for a neat finish. If you rush or skip smoothing, the sticker might wrinkle or lift at the edges. Ask yourself: is the sticker aligned exactly how you imagined? Adjust before pressing too hard.
Removing Air Bubbles
Air bubbles are the most common issue with vinyl stickers, but they’re easy to fix. Use your smoothing tool or your fingers to push bubbles toward the edges gently. For stubborn bubbles, a pin can be used to prick and release trapped air carefully.
Don’t worry if you see small bubbles at first; they often disappear after a day or two as the vinyl settles. How would your room look without that annoying bubble ruining the perfect finish? Taking a few extra minutes here really pays off.
Finishing Touches
Finishing touches can make or break the look of your vinyl wall stickers. This final phase ensures your design stays put and looks flawless over time. Paying attention to small details now saves you from frustration later.
Securing Edges
Edges are the most vulnerable part of vinyl stickers. Gently press down all edges using a soft cloth or a plastic scraper to secure them firmly to the wall. Make sure there are no air bubbles or lifted corners that can cause peeling.
If you spot any lifted edges, carefully lift the sticker back up and reapply pressure. Avoid using sharp tools that can damage the vinyl. Have you noticed how a slight peel can quickly turn into a bigger problem? Tackling edges early prevents that.
Cleaning Residue
After applying your sticker, you might see some leftover adhesive or smudges on the wall. Use a damp microfiber cloth to gently wipe around the sticker without touching it directly. This keeps the surface clean and enhances the overall appearance.
For stubborn adhesive spots, a small amount of rubbing alcohol on a cotton swab works wonders. But be cautious—test a tiny hidden area first to avoid damaging paint or wallpaper. Have you ever ruined a wall by rushing this step? Taking your time here pays off.
Allowing Time To Set
Vinyl wall stickers need time to fully adhere to the surface. Resist the urge to touch or move them immediately after application. Leaving the sticker alone for at least 24 hours helps the adhesive bond strongly to the wall.
This waiting period can be tough, especially if you’re eager to see the final look. But patience ensures your sticker won’t peel or bubble prematurely. How long do you usually wait for projects like this? Give your sticker the time it deserves to settle properly.
Troubleshooting Common Issues
Applying vinyl wall stickers can be simple, but sometimes issues like wrinkles, bubbles, or peeling edges appear. These problems can affect the look and lifespan of your sticker. Knowing how to fix them helps keep your walls neat and attractive.
Fixing Wrinkles And Bubbles
Wrinkles and bubbles usually form during application. Use a soft cloth or a plastic card to smooth them out. Start from the center and push toward the edges. For stubborn bubbles, gently lift the sticker and reapply it slowly. Tiny bubbles may disappear over time as the vinyl settles.
Removing And Reapplying Stickers
If the sticker is placed wrong, carefully peel it off. Pull slowly and at a low angle to avoid damage. Clean the wall surface before reapplying. Make sure the wall is dry and free of dust. Align the sticker carefully and press it down firmly to avoid new bubbles or wrinkles.
Dealing With Peeling Edges
Peeling edges happen when the wall is dirty or the sticker is not pressed well. Press down the edges firmly with a cloth or your fingers. Use a small amount of heat from a hairdryer to soften the adhesive, then press again. If peeling continues, consider using a mild adhesive to secure the edges.
Credit: www.ebay.com
Maintaining Your Vinyl Stickers
Maintaining your vinyl wall stickers is key to keeping them vibrant and intact for a long time. Proper care can prevent peeling, fading, or damage, helping your space look fresh and stylish. Let’s dive into simple ways you can protect your stickers every day.
Cleaning Tips
Gently wipe your vinyl stickers with a soft, damp cloth to remove dust and dirt. Avoid using harsh chemicals or abrasive scrubbers—they can wear down the adhesive or scratch the surface.
If you notice stubborn spots, try a mild soap solution and dab lightly. Have you ever cleaned a sticker and accidentally peeled its edge? Taking it slow and gentle makes all the difference.
Avoiding Damage
Keep your stickers away from direct sunlight for extended periods to prevent fading. Heat can also weaken the adhesive, so avoid placing stickers near heaters or vents.
Be mindful when moving furniture or objects nearby. Scratches and scrapes can ruin the smooth look you worked hard to achieve. Have you experienced accidental damage that could have been prevented with a little caution?
When To Replace Stickers
Watch for signs like peeling edges, fading colors, or bubbles forming underneath. These are clear indicators your sticker has reached the end of its life.
Replacing stickers refreshes your decor without a full redesign. If you’re wondering whether to fix or replace, consider how much the damage affects the overall look. Sometimes a new sticker is the quickest way to brighten your space.
Frequently Asked Questions
How Do I Prepare The Wall For Vinyl Stickers?
Clean the wall thoroughly using a mild detergent and water. Remove dust, grease, and moisture. A smooth, dry surface ensures better adhesion and a longer-lasting application.
What Tools Do I Need For Applying Vinyl Stickers?
You need a squeegee or credit card, masking tape, and a clean cloth. These tools help you position and smooth the sticker without bubbles or wrinkles.
Can I Reposition Vinyl Stickers After Applying?
Yes, you can carefully lift and reposition vinyl stickers within a few minutes. Be gentle to avoid tearing or stretching the sticker. After a while, repositioning becomes difficult.
How Do I Avoid Air Bubbles Under Vinyl Stickers?
Apply the sticker slowly and use a squeegee to smooth it out. Start from the center and move outward to push air bubbles out effectively.
Conclusion
Applying vinyl wall stickers can brighten any room quickly. Start with a clean, dry surface for best results. Peel the backing slowly and position the sticker carefully. Use a flat tool to smooth out air bubbles gently. Take your time to avoid mistakes and achieve a neat look.
Enjoy the fresh, personalized style that vinyl stickers bring. Simple steps lead to great results and happy walls. Try it yourself and see how easy it can be!


