
Are you looking to add a personal touch to your space without spending a lot of money? Creating your own wall stickers is easier than you think, and it gives you full control over the design and style.
Imagine turning your walls into a reflection of your personality with unique, custom-made stickers. In this guide, you’ll discover simple steps to make your own wall stickers that stand out. Whether you want to brighten up your living room or add fun designs to your kid’s room, you’ll find everything you need right here.
Keep reading, and get ready to transform your walls in a way only you can!
Materials Needed
Creating your own wall stickers is easier when you have the right materials. Knowing what to gather before starting saves time and avoids frustration. Let’s look at the essential items you’ll need to bring your wall sticker ideas to life.
Types Of Vinyl
Vinyl is the main material for wall stickers. You can choose between permanent and removable vinyl. Permanent vinyl sticks strong and lasts longer, but removable vinyl lets you peel off the sticker without damaging the wall.
Matte vinyl gives a smooth, non-shiny finish, while glossy vinyl adds a bit of shine and pop. Consider where you’ll place your sticker and how you want it to look. Have you thought about using patterned or textured vinyl for a unique effect?
Cutting Tools
A sharp cutting tool is key to clean, precise edges. Many use a craft knife or an X-Acto knife for detail work. If you plan to make multiple stickers or complex designs, a vinyl cutter machine can save hours and improve accuracy.
Scissors work too but can be tricky for detailed shapes. Don’t forget a cutting mat to protect your surfaces and keep your blades sharp longer. What shapes do you want to try cutting first?
Transfer Tape And Application Tools
Transfer tape helps you move your vinyl sticker from its backing paper onto the wall smoothly. It holds all parts of your design in place during application. Choose a clear or grid-patterned transfer tape for better alignment.
Other handy tools include a squeegee or a plastic card to smooth out bubbles and wrinkles. A measuring tape or level can help position your sticker perfectly. What spot in your home could use a fresh, custom wall design?

Credit: www.namibian.com.na
Design Ideas
Creating your own wall stickers can add a personal touch to any room. Use simple materials like paper and adhesive to design unique shapes and patterns. Experiment with colors and sizes to match your space perfectly.
Creating your own wall stickers is a fun and creative project. It allows you to personalize your space with unique designs. With the right ideas, you can transform any room. Below are some engaging design ideas to inspire your creativity.Simple Shapes And Patterns
Simple shapes are easy to create and visually pleasing. Circles, squares, and triangles can add a modern touch. Arrange them in patterns for an artistic look. A row of stars can bring a touch of magic to a child’s room. Use different colors to match your decor.Custom Text And Quotes
Words have power and can inspire daily. Choose your favorite quotes or affirmations. Use stencils to keep the text neat and aligned. Large, bold fonts make the text stand out. Personalize with names or special dates for a custom touch.Using Stencils And Templates
Stencils offer precision and ease for complex designs. You can find templates for flowers, animals, or abstract art. Reusable stencils can help create consistent patterns. Tape the stencil securely to prevent slipping. Fill in with paint or markers for a professional finish.Designing Your Sticker
Designing your own wall sticker is where your creativity truly shines. This stage lets you shape the look and feel of your space with a unique design that speaks to your style. The key is to focus on tools, digital design techniques, and smart layout choices that make your sticker stand out and fit perfectly.
Choosing Software
Picking the right software is crucial. You want something user-friendly but powerful enough to bring your ideas to life. Popular options include Adobe Illustrator for precision and vector graphics or Canva if you prefer a simpler, drag-and-drop interface.
Consider free alternatives like Inkscape or GIMP if you’re just starting out or want to keep costs low. Think about what features matter most to you—layers, templates, or export options. What software have you used before that felt intuitive?
Creating Digital Designs
Start by sketching your idea on paper or directly in the software. Use bold lines and clear shapes to ensure your design will look good when cut out as a sticker. Keep colors simple and contrasting; this helps your sticker pop against any wall color.
Try to avoid tiny details that might get lost or be hard to cut. Experiment with combining shapes and text to add personality. Have you thought about including a meaningful quote or your favorite symbol?
Sizing And Layout Tips
Measure the wall space where you want to apply your sticker before finalizing the size. A sticker too big can overwhelm, while one too small might go unnoticed. Use gridlines and rulers in your design software to keep proportions accurate.
Plan the layout by placing elements in a balanced way—symmetry often works well, but asymmetry can add a dynamic feel. Think about how the sticker will look from different angles and distances. Would your design still catch attention across the room?
Cutting The Stickers
Cutting your wall stickers is a crucial step that shapes the final look of your design. Whether you prefer a hands-on approach or want to use technology, the key is precision and patience. How you cut your stickers affects how clean and professional they appear once applied to your wall.
Manual Cutting Techniques
Using scissors or a craft knife can give you full control over your design. Start by securing your vinyl on a flat surface to avoid slips. Take your time to follow the outlines carefully; sharp blades and steady hands make all the difference.
If you’re new to cutting vinyl, try practicing on scrap pieces first. Notice how small, smooth movements help you avoid jagged edges. Have you ever noticed how a small nick can ruin a detailed sticker? Staying patient prevents that.
Using A Cutting Machine
Cutting machines like Cricut or Silhouette can transform your sticker-making process. They use digital designs to cut with precision and speed, which is great if you want multiple copies or complex shapes.
Make sure to set the correct blade depth and speed for your vinyl type. Too deep, and you might cut through the backing; too shallow, and the sticker won’t cut cleanly. Have you explored the software that comes with these machines? It offers options to adjust designs before cutting, saving time and material.
Weeding Excess Vinyl
After cutting, removing the unwanted vinyl pieces—called weeding—is essential for clean stickers. Use a weeding tool or a fine needle to lift the edges of the excess vinyl carefully.
Work slowly around small details to avoid tearing your design. It’s like peeling a sticker but with more precision needed. What’s your strategy to avoid frustration during this step? Taking breaks or using good lighting can make a big difference.
Applying Your Stickers
Applying your wall stickers is where your creativity meets execution. It’s the moment your design comes alive on your wall. Careful application ensures your stickers look professional and last longer.
Preparing The Wall Surface
Start with a clean, dry wall. Dirt, dust, or grease can stop your sticker from sticking properly. Wipe the surface with a damp cloth and mild soap, then let it dry completely.
If your wall has a rough texture, consider sanding it lightly to create a smoother surface. Smooth walls help the sticker stick evenly without bubbles or peeling. Have you ever tried applying a sticker on a textured wall and watched it peel off? Avoid that by prepping well.
Using Transfer Tape
Transfer tape is your best friend for precise placement. It holds your sticker design together, making it easy to move and apply in one go. Cut a piece of transfer tape slightly larger than your sticker.
Press the transfer tape firmly onto the sticker using a squeegee or a credit card. This step ensures the sticker sticks to the tape and not the backing paper. When you peel away the backing, the sticker should stay attached to the tape, ready for your wall.
Smoothing And Finishing
After placing the sticker on the wall, use a squeegee or a soft cloth to smooth it out. Start from the center and move toward the edges to push out air bubbles. This step guarantees a flat, bubble-free finish.
Slowly peel off the transfer tape at a sharp angle, keeping it close to the wall. If any part of the sticker lifts, press it back down with the squeegee. Have you noticed how patience here makes all the difference between a crisp look and a wrinkled mess?
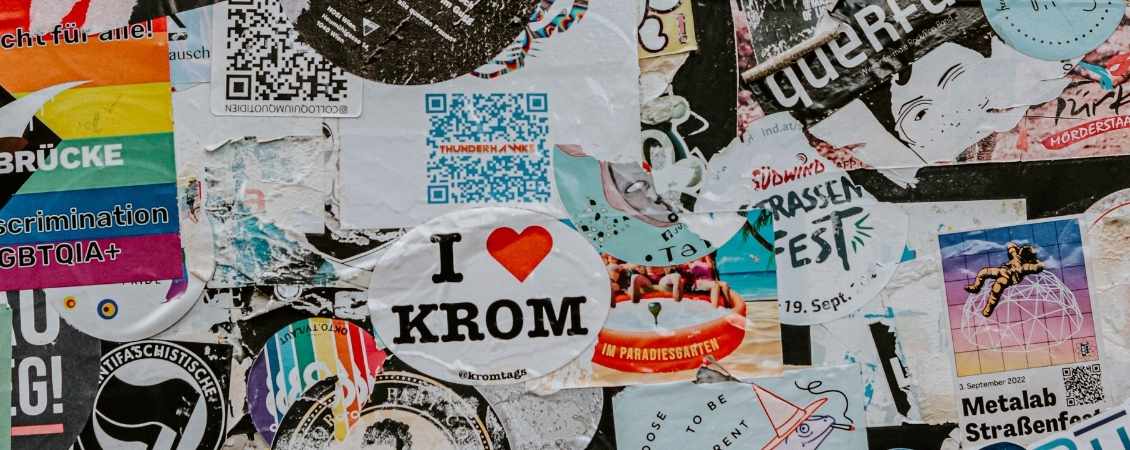
Credit: www.instantprint.co.uk
Tips For Longevity
Creating your own wall stickers is exciting, but ensuring they stay vibrant and intact over time takes some care. Longevity depends on how well you maintain them and avoid common pitfalls. Let’s dive into some practical tips that help your stickers look fresh for months or even years.
Cleaning And Maintenance
Keep your wall stickers free from dust and grime by gently wiping them with a soft, dry cloth. Avoid using harsh chemicals or abrasive materials that can damage the surface or cause fading.
If you notice any dirt buildup, lightly dampen the cloth with water and gently clean the area. Make sure the wall around the sticker is also clean to prevent dust from settling.
Avoiding Common Mistakes
One frequent error is applying stickers on uneven or dirty walls. Your sticker may peel off quickly if the surface isn’t smooth or clean. Always prepare the wall by wiping it down and letting it dry completely before applying your design.
Another mistake is stretching the sticker while applying. This can cause distortions or tears. Take your time and place the sticker carefully, smoothing it out from the center to the edges.
Removing Stickers Safely
When it’s time to remove your wall sticker, pull it off slowly at a low angle to avoid damaging the paint underneath. If the sticker resists, warm it up gently with a hairdryer to loosen the adhesive.
Never rush the removal process. Patience helps preserve your wall’s finish and allows you to reuse parts of the sticker if needed.
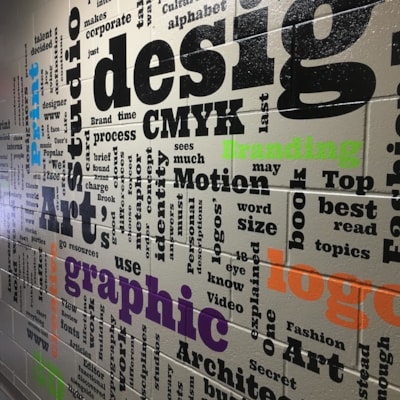
Credit: image360.com
Frequently Asked Questions
What Materials Are Needed To Create Wall Stickers?
You need adhesive vinyl sheets, a cutting tool, transfer tape, and design software. These materials ensure easy cutting and smooth application on walls.
How Do I Design Custom Wall Stickers At Home?
Use design software like Canva or Adobe Illustrator. Create simple shapes or text, then print and cut your design for personalized stickers.
Can I Reuse Wall Stickers After Removal?
Most wall stickers are single-use due to adhesive loss. However, some high-quality vinyl stickers can be gently removed and reused without damage.
What Surface Is Best For Applying Wall Stickers?
Smooth, clean, and dry surfaces like painted walls, glass, or metal work best. Avoid textured or porous surfaces to ensure proper adhesion.
Conclusion
Creating your own wall stickers brings a personal touch to any space. It saves money and lets you express your style freely. You can choose colors, shapes, and designs that fit your room best. The process is simple and fun, even for beginners.
Try different ideas and see what works well on your walls. Enjoy decorating with stickers that you made yourself. This small project can brighten up your home quickly and easily. Start today and watch your walls come alive with your creativity.


