
Are you looking for a simple way to transform your bedroom without spending a fortune? Making your own wall stickers is a fun and creative solution that lets you add personality and style to your space.
Imagine turning plain walls into eye-catching designs that reflect your taste and mood. In this guide, you’ll discover easy steps to create custom wall stickers that fit perfectly with your bedroom vibe. Ready to give your walls a fresh new look?
Keep reading, and you’ll learn how to make stunning wall stickers that you’ll love.

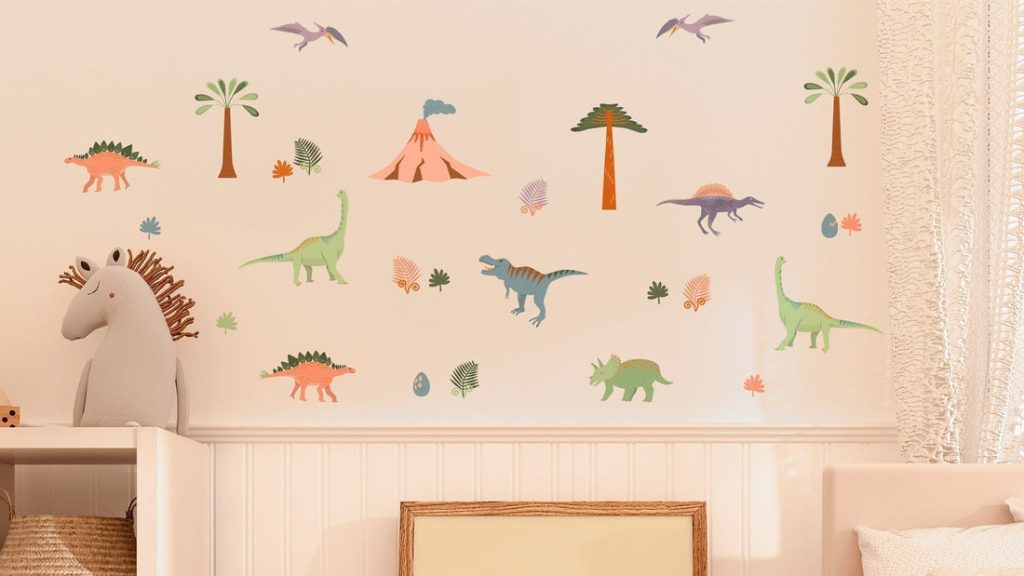
Credit: www.etsy.com
Choosing The Right Materials
Choosing the right materials is key to making beautiful and long-lasting wall stickers. The materials affect how easy it is to apply the stickers and how well they stick to the wall. Good materials also make the designs look sharp and vibrant. This section covers the types of vinyl, color choices, and the tools needed for your project.
Types Of Adhesive Vinyl
Adhesive vinyl is the main material for wall stickers. It comes in two types:
- Permanent Vinyl:Sticks firmly and lasts long. Best for smooth walls.
- Removable Vinyl:Easier to peel off without damage. Ideal for renters or temporary designs.
Choose vinyl with a matte finish to avoid glare. Glossy vinyl can reflect light and reduce visibility.
Selecting Colors And Patterns
Colors and patterns set the mood in the bedroom. Pick colors that match or contrast the wall paint.
- Light colors brighten small rooms.
- Dark colors add depth and style.
- Simple patterns create a clean look.
- Complex designs add personality and fun.
Test colors on paper before cutting vinyl. This helps avoid mistakes.
Tools You’ll Need
Use the right tools to create neat stickers:
- Cutting machine or craft knife for precise shapes.
- Cutting mat to protect surfaces.
- Transfer tape to move stickers smoothly.
- Squeegee or credit card for applying stickers without bubbles.
- Ruler and pencil for measuring and marking.
Having these tools makes the process faster and cleaner.
Designing Your Stickers
Designing your own wall stickers lets you bring a personal touch to your bedroom decor. It’s where your creativity meets functionality, helping you craft visuals that truly reflect your style. Whether you prefer minimalism or something bold, the design phase sets the tone for the entire project.
Simple Shapes And Themes
Start with basic shapes like stars, hearts, or geometric patterns. These are easy to cut and arrange, making your design process smoother.
Choose a theme that matches the room’s vibe—nature, space, or favorite animals can work well. A consistent theme keeps the look cohesive and engaging.
Think about how these shapes will fit together on the wall. Would a scattered or a structured pattern look better? Visualizing this before cutting saves time and materials.
Using Digital Design Software
Digital tools like Canva, Adobe Illustrator, or free alternatives can help you create precise designs. They allow you to experiment with colors, sizes, and layouts quickly.
You can easily resize your stickers or try different color combinations without wasting paper or vinyl. This flexibility is a huge advantage.
Have you tried uploading your own drawings into these programs? It’s a great way to blend hand-drawn charm with digital polish.
Hand-drawn Vs. Printed Designs
Hand-drawing your stickers adds a unique, personal touch. You can feel the character in every line, which often can’t be replicated by printing.
Printing designs lets you create multiple copies with exact precision. It’s ideal if you want uniformity or plan to share your designs with friends.
Consider mixing both methods—draw your design by hand, then scan and print it. This approach combines creativity with convenience, giving you the best of both worlds.
Cutting And Preparing Stickers
Cut stickers carefully along their edges to keep shapes neat and clear. Prepare a clean surface and smooth out air bubbles for a perfect finish. Use scissors or a craft knife to cut detailed designs with precision.
Cutting and preparing stickers is a vital step in crafting wall art. This process ensures that your designs are crisp and ready to apply. Whether you use a craft cutter or go the manual route, precision is key. Each technique has its own set of tools and skills. Let’s explore the options to find the best fit for your project.Using A Craft Cutter
A craft cutter makes intricate designs easy. Load your design into the machine’s software. Adjust the settings for the type of vinyl you are using. Press ‘cut’ and let the machine work its magic. The craft cutter ensures clean lines and reduces manual errors. It’s perfect for detailed designs and saves time.Cutting By Hand Techniques
Hand cutting offers flexibility and a personal touch. Use a sharp blade or scissors for best results. Trace your design onto the vinyl using a stencil or freehand. Carefully cut along the lines, maintaining steady pressure. This method works well for simple shapes and smaller projects. It can be a relaxing and rewarding experience.Weeding Excess Vinyl
After cutting, remove the unwanted vinyl. This process is called weeding. Use a weeding tool or a pair of tweezers. Gently lift the excess vinyl away from your design. Be careful around intricate sections to avoid tearing. Proper weeding ensures your design stands out sharply when applied to the wall.Applying Stickers To Walls
Applying stickers to walls can transform your bedroom instantly, adding personality and charm. But the key to a perfect finish lies in how you apply them. Careful preparation and attention to detail will help your stickers look professional and last longer.
Preparing The Wall Surface
Start by cleaning the wall thoroughly. Dust, grease, or moisture can prevent the stickers from sticking properly. Use a mild detergent and a damp cloth, then let the wall dry completely.
Check the texture of your wall. Smooth surfaces work best for wall stickers. If your walls are rough or have peeling paint, consider sanding or repainting before applying the stickers.
Placement Tips For Visual Appeal
Think about the focal point of your room before placing your stickers. Do you want them above the bed, near the desk, or scattered around? Planning your layout on paper or using painter’s tape to mark spots on the wall can save you from repositioning later.
Balance is important. Avoid clustering all stickers in one corner or spacing them too far apart. Try creating a visual flow that guides the eye naturally across the room.
Smoothing And Securing The Stickers
After placing the sticker on the wall, use a soft cloth or a plastic card to smooth out air bubbles. Start from the center and move outward gently. This prevents wrinkles and ensures full contact with the wall.
If the edges start to peel over time, pressing them down firmly or using a tiny bit of clear-drying glue can help. Have you noticed any stubborn bubbles that just won’t flatten? A pin can gently release trapped air without damaging the sticker.
Creative Diy Ideas For Bedrooms
Adding wall stickers to your bedroom is a fun way to express your style and personalize your space. DIY wall stickers let you get creative and tailor designs to exactly what you want. You don’t need fancy tools or skills—just a bit of imagination and some basic supplies.
Themed Sticker Sets
Choosing a theme gives your bedroom a cohesive look and makes designing easier. Think about your interests—maybe nature, space, or vintage cartoons. You can create sticker sets that match these themes, like a collection of stars and planets or various types of leaves and flowers.
Use simple shapes and repeat them in different sizes or colors. This creates a balanced design that feels intentional. Have you tried making a theme around your favorite book or movie characters? It can make your room feel truly unique.
Mixing Text And Graphics
Words add personality and motivation to your space. Combine inspiring quotes or your favorite sayings with images for a dynamic look. Cut out bold letters and pair them with simple graphics like hearts, arrows, or clouds.
Try using different fonts or hand-draw your text to add a personal touch. Placing text stickers near your bed or desk can create a positive vibe. What message do you want to see every day?
Layering For 3d Effects
Layering stickers can give your walls depth and interest. Start with a base layer of larger shapes, then add smaller cutouts on top using foam tape or double-sided adhesive. This technique makes your stickers pop and adds a tactile feel.
Experiment with colors and shadows by layering lighter and darker shades. You might create leaves that look like they’re gently floating or clouds that seem to hover. How could layering change the look of your current wall art?

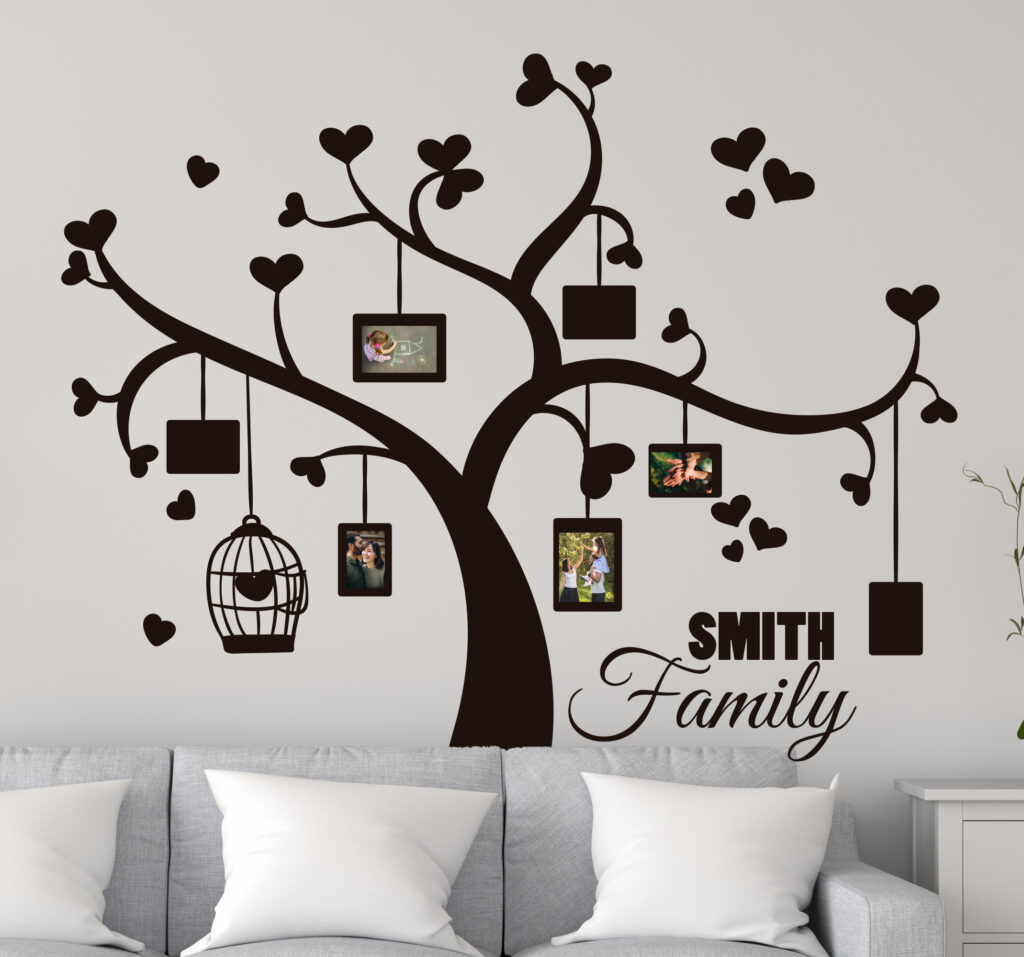
Credit: www.simpleshapes.com
Maintaining And Removing Stickers
Keeping your bedroom wall stickers looking fresh and removing them without damage can be easier than you think. A little care goes a long way in maintaining their charm and ensuring your walls stay pristine when you decide to change your decor. Here are some practical tips to help you keep those stickers vibrant and peel them off safely when needed.
Cleaning Without Damage
Dust and grime can dull your wall stickers over time. Use a soft, dry cloth or a microfiber duster to gently wipe the surface. Avoid using harsh chemicals or abrasive materials that might scratch or discolor the sticker.
If a deeper clean is necessary, lightly dampen a cloth with water and gently dab the sticker. Test on a small corner first to make sure water won’t affect the adhesive or colors.
Safe Removal Techniques
Peeling off stickers too quickly can damage your walls or leave sticky residue behind. Instead, warm the sticker with a hairdryer on low heat to soften the adhesive. Slowly lift one corner and pull the sticker back at a 45-degree angle.
Got sticky residue? Use a mixture of warm water and mild soap or rubbing alcohol on a cloth to rub it away gently. Does your wall have a special finish? Test removal methods in an inconspicuous spot first to avoid surprises.
Reusing And Recycling Vinyl
Wondering if you can reuse vinyl stickers? If removed carefully, some vinyl stickers stay intact and can be reapplied to smooth surfaces. Store them on clean parchment paper to keep their adhesive fresh.
If reuse isn’t an option, recycle your vinyl stickers instead of tossing them. Check with local recycling centers to see if they accept vinyl materials. What creative ways could you find to upcycle old stickers?
Credit: www.tenstickers.co.uk
Frequently Asked Questions
What Materials Are Needed To Make Bedroom Wall Stickers?
You need adhesive vinyl sheets, scissors, a cutting tool, transfer tape, and design templates. Optional materials include a ruler and pencil for precision.
How Do You Create Custom Designs For Wall Stickers?
Use graphic design software or hand-draw your designs. Ensure the size fits your bedroom wall and save in a printable format.
Can Wall Stickers Be Easily Removed Without Damage?
Yes, most vinyl wall stickers peel off cleanly without leaving residue or damaging paint, making them ideal for bedroom decor.
What Surface Is Best For Applying Wall Stickers?
Smooth, clean, and dry surfaces like painted walls or glass work best. Avoid rough or textured surfaces for better adhesion.
Conclusion
Creating wall stickers for bedrooms adds a personal touch to any space. It lets you choose colors and shapes you love. The process is simple and fun for all ages. Using basic materials, anyone can make unique designs. These stickers brighten rooms and show creativity.
Try different styles to match your mood. Making your own stickers saves money too. Enjoy decorating with your handmade art every day. Keep experimenting, and your bedroom will always feel fresh and special.


