
Are you ready to transform your space without the hassle of paint or nails? Applying wall stickers from Wish is an easy and affordable way to add personality and style to your room.
But if you’ve never tried it before, you might wonder how to get a smooth, bubble-free finish that lasts. In this guide, you’ll discover simple steps and insider tips to help you apply your wall stickers perfectly every time. Keep reading, and soon you’ll see how a small change can make a big impact on your home.
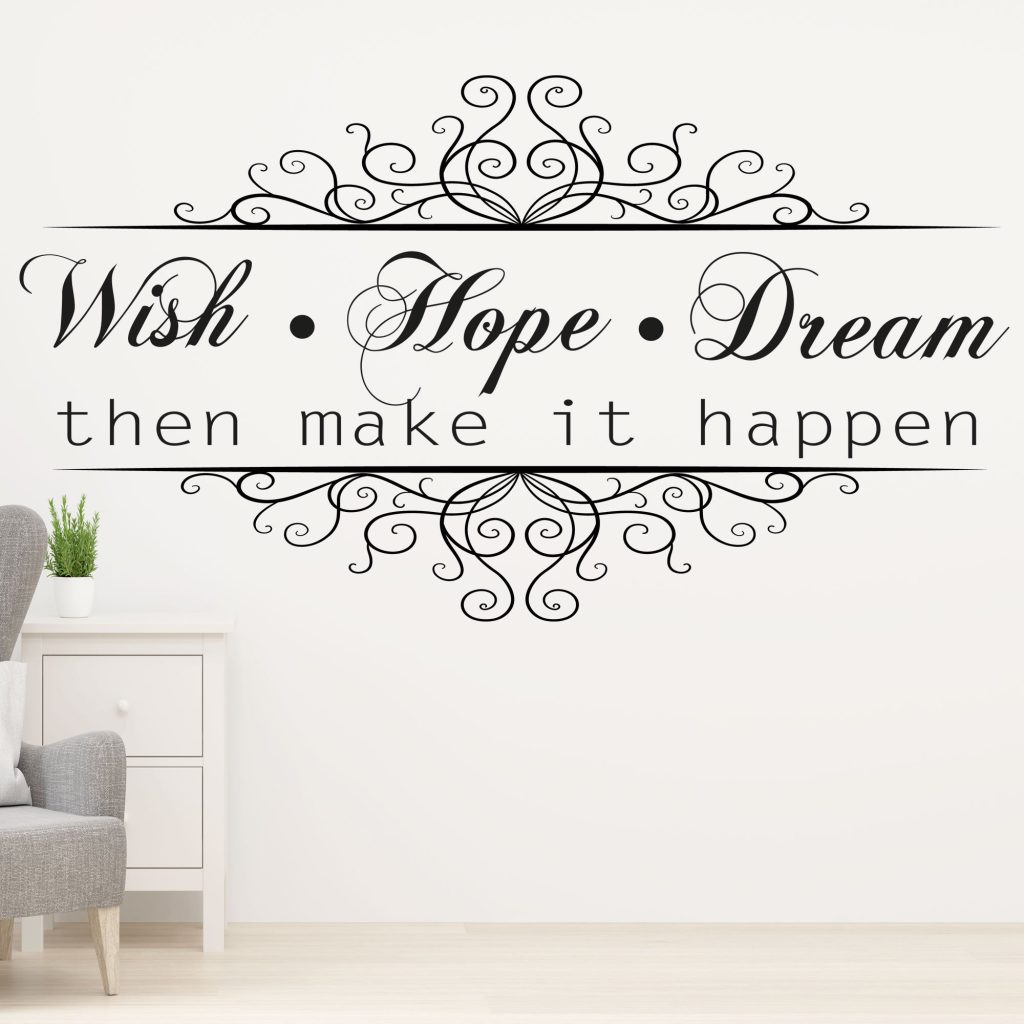
Credit: wallstickers4you.com
Choosing The Right Wall Stickers
Choosing the right wall stickers from Wish can transform your space instantly. It’s not just about picking a pretty design; you need to consider material, style, size, and where it will go. These factors will affect how your sticker looks, lasts, and fits your room’s vibe.
Material Types And Quality
Wall stickers come in vinyl, fabric, paper, and even eco-friendly materials. Vinyl is popular because it’s durable, waterproof, and easy to clean. However, fabric stickers often have a matte finish that reduces glare, making them great for bedrooms or living rooms.
Quality matters. Cheaper stickers might peel or fade quickly, especially on textured or painted walls. Look for reviews that mention adhesive strength and durability to avoid sticky situations later.
Designs That Suit Your Space
Think about the mood you want to create. Bold, colorful designs energize a playroom but might overwhelm a small office. Minimalist or monochrome stickers can add elegance without cluttering your wall.
Ask yourself: Does this design match your existing decor? Mixing styles can be fun, but too many patterns can make the room feel chaotic. Pick designs that complement your furniture and color scheme for a balanced look.
Size And Placement Considerations
Measure your wall space before choosing a sticker. A huge sticker on a small wall can feel cramped, while a tiny one on a large wall might get lost. Consider creating a focal point by placing the sticker where it naturally draws attention, such as above a sofa or bed.
Also, think about the surface texture. Smooth, clean walls are best for stickers. Avoid areas with bumps, cracks, or high moisture like bathrooms unless the sticker is specifically made for those conditions.
Preparing Your Wall Surface
Preparing your wall surface is a crucial step before applying wall stickers from Wish. A well-prepared wall ensures that the sticker adheres properly and lasts longer without peeling or bubbling. Taking time to prep your wall can save you from frustration and give your space a flawless look.
Cleaning And Drying The Wall
Start by wiping down your wall with a damp cloth to remove dust and dirt. Use mild soap if needed, but avoid harsh chemicals that can damage the paint. After cleaning, let the wall dry completely—any moisture left can prevent the sticker from sticking well.
Removing Old Adhesives Or Dirt
Have you noticed sticky spots or residues from previous stickers? These must be removed to create a clean base. Use rubbing alcohol or adhesive remover on a soft cloth and gently rub the area. Make sure no residue remains, as even small patches can cause bumps or peeling later.
Ensuring A Smooth Surface
Feel your wall for bumps, cracks, or rough patches. These imperfections affect how your wall sticker looks and sticks. Fill small holes or cracks with spackling paste, then sand the area smooth once dry. A flat, even surface lets your wall sticker lay perfectly without wrinkles or bubbles.
Tools Needed For Application
A clean cloth, a squeegee, and a measuring tape help ensure smooth wall sticker application. A sharp knife is useful for trimming edges precisely. These simple tools make the process quick and neat.
Applying wall stickers from Wish can be a fun and creative way to personalize your space. However, to ensure a smooth and bubble-free application, you’ll need the right tools. With just a few common household items and some optional tools for precision, you can achieve a professional-looking finish. Let’s dive into what you need to get started.Common Household Items
You don’t need fancy gadgets to apply wall stickers. Most of the tools are likely already in your home:- Cleaning Cloth:A clean microfiber or soft cloth is essential for preparing the wall surface. Dust and dirt can prevent the stickers from adhering properly.
- Measuring Tape:Use it to ensure your stickers are positioned exactly where you want them. This avoids any crooked or uneven application.
- Scissors:Perfect for trimming any excess backing paper or adjusting the stickers to fit your desired space.
- Credit Card:An old credit card works well as a squeegee to smooth out any bubbles and ensure the sticker sticks firmly to the wall.
Optional Tools For Precision
For those who want to take their wall sticker application to the next level, consider these optional tools:- Level:Ensures your designs are straight, especially useful for geometric patterns or text decals.
- Craft Knife:Ideal for making precise cuts if your design needs tailoring to fit around corners or edges.
- Painter’s Tape:Temporary placement markers can help visualize the final layout before committing the sticker to the wall.
- Heat Gun or Hair Dryer:A little warmth can help the sticker adhere better, especially on textured surfaces.

Credit: www.etsy.com
Step-by-step Application Process
Applying wall stickers from Wish is simple and fun. Following a clear process helps ensure a smooth finish. This step-by-step guide breaks down how to place your sticker perfectly on any wall.
Peeling The Sticker Carefully
Start by gently peeling the sticker from its backing. Pull slowly to avoid tearing or stretching. Use your fingernail or a flat tool to lift the edge. Avoid touching the sticky side to keep it clean.
Positioning And Aligning
Hold the sticker close to the wall without pressing it down. Check the placement by stepping back and viewing from different angles. Align it with your desired spot using a level or tape as a guide. Adjust until it looks just right.
Smoothing Out Air Bubbles
Press the sticker gently onto the wall starting from the center. Use a soft cloth or a squeegee to push out air bubbles. Move from the middle outward in straight lines. Repeat until the surface feels flat and smooth.
Securing Edges And Corners
Check all edges and corners to ensure they stick properly. Press them firmly against the wall. Use a cloth to apply extra pressure if needed. This step prevents peeling and helps the sticker last longer.
Tips For Long-lasting Results
To keep your wall stickers from Wish looking fresh and vibrant, a little care goes a long way. The right environment and simple maintenance can extend their life significantly. Let’s dive into practical tips that help you enjoy your stickers longer without losing their charm.
Avoiding Moisture And Heat
Wall stickers don’t like damp or hot places. Excess moisture can cause them to peel off, while heat might warp their shape or fade the colors.
Place your stickers away from bathrooms, kitchens, or direct sunlight. If you want to decorate a humid area, consider using a waterproof sealant over the sticker for extra protection.
Have you noticed your sticker curling at the edges after a hot summer? That’s a sign to rethink its placement or add a protective layer.
Cleaning And Maintenance
Keep your stickers dust-free by gently wiping them with a soft, dry cloth. Avoid using abrasive cleaners or rough sponges that can damage the surface.
If needed, a slightly damp cloth can be used, but make sure to dry the sticker immediately afterward. This prevents water from seeping underneath and weakening the adhesive.
Try to clean your stickers regularly, especially in rooms where dust and dirt settle fast. It’s easier to maintain their look than to fix damage caused by neglect.
When To Replace Or Remove
Even the best wall stickers won’t last forever. Look for signs like fading, peeling, or loss of stickiness as hints that it’s time for a refresh.
When removing, peel slowly from one corner to avoid tearing or leaving residue. If you plan to replace it, clean the wall surface thoroughly before applying a new sticker.
Think about how your room’s style or needs have changed. Sometimes, swapping out stickers can be a quick way to update your space without a full redecorate.
Credit: www.ebay.ca
Troubleshooting Common Issues
Applying wall stickers from Wish can be fun and easy. Sometimes, small problems like wrinkles, bubbles, or loose edges happen. These issues do not ruin your decoration. They are simple to fix with a few tips.
Fixing Wrinkles And Bubbles
Wrinkles and bubbles appear when air gets trapped under the sticker. Use a soft cloth or a plastic card to smooth the surface. Start from the center and push air toward the edges. For stubborn bubbles, make a tiny hole with a pin. Press out the air gently. Avoid using sharp tools that can damage the sticker.
Reapplying Detached Sections
Sometimes parts of the sticker may peel off. Carefully lift the loose section without tearing it. Clean the wall and the back of the sticker with a dry cloth. Stick it back slowly, pressing firmly to avoid bubbles. If the sticker loses its stickiness, use a small amount of clear glue or double-sided tape. This helps the sticker stay in place longer.
Handling Difficult Surfaces
Rough or textured walls make sticker application tricky. Clean the surface well and let it dry completely. Use a primer or smooth paint to create a better base. Avoid walls with moisture or dirt. Test a small sticker piece first to see if it sticks well. For uneven surfaces, cut the sticker into smaller parts. Apply each part carefully to match the design.
Frequently Asked Questions
How Do I Prepare The Wall Before Applying Stickers?
Clean the wall with a damp cloth to remove dust and dirt. Ensure the surface is smooth, dry, and free from grease. Avoid textured or uneven walls for best adhesion. Proper preparation helps the sticker stick firmly and last longer.
What Is The Best Way To Remove Air Bubbles?
Use a flat edge like a credit card to smooth out bubbles. Start from the center and push towards the edges gently. Small bubbles may disappear over time, but larger ones should be flattened immediately for a neat finish.
Can I Reposition Wall Stickers After Applying?
Yes, you can reposition stickers within a few minutes of application. Peel gently and reapply carefully to avoid tearing. After some time, stickers adhere strongly and may not reposition easily. Quick adjustments improve final placement and appearance.
How Long Do Wish Wall Stickers Typically Last?
Wish wall stickers usually last between 1 to 3 years. Longevity depends on wall surface, humidity, and exposure to sunlight. Proper application and care extend their lifespan. Avoid placing stickers in damp or high-traffic areas for durability.
Conclusion
Applying wall stickers from Wish is easy with the right steps. Clean your wall well and plan the sticker placement first. Peel the sticker slowly and press it firmly to avoid air bubbles. Use a flat tool or card to smooth the surface.
Take your time and work carefully for the best results. With simple care, your wall stickers will look great and last long. Enjoy your new wall design without much effort or mess. Try it today and refresh any room quickly and affordably.


