
Are you ready to transform your space quickly and easily? Putting up wall decal stickers is one of the simplest ways to add personality and style to any room.
But if you’ve never done it before, you might wonder how to avoid bubbles, wrinkles, or crooked designs. In this guide, you’ll discover step-by-step tips that make the process smooth and stress-free. By the end, you’ll feel confident to decorate your walls like a pro and enjoy a fresh, new look instantly.
Keep reading to unlock the secrets to perfect wall decals every time!
Credit: www.tenstickers.co.uk
Choosing The Right Wall Decals
Choosing the right wall decals is key to enhancing your space. The right choice sets the mood and complements your room’s style. It also makes the application process smoother and the results more lasting. Consider the type, design, size, and material carefully. These factors affect how well the decals look and last on your wall.
Types Of Wall Decals
Wall decals come in many styles. Some are simple shapes or patterns, while others are detailed images or quotes. There are:
- Peel-and-stick decals, easy to apply and remove.
- Vinyl decals, known for durability and vibrant colors.
- Fabric decals, soft and reusable without leaving marks.
Choose a type that fits your wall surface and the room’s purpose. For example, vinyl works well in high-traffic areas.
Selecting Designs And Sizes
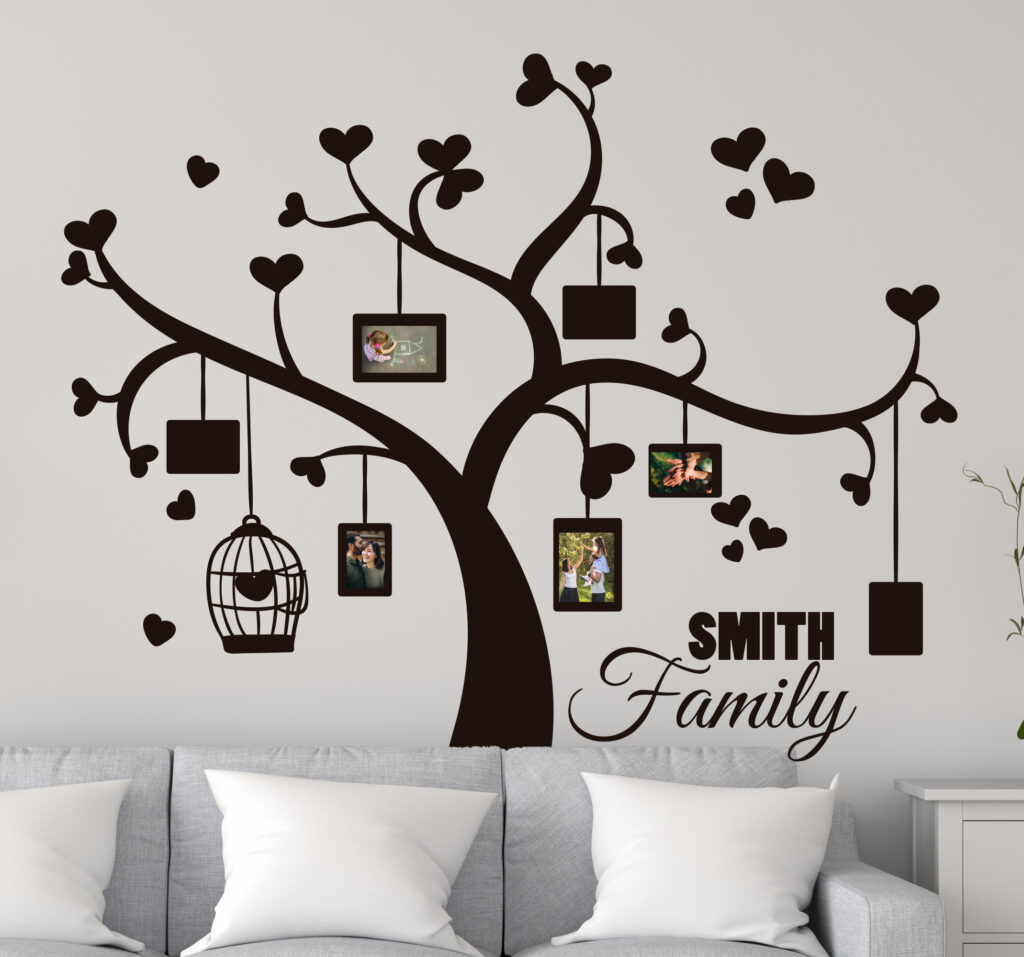
Designs should match your room’s theme and color scheme. Large decals create bold statements. Small decals add subtle accents. Think about the wall size and how much space you want to fill. Avoid designs that crowd the area or feel too empty. Balance is important.
Material Considerations
Materials affect durability and ease of use. Vinyl is water-resistant and lasts long. Fabric decals are gentle on painted walls and easy to reposition. Paper decals are less durable and may tear easily. Check if the material suits your wall texture. Smooth surfaces work best for most decals.
Preparing Your Wall Surface
Getting your wall ready before applying decal stickers is crucial for a smooth, lasting finish. Skipping this step can cause bubbles, peeling, or uneven sticking that ruins your hard work. Let’s look at how you can prepare your wall so your decals look flawless and stay put.
Cleaning The Wall
Start by removing dust, dirt, and grease from the wall. Use a mild soap mixed with water and a soft cloth or sponge to gently wipe the surface.
Pay extra attention to areas near light switches or corners where grime tends to build up. Avoid harsh chemicals that might damage paint or wallpaper.
Have you noticed how even a small fingerprint can create bubbles under a decal? That’s why a thorough cleaning matters more than you might think.
Smoothing Imperfections
Run your hand over the wall to feel for bumps, holes, or cracks. These imperfections can cause your decal to stick unevenly and peel over time.
Use spackle or wall filler to patch holes and sandpaper to smooth rough spots. Light sanding also helps the decal adhere better by creating a slightly textured surface.
Think about the last time you tried sticking something on a rough wall—did it hold well? Fixing these flaws makes a big difference in the final look.
Ensuring Dryness
After cleaning and patching, make sure your wall is completely dry before applying decals. Moisture can weaken the adhesive and cause bubbles or peeling.
Open windows or use a fan to speed up drying, especially if you washed the wall recently. Touch the wall with your hand to confirm it’s dry to the touch.
Have you ever rushed this step only to regret it when your decal started peeling? Taking a few extra minutes here saves frustration later.
Gathering Your Tools
Installing wall decal stickers can transform any room with minimal effort. To start, gather the right tools. Proper preparation ensures a smooth and hassle-free application process. Below, explore the essential tools and optional accessories you may need.
Essential Tools List
- Measuring Tape:Ensure accurate placement and alignment of your decals.
- Pencil:Mark reference points without damaging the wall.
- Level:Keep your decals straight for a professional look.
- Soft Cloth or Squeegee:Smooth out air bubbles and wrinkles.
- Scissors:Trim decals for a custom fit.
Each tool plays a vital role in the application process. A measuring tape helps plan the layout. Use a pencil to make light marks on the wall. A level ensures decals are straight. A soft cloth or squeegee smooths out imperfections. Scissors allow you to adjust sizes.
Optional Accessories
- Masking Tape:Temporarily hold decals in place during installation.
- Hair Dryer:Use gentle heat to make decals more pliable.
- Painter’s Tape:Protect surrounding areas while applying decals.
Optional accessories can enhance your installation experience. Masking tape helps position decals before final placement. A hair dryer can soften decals, making them easier to work with. Painter’s tape protects areas you don’t want to cover.

Credit: www.ebay.co.uk
Planning Your Decal Placement
Planning your decal placement is the key to a flawless finish. It saves you from peeling off and repositioning, which can damage the decal or leave marks on your wall. Taking time to plan ensures your design looks balanced and fits perfectly in the space you want to decorate.
Measuring And Marking
Start by measuring the wall space where you want to place your decal. Use a tape measure to get the height and width, then jot down these numbers.
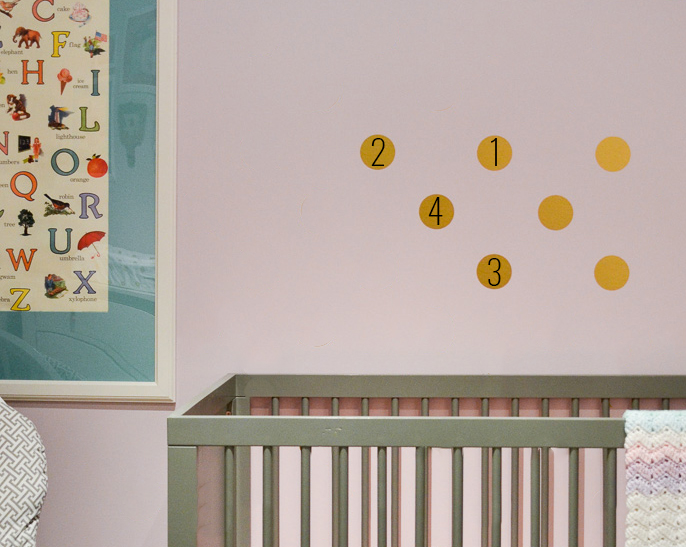
Next, mark the center point of the area lightly with a pencil. This helps you align the decal evenly, especially if your design is symmetrical.
Try holding the decal up to the wall before sticking it. Step back and see if the placement feels right. Are you happy with how it looks from different angles?
Using Templates Or Guides
Templates or guides can make positioning much easier, especially for complex or large decals. Many decals come with paper backing that can be used as a temporary guide.
If your decal didn’t come with a template, create one by tracing the outline on paper or cardboard. Tape it to the wall to visualize the final look without committing.
Use painter’s tape to hold your template in place. This allows you to adjust the position before applying the actual decal, reducing the risk of mistakes.
Applying Wall Decal Stickers
Applying wall decal stickers can transform your space quickly and with minimal mess. The key is to handle the decals carefully and position them just right before they stick permanently. Let’s break down how to get a smooth, professional look without frustration.
Peeling And Positioning
Start by gently peeling the decal from its backing paper. Avoid pulling too hard or fast to prevent any tears or stretching. Hold the decal up to the wall first to decide exactly where you want it placed.
Once you find the spot, lightly press one edge to the wall. This helps keep the decal in place while you smooth it out. If you’re unsure about the position, try using painter’s tape to hold the decal temporarily. Have you ever wished you could reposition a sticker after sticking it? This trick lets you do just that.
Smoothing Out Air Bubbles
Air bubbles are the most common challenge with wall decals. Use a plastic card, like a credit card, to smooth the decal from the center outward. This pushes out trapped air and creates a flat finish.
Work slowly and patiently, especially around edges and corners. If you notice a stubborn bubble, gently lift that section and smooth again. Remember, rushing this step can cause wrinkles or damage to the decal.
Correcting Mistakes
If you catch a mistake early, don’t panic. Peel the decal off slowly and reapply it carefully. Most decals allow for repositioning within the first few minutes.
For tiny air pockets or creases, use a pin to prick the bubble, then press the air out with your smoothing card. This subtle fix can save your decal from looking uneven. What’s one mistake you’ve made before that taught you this simple trick?
Caring For Your Wall Decals
Taking care of your wall decals is key to keeping them looking fresh and vibrant for a long time. Proper care helps prevent peeling, fading, and damage that can ruin your decor. You’ll find that a little attention goes a long way in preserving the beauty of your wall stickers.
Cleaning Tips
Dust and dirt can dull the appearance of your wall decals. Use a soft, dry cloth or a microfiber duster to gently wipe the surface regularly. Avoid using harsh chemicals or abrasive materials, as they can break down the decal’s adhesive or damage the design.
If you notice any stains, try a damp cloth with mild soap and water. Test it on a small, hidden area first to make sure it doesn’t affect the decal’s color or stickiness. Pat the decal dry with a clean towel instead of rubbing it.
Avoiding Damage
Keep your wall decals away from direct sunlight as much as possible. Sunlight can cause colors to fade and the adhesive to weaken over time. Do you have a sunny window nearby? Consider using curtains or blinds to protect your decals.
Try not to place decals in areas with high humidity, like bathrooms, unless they are specifically designed for such environments. Moisture can cause peeling or bubbling. Also, avoid touching or repositioning the decals frequently once they are set, as this can reduce their lifespan.
Have you ever noticed your decal peeling at the edges? Pressing gently on the edges with a soft cloth can help keep them firmly attached. Being mindful of these small habits can make a big difference in how long your wall decals stay flawless.
Removing Wall Decals Safely
Removing wall decals safely keeps your walls clean and undamaged. Taking your time helps avoid peeling paint or leaving sticky marks. Using the right tools and techniques ensures a smooth removal process.
Peeling Techniques
Start by gently lifting one corner of the decal. Pull slowly at a 45-degree angle to reduce wall damage. Use your fingers or a plastic scraper to help lift stubborn edges.
If the decal resists, warm it slightly with a hairdryer. Heat softens the adhesive, making peeling easier. Keep the hairdryer moving to avoid overheating the wall.
Dealing With Residue
After peeling, some sticky residue may remain on the wall. Use a soft cloth and warm soapy water to wipe the area gently. Avoid harsh scrubbing to protect the paint.
For stubborn residue, apply a small amount of rubbing alcohol or adhesive remover. Test it first on a hidden spot to ensure no damage. Wipe with a clean cloth until all residue disappears.

Credit: www.temu.com
Frequently Asked Questions
How Do I Prepare The Wall For Decal Stickers?
Clean the wall thoroughly to remove dust and grease. Use a damp cloth and let it dry completely. A smooth, dry surface ensures better decal adhesion and longer-lasting results.
What Tools Do I Need To Apply Wall Decals?
You need a squeegee or credit card, a measuring tape, and a level. These help position the decal accurately and smooth out air bubbles.
Can Wall Decals Be Removed Without Damage?
Yes, gently peel decals off starting from a corner. Use heat from a hairdryer to soften adhesive. This prevents paint damage and makes removal easier.
How Long Do Wall Decal Stickers Last?
Wall decals typically last 3 to 5 years indoors. Longevity depends on surface type, cleanliness, and exposure to sunlight or moisture.
Conclusion
Applying wall decal stickers can brighten any room quickly. Clean the surface well for best results. Peel the backing slowly to avoid tearing. Align the decal carefully before pressing it down. Use a flat tool to smooth out air bubbles.
Take your time; patience leads to a neat finish. Changing decor becomes simple and fun this way. Enjoy the fresh look without much effort. Give your walls a new style today. Simple steps bring great changes to your space.


