
Are you tired of buying bath poufs that wear out quickly or don’t feel quite right on your skin? What if you could make your own, tailored exactly to your liking, using simple materials you might already have at home?
Creating your own bath pouf is easier than you think, and it gives you control over the size, texture, and even colors. Keep reading, and you’ll discover step-by-step how to craft a bath pouf that turns your daily shower into a spa-like experience.
Ready to transform your bath routine? Let’s dive in!
Benefits Of A Bath Pouf
Using a bath pouf offers more than just a simple way to apply soap. It can transform your daily shower into a refreshing and skin-friendly ritual. Understanding the benefits of a bath pouf can motivate you to make your own and enjoy these advantages at home.
Exfoliation And Skin Softness
A bath pouf gently removes dead skin cells, leaving your skin feeling smoother and softer. Unlike harsh scrubs, the pouf provides a mild exfoliation that suits most skin types, including sensitive skin.
Regular use helps prevent clogged pores and rough patches. Have you noticed how your skin feels after a good scrub? That fresh, smooth sensation comes from exfoliation, and a bath pouf makes it easy to achieve.
Cost Savings And Eco-friendliness
Making your own bath pouf cuts down on store-bought product expenses. Commercial poufs wear out quickly, so replacing them adds up. A homemade one can last longer if crafted well.
Plus, creating your own pouf reduces plastic waste. Many store versions come in non-recyclable packaging, but your DIY pouf can use sustainable or recycled materials. What if you could save money and help the planet with one simple project?
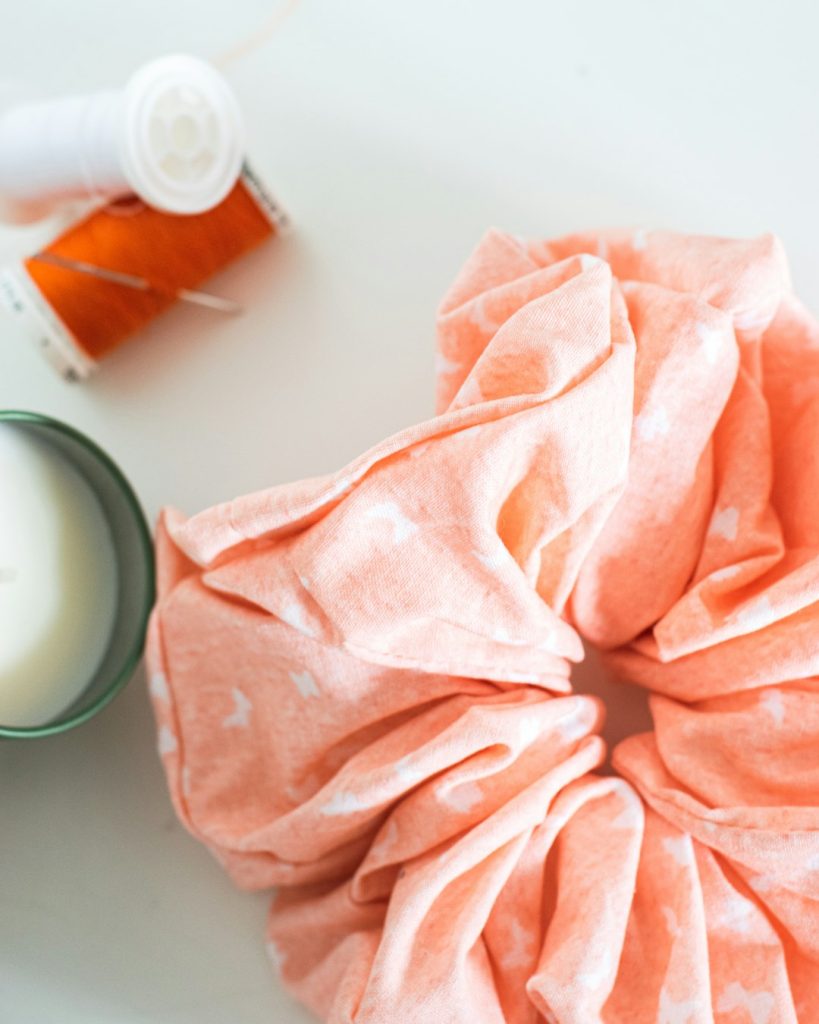
Credit: www.craftpassion.com
Materials Needed
Gathering the right materials is key to making a bath pouf that lasts long and feels soft. Choose fabrics and supplies carefully to create a pouf that works well in water and dries fast. This section helps you pick the best items for your project.
Choosing The Right Fabric
Pick a fabric that is strong and gentle on the skin. Mesh fabric is popular because it creates a good lather and dries quickly. Nylon mesh or polyester mesh works well for bath poufs. Avoid thick fabrics that hold water and dry slowly. Thin but sturdy materials help your pouf stay fresh and clean.
- Nylon mesh fabric
- Polyester mesh fabric
- Soft cotton (for a natural feel, but it dries slower)
Additional Supplies
Besides fabric, you need a few simple tools to assemble your pouf. These supplies help shape and hold the pouf together tightly. Most items are easy to find at craft or fabric stores.
- Scissors with sharp blades
- Strong thread or nylon cord
- A needle suitable for thick fabric
- A ruler or measuring tape
- A safety pin or clothespin to hold fabric in place
Step-by-step Pouf Making
Gather soft mesh fabric and scissors to create a gentle, fluffy bath pouf. Fold and tie the material carefully to form a round, puffed shape. Secure the ends tightly for a durable, homemade bath accessory.
Creating your own bath pouf is not only a rewarding DIY project but also a sustainable choice. With just a few materials and a bit of creativity, you can craft a personalized bath accessory that enhances your shower experience. Let’s dive into the process with clear steps and helpful tips to guide you along the way.Cutting The Fabric
Start by selecting a lightweight, netted fabric like tulle or mesh. You’ll need about 2 yards for a standard pouf size. Cut the fabric into strips that are approximately 6 inches wide. If you’re uncertain about the length, aim for around 45 inches per strip—this will give you a full, fluffy pouf.Folding And Layering
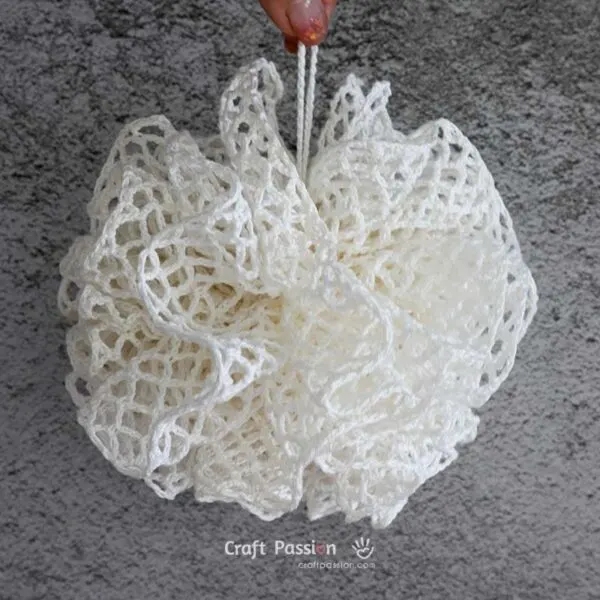
Lay each strip flat on a table. Fold them in half lengthwise, and then stack them one on top of the other. Ensure they are aligned neatly, as this will make the next steps easier. You want the layers to be even to create a uniform pouf shape.Securing The Pouf
Gather the folded and layered strips at the center. Use a strong piece of thread or twine to tightly secure the middle. Tie it as securely as possible, then fluff out the layers to see the pouf start taking shape. Adjust the fabric layers as needed to achieve the desired fullness.Adding A Hanging Loop
Cut a separate piece of ribbon or string about 8 inches long. Fold it in half and attach it to the center of your pouf where it’s secured. This loop will be your pouf’s handle, making it easy to hang and dry after use. Ensure the loop is firmly tied to withstand daily use. As you assemble your bath pouf, think about any other enhancements you might want to add. Perhaps a splash of color to match your bathroom decor, or a small sachet of lavender tucked inside for a soothing scent? Crafting your own bath pouf is a fun way to customize your bath time routine while also being kind to the environment. What’s your next DIY project going to be?
Credit: offthebeatenhook.com
Tips For Using Your Bath Pouf
Using your homemade bath pouf correctly can make a big difference in your skincare routine. It’s not just about how you make it, but how you use and care for it that keeps your skin glowing and the pouf lasting longer. Let’s dive into some practical tips to get the most from your bath pouf.
Best Soaps And Scrubs
Choose gentle, moisturizing soaps that create a rich lather with your bath pouf. Bars with natural oils or creamy liquid soaps work best to avoid drying out your skin. Harsh soaps can damage the fibers of your pouf and irritate sensitive skin.
Exfoliating scrubs can be used occasionally, but pick ones with fine particles to prevent tearing your pouf. Have you ever noticed your pouf getting rough or worn out quickly? That might be due to abrasive scrubs or overly rough use.
- Opt for sulfate-free or mild soap formulas.
- Use scrubs with natural exfoliants like sugar or oatmeal.
- Avoid scrubs with large, sharp grains.
Proper Cleaning And Drying
After each use, rinse your bath pouf thoroughly with warm water to remove soap and dead skin cells. Squeeze out excess water gently; twisting too hard can damage the fibers. Leaving it wet invites bacteria and mildew, which can cause skin issues.
Hang your pouf in a well-ventilated area to dry completely between uses. Have you ever had that musty smell from a damp pouf? That means it’s time to give it a deep clean or replace it.
- Clean your pouf weekly by soaking it in a vinegar-water solution or boiling it briefly.
- Replace your bath pouf every 3-4 weeks to avoid bacteria buildup.
- Store in a dry spot, away from direct water streams.
Troubleshooting Common Issues
Making your own bath pouf is a fun and rewarding project, but sometimes you might face a few challenges along the way. Troubleshooting common issues can help you keep your pouf in great shape and extend its lifespan. Let’s look at some practical tips to solve these problems effectively.
Maintaining Pouf Shape
Over time, your bath pouf might lose its fluffy shape and become flat or misshapen. This often happens due to frequent use or improper drying.
To keep your pouf looking fresh:
- Gently fluff it up after each use by pulling and separating the layers.
- Avoid squeezing or wringing it harshly, as this can crush the material.
- Hang it in a well-ventilated area to dry completely between uses.
If you notice your pouf still looks flat, try soaking it in warm water with a small amount of mild soap, then rinse and reshape it while damp. Have you ever felt frustrated when your pouf just wouldn’t bounce back? These simple actions can make a big difference.
Preventing Mold And Mildew
Mold and mildew thrive in damp environments, and your bath pouf can easily become a breeding ground if not cared for properly. This can cause unpleasant odors and even skin irritation.
To prevent mold and mildew:
- Always rinse your pouf thoroughly to remove soap residue.
- Allow it to dry fully by hanging it somewhere with good air circulation.
- Consider washing your pouf regularly, either by hand or in a gentle cycle in the washing machine.
Have you ever wondered why some poufs develop a musty smell? It’s usually because they stay wet too long. Keeping your pouf dry and clean will help you avoid this problem and keep your skin healthy.
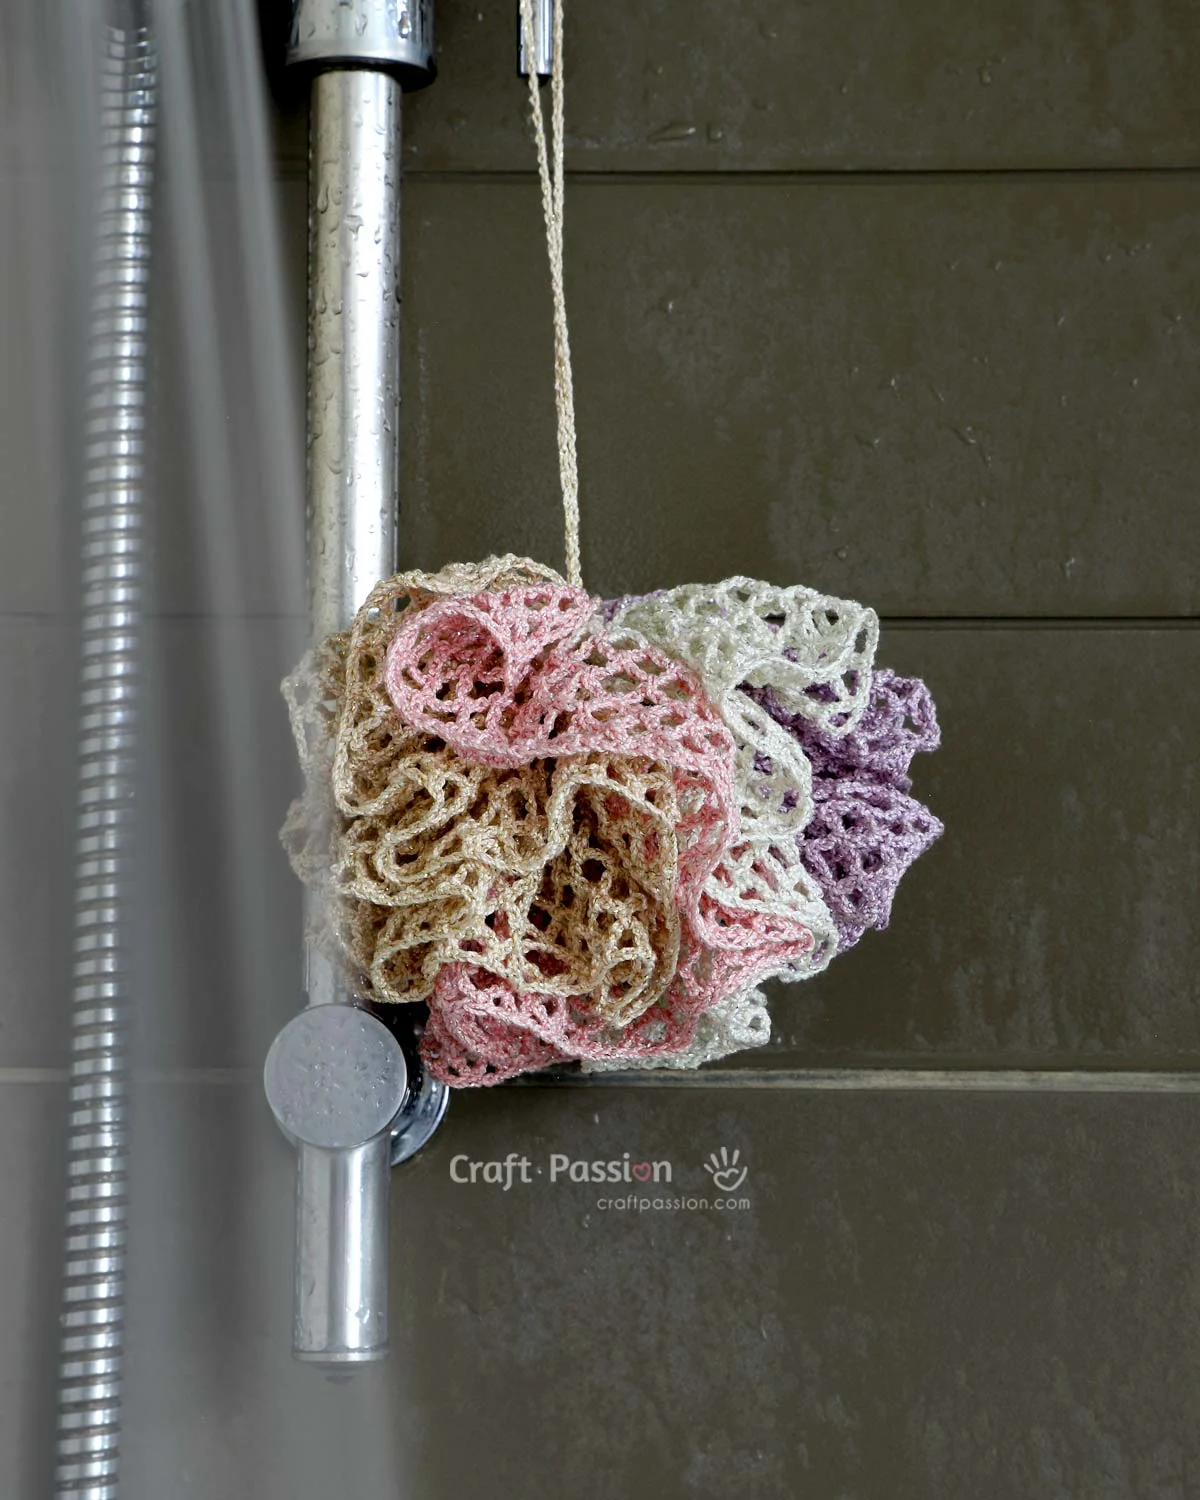
Credit: www.craftpassion.com
Frequently Asked Questions
How Do I Start Making A Bath Pouf At Home?
Begin by gathering nylon mesh fabric and a strong thread. Cut the mesh into strips and tightly gather them. Secure with a sturdy loop or tie to form the pouf’s shape. This simple method creates a fluffy, effective bath pouf.
What Materials Are Best For Diy Bath Poufs?
Nylon mesh or tulle fabric works best for DIY bath poufs. These materials dry quickly and create good lather. Use strong thread or elastic bands to hold the pouf tightly. Avoid cotton, as it retains moisture and dries slowly.
How Long Does A Homemade Bath Pouf Last?
A homemade bath pouf typically lasts 3 to 4 weeks. Proper drying after each use extends its life. Replace it if it starts to smell or break down. Regular cleaning can keep it fresh and hygienic longer.
Can I Customize The Size Of My Bath Pouf?
Yes, you can easily customize your bath pouf size. Adjust the length and width of the mesh strips. Larger poufs create more lather, smaller ones are easier to handle. Customize based on your personal preference and bath routine.
Conclusion
Making your own bath pouf saves money and adds fun to your routine. You choose the colors and materials. It feels soft on your skin and lasts long. Plus, it’s a great gift idea for friends. Start with simple steps and enjoy the process.
Soon, you will have a bath pouf made by you. Try it today and enjoy a fresh, clean feeling every day. Simple, easy, and useful. Why buy when you can create?


