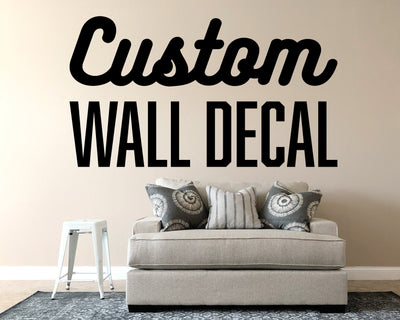
Are you looking to add a personal touch to your walls without spending a fortune? Making your own wall stickers can be a fun and creative way to transform any room instantly.
But what exactly do you need to create stickers that look great and stick well? You’ll discover simple materials and easy techniques that anyone can use to craft beautiful, custom wall stickers. By the end, you’ll have everything you need to start turning your walls into your own unique canvas.
Keep reading to unlock the secrets to making your own stylish wall stickers!
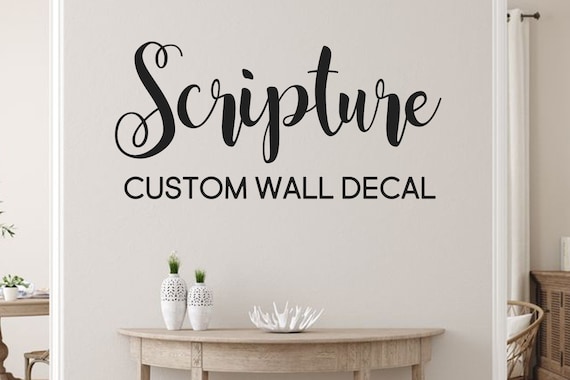
Credit: www.etsy.com
Materials For Wall Stickers
Choosing the right materials is key to making your own wall stickers that look professional and last long. Each material plays a specific role, from the base vinyl to the tools that help you cut out your design. Understanding these components helps you avoid frustration and ensures your stickers stick well without damaging your walls.
Types Of Adhesive Vinyl
Adhesive vinyl is the main material for most wall stickers. You’ll find two popular types: permanent and removable vinyl. Permanent vinyl sticks strongly and lasts for years, but it can be tricky to remove without peeling paint. Removable vinyl, on the other hand, is designed to come off cleanly and is perfect if you like changing your decor often.
Look for vinyl that is matte or semi-gloss to reduce glare and make your designs easier to see. Also, consider indoor-rated vinyl to avoid fading or peeling caused by sunlight or humidity.
Printable Sticker Paper
If you want to print your own designs at home, printable sticker paper is a good choice. It comes in both matte and glossy finishes and works with inkjet or laser printers. Keep in mind, printable sticker paper generally doesn’t have the durability of vinyl, so it’s better for temporary decorations or smooth surfaces.
Try testing a small print first to see how your printer’s colors turn out and how well the paper sticks to your wall. Would you prefer a sharp, vibrant print or something more subtle? Your choice here affects the overall look and feel of your stickers.
Transfer Tape Options
Transfer tape is essential for moving your cut design from the backing paper to the wall without losing any pieces. It acts like a carrier sheet, holding all parts of your design together. You can find transfer tape in clear or paper varieties, with clear being easier for precise placement.
The tackiness of the tape matters too. Too sticky, and you risk pulling your vinyl off the wall. Too light, and your sticker might lose its shape. Have you experimented with different tapes to see which works best for your projects?
Cutting Tools And Machines
Cutting your wall stickers accurately is easier with the right tools. Craft knives and scissors work for simple shapes, but for detailed designs, a cutting machine like Cricut or Silhouette is a game-changer. These machines cut with precision and save you hours of manual work.
If you’re new to cutting machines, start with basic designs to build your confidence. Remember, your choice of cutting tool impacts the smoothness of the edges and the overall quality of your stickers.
Designing Your Stickers
Designing your own wall stickers lets you add a personal touch to any space. It starts with a clear idea and the right tools. Creating unique stickers means thinking about shapes, colors, and patterns that match your style. The design process can be simple and fun with the right approach.
Free Design Software
Many free tools help you design stickers without cost. These programs offer easy-to-use features for beginners. You can draw, add text, and use shapes. Some popular options include:
- Canva – great for simple layouts and text
- Inkscape – perfect for vector designs
- Gravit Designer – good for detailed graphics
These tools let you save your work in sticker-ready formats.
Choosing Colors And Patterns
Colors bring your stickers to life. Pick colors that fit your room or theme. Use bright shades for fun or soft tones for calm spaces. Patterns add texture and interest. Try stripes, dots, or floral designs. Keep colors balanced and easy on the eyes. Use online color palettes to find good matches.
Creating Custom Shapes
Custom shapes make your stickers stand out. Start with simple shapes like circles or stars. Use design software to combine shapes or create new ones. Cut around the edges to follow your shape exactly. Think about how shapes fit on your wall. Make sure they are easy to peel and stick.
Preparing The Surface
Clean the wall thoroughly using soap and water to remove dirt and grease. Dry the surface completely before applying any stickers for better adhesion. Smooth walls work best, so fill any holes or cracks beforehand.
Preparing the surface is a crucial step when making your own wall stickers. A clean and compatible surface ensures that your stickers adhere properly and last longer. Whether you’re decorating a child’s room or adding flair to your living space, taking the time to prepare your walls can make all the difference.Cleaning And Drying Walls
Start with a thorough cleaning to remove dust, grease, and grime. Use a gentle soap or detergent mixed with warm water to clean the walls. Avoid harsh chemicals that might damage the paint or finish. Once cleaned, it’s essential to dry the walls completely. Use a lint-free cloth to wipe down surfaces. Leftover moisture can lead to poor adhesion, causing your stickers to peel off prematurely.Surface Compatibility Tips
Not all walls are created equal when it comes to stickers. Smooth, painted surfaces are ideal. Glossy finishes offer the best adhesion. If your walls are textured or uneven, consider using a primer to create a smoother surface. Have you thought about how your stickers will fare on wallpaper or brick? Some materials may require a different adhesive or backing to ensure they stick properly. Always test a small area first to avoid any surprises. Your wall stickers are only as good as the surface they adhere to—so choose wisely!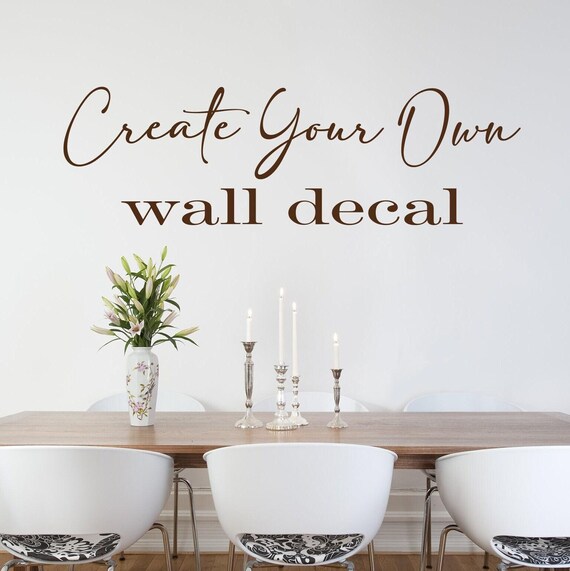
Credit: www.etsy.com
Cutting And Weeding
Cutting and weeding are crucial steps in creating your own wall stickers. These processes determine how clean and professional your final product will look. Whether you choose to cut by hand or use a machine, mastering these skills will save you time and frustration.
Manual Vs. Machine Cutting
Manual cutting lets you control every detail with a craft knife or scissors. It’s perfect for simple designs and small batches. However, it can be time-consuming and less precise for intricate patterns.
Machine cutting, using devices like a Cricut or Silhouette, offers precision and speed. These machines handle complex designs easily and repeat cuts consistently. Have you considered how much time you could save with a cutting machine for your projects?
Removing Excess Vinyl
Weeding means peeling away the extra vinyl that isn’t part of your design. Use a weeding tool or a fine needle to carefully lift the edges. Take your time to avoid tearing small or delicate parts.
Start by removing larger sections, then focus on tiny details. Good lighting helps you spot leftover bits that can ruin the look. What tricks have you found helpful when removing vinyl from your designs?
Applying Wall Stickers
Applying wall stickers can transform any room quickly. The process requires care to avoid wrinkles and bubbles. Proper application ensures your stickers look neat and last long. Use simple tools and steady hands for the best results.
Using Transfer Tape
Transfer tape helps move your wall sticker from its backing to the wall. It keeps the sticker parts in place during application. First, place the transfer tape over the sticker and press gently. Then, peel the backing paper away, leaving the sticker on the tape. Finally, press the sticker with tape onto the wall and slowly remove the tape.
Avoiding Air Bubbles
Air bubbles make stickers look uneven and can cause peeling. To prevent bubbles, apply the sticker slowly. Use a flat tool like a credit card to smooth the sticker. Start from the center and push outwards. This action forces air out from under the sticker. If a bubble forms, gently lift that part and smooth it again.
Positioning And Alignment
Correct placement is key for a professional look. Measure the wall space before applying. Mark light guidelines with a pencil if needed. Hold the sticker up and check its position. Make sure it is straight and centered. Apply from one edge, adjusting as you go. Use a level tool for perfect alignment.
Removing And Reusing Stickers
Removing and reusing wall stickers can save money and reduce waste. It also allows you to change your room’s look without damage. Knowing how to take off and reapply stickers carefully keeps them looking good.
Safe Removal Techniques
Start by peeling the sticker slowly from one corner. Pull it at a low angle to avoid tearing. If the sticker resists, warm it with a hairdryer for a few seconds. Heat softens the adhesive, making removal easier. Use a plastic card to lift edges gently if needed. Avoid sharp tools that can damage the wall or sticker. Remove leftover glue with mild soapy water or adhesive remover. Test remover on a small spot to avoid damage.
Reapplying Tips
Clean the surface before reapplying the sticker. Dirt and dust reduce stickiness. Press the sticker firmly from the center outward to avoid bubbles. Use a soft cloth to smooth the surface. Avoid placing stickers on rough or wet walls. Store unused stickers on wax paper to keep adhesive fresh. If adhesive weakens, apply a small amount of spray adhesive for better hold. Reuse stickers on clean, dry surfaces only for best results.
Creative Ideas For Diy Stickers
Creative ideas for DIY stickers open up endless possibilities to customize your space. Whether you want to add a personal touch or brighten up a room, making your own wall stickers can be fun and rewarding. Let’s dive into some exciting themes that you can easily create at home.
Personalized Quotes
Adding your favorite quotes as wall stickers is a simple way to inspire yourself every day. Choose meaningful phrases or motivational words that resonate with you. Use bold fonts and colors that match your room’s vibe to make your walls speak your mind.
You can cut out vinyl letters or print stickers on adhesive paper with a home printer. Have you ever felt the power of a few words right where you see them often? That’s the magic of personalized quotes on your walls.
Kids’ Room Themes
Kids love colorful and playful designs. Create stickers featuring their favorite animals, cartoon characters, or shapes like stars and clouds. This makes decorating their room interactive and fun for both of you.
Try involving your child in designing stickers using simple drawing apps or hand-drawing and scanning images. It’s a wonderful way to add personality and excitement to their space while encouraging creativity.
Seasonal Decorations
Seasonal wall stickers let you refresh your home without much effort or expense. Design and print stickers for holidays like Halloween pumpkins, Christmas trees, or spring flowers. Changing these decorations keeps your home feeling lively and festive throughout the year.
Using removable sticker paper means you can easily swap designs as seasons change. What seasonal themes would brighten your space right now? This approach lets you celebrate every moment with style.

Credit: www.madebybarb.com
Frequently Asked Questions
What Materials Are Best For Making Wall Stickers?
The best materials include vinyl sheets, adhesive paper, and printable sticker paper. Vinyl is durable and easy to apply. Adhesive paper works well for smooth surfaces. Printable sticker paper allows custom designs with inkjet printers.
Can I Use Printable Vinyl For Diy Wall Stickers?
Yes, printable vinyl is perfect for DIY wall stickers. It offers strong adhesion and a smooth finish. It’s compatible with most inkjet printers, allowing vibrant, personalized designs.
How Do I Make Wall Stickers Stick Without Damage?
Use removable adhesive vinyl or repositionable sticker paper. Clean the wall surface before application. Avoid textured or dusty walls for better adhesion and easy removal.
What Tools Do I Need To Create Wall Stickers?
You’ll need a cutting machine or craft knife, a printer for designs, and transfer tape for application. A ruler and scissors help with precision.
Conclusion
Making your own wall stickers can be simple and fun. Choose the right materials like vinyl sheets or adhesive paper. Use clear designs and cut carefully for the best look. Remember, good tools help create neat stickers. Personal touches make your walls unique and bright.
Start small and practice to improve your skills. Enjoy the process and watch your space transform easily. You have all you need to make creative wall stickers today.

