

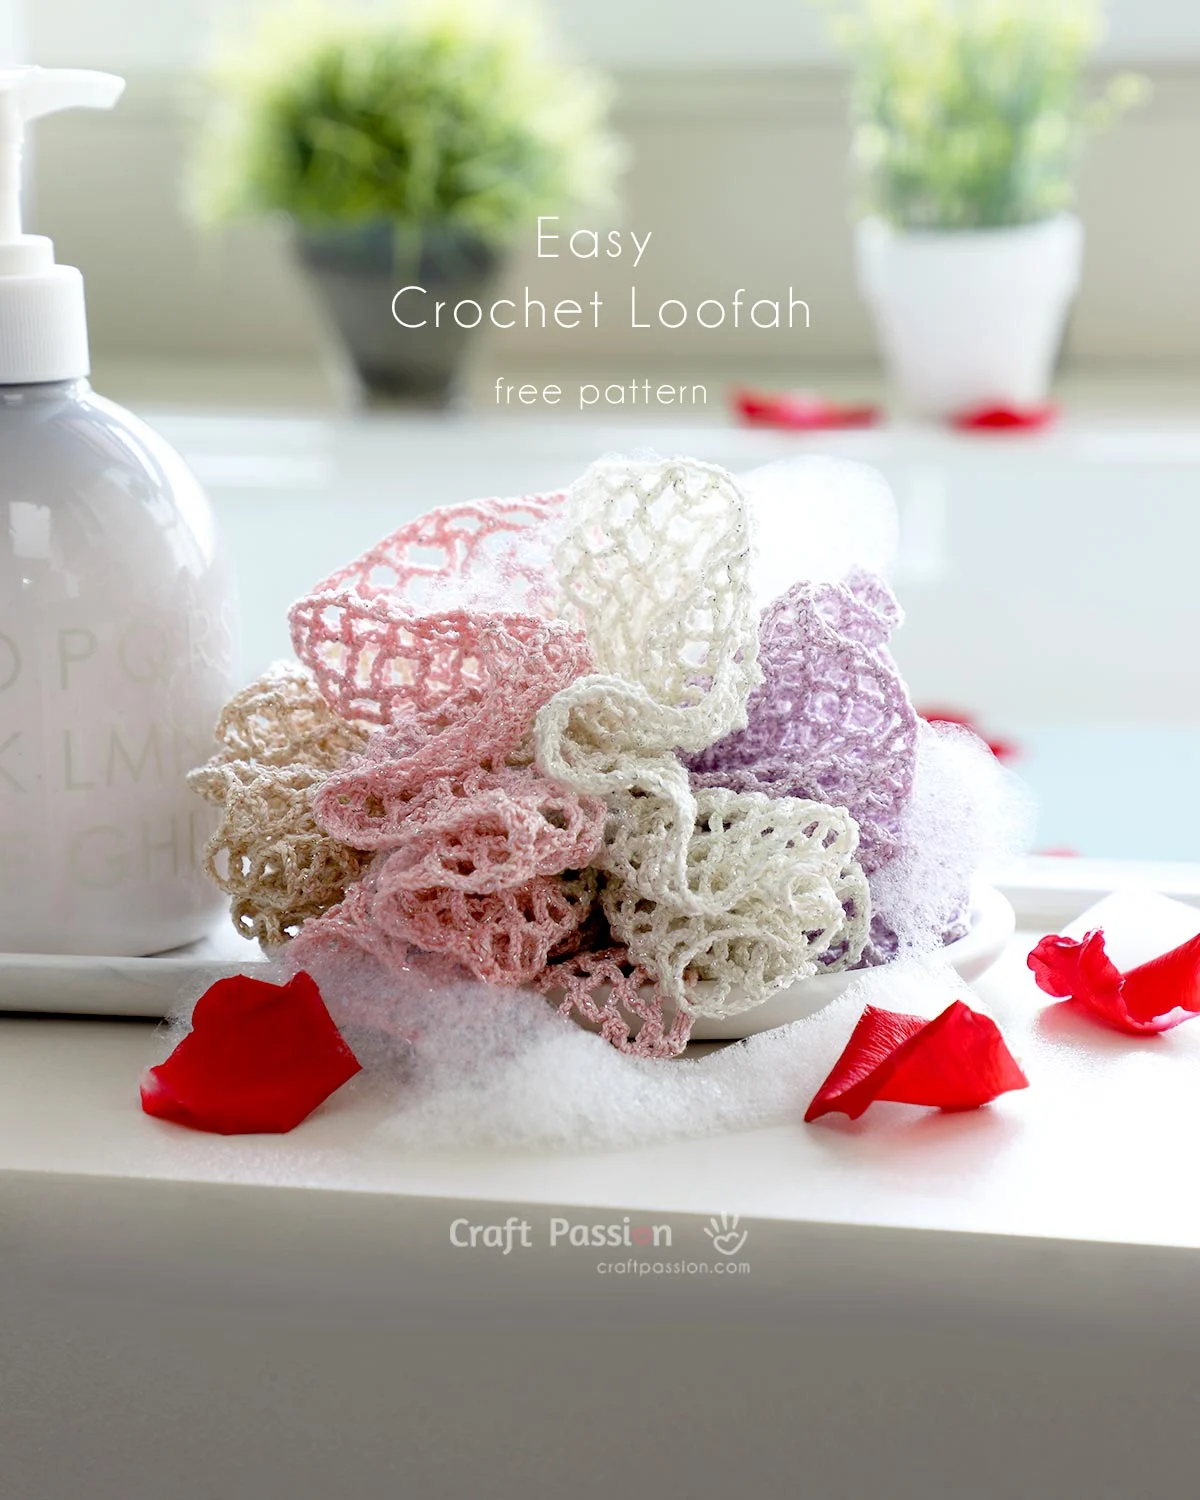
Looking for a simple way to upgrade your shower routine? Making your own homemade bath pouf is easier than you think, and it can save you money while adding a personal touch to your bathroom.
Imagine having a soft, gentle scrubber that’s just the right size and texture—crafted by your own hands. In this guide, you’ll discover step-by-step how to create a bath pouf that feels great on your skin and lasts longer than store-bought versions.
Keep reading, and soon you’ll enjoy a spa-like experience every time you step into the shower.
Credit: www.craftpassion.com
Materials Needed
Gathering the right materials is key to making a bath pouf that feels great and lasts long. You don’t need fancy items—just a few simple things can turn into a spa-like tool for your bath routine. Let’s look at what you’ll need to get started.
Choosing The Right Fabric
The fabric you pick affects how soft and scrubby your bath pouf will be. Nylon mesh is popular because it’s durable and dries quickly, which helps prevent bacteria buildup. If you prefer a natural option, cotton tulle or organza works well, offering a gentle touch on your skin.
Think about your skin type: do you want something exfoliating or delicate? You can even mix different fabrics to customize the texture. Have you ever felt a pouf that was too rough? Avoid that by testing a small fabric piece before buying.
Essential Tools
Besides fabric, a few basic tools make the process easier and more precise. You’ll need sharp scissors to cut the fabric neatly. A needle and thread or a hot glue gun will help you secure the layers together firmly.
Consider using a ruler or measuring tape to keep your cuts uniform. This small step can make your pouf look more professional. What tools do you already have at home that could simplify this project?
Optional Decorations
Adding decorations can make your bath pouf unique and fun to use. Think about colorful ribbons or small charms that won’t irritate your skin. You can also sew on a loop for hanging, making storage easier and keeping your pouf dry.
Be mindful of materials that might not hold up in water or could cause allergies. Have you thought about matching your pouf colors to your bathroom decor? It’s a simple way to brighten your space and personalize your bath time.
Step-by-step Instructions
Creating a homemade bath pouf is simple and fun. Follow these clear steps to make a soft, effective scrubber. Each part builds on the last to shape your pouf perfectly.
Cutting The Fabric
Start with soft, breathable fabric like nylon or mesh. Cut the fabric into equal squares or rectangles. Aim for pieces around 6 to 8 inches wide. Use sharp scissors to get clean edges.
Layering And Folding
Stack the fabric pieces neatly on top of each other. Smooth out wrinkles to keep the layers even. Fold the stack in half or thirds, depending on thickness. This folding creates the pouf’s fluffy texture.
Securing The Layers
Hold the folded layers tightly in the center. Use strong thread or a rubber band to bind the middle. Wrap the binding several times to keep it firm. This step keeps the pouf from falling apart.
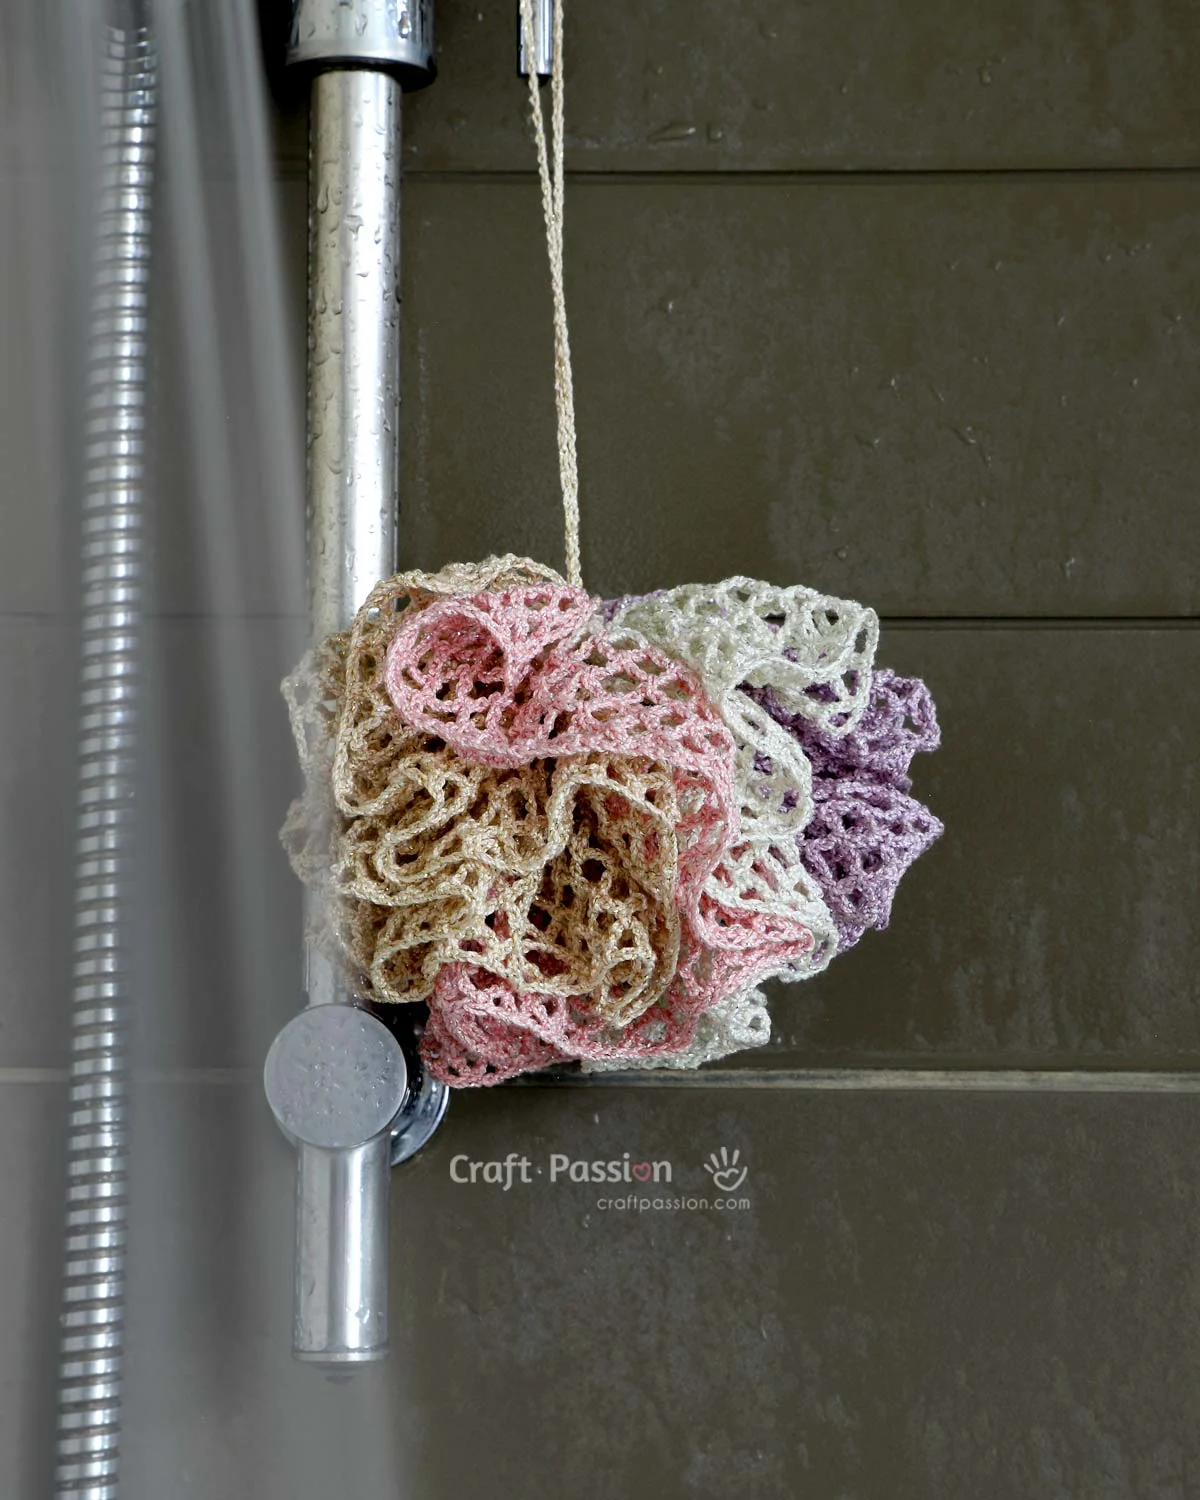
Adding A Hanging Loop
Cut a small strip of fabric or use a ribbon for the loop. Attach it securely to the pouf’s center binding. Sew or tie the loop so it won’t come loose. The loop helps you hang the pouf to dry.
Tips For Customization
Choose soft, breathable fabric for a gentle feel on your skin. Experiment with colors and sizes to match your style and needs. Secure the layers tightly to ensure durability and easy use.
Creating a homemade bath pouf offers a delightful opportunity for personalization. Customizing your bath pouf can add a touch of personal flair. Whether you prefer vibrant colors or calming scents, customization enhances your bath experience. Here are some simple tips to make your bath pouf truly unique.Color And Pattern Ideas
Choose colors that match your bathroom decor. Bright colors can add a pop of fun. Soft pastels create a soothing vibe. Consider patterns too. Stripes or polka dots bring a playful element. You can mix and match colors for a unique look.Adding Scent Or Essential Oils
Infuse your pouf with delightful scents. Essential oils like lavender can relax you. Citrus oils energize and refresh. Add a few drops to the fabric. Let it dry before use. This ensures the scent is not overwhelming.Personalizing With Accessories
Consider adding small charms or beads. They add a decorative touch. Use waterproof materials to avoid damage. Attach them securely to prevent them from falling off. Personal touches make your pouf a reflection of you.Care And Maintenance
Proper care and maintenance keep your homemade bath pouf fresh and long-lasting. A clean pouf prevents bacteria and mold buildup. Regular attention ensures it stays soft and effective for scrubbing.
Cleaning Your Bath Pouf
Rinse your bath pouf thoroughly after every use. Squeeze out excess water gently. Hang it in a well-ventilated area to dry quickly.
Wash your pouf weekly to remove soap and dirt. Use warm water and mild detergent. Soak for a few minutes, then rinse well. Avoid harsh chemicals that can damage the material.
For a deeper clean, soak the pouf in a vinegar-water solution. Mix one part vinegar to three parts water. This helps kill bacteria and remove odors.
Replacing When Needed
Replace your bath pouf every two to three months. Watch for signs like thinning, tearing, or persistent bad smells. A worn-out pouf can irritate your skin.
Keep an extra pouf ready to swap in when needed. Regular replacement helps maintain good hygiene and skin health.
Benefits Of Homemade Bath Poufs
Making your own bath pouf offers many benefits beyond just saving money. It gives you control over materials and style. You also enjoy the fun of crafting something useful. Here are some key benefits of homemade bath poufs.
Cost Savings
Homemade bath poufs cost much less than store-bought ones. You can use inexpensive or leftover materials. This reduces waste and avoids buying new products. Saving money on bath accessories adds up over time.
Eco-friendly Choices
Creating your own pouf helps protect the environment. Use natural or recycled materials to lower plastic use. Homemade poufs reduce packaging waste. This simple step supports a greener lifestyle with less pollution.
Creative Satisfaction
Crafting a bath pouf brings a sense of pride and joy. You pick colors, textures, and shapes to match your style. Each pouf becomes a unique piece made by your own hands. This creativity makes bath time more special.

Credit: offthebeatenhook.com
Credit: www.craftpassion.com
Frequently Asked Questions
How Do I Make A Homemade Bath Pouf?
To make a homemade bath pouf, gather nylon mesh, scissors, and a ribbon. Cut the mesh into strips, layer them, and tie tightly with the ribbon. Fluff the mesh to create a full pouf shape. This simple DIY saves money and customizes bath tools.
What Materials Are Best For A Diy Bath Pouf?
Nylon mesh or tulle fabric works best for a DIY bath pouf. These materials create a soft texture that lathers soap well. They are durable, quick-drying, and easy to shape. Avoid thick or rough fabrics to ensure gentle skin exfoliation.
How Often Should I Replace A Homemade Bath Pouf?
Replace your homemade bath pouf every 3 to 4 weeks. Frequent use causes bacteria buildup and wear. Regular replacement keeps your skin healthy and prevents unpleasant odors. Always rinse and hang your pouf to dry after each use.
Can I Customize The Size Of My Bath Pouf?
Yes, you can customize your bath pouf size by adjusting the mesh strips’ length and amount. More layers create a fuller pouf, while fewer strips make it smaller. Tailor the size to your hand and bathing preferences for comfort.
Conclusion
Making a homemade bath pouf is simple and fun. You only need a few materials to start. It saves money and helps reduce waste. You can customize colors and shapes easily. Plus, it feels soft and cleans your skin well.
Try making one today and enjoy your bath time more. Small steps like this help create a greener lifestyle. Give it a go—you might love the results!


