
Are you looking to add a stylish and functional piece to your living space without spending a fortune? Building your own square ottoman pouf is easier than you might think.
Imagine having a cozy spot to rest your feet, extra seating for guests, or even a unique coffee table—all made by your own hands. In this guide, you’ll discover simple steps and insider tips that will help you create a beautiful ottoman pouf tailored to your style and needs.
Keep reading, and you’ll be surprised at how quickly you can transform basic materials into a chic, practical piece that everyone will admire.

Credit: loomdecor.com
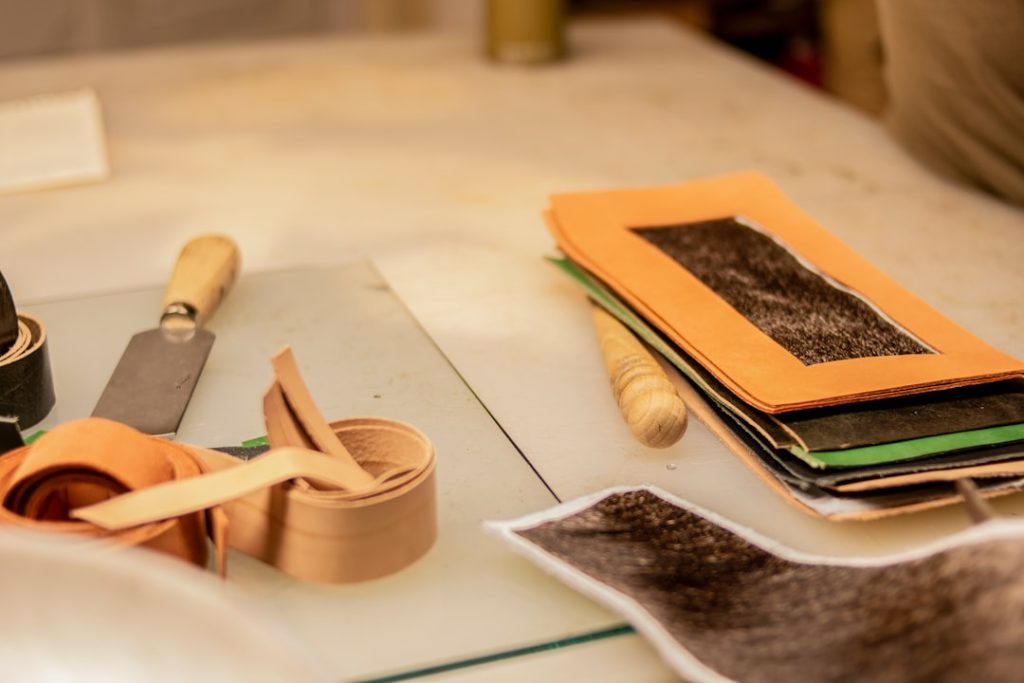
Materials And Tools Needed
Gathering the right materials and tools is key to creating a sturdy square ottoman pouf. Choosing suitable fabric, filling, and tools affects the look and feel of your finished piece. Each component plays a role in comfort, durability, and style. Prepare everything before you start for a smooth crafting process.
Fabric Choices
Select a fabric that matches your room’s style and use. Durable fabrics like canvas, denim, or upholstery-grade cotton work best. These materials resist wear and provide a strong cover. Soft fabrics like velvet or faux leather add a touch of luxury. Consider patterns and colors that blend well with your decor. Make sure to buy enough fabric to cover all sides and seams.
Filling Options
Fill your ottoman pouf with materials that keep its shape and offer comfort. Polyfill stuffing is lightweight and fluffy, perfect for a soft pouf. Foam inserts provide firm support and durability. You can also mix foam and polyfill to balance comfort and structure. Recycled fabric scraps or old clothes make eco-friendly fillers. Check the filling’s density to match your seating preference.
Essential Tools
- Sewing machine for strong, even stitches
- Fabric scissors for clean cuts
- Measuring tape to ensure accurate dimensions
- Pins to hold fabric pieces together
- Chalk or fabric marker to mark cutting lines
- Needle and thread for hand sewing details
- Staple gun if attaching fabric to a wooden frame
Preparing Your Workspace
Getting your workspace ready is key to building a square ottoman pouf smoothly. It sets the tone for your project and helps you avoid mistakes. A clean, organized area lets you focus on the creative process without interruptions.
Measuring And Cutting Area
Choose a flat surface large enough to lay out your fabric and foam without crowding. A sturdy table or a cleared floor spot works best. Make sure the area has good lighting so you can see your measurements clearly.
Keep your measuring tools close—tape measure, ruler, and fabric chalk or markers. Double-check your measurements before cutting; a small error here can throw off the entire pouf. Have sharp scissors or a rotary cutter handy to make clean, precise cuts.
Organizing Materials
Group all your materials before starting: fabric, foam, thread, needles, and any additional decor items like buttons or piping. Keeping them within reach saves time and keeps your focus on sewing and assembly.
Use small containers or trays to separate smaller items like pins and needles. This prevents losing them and keeps your workspace safe. Have a trash bin nearby for fabric scraps to keep your area neat as you work.
Cutting The Fabric
Begin by measuring and marking the fabric carefully to ensure precise cuts. Use sharp scissors to cut along the lines for clean edges. Accurate cutting helps the ottoman pouf pieces fit together perfectly.
Cutting the fabric for your square ottoman pouf is a crucial step that sets the foundation for a neat and polished finish. This step requires precision and a bit of patience to ensure your ottoman looks professionally made. Understanding how to measure, mark, and cut your fabric efficiently can transform a daunting task into a seamless process.Measuring Dimensions
Before grabbing your scissors, it’s essential to get accurate measurements of your ottoman frame. Use a measuring tape to determine the width, length, and height of your ottoman. Remember to add an extra inch to each side for seam allowances. This extra fabric ensures that once sewn, the cover fits snugly without any awkward gaps.Marking And Cutting Tips
Once you’ve got your dimensions down, it’s time to mark your fabric. A tailor’s chalk or a fabric marker will come in handy here. Ensure your lines are straight by using a ruler or a straight edge. When cutting, use sharp fabric scissors to avoid frayed edges and uneven cuts. Keep the scissors at a steady angle and follow your markings closely for clean lines. Consider cutting on a large, flat surface to maintain control and precision. Have you ever found yourself rushing through a project only to regret it later? Taking the time to cut your fabric accurately will save you from potential headaches during assembly.Sewing The Ottoman Cover
Sewing the ottoman cover is a key part of building your square ottoman pouf. This step shapes the fabric to fit perfectly over the stuffing. Accurate sewing gives the pouf a clean, professional look. Use a strong thread and a sewing machine for durable seams. Take your time to measure and cut fabric pieces carefully before sewing.
Stitching The Sides
Start by joining the fabric pieces that will form the sides of the pouf. Use a straight stitch to sew the edges together. Leave a small seam allowance, about ½ inch, for strength and neatness. Press the seams flat with an iron to keep the fabric smooth. Double-stitch the edges if you want extra durability.
Creating Seams And Corners
Form the corners by folding the fabric at right angles. Pin the fabric in place to hold the shape. Sew slowly along the corner edges to avoid puckering. Use a backstitch at the beginning and end to secure the seams. Trim excess fabric near the corners to reduce bulk. This helps the pouf keep its square shape.
Adding Zippers Or Closures
Include a zipper or closure for easy removal and cleaning of the cover. Choose a zipper length that fits one side of the pouf. Pin the zipper onto the fabric with the teeth facing inward. Sew close to the zipper teeth for a tight fit. Test the zipper several times to ensure smooth opening and closing. Alternative closures can include buttons or Velcro strips for convenience.
Stuffing The Pouf
Stuffing the pouf is a key step in crafting a comfortable and sturdy ottoman. The right filling makes the pouf soft yet firm enough to hold its shape. Proper stuffing ensures the pouf looks neat and lasts longer.
Choosing The Right Filling
Select filling based on comfort, durability, and ease of use. Common choices include:
- Polyester fiberfill – soft and lightweight
- Foam pieces – firm and supportive
- Old cushions or fabric scraps – eco-friendly and budget-friendly
- Bean bag beads – flexible and moldable
Polyester fiberfill is popular for its fluffiness. Foam pieces add structure and prevent sagging. Fabric scraps work well for a firmer feel and reduce waste. Choose the filling that fits your comfort and style needs.
Filling Techniques For Shape
Fill the pouf evenly to maintain a square form. Use these techniques:
- Start by adding a base layer of filling to support weight.
- Fill corners tightly to keep edges sharp and defined.
- Compress the filling slightly as you add more to avoid lumps.
- Adjust the amount to balance softness and firmness.
- Close the pouf securely after stuffing to prevent shifting.
Even stuffing helps the pouf sit flat and look polished. Avoid overstuffing which can strain seams. Understuffing causes sagging and loss of shape. Check the pouf’s firmness often during filling for best results.

Credit: www.dougwintersmusic.com
Final Touches
Final touches bring your square ottoman pouf to life. These last details ensure it looks neat and feels comfortable. Focus on securing the cover tightly and adding decorative elements that match your style. These steps add personality and durability to your creation.
Securing The Cover
Start by pulling the fabric cover evenly over the pouf. Smooth out wrinkles and folds for a clean look. Use a staple gun or strong adhesive to fix the fabric underneath. Make sure the fabric is tight but not stretched too much.
Check all sides to keep the cover secure and flat. Tuck any loose edges neatly inside. This prevents the cover from slipping or bunching up over time. Double-check corners for sharp, crisp finishes.
Adding Decorative Elements
Choose simple decorations that suit your room’s style. Sew or glue buttons, tassels, or fabric trim along the edges. Use contrasting colors to make the pouf stand out.
Consider adding a removable cover for easy cleaning. Embellish with patterns or patches for a unique touch. Keep decorations light so the pouf stays easy to move.
These final details complete your ottoman’s look and feel. They add charm and make your pouf a cozy, stylish piece.
Placement And Styling Ideas
Knowing where and how to place your square ottoman pouf can transform your room’s vibe instantly. Thoughtful placement not only boosts functionality but also highlights the pouf as a stylish centerpiece. Let’s look at some practical ways to bring this versatile piece into your living spaces.
Using The Ottoman In Living Spaces
Place your ottoman pouf near your sofa to serve as an extra seat or a comfy footrest. It works well in front of a lounge chair too, creating a cozy nook for reading or relaxing.
Think about traffic flow in the room—your pouf should invite use without blocking paths. Try positioning it where guests can easily reach it, like beside a coffee table or near a side table.
Want to add a pop of color or texture? Choose an ottoman in a bold fabric to contrast with neutral sofas. It becomes both a functional item and an eye-catching accent.
Mixing With Other Furniture
Don’t hesitate to pair your square ottoman pouf with different furniture shapes. For instance, place it next to a round coffee table to balance curves with clean edges.
Mix textures for an inviting look—combine a soft, fabric-covered ottoman with leather chairs or wooden tables. This contrast adds depth and interest to your space.
Consider using your pouf as a coffee table alternative by adding a sturdy tray on top. It’s perfect for holding drinks or books while keeping the casual feel.
Have you tried grouping multiple poufs together? It creates flexible seating and a playful vibe that can change with your needs.

Credit: www.amazon.com
Frequently Asked Questions
What Materials Are Needed To Build A Square Ottoman Pouf?
You need fabric, foam or stuffing, plywood, screws, a staple gun, and basic tools. Quality materials ensure durability and comfort for your pouf.
How Do I Measure Fabric For A Square Ottoman Pouf?
Measure the ottoman’s height, width, and depth. Add extra fabric for seams and tucking. Accurate measurements prevent fabric shortages.
Can I Customize The Size Of My Ottoman Pouf?
Yes, you can adjust dimensions to fit your space. Just ensure foam and frame match your chosen size for stability and comfort.
How Do I Attach Fabric Securely To The Pouf Frame?
Use a staple gun to fasten fabric tightly around the frame edges. Smooth fabric for a neat, professional look and long-lasting hold.
Conclusion
Building a square ottoman pouf is a fun and useful project. You can customize it to fit your style and space. The steps are simple and easy to follow. Use the right materials and take your time sewing. Soon, you will have a comfy, stylish piece for your home.
Try making one and enjoy the satisfaction of a handmade pouf. It adds charm and comfort without much cost. Start today and see how rewarding this small project can be.


