
Looking for a cozy and stylish addition to your living space? Making your own floor pouf is easier than you think, and it’s a fun way to add a personal touch to your home.
Imagine sinking your feet into a soft, handmade pouf that matches your style perfectly. In this guide, you’ll discover simple steps to create a floor pouf that not only looks great but also feels amazing. Ready to transform your space and impress your friends with your DIY skills?
Keep reading—you’re about to learn how to make your own floor pouf from start to finish.
Credit: diyjoy.com
Materials Needed
Gathering the right materials is key to making a floor pouf that’s both comfortable and stylish. Choosing the right fabric, stuffing, and tools can save you time and ensure a durable result. Let’s break down what you’ll need to get started on your project.
Fabric Choices
Pick a fabric that suits your style and the room’s vibe. Durable options like canvas, denim, or upholstery fabric work well for a pouf that will get frequent use. If you want a softer touch, try cotton or linen blends, but keep in mind they might wear faster.
Think about patterns and colors too. Bold prints can make your pouf a statement piece, while neutral tones blend easily with existing decor. Have you considered mixing two fabrics for a unique look?
Stuffing Options
The stuffing determines how your pouf feels when you sit on it. Common choices include polyester fiberfill, foam beads, or even recycled fabric scraps. Each offers a different level of firmness and bounce.
Polyester fiberfill is soft and lightweight but might compress over time. Foam beads provide good support and shape retention. Do you prefer a pouf that’s plush or firm? Your choice will impact comfort and durability.
Tools Required
Having the right tools makes the process smoother. You’ll need a sewing machine or needle and thread if you prefer hand sewing. Sharp scissors, measuring tape, and pins are essential for precision.
Don’t forget a zipper or strong Velcro if you want a removable cover for easy washing. A fabric marker or chalk helps outline your patterns clearly. Are you ready to gather your toolkit and bring your pouf idea to life?
Choosing The Right Design
Choosing the right design for your floor pouf shapes its style and function. It defines how well it fits into your room and meets your needs. Picking the perfect design involves considering shape, size, color, and pattern. These elements help create a pouf that complements your space and personal taste.
Shape And Size Ideas
Think about where you will place the pouf. Small spaces suit round or square poufs that do not take much room. Large rooms allow for bigger, rectangular shapes that offer more seating or footrest space.
- Round poufs add softness and flow to a room.
- Square poufs offer a modern and structured look.
- Rectangular poufs can double as a bench or low table.
- Choose a size that fits your space without crowding it.
Color And Pattern Tips
Color affects the room’s mood and the pouf’s visibility. Neutral colors blend easily with many styles. Bright colors make the pouf a focal point. Patterns add personality and can hide stains or wear.
- Soft pastels create a calm, cozy feel.
- Bold colors energize and brighten the space.
- Stripes and geometric patterns suit modern decor.
- Floral or ethnic patterns bring warmth and charm.
Cutting The Fabric
Choose a sturdy fabric and lay it flat on a clean surface. Use sharp scissors to cut precise shapes following your pattern for the floor pouf. Careful cutting ensures neat edges and a perfect fit for sewing.
Cutting the fabric is a key step in crafting your own floor pouf. This phase requires precision to ensure a snug and professional finish. With the right approach, even beginners can achieve great results. Below, explore simple methods for accurate measuring and cutting.Measuring Accurately
Accurate measurements ensure a perfect pouf shape. Start by measuring the desired pouf size. Use a tape measure for precise dimensions. Record the height, width, and depth separately. Double-check each measurement to avoid errors. This saves fabric and time.Marking And Cutting
Once measured, marking the fabric is next. Use a fabric chalk for clear lines. Lay the fabric flat on a clean surface. Mark each measurement point carefully. Connect the points with a ruler for straight lines. For curves, use a flexible ruler. After marking, proceed with cutting. Use sharp fabric scissors for clean edges. Follow the marked lines closely. Hold the fabric steady to avoid shifting. Cut slowly for precision. This ensures each piece fits perfectly when sewn together.
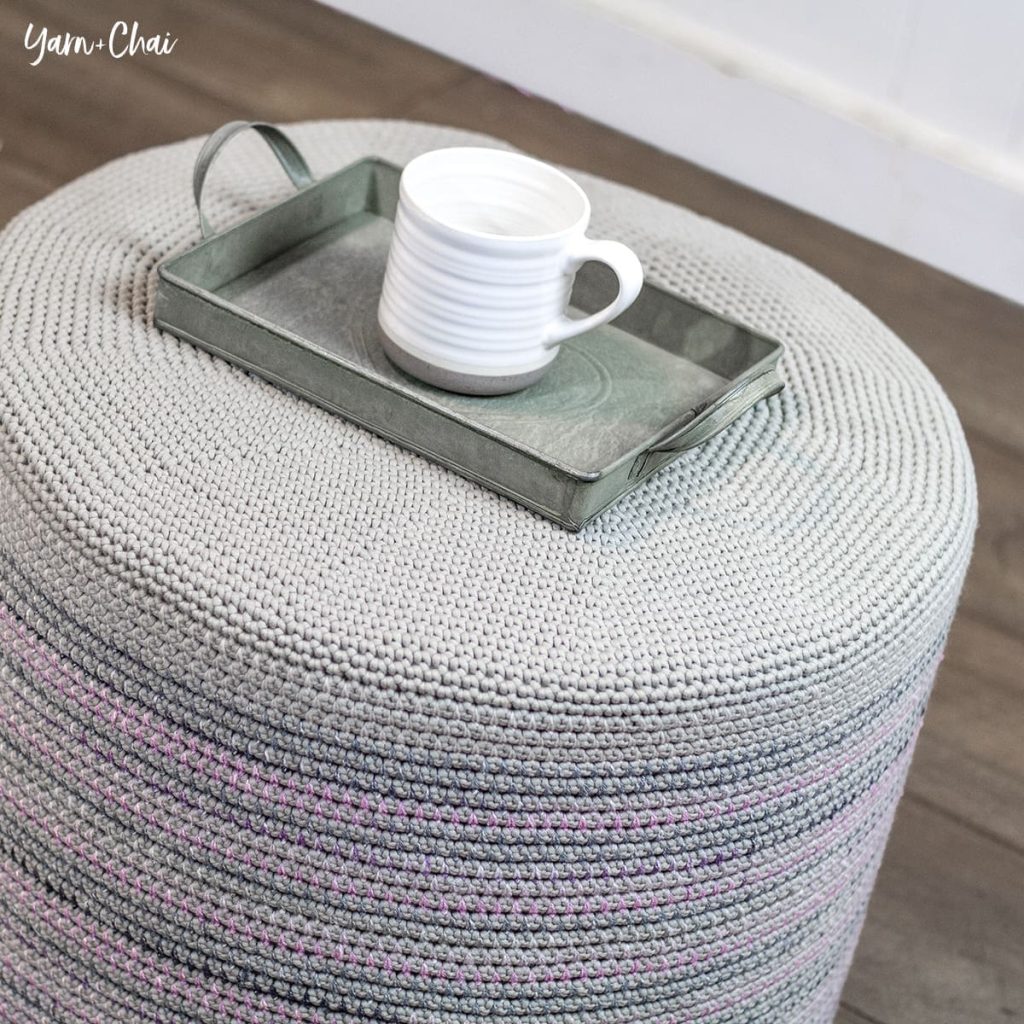
Credit: yarnandchai.com
Sewing The Pouf
Sewing the pouf is the key step to bring your project to life. It involves joining fabric pieces to form a soft and sturdy cushion. The process requires patience and simple sewing skills. Even beginners can handle it with clear instructions.
Choosing the right stitches and shaping the pouf correctly makes a big difference. This section breaks down the sewing part into easy tasks. Let’s explore the basic stitching techniques first and then move on to creating the pouf shape.
Basic Stitching Techniques
Start with straight stitches to join fabric panels. Use a sewing machine or hand sew with a needle and thread. Keep stitches even and close together for strength.
- Backstitch at the start and end to secure seams.
- Use a seam allowance of about 1/2 inch for durability.
- Try a zigzag stitch on raw edges to prevent fraying.
Press seams flat with an iron for neatness. This step helps your pouf look professional and last longer.
Creating The Pouf Shape
Cut fabric pieces according to your pattern. Usually, poufs have a round or square shape with side panels.
- Sew side panels first to form a ring.
- Attach the top and bottom pieces carefully.
- Leave an opening to insert stuffing or filling.
Double-check all seams before turning the fabric inside out. Fill the pouf firmly to keep its shape. Finally, sew the opening closed with small, tight stitches.
Stuffing The Pouf
Stuffing the pouf is a key step for comfort and shape. The right filling makes it soft yet supportive. Proper stuffing keeps the pouf looking full and inviting. Let’s explore how to fill it well and spread the stuffing evenly inside.
Filling For Comfort
Choose stuffing that feels soft but firm. Polyester fiberfill is lightweight and easy to work with. Foam pieces add more support and keep the pouf’s shape. Old clothes or fabric scraps can be eco-friendly fillers. Mix different materials for a cozy, durable pouf.
Fill the pouf enough to avoid sagging. Too little stuffing makes it flat and uncomfortable. Too much stuffing makes it hard and stiff. Aim for a balanced, cushioned feel that suits your use.
Even Distribution Tips
Spread the stuffing evenly inside the pouf cover. Start by adding filling to the center. Push and pull the stuffing toward the edges. Use your hands to smooth lumps and bumps.
- Break up big clumps for smoothness.
- Fill corners and sides thoroughly.
- Check firmness by pressing the pouf gently.
- Add more stuffing in soft spots as needed.
Take breaks to adjust the filling shape. A well-stuffed pouf stays comfortable and looks great longer.

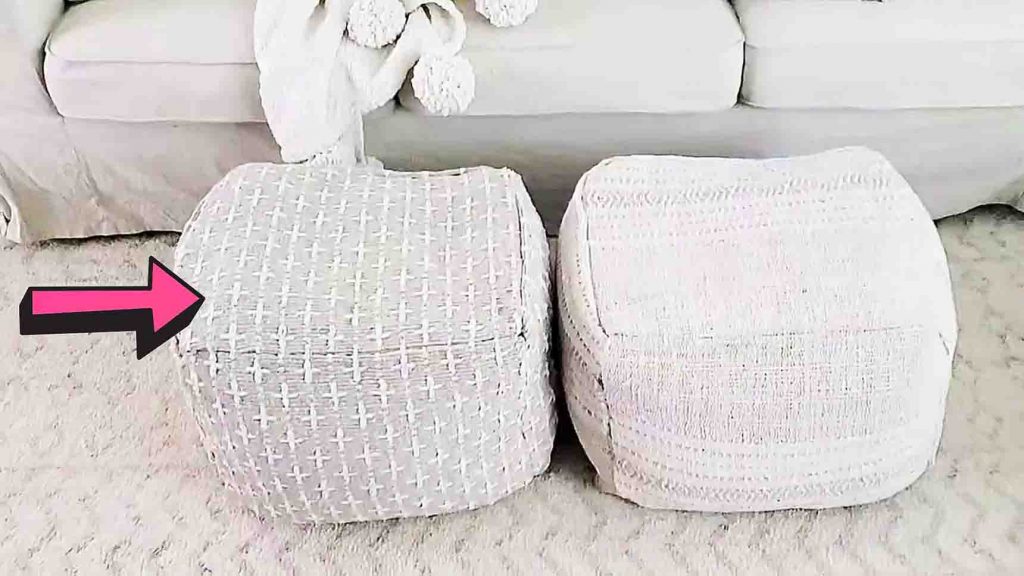
Credit: makezine.com
Finishing Touches
The finishing touches on your floor pouf are what truly bring your creation to life. These final steps not only secure the structure but also add personality and style. Paying attention to details here can transform your pouf from simple to stunning.
Closing The Opening
After stuffing your pouf, the last opening needs to be closed neatly. Use a strong needle and matching thread to stitch the gap with small, tight stitches. This ensures the stuffing stays secure and the pouf maintains its shape over time.
If you’re worried about the stitches showing, try a ladder stitch or invisible stitch to keep the seam clean. Avoid bulky knots inside the pouf, which can create lumps and discomfort. Taking your time here makes a big difference in durability and comfort.
Adding Decorative Elements
Decorative touches let your personality shine through the pouf. Consider sewing on buttons in a tufted pattern to add texture and a classic look. You can also add fabric tassels or pom-poms around the edges for a playful vibe.
Think about using contrasting thread colors for visible stitching that doubles as decoration. If you have leftover fabric, creating a small patchwork panel can add charm and use up scraps efficiently. What kind of style do you want your pouf to express in your living space?
Care And Maintenance
Keeping your floor pouf looking fresh and lasting longer depends a lot on how you care for it. Regular attention can prevent stains, wear, and tear from ruining your handiwork. Let’s dive into some practical ways you can maintain your pouf’s charm and functionality.
Cleaning Methods
Start by vacuuming your pouf regularly to remove dust and dirt trapped in the fabric. Use a handheld vacuum or the upholstery attachment on your vacuum cleaner to avoid damaging the stitches.
For spills, blot the area immediately with a clean, dry cloth. Avoid rubbing because it can push the stain deeper into the fibers.
Spot clean with mild soap and warm water, applying it gently with a soft cloth. Test the soap on a small hidden patch first to make sure it doesn’t discolor your fabric.
If your pouf has a removable cover, check if it’s machine washable. Wash it on a gentle cycle and air dry to keep the fabric from shrinking or losing shape.
Repair Tips
Small tears or loose threads can be fixed easily with a needle and matching thread. Sewing these up quickly prevents the damage from growing bigger.
If the stuffing inside feels flat or uneven, add extra filling to maintain the pouf’s shape and comfort. You can use polyester fiberfill or foam pieces depending on the original stuffing.
For zipper issues, applying a little wax or soap along the teeth can make it glide smoothly again. If the zipper breaks, consider replacing it to keep the cover secure.
Have you noticed a part of your pouf wearing thin? Reinforce it by sewing on a small patch of matching fabric to extend its life without making it look patched up.
Styling Ideas
Styling your floor pouf can transform any room. It adds comfort and a casual charm. Using it wisely enhances your space’s look and feel. Here are some ideas to style your handmade pouf.
Placing Your Pouf
Position your pouf near seating areas for extra comfort. It works well beside sofas or armchairs. Use it as a footrest or extra seat for guests. Place it by a low coffee table to create a cozy spot. In small rooms, tuck it into corners to save space. Near a window, it can become a relaxing reading nook.
Mixing With Other Decor
Combine your pouf with cushions and rugs for a layered look. Match colors or patterns for a balanced style. Mix textures like wool, cotton, or leather to add depth. Pair it with natural wood furniture to create warmth. Use neutral tones for a calm atmosphere. Bright poufs bring a pop of color to simple rooms.
Frequently Asked Questions
What Materials Do I Need To Make A Floor Pouf?
You need fabric, stuffing (like foam or beads), thread, and a sewing needle or machine. Optional: zipper for removable covers.
How Long Does It Take To Make A Floor Pouf?
Making a floor pouf usually takes 2 to 4 hours. Time varies by skill level and design complexity.
Can I Customize The Size Of My Floor Pouf?
Yes, you can easily adjust the size by changing fabric dimensions. Customize to fit your space perfectly.
Is Sewing Experience Required To Make A Floor Pouf?
Basic sewing skills help but beginners can try no-sew or simple stitch methods. Tutorials simplify the process.
Conclusion
Making your own floor pouf brings style and comfort to your space. It saves money and lets you add a personal touch. This simple project suits beginners and experts alike. Use your favorite fabrics and colors to match your room.
Enjoy sitting, resting feet, or extra seating with your pouf. Crafting it yourself gives pride and a fun experience. Try it today and see how easy and rewarding it can be. Your home will feel cozy and unique with a handmade pouf.


