
Are you ready to transform your space in minutes? Pasting wall stickers on your wall is one of the easiest and most affordable ways to add personality and style to any room.
But if you’ve ever struggled with bubbles, crooked lines, or stickers that just won’t stick, you’re not alone. In this guide, you’ll discover simple, step-by-step tips that make the process smooth and stress-free. By the end, you’ll have the confidence to turn any plain wall into a work of art that truly reflects your style.
Keep reading to unlock the secrets of perfect wall sticker application every time.
Choose The Right Wall Stickers
Choosing the right wall stickers is a crucial step to ensure your walls look amazing and the stickers last long. The right choice depends on where you want to place them, the style you prefer, and the surface of your wall. Taking a little time to pick wisely can save you from peeling, fading, or clashing decor later on.
Types Of Wall Stickers
Wall stickers come in a variety of types, each suited for different purposes. Vinyl stickers are durable and easy to clean, making them ideal for kitchens and bathrooms.
Fabric stickers are softer and create a textured look but may not stick well on rough surfaces. Decals with a matte finish reduce glare and are perfect for living rooms or bedrooms. Think about how often you might want to change the design too—removable stickers offer flexibility without damaging the paint.
Selecting Suitable Designs
Your design choice should reflect your personal style and the room’s vibe. Bold, large patterns can make a statement in a spacious area, while smaller, subtle designs work better in tight spaces.
Consider the color scheme of the room—do you want the stickers to blend in or stand out? For example, a monochrome design can add elegance without overpowering the decor, whereas bright colors can bring energy to a dull corner.
Ask yourself: will this design grow on me or feel outdated in a few months? Choosing timeless patterns or nature-inspired themes often keeps your walls fresh longer.
Material Considerations
Wall sticker materials affect how well they stick and how they look on your wall. Vinyl stickers generally offer strong adhesion and are waterproof, which is great for humid rooms.
Paper-based stickers are cheaper but less durable and can peel off more easily. If your walls have textures like brick or stucco, flexible materials that can conform to uneven surfaces work best.
Also, check if the sticker leaves residue when removed—some materials are designed to peel off cleanly, which is important if you’re renting or like to update your decor frequently.

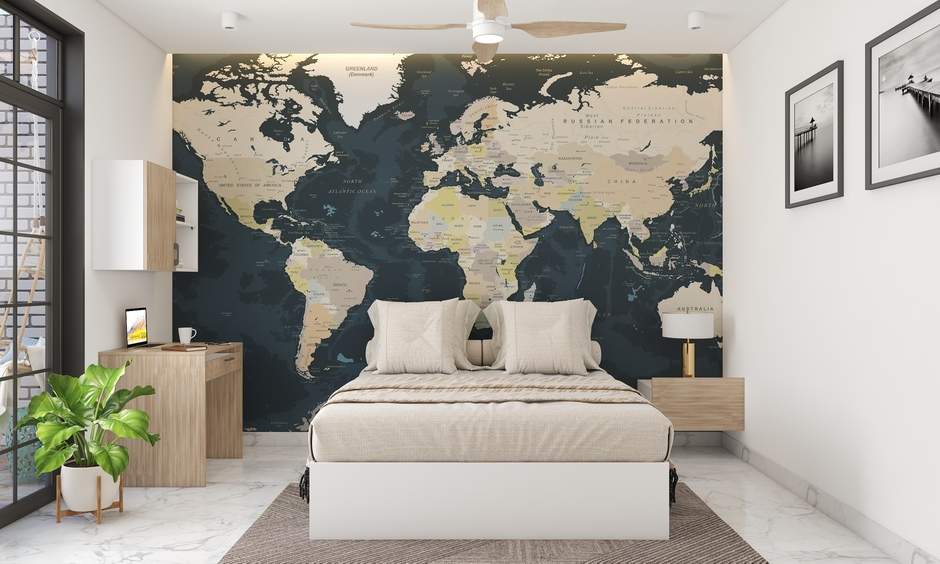
Credit: www.designcafe.com
Prepare The Wall Surface
Preparing the wall surface is the foundation of a successful wall sticker application. If your wall isn’t ready, the sticker won’t stick properly and may peel off quickly. Taking the time to prepare your wall ensures your design stays vibrant and intact for a long time.
Clean The Wall Thoroughly
Start by removing any dirt, grease, or fingerprints from the wall. Use a mild soap mixed with water and a soft cloth or sponge to wipe the surface clean. Avoid harsh chemicals that could damage the paint or leave residues that interfere with adhesion.
After washing, rinse the wall with clean water and dry it completely with a lint-free towel. Have you ever tried sticking something on a dusty surface only to watch it fall off? That’s why cleanliness is key.
Ensure A Smooth Surface
Feel the wall with your hand to check for bumps, cracks, or rough patches. Wall stickers adhere best to flat, smooth surfaces. If you find imperfections, fill them with spackle or wall filler and sand them down once dry.
Imagine trying to stick a sticker over peeling paint or uneven plaster—it won’t lay flat or look good. Take your time here; a smooth wall makes a big difference in the final result.
Avoid Moisture And Dust
Moisture can prevent the adhesive from bonding properly. Make sure the wall is completely dry before you apply the sticker. Avoid placing stickers in humid areas like bathrooms or near kitchen sinks unless they’re specifically designed for those conditions.
Dust particles can also weaken adhesion. After cleaning and drying, use a dry microfiber cloth to remove any lingering dust. Have you noticed how even the tiniest dust speck can ruin a perfectly placed sticker? Don’t let that happen to you.
Gather Necessary Tools
Essential tools include a clean cloth, a flat scraper, and the wall stickers themselves. Having these ready helps make the application smooth and easy. Preparing the surface and tools ensures the stickers stick well and look neat.
Gathering the right tools is crucial for applying wall stickers smoothly. With the correct tools, the process becomes easier and the results better. Preparation ensures the stickers adhere properly without bubbles or misalignment.Common Tools Needed
To start, gather a few essential tools. These help in applying the stickers accurately and efficiently:- Measuring Tape:Ensures precise placement on the wall.
- Level:Keeps the stickers straight and aligned.
- Scissors or Craft Knife:Trims any excess or cuts to fit.
- Soft Cloth or Squeegee:Smooths out bubbles, ensuring a flat surface.
- Pencil:Marks guide points for accurate positioning.
Optional Accessories For Precision
Consider these additional tools for a more professional finish. They enhance accuracy and ease during application:- Painter’s Tape:Holds the sticker in place temporarily for adjustments.
- Spray Bottle with Water:Helps in repositioning the sticker if needed.
- Hair Dryer:Softens the sticker, aiding in adherence to uneven surfaces.
- Step Ladder:Essential for reaching higher wall areas comfortably.
Credit: www.oliveandjunehome.com
Plan Sticker Placement
Planning the placement of your wall stickers is a crucial step that can save you from frustrating mistakes. Taking time to visualize and map out where each sticker will go ensures a balanced and attractive result. It also helps you avoid awkward gaps or overlaps that can ruin the look.
Measure And Mark Positions
Start by measuring the wall space where you want to apply the stickers. Use a tape measure to get accurate dimensions of the area and the stickers themselves. This helps you understand how much room you have and where each sticker will fit best.
Mark the positions lightly on the wall with a pencil or painter’s tape. These marks act as guides, so you don’t have to guess when placing the stickers. If you’ve ever stuck something crooked and had to peel it off, you know how valuable these reference points are.
Use Templates Or Guides
Templates can be lifesavers. If your stickers come with a backing sheet or a stencil, use it to outline the placement on the wall before you peel off the adhesive. This way, you can adjust the layout without damaging the wall or the sticker.
For freehand placement, consider creating paper cutouts of your stickers to test the arrangement first. Tape these cutouts to the wall and step back to see how they look from different angles. This hands-on approach gives you a clear picture of the final design and helps you decide if you want to shift anything.
Apply The Wall Stickers
Applying wall stickers is the final step to bring your space to life. It requires care and patience to ensure a smooth, flawless look. The key is to handle the stickers gently and position them accurately on the wall.
Peel And Position Carefully
Start by peeling the backing paper slowly from one corner. Avoid touching the sticky side too much to keep it clean. Hold the sticker by the edges and place it gently on the wall. Position the sticker close to the desired spot before fully sticking it down.
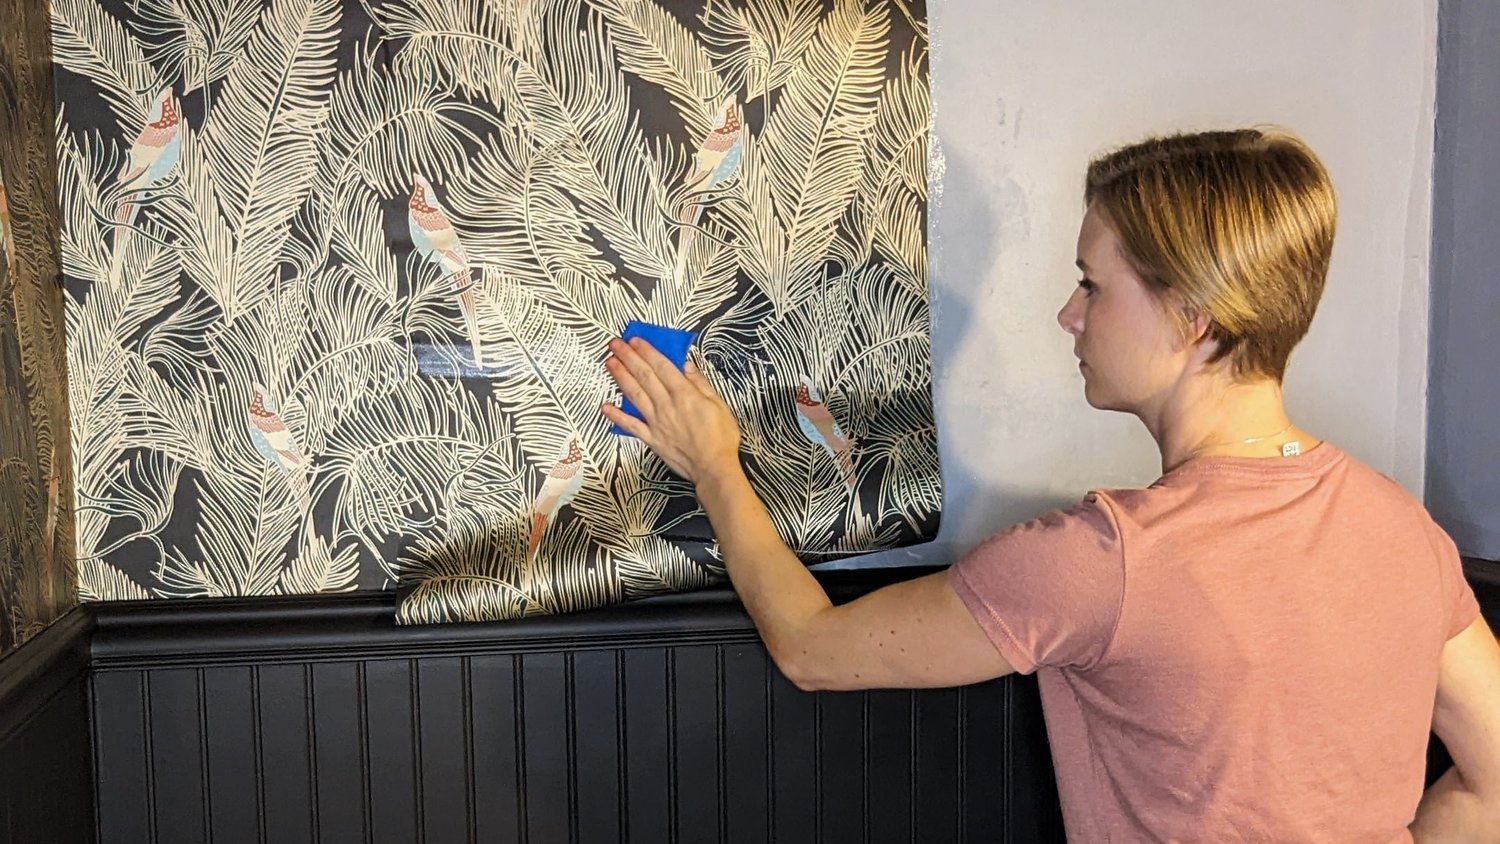
Smooth Out Air Bubbles
Use a soft cloth or a plastic card to press the sticker from the center outward. This action pushes out trapped air and prevents bubbles. Work slowly and firmly, smoothing every part of the sticker. Small bubbles can ruin the look, so take your time.
Adjust Alignment As Needed
If the sticker is slightly off, lift it gently from one edge. Reposition it carefully without stretching or tearing. Use a level or ruler to check the alignment. Small adjustments at this stage ensure a perfect finish on your wall.
Post-application Tips
Once your wall sticker is in place, the work isn’t quite over. How you treat the sticker right after applying it can make a huge difference in how well it sticks and how long it lasts. Paying attention to a few key details after application can save you from frustration and keep your wall art looking fresh for months.
Press Firmly For Adhesion
After positioning your wall sticker, press down firmly to ensure it sticks well. Use a flat tool like a credit card or a plastic scraper to smooth out air bubbles and creases. Applying even pressure helps the adhesive bond better with the wall surface, especially around the edges where peeling often starts.
Have you ever noticed stickers peeling off just days after application? It’s often because they weren’t pressed down enough. Taking a few extra minutes here can prevent that annoying problem.
Avoid Immediate Cleaning
Resist the urge to clean the area around or over the sticker right after applying it. Moisture can weaken the adhesive before it fully sets. Wait at least 24 hours before dusting or wiping near the sticker to let it settle securely.
Think about your own experience with tape or labels—they often lose stickiness if wiped too soon. Treat your wall sticker the same way to preserve its grip.
Maintain Sticker Longevity
Keep your wall sticker looking great by avoiding harsh cleaning chemicals and abrasive scrubbing. Instead, gently dust it with a soft cloth or use a dry microfiber duster. Also, try to keep the sticker out of direct sunlight to prevent fading over time.
Have you ever seen how sunlight can fade fabrics or photos? Stickers are no different. Protecting them from strong light helps maintain their colors and sharpness much longer.
Troubleshoot Common Issues
Applying wall stickers can be tricky. Small problems like wrinkles or bubbles may appear. These issues can spoil the look and feel of your decoration. Learning simple fixes helps keep your walls perfect.
Removing stickers might seem risky. You want to keep your wall safe and clean. Knowing how to take off stickers gently is important. It prevents paint or wall damage.
Fixing Wrinkles And Bubbles
Wrinkles and bubbles appear when air gets trapped under the sticker. Press the sticker gently from the center outwards. Use a soft cloth or a plastic card to smooth it.
If bubbles stay, poke a tiny hole with a pin. Press the air out through the hole carefully. Avoid tearing the sticker. Work slowly for best results.
For wrinkles, lift the sticker gently and reapply it. Make sure the surface is clean and dry before sticking again. This helps the sticker stick better and stay flat.
Removing Stickers Without Damage
Start by peeling a corner slowly. Pull the sticker back at a sharp angle, not straight up. This reduces the risk of wall damage.
Use warm soapy water or a hairdryer to soften the adhesive. Heat makes it easier to remove stickers without tearing paint.
If residue remains, rub gently with a soft cloth and mild cleaner. Avoid harsh chemicals that can harm the wall surface.

Credit: tinywalls.com.au
Frequently Asked Questions
How Do I Prepare My Wall For Stickers?
Clean the wall with a damp cloth and mild soap. Ensure it’s dry and smooth for better sticker adhesion. Avoid textured or dusty surfaces to prevent peeling.
Can I Reuse Wall Stickers After Removal?
Most wall stickers lose adhesion after removal. You can try gently repositioning if the adhesive is intact. For best results, use new stickers for reapplication.
What Tools Help With Smooth Wall Sticker Application?
Use a squeegee or credit card to smooth out air bubbles. A measuring tape ensures proper alignment. These tools help achieve a neat, professional look.
How Long Do Wall Stickers Typically Last?
Wall stickers usually last 3 to 5 years indoors. Avoid direct sunlight and moisture to extend their lifespan. Proper application also enhances durability.
Conclusion
Applying wall stickers is simple and fun with the right steps. Clean your wall well and plan the design carefully. Peel the backing slowly to avoid wrinkles or bubbles. Press the sticker firmly to help it stick well. Take your time and enjoy the process.
This easy method brightens any room quickly. Now, your space looks fresh and stylish. Try it yourself and see the difference!


