
Are you struggling to get your vinyl wall stickers to stay put? You’re not alone.
It’s frustrating when your carefully chosen design won’t stick properly, ruining the look you want to create. But don’t worry—there are simple tricks you can use to make sure your stickers cling perfectly and last a long time. Keep reading, and you’ll discover easy, practical steps that anyone can follow to transform your walls with confidence.
Your space is about to get a whole lot more stylish, without the hassle.
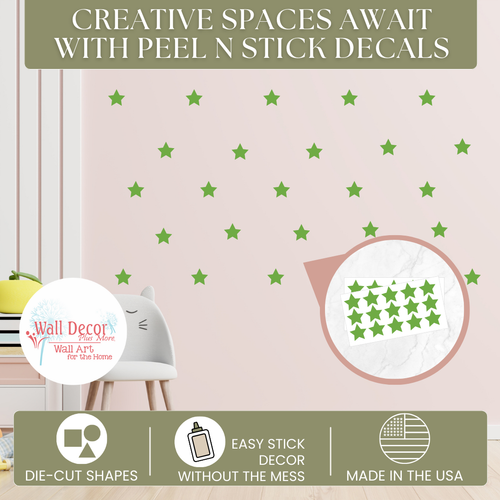
Credit: www.etsy.com
Choose The Right Surface
Choosing the right surface is key to making your vinyl wall stickers stick well and last long. The surface you pick affects how firmly the sticker adheres and how easy it is to remove later without damage. Knowing which walls work best saves you from frustration and wasted effort.
Smooth And Clean Walls
Vinyl stickers cling best to walls that are smooth and clean. Paint finishes like satin, semi-gloss, or gloss create ideal surfaces because they offer a flat and even base. Before applying your sticker, wipe the wall with a damp cloth to remove dust, dirt, and grease. Even tiny particles can prevent the adhesive from bonding properly.
Have you ever tried sticking a decal on a wall only to watch it peel off after a few days? That often happens because the surface wasn’t clean enough. Taking a few extra minutes to prepare the wall can make all the difference in how long your sticker stays put.
Avoid Textured Or Porous Surfaces
Textured or porous walls pose a challenge for vinyl stickers. Rough surfaces like stucco, brick, or heavily textured paint create gaps under the sticker, weakening the grip. Porous materials such as unpainted drywall or raw wood absorb the adhesive, making it less effective.
If your wall has bumps, grooves, or an uneven finish, the sticker won’t lay flat and might peel off quickly. Instead of struggling, consider applying the sticker on a smoother nearby surface or use a clear backing sheet to create a flat base. This small adjustment can save you from constant reapplying.
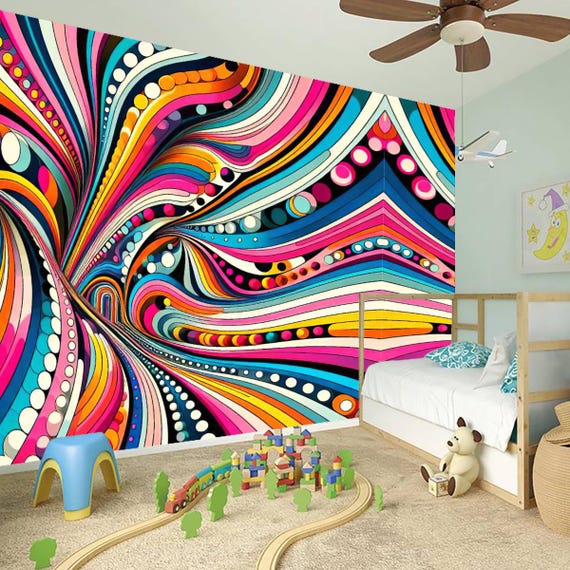
Credit: www.amazon.com
Prepare Your Wall Properly
Proper wall preparation is key to making vinyl wall stickers stick well. The surface must be clean and smooth. Dirt, dust, and grease block adhesive strength. Taking time to prepare the wall improves sticker lifespan and appearance.
Clean With Mild Detergent
Use a soft cloth with mild detergent and water. Avoid harsh cleaners that can damage paint or wallpaper. Gently wipe the wall to remove dirt and grime. This step creates a fresh, clean base for the sticker.
Remove Dust And Grease
After washing, check for any leftover dust or grease. Use a clean, dry cloth or a tack cloth to pick up small particles. Grease spots prevent stickers from sticking properly. Make sure the entire surface feels clean and smooth.
Dry The Surface Thoroughly
Use a dry towel or let the wall air dry completely. Moisture reduces the sticker’s ability to bond. Wait at least 30 minutes after cleaning before applying the sticker. A dry wall ensures strong, lasting adhesion.
Check Temperature And Humidity
Checking temperature and humidity before applying vinyl wall stickers is vital. These two factors affect how well the sticker sticks and lasts. The right environment helps the adhesive bond strongly to the wall surface.
Too cold or too hot temperatures can cause the vinyl to peel or bubble. Moist air can weaken the glue, making the sticker fall off over time. Preparing the room ensures a smooth and lasting application.
Ideal Temperature Range
Keep the room temperature between 65°F and 85°F (18°C to 29°C). This range allows the vinyl adhesive to activate properly. Cooler temperatures make the glue stiff and less sticky.
Hotter temperatures can soften the adhesive, causing it to slide or wrinkle. Avoid applying stickers near heaters or in direct sunlight. A stable, moderate temperature gives the best results.
Avoid High Humidity
Humidity above 60% can harm the sticker’s grip. Moisture creates a barrier between the adhesive and the wall. This leads to bubbles and peeling edges.
Use a dehumidifier or air conditioner to control moisture levels. Apply stickers in dry conditions for a strong hold. Wait for a dry day if walls feel damp or moist.
Apply Stickers Carefully
Applying vinyl wall stickers requires precision and patience. Careful application ensures they stick well and look professional. Follow these steps for the best results.
Peeling Off Backing Slowly
Begin by gently peeling the backing from the sticker. Go slowly to avoid tearing the vinyl. Keep the sticky side clean and free from dust.
Positioning And Aligning
Carefully position the sticker on your chosen spot. Align it properly to ensure a straight application. Use a ruler or level to help with alignment.
Use A Squeegee For Smooth Application
Once positioned, use a squeegee to apply the sticker. Start from the center and move outward. This helps remove air bubbles and ensures a smooth surface.
Enhance Adhesion
Enhancing the adhesion of vinyl wall stickers ensures they stay in place longer and look great. Proper preparation and application increase the sticker’s grip on the surface. Small actions can make a big difference in how well the sticker sticks. Follow simple tips to improve adhesion and avoid peeling or bubbles.
Warm The Sticker Slightly
Warming the vinyl sticker softens the adhesive. Use a hairdryer on low heat and move it evenly over the sticker. Heat makes the glue more sticky and flexible. Avoid overheating to prevent damage to the sticker or wall. Warm stickers stick better to surfaces, especially cold or textured walls.
Press Firmly From Center Outward
Start pressing the sticker at the center point. Use your fingers or a flat tool like a credit card. Press outward toward the edges to push out air bubbles. Firm pressure helps the adhesive bond with the wall surface. This method ensures the sticker lays flat and sticks evenly.

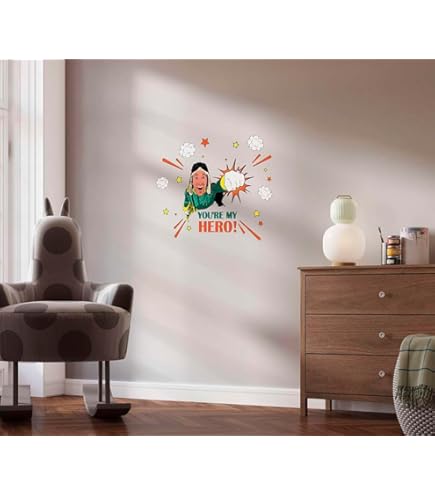
Credit: us.amazon.com
Troubleshoot Common Issues
Vinyl wall stickers can instantly transform a space, but sometimes they don’t apply as smoothly as you’d like. Troubleshooting common issues helps you get the perfect stick without frustration. Let’s look at how to fix those annoying problems like bubbles, wrinkles, peeling edges, and stickers that just won’t stick.
Bubbling And Wrinkles
Bubbles and wrinkles often appear when air gets trapped under the sticker. To avoid this, start applying the sticker from one edge and slowly smooth it down with a plastic card or squeegee.
If bubbles form, gently lift the sticker near the bubble and reapply while pressing out the air. Tiny wrinkles usually flatten out over time, but stubborn ones can be carefully stretched or repositioned.
Have you noticed that working in a warmer room helps the vinyl stick better? Heat softens the adhesive, making bubbles easier to smooth out.
Peeling Edges
Peeling edges often mean the surface wasn’t clean or dry enough before application. Dust, grease, or moisture can prevent the adhesive from bonding properly.
To fix peeling, press down the edges firmly and use a hairdryer on low heat to reactivate the glue. Hold the hairdryer a few inches away and slowly warm the edges, then press them down again.
Sometimes, edges peel because the sticker is applied on a textured or rough surface. Can you try applying it on a smoother area or use a primer to improve adhesion?
Sticker Not Sticking At All
If your sticker refuses to stick, start by checking the surface type. Some surfaces like freshly painted walls or wallpapers may prevent vinyl from adhering well.
Clean the surface thoroughly with rubbing alcohol and let it dry completely before applying the sticker. Avoid using household cleaners that leave residues.
Also, vinyl stickers stick best at room temperature. If it’s too cold or too hot, the adhesive won’t work properly. Have you tried waiting for a different time of day to apply your sticker?
Maintain Your Vinyl Stickers
Maintaining your vinyl wall stickers helps keep them looking fresh and vibrant. Proper care ensures they last longer without peeling or fading. Simple habits can protect your stickers from dirt, moisture, and damage.
Cleaning Tips
Gently dust your vinyl stickers with a soft, dry cloth. Avoid using harsh chemicals or abrasive materials. If needed, wipe with a damp cloth and mild soap. Pat dry immediately to prevent water damage. Regular cleaning keeps stickers bright and prevents buildup.
Avoiding Damage Over Time
Keep stickers away from direct sunlight to reduce fading. Avoid placing stickers on rough or uneven surfaces. Do not scratch or peel the edges of the sticker. Limit exposure to heat and moisture to prevent lifting. Handle with care to preserve the adhesive strength.
Frequently Asked Questions
How Do I Prepare The Wall For Vinyl Stickers?
Clean the wall thoroughly with soap and water. Remove dust, grease, and moisture. Ensure the surface is smooth and dry before application.
Can Vinyl Stickers Stick On Textured Walls?
Vinyl stickers adhere best to smooth, flat surfaces. Textured walls may reduce adhesion and cause peeling. Use priming or choose smoother areas.
How To Avoid Bubbles Under Vinyl Stickers?
Apply stickers slowly from one edge. Use a squeegee or credit card to smooth out air bubbles. Work from the center outward.
How Long Do Vinyl Wall Stickers Last?
Vinyl stickers can last 3-5 years indoors. Avoid direct sunlight and moisture to prolong their life. Proper application also improves durability.
Conclusion
Vinyl wall stickers stick best on clean, dry surfaces. Press firmly and smooth out air bubbles. Avoid peeling or repositioning too often. Use a soft cloth to remove dust before applying. Warm the sticker slightly for better grip. These simple steps help your stickers stay put longer.
Enjoy decorating with ease and confidence. Your walls will look fresh and neat. Small efforts make a big difference in sticker success. Keep these tips in mind for perfect results every time.


