
Are you tired of your wall stickers peeling off or falling down just days after putting them up? You’re not alone.
Getting wall stickers to stick properly can be frustrating, especially when you want your space to look perfect. But what if you could make them stay on longer, looking fresh and vibrant? You’ll discover simple, effective tips to ensure your wall stickers cling tight and stay put.
By the end, you’ll feel confident transforming your walls without worrying about constant touch-ups. Keep reading, and make your walls stick the right way!
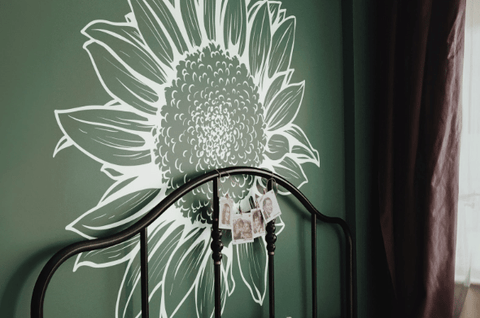
Choosing The Right Wall Stickers
Choosing the right wall stickers is the key to making them stick well and last longer. Not all stickers behave the same on every wall. Your choice impacts how easily they apply, how strong they hold, and how clean they come off.
Material Types And Their Adhesion
Wall stickers come in various materials like vinyl, paper, and fabric. Vinyl stickers usually have the strongest adhesive, making them great for smooth walls. Paper stickers are more delicate and may peel off quickly, especially on textured surfaces.
Have you noticed how some vinyl stickers can stay put even in humid bathrooms? That’s because their adhesive is designed to resist moisture. If you want stickers to last, pick materials that suit your wall’s environment.
Size And Design Considerations
The size of your sticker affects how well it sticks. Large stickers cover more surface area, which can mean better adhesion if applied carefully. But bigger stickers are also harder to align and may trap air bubbles under them.
Simple designs with fewer edges are less likely to peel at the corners. Intricate designs with many tiny parts might lift easily. Think about where you want to place the sticker and how often that area gets touched or cleaned.
Surface Compatibility
Not all walls are created equal. Smooth surfaces like painted drywall or glass are perfect for most stickers. Rough or porous surfaces like brick or textured plaster might cause stickers to fall off quickly.
Test a small sticker first if you’re unsure about your wall’s compatibility. You might need to clean or prime the surface before applying. Ask yourself: Is your wall glossy, matte, or uneven? This matters more than you might expect.

Credit: commomy.com
Preparing Your Walls
Preparing your walls is the first step to make wall stickers stick well. Clean and smooth surfaces help the stickers hold longer. Walls need to be free from dust, grease, and moisture. Proper preparation prevents peeling and bubbling.
Cleaning Techniques For Better Grip
Start by wiping the wall with a dry cloth. Remove loose dust and dirt carefully. Use a mild soap mixed with water for deeper cleaning. Dampen a sponge and gently scrub the wall surface. Avoid soaking the wall; moisture can weaken the sticker’s grip. Let the wall dry completely before applying stickers. For oily spots, use rubbing alcohol on a cloth and wipe the area. This removes grease that stops stickers from sticking properly.
Dealing With Paint And Wallpaper
Wall stickers stick best on smooth, painted walls. Glossy or semi-gloss paint may cause stickers to slide off. Lightly sanding the wall can create a better grip. Avoid applying stickers on peeling or cracked paint. Wallpaper can be tricky. Stickers may not hold well on textured or patterned wallpaper. Test a small sticker piece first. If it falls off, consider another wall or surface.
Optimal Wall Conditions
- Ensure the wall is dry and free from moisture.
- Maintain room temperature between 60°F and 75°F (15°C to 24°C).
- Avoid walls with strong odors, as they affect adhesive strength.
- Check for smoothness; rough walls reduce sticker contact.
- Remove any nails, hooks, or wall hangings before applying stickers.
Following these steps creates the perfect surface for wall stickers. Proper preparation extends the life and look of your decorations.
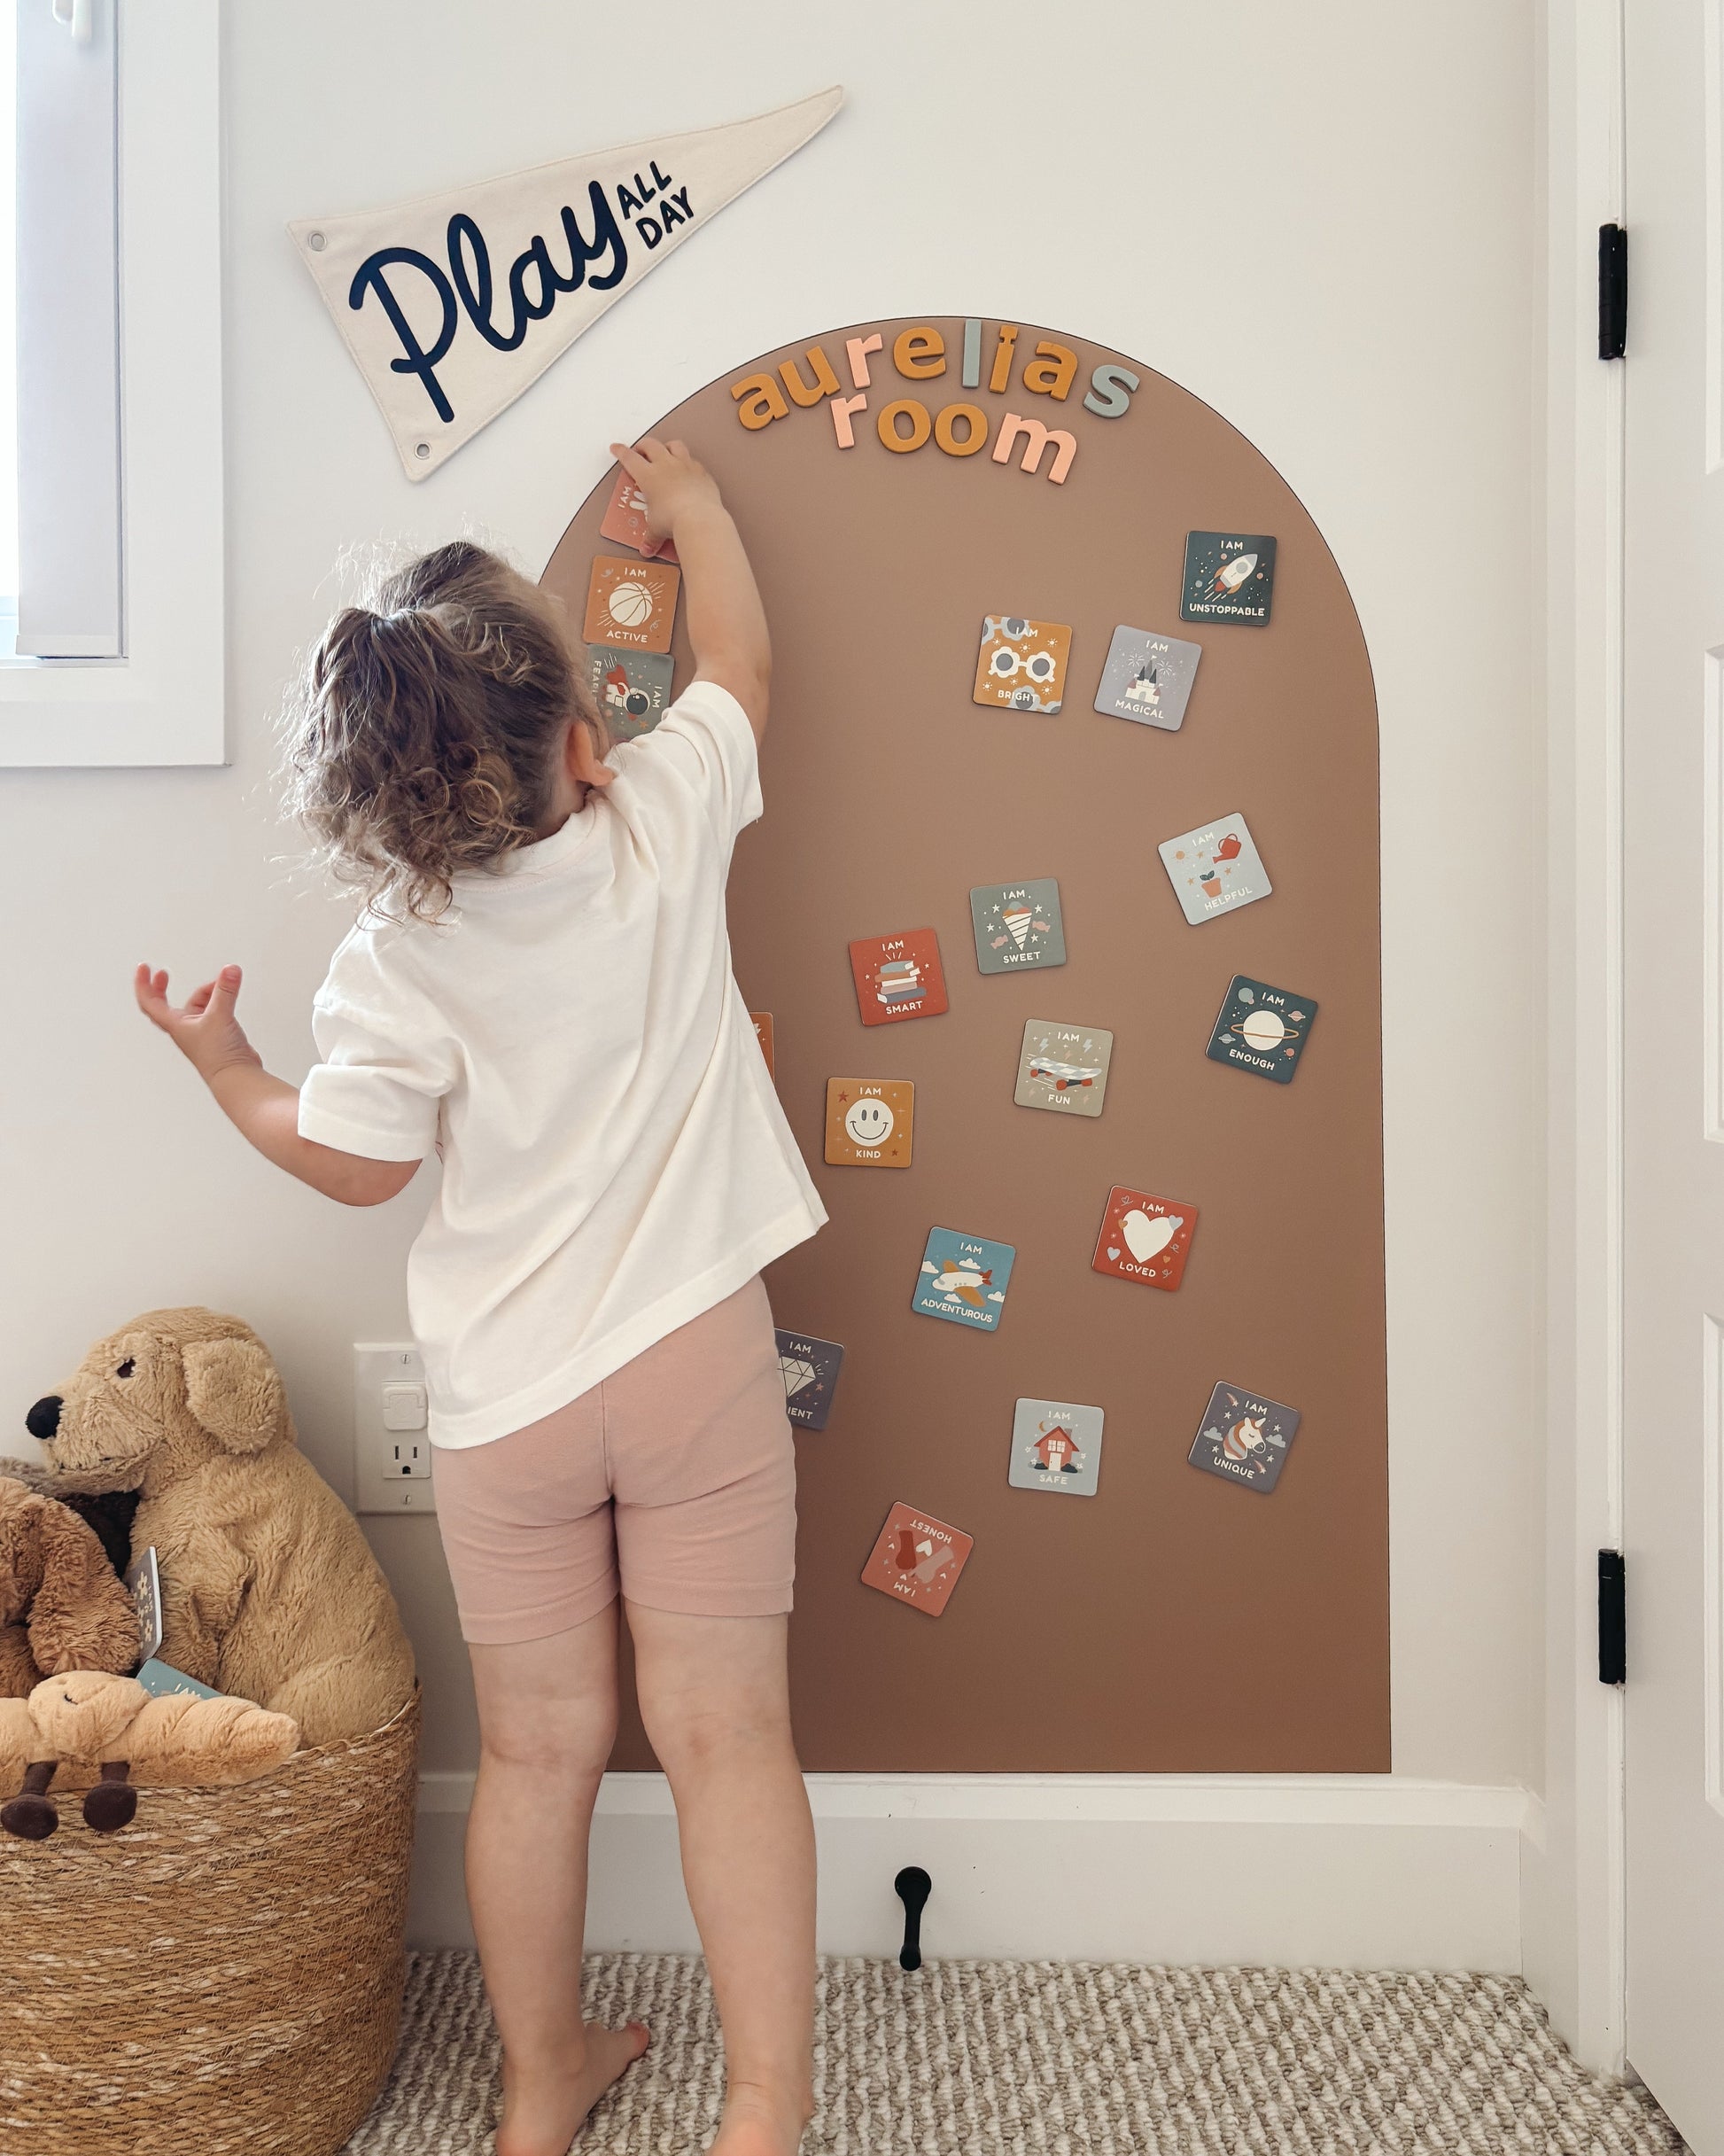
Applying Wall Stickers Properly
Applying wall stickers properly can be a game-changer in transforming your space. Done right, they can add a touch of personality and flair to your walls. The key is to ensure they stay put without peeling or bubbling.
Tools You’ll Need
Before diving into the application process, gather the right tools. A squeegee or a credit card will help you smooth out the sticker. A measuring tape ensures precision in placement, while a clean cloth is essential for prepping the wall surface.
Don’t forget a level for straight alignment. A pencil can help mark the perfect spot without leaving permanent marks. Having these tools ready will make the process seamless and straightforward.
Step-by-step Application Process
Begin by cleaning your wall with a damp cloth to remove dust and dirt. Allow the wall to dry completely, as moisture can prevent the sticker from adhering properly.
Next, use your measuring tape and level to mark where you’d like to place the sticker. Once you’ve confirmed the spot, peel off the backing paper from the sticker.
Carefully apply the sticker from one edge to the other, using the squeegee to smooth it out. This prevents any premature sticking and allows for adjustments as needed.
Avoiding Air Bubbles And Wrinkles
Air bubbles and wrinkles can ruin the look of your wall stickers. To avoid them, apply the sticker slowly, using your squeegee or credit card to press out air as you go along.
If you notice a bubble, gently lift the sticker and reapply it, smoothing out the area. For stubborn bubbles, a small pinprick can release trapped air without damaging the sticker.
Have you ever tried applying a sticker only to find it riddled with bubbles? With these tips, you’ll achieve a flawless finish every time.
Credit: shopcherrypick.com
Maintaining Wall Stickers Over Time
Maintaining wall stickers over time keeps your space looking fresh and stylish. Proper care helps prevent damage and peeling. Small efforts extend the life of your wall art. Follow simple tips to keep stickers vibrant and firmly attached.
Cleaning Tips Without Damage
Clean wall stickers gently to avoid peeling or fading. Use a soft, dry cloth to wipe dust away. For stubborn dirt, lightly dampen the cloth with water only. Avoid harsh chemicals or abrasive cleaners that can harm the sticker’s surface. Pat dry immediately to prevent moisture buildup.
Handling Peeling Edges
Peeling edges need quick attention to stop further damage. Gently press the edges back onto the wall. Use a small amount of clear craft glue for stubborn areas. Avoid pulling or stretching the sticker as it can tear. Check edges regularly to catch peeling early.
When To Reapply Or Replace
Wall stickers may lose stickiness after long use. Reapply if the adhesive weakens but the sticker stays intact. Clean the wall surface before reapplying to ensure good adhesion. Replace stickers that are torn, faded, or no longer match your decor. Fresh stickers bring new life to your walls.
Troubleshooting Common Issues
Wall stickers can brighten any space instantly. Sometimes, they don’t stick well or leave marks behind. These issues are common but easy to fix. Understanding the cause helps keep your stickers neat and lasting longer.
Fixing Falling Stickers
Stickers fall off mostly due to dirty or rough surfaces. Clean the area with a soft cloth and mild soap. Let it dry completely before applying the sticker. Press the sticker firmly from the center outwards. Use a hairdryer on low heat to warm the sticker. This makes the adhesive stick better.
Dealing With Residue And Stains
Sticker residue can be sticky and hard to remove. Use rubbing alcohol or a mixture of vinegar and water. Apply gently with a cloth to avoid damaging the wall paint. Avoid scraping, which can harm the surface. For stains, try a soft eraser or mild detergent. Test on a small spot first to be safe.
Improving Adhesion On Difficult Surfaces
Some walls like textured or painted ones cause poor sticker grip. Sand the surface lightly with fine sandpaper to smooth it. Use a primer or adhesive spray designed for wall decals. Avoid applying stickers on damp or humid surfaces. Stickers last longer on clean, dry, and smooth walls.

Credit: commomy.com
Alternative Methods For Extra Durability
If your wall stickers keep peeling off or losing their charm, don’t worry. There are several alternative methods to boost their durability and keep them looking fresh longer. Trying a few simple tricks can make a big difference in how well your stickers stick and how long they last.
Using Additional Adhesives
Sometimes the adhesive on the back of the sticker isn’t strong enough for certain wall surfaces. Adding a thin layer of clear-drying glue, like craft glue or spray adhesive, can help. Be careful to apply it evenly so you don’t create lumps or damage the sticker.
Double-sided tape is another option. It provides extra grip, especially on textured or painted walls. Have you tried using a glue stick? It’s a quick, mess-free way to add a little more stick without ruining your sticker.
Sealing Stickers For Protection
Applying a clear sealant over your wall stickers can protect them from moisture and dirt. A matte or glossy acrylic spray works well and won’t change the sticker’s appearance. This step can be especially helpful in kitchens or bathrooms where humidity is higher.
Make sure the sticker is fully dry before sealing. Also, test the spray on a small part first to see if it reacts with the sticker material. Have you ever noticed stickers fading or curling after a while? A sealant can help prevent that.
Creative Ways To Enhance Stickiness
Warming the sticker slightly before applying can activate the adhesive better. You can do this by rubbing it gently between your hands or using a hairdryer on low heat. Just don’t overheat, or the sticker might get damaged.
If you want to ensure a tight bond, press the sticker firmly with a flat tool like a credit card or a squeegee. This removes air bubbles and improves adhesion. Have you tried repositioning your sticker after the first attempt? Sometimes a little extra pressure during the initial placement makes all the difference.
Frequently Asked Questions
How Do I Prepare The Wall For Stickers?
Clean the wall thoroughly with a mild detergent and water. Ensure it is dry and smooth for better adhesion. Avoid textured or dusty surfaces to prevent peeling.
What Type Of Adhesive Keeps Wall Stickers Stuck Longer?
Use high-quality, removable adhesive or double-sided tape designed for walls. These adhesives provide strong hold without damaging paint or wallpaper when removed.
Can Temperature Affect Wall Sticker Adhesion?
Yes, extreme temperatures can weaken adhesive strength. Apply stickers in a room with moderate temperature, ideally between 60-80°F, for optimal sticking power.
How To Remove Air Bubbles Under Wall Stickers?
Smooth out bubbles by gently pressing from the center outward with a flat edge. Use a pin to release trapped air if necessary.
Conclusion
Wall stickers can brighten any room quickly and easily. Clean the wall surface well before applying them. Press firmly to make sure they stick tight. Avoid moisture and heat to keep them in place longer. Small care steps help your stickers look fresh and neat.
Try these tips for a smooth, lasting decoration. Enjoy your walls with fun, easy style every day.


