
Are you looking for a simple way to refresh your walls without damage or hassle? Imagine creating your own stylish, reusable fabric wall stickers that you can move and reuse anytime you want.
This isn’t just a craft project—it’s a chance to transform your space quickly and affordably. In this guide, you’ll discover easy steps to make these unique decorations that bring personality and charm to any room. Ready to unlock your creativity and give your walls a fresh new look?
Let’s dive in!
Materials Needed
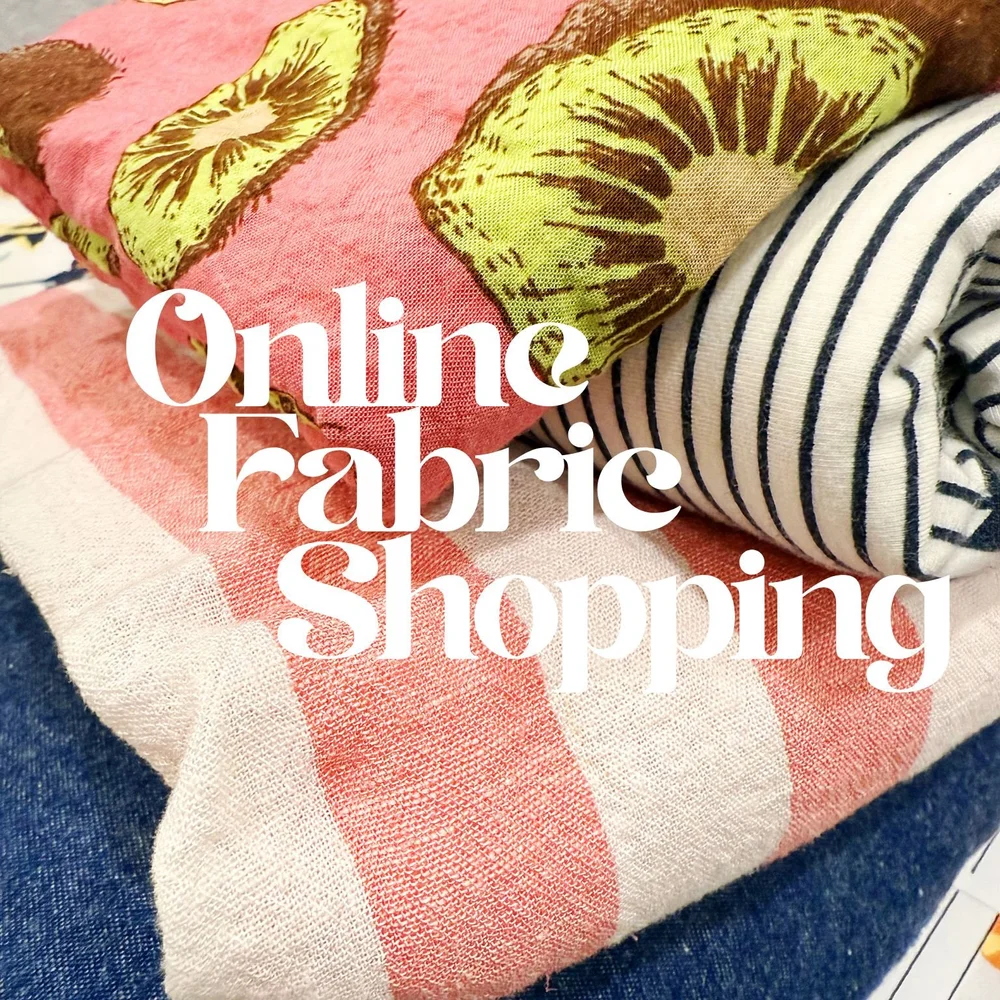
Gathering the right materials is key to making reusable fabric wall stickers that look great and stick well without damaging your walls. You want fabrics that are flexible and easy to cut, adhesives that hold but peel off cleanly, and tools that make the process smooth and precise.
Types Of Fabric
Choose lightweight fabrics like cotton or felt for easy handling and good adhesion. Cotton works well because it’s smooth and holds ink or paint nicely if you want to add designs. Felt offers a bit more texture and thickness, making stickers more durable but still flexible.
Consider fabric scraps you already have at home to keep costs down. Have you noticed how some fabrics peel off your walls better than others? That’s why testing a small piece first can save you frustration later.
Adhesive Options
Look for adhesives that are strong enough to stick but gentle enough to remove without leaving marks. Repositionable spray adhesives are popular because they create a light, even coat and allow for multiple uses.
Double-sided fabric tape is another handy choice, especially for smaller stickers or quick fixes. If you want a DIY approach, craft glue sticks that dry tacky can work, but make sure they don’t soak through the fabric.
Which adhesive fits your wall type and fabric best? Trying different options on a hidden spot can help you decide.
Tools Required
- Scissors or Rotary Cutter:Sharp edges make cutting precise shapes easier and prevent fraying.
- Cutting Mat:Protect your surfaces and get clean cuts with a self-healing mat.
- Pencil or Fabric Marker:Trace your designs clearly before cutting.
- Ruler or Stencils:Keep shapes consistent and straight.
- Spray Adhesive Can or Tape Dispenser:For easy and even application of the adhesive.
Having the right tools on hand transforms a frustrating project into an enjoyable one. What tools do you already have that could save you a trip to the store?
Preparing Fabric
Preparing fabric for reusable wall stickers sets the foundation for a smooth crafting experience and a polished final product. The right fabric choice, precise cutting, and neat edges can make your stickers look professional and last longer. Let’s look at how to get your fabric ready with care and attention.
Choosing Designs
Pick designs that are simple and bold. Intricate patterns might be hard to cut and could lose detail once stuck on the wall. Think about shapes like stars, leaves, or geometric forms—they are easier to handle and look striking.
Consider the size of your design. Large stickers work well for big wall spaces, while smaller ones suit accents or borders. Also, test your design on plain paper first to see how it fits your wall and if it matches your room’s vibe.
Cutting Techniques
Use sharp scissors or a rotary cutter for clean lines. Dull tools can fray fabric edges and make your stickers look messy. If your design has curves or tiny details, small precision scissors will help you cut accurately.
Try placing your fabric on a cutting mat and use a stencil or printed template to trace the shapes before cutting. This step avoids mistakes and saves fabric. Have you noticed how cutting slowly and steadily improves your results?
Edge Finishing Tips
To prevent your fabric stickers from fraying, finish the edges with a little care. You can apply a thin line of fabric glue or clear nail polish around the edges. This seals the fabric and keeps threads from unraveling.
If you want a more durable finish, try ironing on fusible interfacing before cutting. This adds stiffness and helps your stickers stick better to walls. Which edge finishing method fits your style and patience level?
Applying Adhesive
Apply a thin layer of fabric adhesive evenly on the back of the sticker. Let it dry slightly before sticking to the wall for easy removal and reuse.
Applying adhesive is a crucial step in creating reusable fabric wall stickers. It ensures your stickers stay put without damaging surfaces. The right adhesive can make or break your project. Let’s delve into the details of applying adhesive effectively.Selecting The Right Glue
Choosing the right glue is essential for durability. For fabric wall stickers, opt for non-toxic, repositionable adhesives. These provide a strong hold and allow easy removal. Look for water-based glues. They are safe and easy to clean. Avoid permanent adhesives. They might damage walls.Application Methods
There are several ways to apply glue. A brush is ideal for even coverage. Use a small brush for detailed areas. Spray adhesives are quick and cover large areas well. Use in a well-ventilated space. Ensure the fabric is clean before applying glue. This enhances adhesion.Drying Time
Allow the glue to dry completely. This ensures a firm bond. Check the glue instructions for drying time. Typically, it takes a few hours. Ensure the area is dust-free while drying. This avoids unwanted particles sticking. Once dry, your fabric stickers are ready to use.Creating Stickers
Creating reusable fabric wall stickers is a fun way to add personality to any room. The process lets you experiment with colors, textures, and shapes that suit your style. Let’s dive into how you can bring your sticker ideas to life with simple techniques.
Layering Fabrics
Start by choosing different fabric types to create depth and interest in your stickers. Layer lighter fabrics over darker ones or mix smooth and textured materials for a tactile effect.
Use fabric glue or fusible webbing to attach layers securely. Press each layer firmly to avoid bubbles or wrinkles that could affect how the sticker sticks to the wall.
Think about combining sheer fabrics with solid ones to create subtle contrasts. Have you tried layering a lace piece on colorful cotton? It can make your sticker stand out beautifully.
Adding Details
Small details make a big difference. Use fabric paint, embroidery thread, or appliqué to add patterns, outlines, or highlights to your stickers.
Stitching can add durability and style. Simple running stitches or decorative embroidery can turn a plain shape into a work of art.
Don’t hesitate to include buttons, beads, or sequins if you want a bit of sparkle. These additions make your stickers more eye-catching and unique.
Customizing Shapes
Cutting fabric into custom shapes is where your creativity shines. Use sharp fabric scissors or a rotary cutter for clean edges.
Sketch your design on paper first, then use it as a template. This helps you keep your shapes consistent and precise.
Try unusual shapes like geometric forms or abstract designs instead of just circles and squares. What shape would make your wall pop with personality?
Using And Reusing
Using and reusing fabric wall stickers saves money and reduces waste. Proper handling keeps stickers looking fresh and sticky for many uses. Follow simple steps to prepare surfaces, place stickers, and store them safely.
Surface Preparation
Clean the wall or surface thoroughly before applying stickers. Use a damp cloth to remove dust, dirt, and grease. Let the surface dry completely to ensure strong adhesion.
Smooth surfaces like glass, metal, or painted walls work best. Avoid textured or rough surfaces, as stickers may not stick well. Test a small area first to check adhesion.
Sticker Placement Tips
Plan your design before sticking the fabric pieces. Measure and mark positions lightly with a pencil or painter’s tape. This prevents mistakes and uneven spacing.
Press stickers firmly onto the surface, starting from one edge. Smooth out air bubbles by rubbing gently with a flat tool or your fingers. Take your time for a neat finish.
Removal And Storage
Peel off stickers slowly from one corner to avoid damage. If the sticker loses stickiness, clean its back with a damp cloth. Let it dry before reapplying.
Store stickers flat in a dry place to keep their shape. Use wax paper or parchment paper between stickers to prevent them from sticking together. Keep them away from direct sunlight or heat.
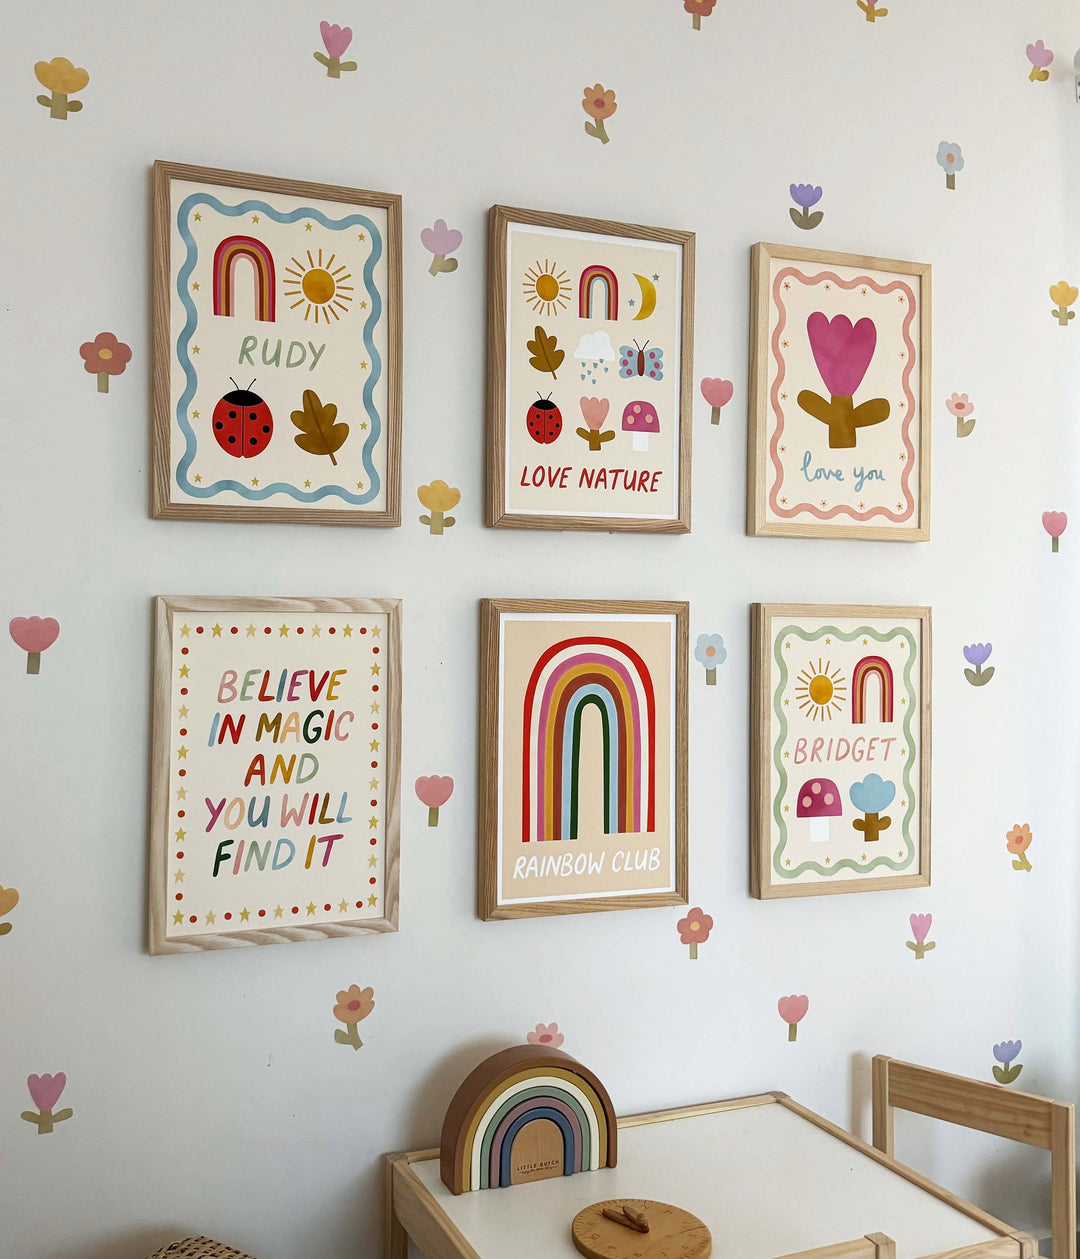
Credit: www.kidofthevillage.co.uk
Creative Ideas
Creative ideas breathe life into reusable fabric wall stickers. They transform plain walls into personal stories and joyful spaces. These ideas offer endless possibilities to match moods, themes, and occasions.
Explore designs that bring charm and freshness to any room. Make walls speak with colors and shapes that inspire and delight.
Themed Wall Designs
Create themed wall stickers to reflect passions and interests. Nature lovers can craft leaves, flowers, and animals. Space fans enjoy stars, planets, and rockets. Choose themes that tell a story or set a mood.
- Use bold colors for a vibrant look.
- Mix small and large shapes for balance.
- Arrange stickers to form scenes or patterns.
Seasonal Decorations
Seasonal fabric stickers add festive cheer and style. Bright flowers and butterflies for spring. Sun and waves for summer. Leaves and pumpkins for autumn. Snowflakes and stars for winter. Easy to swap as the seasons change.
- Use warm tones for cozy feelings.
- Choose cool colors for calm moods.
- Combine textures for extra interest.
Kids’ Room Projects
Kids love colorful, playful wall stickers. Create animals, cartoons, and fun shapes with fabric. Encourage kids to join the craft for extra fun. Personalize spaces with their favorite things.
- Use soft fabrics safe for children.
- Make interactive elements like pockets or flaps.
- Keep designs simple and bold for easy recognition.
Troubleshooting
Troubleshooting your reusable fabric wall stickers can save you time and frustration. Small issues like poor adhesion or wrinkles can easily be fixed with a few adjustments. Let’s look at how to handle these common problems and keep your stickers looking fresh for longer.
Adhesion Problems
If your fabric stickers aren’t sticking well, the surface might be the culprit. Make sure the wall or surface is clean, dry, and smooth before applying the sticker. Dust, grease, or rough textures can prevent proper sticking.
Try gently pressing the sticker down and holding it for a few seconds to help the adhesive bond. If the sticker still won’t stay, consider using a light layer of fabric-safe adhesive spray to boost stickiness without damaging your wall.
Fabric Wrinkling
Wrinkles often happen when the fabric isn’t stretched evenly during application. Smooth the sticker from the center outward to push out any air bubbles or creases.
If wrinkles appear after applying, carefully peel back the fabric and reapply it while keeping it taut. Using a soft cloth or a silicone squeegee can help flatten the surface without damaging the fabric.
Longevity Tips
To keep your fabric stickers reusable and fresh, store them properly after removal. Place them on a flat, clean surface or stick them to the original backing to maintain shape and adhesive quality.
Avoid exposing the stickers to direct sunlight or moisture for long periods, as these can degrade both fabric and adhesive. Do you check your stickers regularly for dirt or dust? Wiping them gently with a dry cloth can help maintain their appearance and stickiness over time.
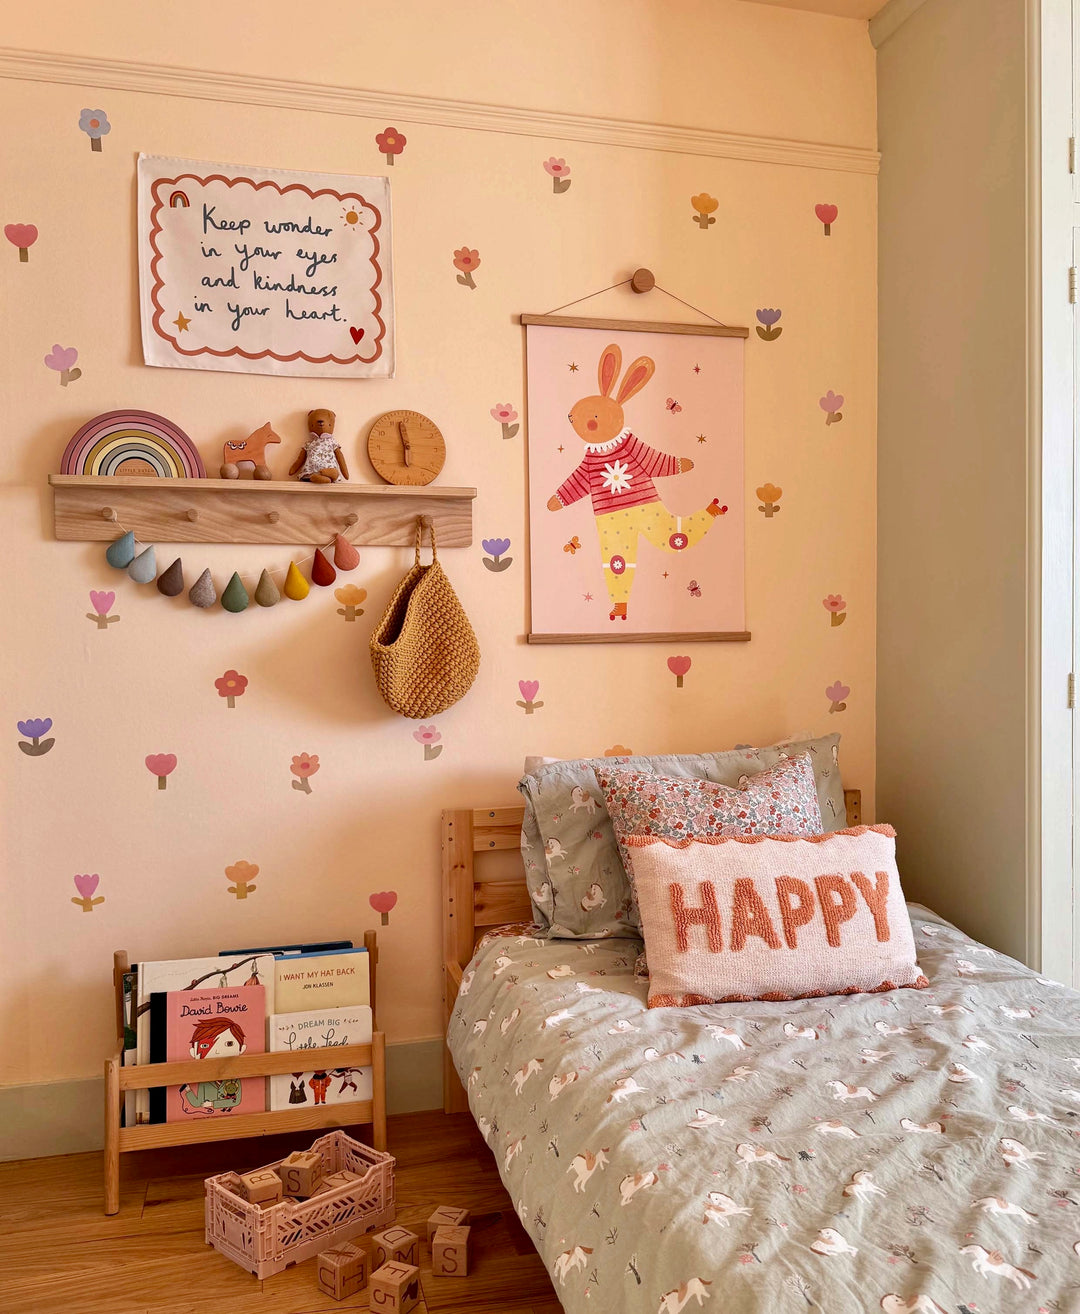
Credit: www.kidofthevillage.co.uk

Credit: sonoluna.com
Frequently Asked Questions
What Materials Are Needed For Reusable Fabric Wall Stickers?
You need fabric sheets, adhesive spray, scissors, and wax paper. These materials help create durable, removable fabric stickers for walls. Choose lightweight fabric for easy sticking and removal. Adhesive spray should be repositionable to avoid wall damage. Wax paper prevents sticking during the cutting process.
How Do You Make Fabric Wall Stickers Reusable?
Use a repositionable adhesive spray on fabric sheets. This allows easy removal and reapplication without losing stickiness. Avoid permanent glues to keep stickers reusable. Store stickers between wax paper sheets to maintain adhesive quality. Gently peel off and reposition as needed on clean walls.
Can Fabric Wall Stickers Damage Painted Walls?
No, reusable fabric wall stickers typically do not damage paint. Using repositionable adhesive spray reduces wall residue and paint peeling. Always test a small wall area before full application. Remove stickers slowly and carefully to prevent damage. This makes them ideal for renters and temporary decor.
How Long Do Fabric Wall Stickers Last?
Reusable fabric wall stickers can last several months with care. Their lifespan depends on adhesive quality and handling. Avoid exposure to moisture and direct sunlight to prolong life. Store stickers flat between wax paper when not in use. Proper maintenance ensures repeated use without losing stickiness.
Conclusion
Creating reusable fabric wall stickers is fun and eco-friendly. You can change your room’s look anytime you want. These stickers save money and reduce waste. Use simple materials and your creativity to make unique designs. Stick them carefully for best results.
Remove and reuse without damage. Enjoy decorating with your own handmade art. Try making different shapes and colors next time. Your walls will always feel fresh and personal. Keep experimenting and have fun with this easy craft.


