
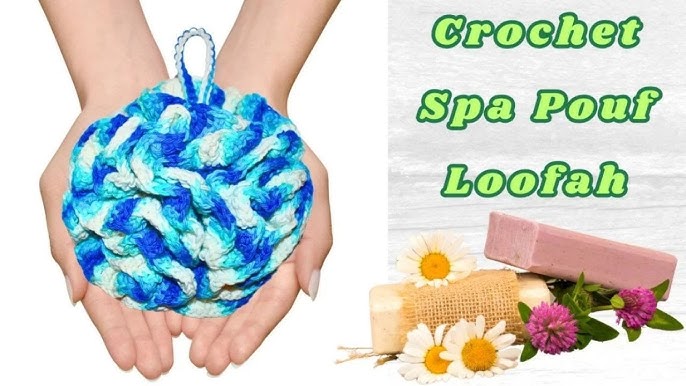
Are you tired of spending money on bath poufs that wear out quickly? What if you could make your own, customized just the way you like?
Creating a bath pouf at home is easier than you think, and it gives you control over the materials, size, and softness. Plus, it’s a fun and satisfying project that can save you money and reduce waste. Keep reading, and you’ll discover simple steps to craft your own perfect bath pouf right now.

Credit: offthebeatenhook.com
Materials Needed
Gathering the right materials is key to making a quality bath pouf. Choosing proper supplies ensures the pouf feels soft and lasts long. This section breaks down the essentials needed to get started.
Choosing The Right Mesh
The mesh fabric forms the pouf’s body. Pick a strong, flexible mesh to create fluffy layers. Nylon mesh works well because it dries fast and resists tearing.
- Look for mesh with fine holes to trap soap well.
- Choose colors that suit your style or bathroom decor.
- Ensure the mesh is soft to avoid scratching skin.
A mesh width of about 5 to 7 inches works best for easy handling and shaping.
Additional Supplies
Besides mesh, gather a few simple tools. These help shape and finish your bath pouf neatly.
- Scissors: Sharp and precise for clean cuts.
- Elastic bands or strong string: To hold mesh layers tightly.
- A needle and thread (optional): For extra security in tying knots.
- A ruler or tape measure: To cut mesh pieces evenly.
Having these supplies ready makes the pouf-making process smooth and fun.
Preparing The Mesh
Preparing the mesh is a crucial part of making a bath pouf that feels soft yet durable. The way you cut and fold the mesh directly affects the pouf’s texture and volume. Taking your time here ensures a pouf that not only looks great but also lasts through many showers.
Cutting To Size
Start by selecting a good quality mesh fabric—nylon or polyester mesh works best for durability. Cut the mesh into strips about 6 to 8 inches wide and 20 to 30 inches long. These dimensions give you enough material to create a full, fluffy pouf without it being too bulky.
Cutting straight edges is key. Uneven edges can make the pouf look messy and harder to assemble. Use sharp scissors or a rotary cutter for clean, precise cuts that save you frustration later.
Folding Techniques
Once your strips are cut, the folding technique helps build the pouf’s volume and texture. Fold each strip accordion-style or in a fan shape, making sure the folds are even and tight. This method traps air inside, creating that desirable puffiness.
Try folding a few strips differently to see how the texture changes. You might find that tighter folds create a denser pouf, while looser folds make it softer. How do you want your bath pouf to feel? Experiment until you get the perfect balance for your skin.
Assembling The Pouf
Creating a bath pouf at home is a fun and easy project. Making your own pouf allows you to choose materials and colors. Let’s dive into the simple steps of assembling your bath pouf.
Layering The Mesh
Begin by gathering your mesh fabric. You’ll need about 6 to 8 feet of mesh. Lay the fabric flat and fold it in half lengthwise. Continue folding until the mesh is about four inches wide. This creates the fluffy layers of your pouf.
Once folded, cut the mesh into equal sections. Each section should be about 10 inches long. These sections will form the layers of your pouf.
Securing The Center
Gather all the mesh sections together in the center. Hold them tightly to maintain the shape. Use a strong string or a zip tie to secure the center. Tie it tightly to ensure the mesh stays in place.
Ensure the tie is firm but not too tight. You want it to hold without tearing the mesh. Trim any excess string or zip tie after securing. Fluff the mesh to give your pouf its final shape.
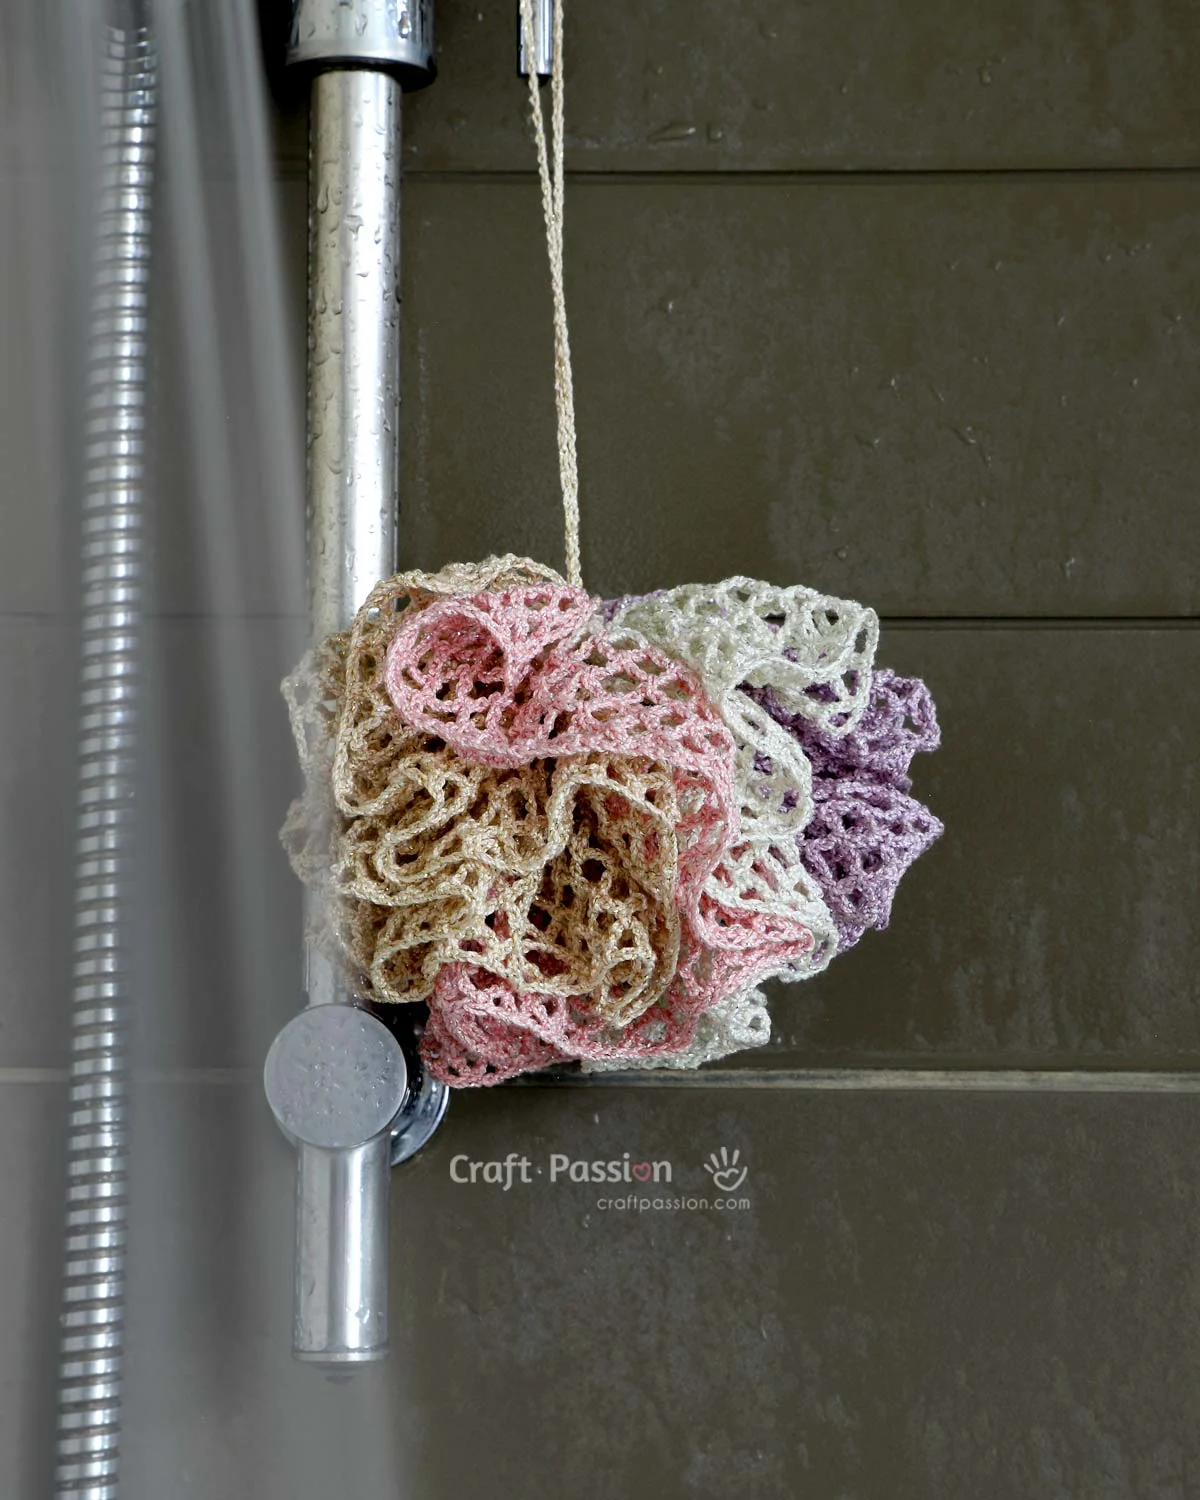
Credit: www.craftpassion.com
Adding The Handle
Adding a handle to your bath pouf makes it easier to hang and dry. The handle also helps you hold the pouf while scrubbing. Choose a cord that feels soft yet strong. Attach it securely to keep the pouf durable and practical.
Selecting A Cord
Pick a cord that resists water and dries fast. Cotton, nylon, or polyester cords work well. The cord should be thick enough to hold your grip. Avoid cords that might irritate your skin. Measure about 6 to 8 inches for a comfortable loop.
Attaching The Loop
Find the center of your bath pouf. Use a needle or crochet hook to pull the cord through. Make sure the loop is even on both sides. Tie a tight knot inside the pouf to secure the handle. Trim any extra cord but leave enough to avoid slipping.
Final Touches
Final touches bring your bath pouf to life. They make it look neat and feel soft. These small steps improve the pouf’s shape and comfort. Spend time here for the best results.
Fluffing For Fullness
Gently pull and separate the layers of mesh. This adds volume and softness to the pouf. Fluff all sides evenly for a round shape. Avoid tearing the material while fluffing. The fuller the pouf, the better it lathers soap.
Trimming Edges
Check for uneven or loose edges around the pouf. Use sharp scissors to trim stray threads or rough ends. Cut carefully to keep the shape intact. Clean edges make the pouf look tidy and last longer. A neat finish adds a professional touch.
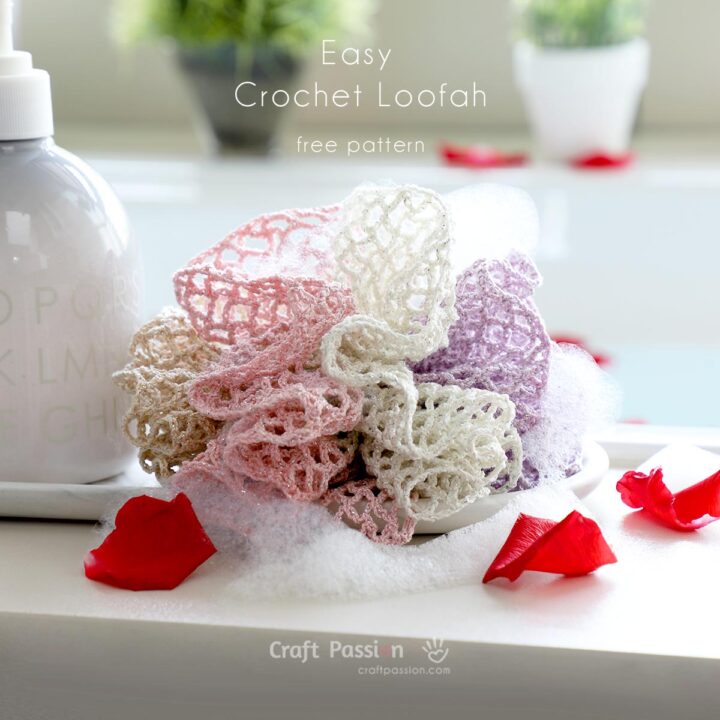
Credit: www.craftpassion.com
Care And Maintenance
Proper care and maintenance extend the life of your bath pouf. Keeping it clean and dry helps prevent mold and bacteria. A fresh pouf feels soft and works better for cleansing. Follow simple steps to keep your bath pouf in great shape.
Cleaning Tips
- Rinse the pouf thoroughly after each use to remove soap.
- Squeeze out excess water gently without twisting.
- Soak the pouf in warm water with vinegar once a week to kill germs.
- Wash it in the machine using a gentle cycle and mild detergent.
- Allow the pouf to dry completely before reuse to avoid mildew.
Storage Suggestions
- Hang the pouf in a well-ventilated area after use.
- Avoid storing it in damp or enclosed spaces like shower corners.
- Use a hook or suction cup to keep it off wet surfaces.
- Replace the bath pouf every 2 to 3 months for hygiene.
Frequently Asked Questions
How Do You Start Making A Bath Pouf?
Begin by choosing a soft mesh fabric like tulle. Cut it into strips about 6 inches wide. Gather the strips together and tie them tightly in the middle with a strong string or rubber band.
What Materials Are Needed For A Diy Bath Pouf?
You need mesh fabric or tulle, scissors, a strong string or rubber band, and optionally a hook. These materials are affordable and easy to find. They allow you to create a durable and fluffy bath pouf at home.
How Long Does It Take To Make A Bath Pouf?
Making a bath pouf typically takes 10 to 20 minutes. It depends on your crafting speed and the size of the pouf. The process is simple, making it a quick DIY project for anyone.
Can You Customize A Bath Pouf’s Size And Color?
Yes, you can easily customize the size by using longer or shorter fabric strips. Choose any color or pattern of mesh fabric to match your bathroom decor or personal preference.
Conclusion
Making a bath pouf at home is simple and fun. You only need a few materials and little time. Crafting your own pouf lets you choose colors and shapes you like. It also saves money compared to store-bought ones. Plus, handmade poufs can be softer and last longer.
Try making one today and enjoy a fresh, bubbly bath experience. Small DIY projects like this bring joy and creativity to daily routines. Give it a try—you might love the result!


