
Looking for a cozy and stylish way to add comfort to your living space? Making a knitted floor pouf might be just what you need.
Imagine sinking your feet into a soft, handmade pouf that you created yourself. It’s easier than you think, and you don’t need to be a knitting expert to get started. In this guide, you’ll discover simple steps to craft your own beautiful pouf that can brighten up any room.
Ready to add a personal touch to your home and enjoy a fun, rewarding project? Let’s dive in and make your very own knitted floor pouf!

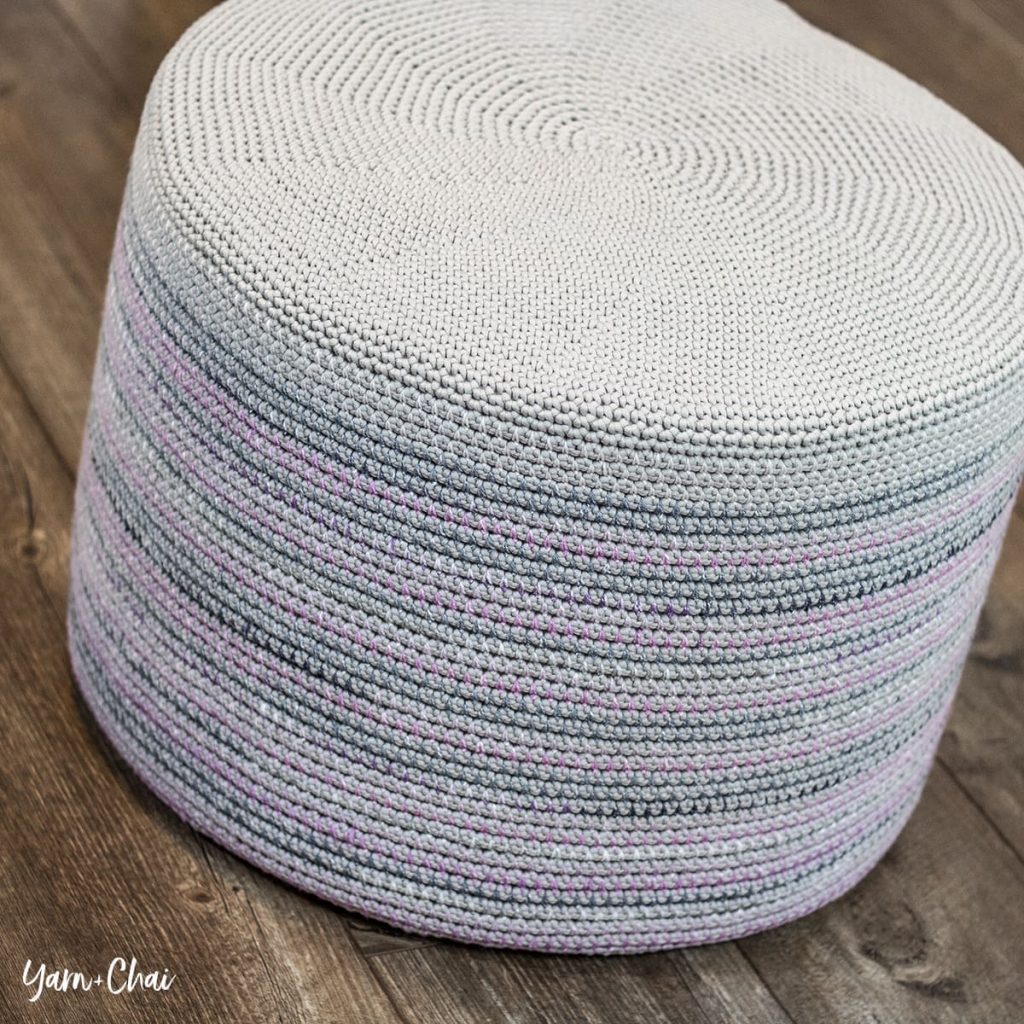
Credit: yarnandchai.com
Materials Needed
Before you start knitting your floor pouf, gathering the right materials is essential. The quality and type of these materials directly affect the look, feel, and durability of your finished pouf. Let’s break down what you’ll need to make the process smooth and enjoyable.
Yarn Selection
Choosing the right yarn can make or break your pouf project. Thick, chunky yarn works best because it creates a sturdy and cushioned texture. Look for materials like wool or acrylic blends that are soft yet durable.
Have you ever picked yarn just by color and regretted it later? I learned the hard way that texture and weight matter more for a project like this. Consider the room where your pouf will live—will it get heavy use? If yes, pick a yarn that’s easy to clean and won’t pill quickly.
Knitting Needles
You’ll need large knitting needles to handle chunky yarn, usually size 15mm or larger. Circular needles are a great choice because they hold more stitches and make knitting in the round easier. This helps avoid seams, giving your pouf a cleaner look.
Have you tried different needle materials? I prefer bamboo for its grip and comfort, but metal needles work faster if you want speed. Your choice can affect how fast and pleasant your knitting sessions feel.
Stuffing Options
Stuffing gives your pouf its shape and comfort. Polyester fiberfill is lightweight and affordable, perfect for beginners. Alternatively, you can use old cushions or foam pieces for a denser, more supportive pouf.
Think about how firm you want your pouf. Do you want a soft seat or a solid footrest? Mixing stuffing types can help you customize the feel. Don’t forget to stuff evenly to avoid lumps!
Additional Tools
Besides yarn, needles, and stuffing, a few extra tools can make your project easier. A yarn needle is essential for sewing up seams and weaving in ends neatly. Stitch markers help keep track of rounds or pattern changes.
Scissors are obvious but vital—sharp ones that cut yarn cleanly save frustration. You might also want a tape measure to check your pouf’s size as you go. These small tools keep your work tidy and on track.
Choosing The Right Yarn
Selecting the perfect yarn for a knitted floor pouf is crucial. Opt for durable, thick yarn to ensure comfort and longevity. Natural fibers like cotton or wool offer a cozy feel, while synthetic blends provide strength and elasticity.
Choosing the right yarn is crucial for a knitted floor pouf. The yarn affects the look, feel, and durability of your project. Consider factors like fiber type, color, and durability. Each choice plays a significant role.Fiber Types
Natural fibers like wool and cotton are popular. Wool is warm and resilient. Cotton is soft and breathable. Synthetic fibers like acrylic are budget-friendly. They offer a wide color range and easy care. Blended fibers combine benefits of different materials. Choose the right fiber based on your needs.Color Choices
Color sets the mood of your pouf. Neutral tones fit any decor. Bold colors make a statement. Pastels offer a soft touch. Consider the room’s theme and personal taste. Think about how colors will match your space.Durability Factors
Durability is key for a long-lasting pouf. High-traffic areas need sturdy yarn. Wool is strong and ages well. Acrylic resists wear and tear. Blends provide a balance of strength and comfort. Check the yarn’s care instructions. Durable yarn withstands frequent use and cleaning.Basic Knitting Techniques
Mastering the basic knitting techniques is essential before you dive into creating your own knitted floor pouf. These foundational skills will help you build a sturdy, neat, and comfortable piece. With practice, you’ll find that these techniques become second nature and even enjoyable to execute.
Casting On
Casting on is how you start knitting by creating the first row of stitches on your needle. It sets the foundation for your entire project, so getting comfortable with this step is important. You can try the long-tail cast on, which offers a nice balance of stretch and stability—perfect for a floor pouf that needs structure but also some give.
Think about the tension in your casting on. If it’s too tight, your edges will be hard to work with. Too loose, and your pouf might look sloppy. Finding the right balance is a game-changer.
Knitting And Purling
Knitting and purling are the two main stitches you’ll use throughout your pouf. Knitting creates a smooth, “V” shaped pattern, while purling produces a bumpy texture. Combining these stitches lets you create different textures and patterns.
It might seem tricky at first to switch between the two, but with practice, your hands will remember the motions. Have you noticed how rhythm changes everything? Try knitting a few rows, then purling a few, and see how your fabric starts to come alive.
Casting Off
Casting off finishes your knitting by securing the last row of stitches so your work doesn’t unravel. It’s just as important as casting on because it locks in your progress. A neat cast-off edge will give your pouf a professional and tidy look.
If your cast off feels too tight, your edges might pucker. Too loose, and the pouf’s shape could be unstable. Adjust your tension here, just like you did when casting on, to keep everything balanced.

Credit: yarnandchai.com
Knitting The Pouf Panels
Knitting the panels for your floor pouf is where your project truly begins to take shape. Each panel forms a building block of the pouf, and the way you knit them affects both the look and durability of the final piece. Paying close attention to size, shape, and tension ensures your pouf will be sturdy and visually balanced.
Measuring Size
Start by deciding how big you want your pouf to be. A common size is around 16 to 18 inches per side for square panels, but you can adjust based on your space and style.
Use a ruler or measuring tape to check your gauge before you begin knitting. Knit a small swatch and measure how many stitches and rows equal one inch. This helps you calculate exactly how many stitches to cast on for your desired panel size.
Have you ever finished a project only to find it turned out too big or small? Proper measuring prevents that frustration and saves yarn.
Creating Square Panels
To make your pouf panels square, maintain equal stitch and row counts based on your gauge measurements. For example, if your gauge is 4 stitches per inch and you want a 16-inch panel, cast on 64 stitches and knit 64 rows.
Choose a stitch pattern that keeps edges neat and flat. Simple garter stitch or stockinette with a border works well to avoid curling.
Try knitting one panel first and lay it flat. Does it look square to you? Adjust your stitch count if necessary before knitting the rest.
Maintaining Consistent Tension
Consistent tension is key to making panels that fit together perfectly. Uneven tension can cause panels to warp or differ in size, making assembly difficult.
Keep your yarn tension relaxed but steady. If you notice stitches getting tighter or looser, pause and adjust your grip or needle size.
Here’s a tip from my own experience: take breaks to shake out your hands and relax your grip. This helped me avoid tight spots that ruined a panel once.
How do you check your tension mid-project? Regularly measure your panel to catch inconsistencies early.
Assembling The Pouf
Assembling your knitted floor pouf is where your hard work truly starts to take shape. This stage requires patience and attention to detail to ensure all the panels fit together neatly and securely. You’ll transform flat knitted pieces into a cozy, three-dimensional pouf that’s both functional and stylish.
Sewing Panels Together
Start by aligning the edges of two knitted panels. Use a yarn needle and a matching yarn to sew them together with a whip stitch or mattress stitch for a clean finish. Take your time to keep the stitches even and tight, so the seams hold up well under use.
It helps to pin or clip the panels before sewing to prevent shifting. You’ll notice that sewing a pouf is quite different from sewing fabric—it’s thicker and stretchier, so gentle handling avoids puckering. How comfortable are you with hand sewing? Practicing on a small swatch can boost your confidence.
Leaving An Opening For Stuffing
Don’t sew all the way around just yet. Leave a gap about 4 to 6 inches wide to stuff the pouf later. This opening is your gateway to turning flat panels into a plush, cushioned piece.
Mark the spot clearly so you don’t accidentally close it. When it’s time to stuff, you’ll appreciate having this access point to add filling evenly. Have you thought about what stuffing you want to use? Options range from foam beads to recycled fabric scraps, each giving a different feel and weight.
Once stuffed, you’ll sew this opening closed with small, tight stitches for a seamless look. This final touch ensures your pouf looks polished and stays durable over time.
Stuffing The Pouf
Stuffing the knitted floor pouf is a key step to shape and comfort. It affects how the pouf looks and feels. Proper stuffing gives the pouf a firm but soft texture. This part requires care to avoid lumps or sagging.
Choosing Stuffing Material
Select stuffing that holds shape well and feels soft. Common choices include:
- Polyester fiberfill – lightweight and soft
- Foam pieces – firmer and supportive
- Old clothes or fabric scraps – eco-friendly and affordable
- Bean bag beads – moldable but noisy
Pick material based on desired firmness and budget.
Filling Evenly
Fill the pouf in small amounts. Spread stuffing evenly inside the knitted cover. Press gently to remove air pockets. Check corners and edges for full coverage. Uneven filling can cause lumps or flat spots. Keep adjusting until the shape looks balanced.
Adjusting Firmness
Add more stuffing to make the pouf firmer. Remove some if it feels too hard. Test by pressing with your hand. The pouf should bounce back softly. Aim for a comfortable, supportive feel that holds its form well over time.
Finishing Touches
Finishing touches give your knitted floor pouf a neat, polished look. These final steps make sure your pouf stays strong and beautiful. Taking time here helps your project last longer and look great in any room.
Closing The Opening
After stuffing your pouf, close the opening carefully. Use a yarn needle and matching yarn for a tidy finish. Sew the edges together with small, tight stitches. Pull the yarn gently to avoid gaps but not too tight to pucker the fabric. Tie a secure knot inside to keep the stitches in place. Hide the yarn end by threading it back through the pouf’s knitted fabric. This keeps the closure invisible and the pouf smooth.
Adding Decorative Details
Decorate your pouf for a personal touch. Consider these simple ideas:
- Attach knitted flowers or shapes with yarn for texture.
- Use pom-poms on corners for a playful look.
- Sew on buttons or beads for subtle sparkle.
- Add a contrasting yarn color band around the middle.
Choose decorations that match your room’s style. Keep embellishments light to avoid changing the pouf’s shape. These details make your pouf unique and inviting.

Credit: yarnandchai.com
Care And Maintenance
Keeping your knitted floor pouf looking fresh and cozy takes more than just occasional dusting. Proper care and maintenance ensure it remains a charming centerpiece in your living space for years. Let’s dive into practical ways to clean, repair, and store your pouf effectively.
Cleaning Tips
Start by gently vacuuming your pouf with a brush attachment to remove dust and debris. Spot clean stains immediately using a mild detergent diluted in water—dab, don’t rub, to avoid damaging the fibers.
If your pouf has a removable cover, check the care label before washing. Hand washing in cold water usually works best to keep the knit intact. Always air dry flat to prevent stretching or shrinking.
Repairing Snags
Snags can happen, especially in high-traffic areas. Don’t pull the loose yarn; instead, use a crochet hook or a needle to tuck the snag back into the knit.
If the snag is large, try weaving the loose thread back through nearby stitches to hide it. You might be surprised how little damage is visible after a careful repair.
Storage Suggestions
When not in use, store your pouf in a cool, dry place away from direct sunlight to prevent fading. Avoid squashing it under heavy items to keep its shape intact.
Consider using a breathable fabric bag or pillowcase for storage to protect your pouf from dust while allowing air circulation. Have you ever noticed how a well-stored pouf feels just as comfortable as the day you got it?
Creative Variations
Creative variations can transform your knitted floor pouf from a simple home accessory into a standout piece. Experimenting with different shapes, color patterns, and materials lets you tailor your pouf to fit your style and space perfectly. These twists not only make your project more fun but also add a unique touch that reflects your personality.
Different Shapes
Most floor poufs are round, but why stick to tradition? Try knitting a square or hexagonal pouf for a modern look. A cube-shaped pouf offers extra seating and a flat surface, perfect for a small tray or book.
Thinking about something cozier? A soft, oval pouf can add a gentle flow to your room’s design. You can even experiment with asymmetrical shapes to create a playful statement piece that sparks conversation.
Color Patterns
Color is where you can really let your creativity shine. Stripes are a classic choice, but what about alternating bold and pastel colors for an eye-catching contrast? You could also knit in gradient shades for a smooth, blended effect.
Mixing bright colors with neutrals can give your pouf a balanced yet lively feel. Don’t be afraid to play with unexpected combinations—sometimes the most unusual patterns become your favorite.
Mixed Materials
Adding different materials can give your pouf texture and durability. Pairing chunky wool with smooth cotton yarn creates a tactile experience that’s pleasing to both the eye and touch. You might also weave in recycled fabric strips or leather pieces for a rustic or boho vibe.
Using materials with different weights can affect how your pouf holds its shape. Have you tried adding a waterproof lining inside? It makes your pouf suitable for outdoor use or kid-friendly spaces without worry.
Frequently Asked Questions
What Materials Do I Need To Make A Knitted Floor Pouf?
You need chunky yarn, large knitting needles, a stuffing material, and a yarn needle. Choose soft, durable yarn for comfort and style. Stuff the pouf firmly for shape and support.
How Long Does It Take To Knit A Floor Pouf?
Knitting a floor pouf typically takes 6 to 10 hours. It depends on your knitting speed and pouf size. Beginners may take longer, while experienced knitters finish faster.
Can Beginners Easily Knit A Floor Pouf?
Yes, beginners can knit a pouf with basic knitting skills. Use simple stitches like garter or stockinette stitch. Follow step-by-step instructions to complete the project confidently.
How Do I Stuff A Knitted Floor Pouf Properly?
Stuff the pouf with polyester fiberfill or old fabric scraps. Fill evenly to maintain shape and firmness. Avoid overstuffing to keep it soft and comfortable.
Conclusion
Making a knitted floor pouf adds charm to any room. It feels soft and looks great. You can choose colors that match your style. The process is fun and relaxing. This project fits well for beginners and experts. Enjoy creating something useful with your own hands.
A cozy pouf makes your space warm and inviting. Try this craft to add comfort and style today.


