
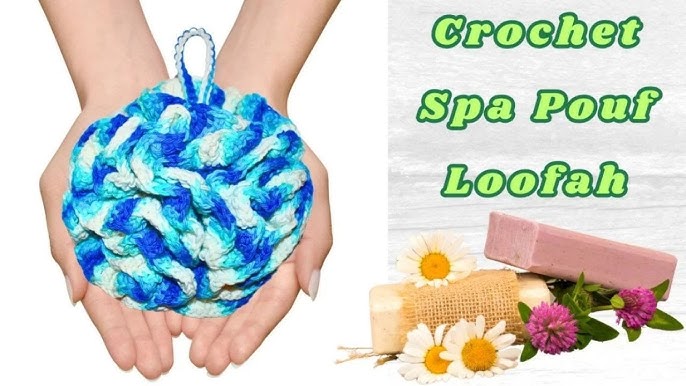
Are you looking to add a cozy, stylish touch to your bathroom? Learning how to crochet a pouf bath is easier than you think, and it’s a fun way to create something unique for your space.
Imagine having a soft, handmade pouf that’s perfect for sitting or resting your feet after a long day. In this guide, you’ll discover simple steps to make your own pouf, even if you’re new to crocheting. Ready to transform your bathroom with a personal touch?
Let’s dive in and get started!
Materials Needed
Gathering the right materials sets the foundation for a successful crochet pouf bath project. Choosing quality supplies not only makes the process smoother but also ensures your finished pouf looks great and lasts long. Let’s break down what you’ll need to get started.
Yarn Selection
Pick a yarn that feels soft but is sturdy enough to hold up with use in a bathroom. Cotton yarn is a popular choice because it absorbs moisture and dries quickly, preventing mildew buildup. You might also consider a blend with acrylic for added durability and easier care.
Think about the color and texture too. Light colors can brighten your space, while darker shades hide stains better. If you want your pouf to have a unique look, try variegated yarn or a chunky texture for extra visual interest.
Hook Size
The size of your crochet hook affects both the look and feel of your pouf. A larger hook creates looser stitches, making your pouf softer and more flexible. A smaller hook tightens the stitches for a firmer, more structured pouf.
Check your yarn label for recommended hook sizes, but don’t be afraid to experiment. I found that using a slightly bigger hook than suggested gave me the perfect balance between firmness and squishiness.
Additional Supplies
Besides yarn and hook, you’ll need a few more items to complete your pouf. A yarn needle is essential for weaving in ends neatly and sewing pieces together if your design has parts. Scissors are a must for clean cuts.
Consider filling your pouf with polyester fiberfill or old fabric scraps for a sustainable option. You might want a stitch marker to keep track of rounds, especially if your pattern is complex. Having these on hand keeps your project organized and hassle-free.
Choosing The Right Pouf Size
Choosing the right pouf size is key to making your crochet bath pouf both useful and comfy. The size affects how easy it is to hold and how well it cleanses your skin. Picking the right dimensions ensures the pouf fits your hand and works well in your bathing routine.
Measuring Dimensions
Start by measuring your hand from the base of your palm to the tip of your middle finger. This length gives a good guide for the pouf’s diameter. Most bath poufs range between 4 to 6 inches wide. Smaller poufs suit gentle scrubbing, while larger ones cover more skin quickly.
Consider the thickness of the yarn too. Thicker yarn creates a denser pouf that feels fuller. Thin yarns make lighter, less bulky poufs. Use a soft tape measure or ruler to check your chosen size as you crochet.
Adjusting For Comfort
Comfort depends on how the pouf feels in your hand and on your skin. Make sure the pouf is easy to grip without slipping. If it feels too tight or too loose, adjust your stitch count or yarn thickness.
Test the pouf by holding it and imagining your bathing motions. A pouf that is too large can be hard to manage. Too small might not create enough foam or coverage. Aim for a size that feels natural and pleasant to use every day.
Basic Crochet Stitches
Crocheting a pouf bath is a relaxing project. Understanding basic crochet stitches is key. These stitches form the foundation of your pouf bath. Let’s explore the essential stitches you need.
Single Crochet
The single crochet is simple and sturdy. Insert your hook into the stitch. Yarn over and pull through. You now have two loops on your hook. Yarn over again and pull through both loops. This creates a tight, durable stitch.
Double Crochet
The double crochet adds height and texture. Yarn over, insert your hook into the stitch. Pull through, giving you three loops on your hook. Yarn over and pull through the first two loops. Yarn over again and pull through the remaining two loops. This stitch is taller and more open.
Slip Stitch
The slip stitch is neat and seamless. Insert your hook into the stitch. Yarn over and pull through both loops. This stitch joins pieces or finishes edges. It’s discreet and easy to do.
Starting The Pouf Base
Starting the base of your pouf bath sets the foundation for the entire project. It’s important to get this part right to ensure your pouf is both sturdy and well-shaped. The base begins with a simple circle, but mastering the first stitches will make the rest of your crocheting smoother and more enjoyable.
Creating A Magic Ring
The magic ring is a clever way to start your circle without leaving a hole in the center. To create it, wrap the yarn around your fingers to form a loop, then pull a loop through the ring with your hook.
This technique allows you to pull the ring tight after your first round of stitches, giving your pouf a neat, closed center. Have you tried this before? It can feel tricky at first, but once you get the hang of it, it becomes a favorite way to start circular projects.
Crocheting The Circle
After making the magic ring, your next goal is to crochet the first round of stitches into it. Typically, you’ll add several single or double crochets into the ring, then pull it tight.
As you continue, you’ll increase stitches evenly to keep the circle flat. Pay attention to your stitch count—too few increases and your circle will curl, too many and it will ripple.
Checking your work regularly helps you adjust as you go. What’s your experience with keeping circles flat? This part demands patience, but watching your base grow is incredibly rewarding.
Building The Sides
Building the sides of your crochet pouf bath is a crucial step that shapes the overall look and durability of the piece. This part involves carefully increasing stitches to expand the circumference while maintaining the pouf’s sturdy form. How you manage these increases directly affects whether your pouf will sit perfectly or bulge awkwardly.
Increasing Stitches
To widen the sides, you need to add stitches evenly around each round. This prevents the sides from puckering or creating unwanted angles. A common approach is to increase by adding two stitches in one stitch at regular intervals.
- Start with a base number of stitches, then add increases every few stitches on the next round.
- Keep track of your stitch count to avoid accidental over-increasing.
- Use stitch markers to mark where you add increases, so you can maintain consistency.
Have you noticed how too many increases make the sides flare out? That’s your cue to space them out more. Experimenting with this spacing can help you achieve a smooth, even curve.
Maintaining Shape
Maintaining the pouf’s shape means balancing stitch tension and increase placement. If your stitches are too loose, the sides may sag. Too tight, and the fabric can become stiff and hard to shape.
- Check your tension regularly by feeling the firmness of the fabric.
- Adjust your hook size if the sides feel too tight or too loose.
- Keep your increases consistent in both number and position to avoid bulges.
One tip that worked for me was pausing every few rounds to hold the pouf in my hands. This helped me see if the sides were expanding evenly and adjust accordingly. How often do you think you should test the shape during your project?
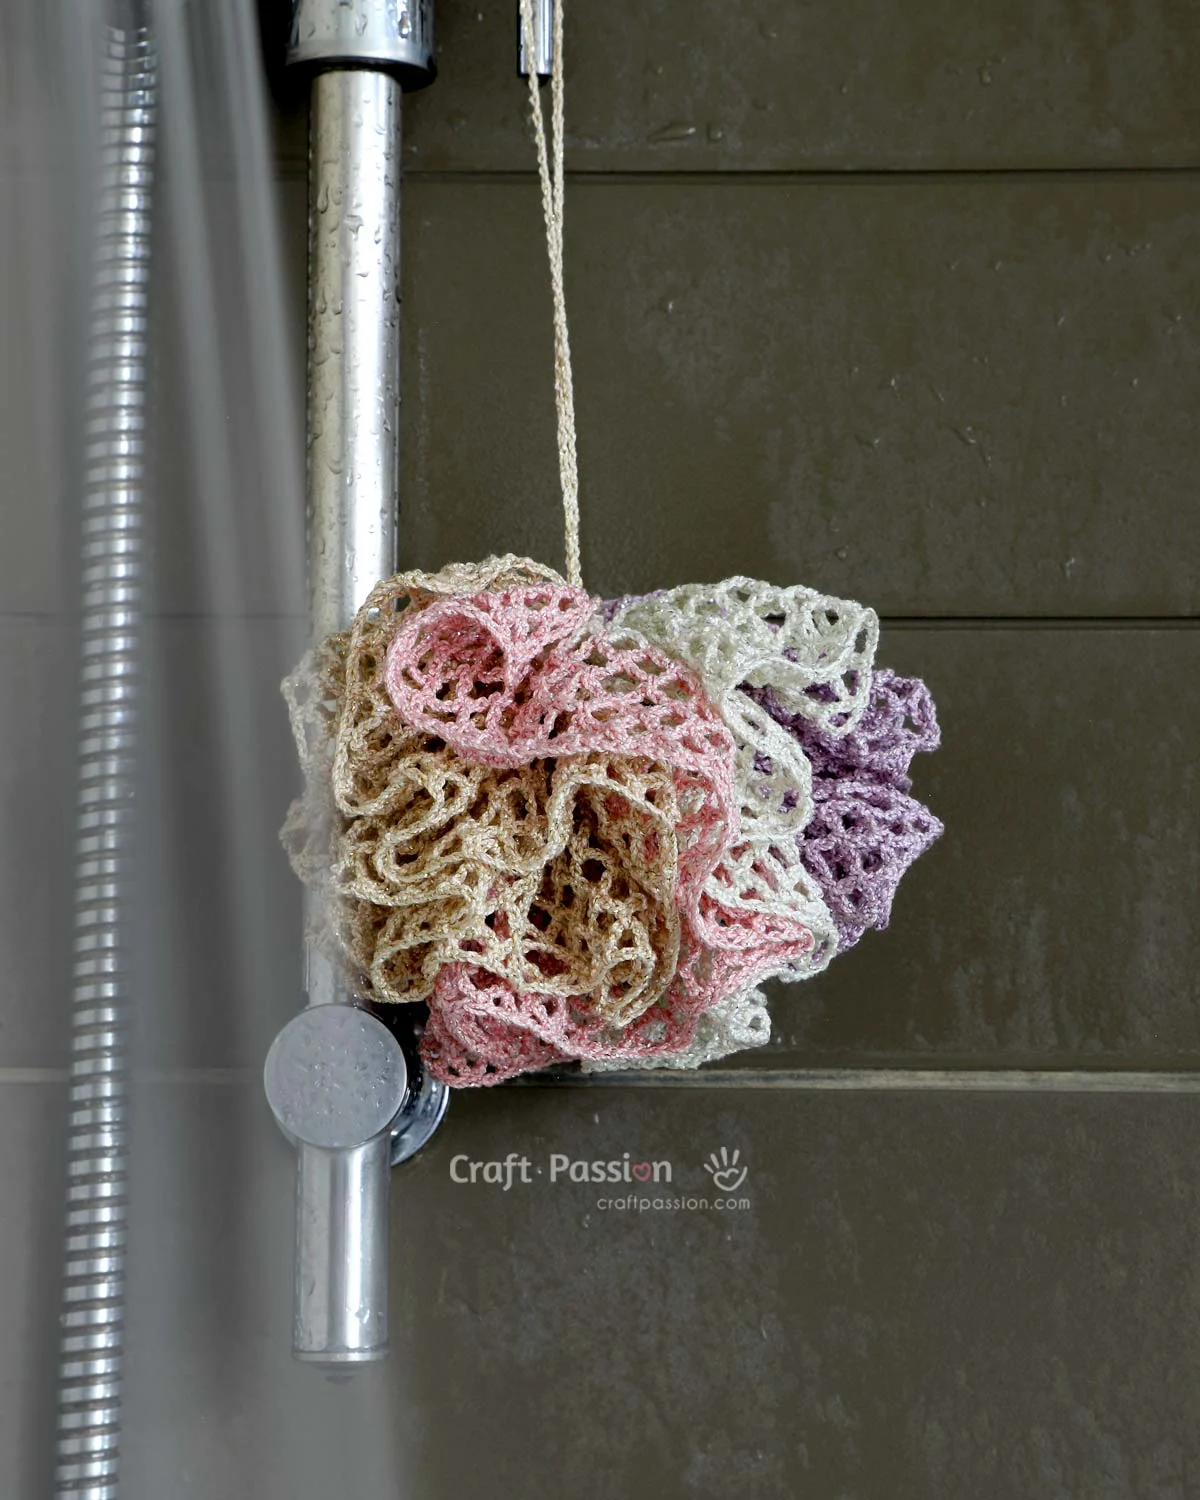
Credit: www.craftpassion.com
Stuffing The Pouf
Stuffing the pouf is a key step in making it comfortable and sturdy. The right filling gives shape and softness. Filling too little makes the pouf floppy. Too much stuffing can stretch the crochet stitches.
Choosing the best filling material depends on how you want the pouf to feel. Timing the stuffing during the crochet process also matters. Both affect the final look and durability.
Choosing Filling Material
Select filling that holds shape and feels soft. Common options include:
- Polyester fiberfill – lightweight and fluffy
- Foam pieces – firm and supportive
- Old clothes or fabric scraps – eco-friendly and soft
- Plastic pellets – add weight and structure
Mix materials for balanced firmness and comfort. Avoid heavy fillings if you want a pouf easy to move.
When To Stuff
Stuff the pouf as you crochet or after completing the outer layer. Gradual stuffing helps maintain shape.
Pause every few rows to add filling. Push stuffing into corners and edges to avoid gaps.
Stuff tightly but avoid overfilling. Check firmness by pressing gently. Adjust stuffing for the best feel.
Finishing Touches
Finishing touches give your pouf bath its final shape and personality. They ensure your hard work looks polished and lasts longer. Paying attention to these details can turn a simple crochet project into a standout piece.
Closing The Pouf
Closing the pouf neatly is essential to keep the stuffing secure and maintain its shape. Use a yarn needle to weave the yarn through the last round of stitches, pulling tight to close the opening.
Take your time to make the stitches even and tight. If you leave gaps, the stuffing might peek through or fall out over time. After closing, knot the yarn securely and hide the tail inside the pouf by weaving it back through several stitches.
Have you ever seen a pouf where the stuffing started to escape? That’s usually from a sloppy closure. Avoid this by double-checking your work before moving on to decoration.
Adding Decorative Elements
Decorative touches let you personalize your pouf and match it with your bathroom style. You can add buttons, beads, or small tassels for extra flair.
If you prefer a simpler look, try a contrasting yarn to stitch a border around the edges. This adds visual interest without overwhelming the design. You might even experiment with embroidery stitches to create patterns or initials.
Think about what reflects your style—do you want your pouf to stand out or blend in? Adding decorations is a chance to make the piece truly yours, so have fun with it!
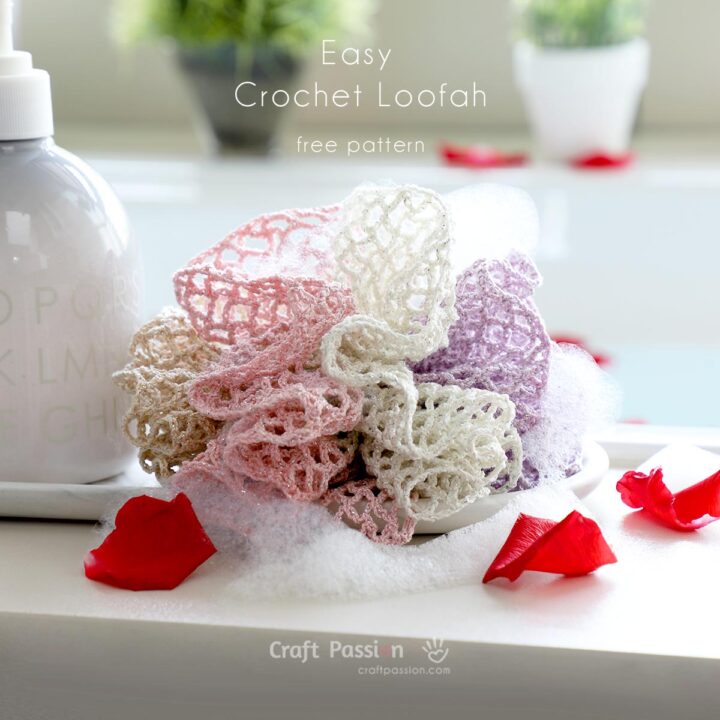
Credit: www.craftpassion.com
Care And Maintenance
Keeping your crochet pouf bath clean and well-maintained extends its life and keeps it looking fresh. Regular care prevents dirt buildup and damage. Gentle handling preserves the yarn and shape. Simple steps make maintenance easy and effective.
Cleaning Tips
- Use a soft brush to remove dust and debris.
- Spot clean with mild soap and warm water for small stains.
- Avoid soaking the pouf to protect the filling.
- Let it air dry completely in a shaded area after cleaning.
- Do not use bleach or harsh chemicals that can weaken fibers.
- Vacuum with a gentle setting to remove dirt from deep within.
Repairing Loose Threads
- Gently pull loose threads back into the stitch using a crochet hook.
- Trim any frayed ends carefully without cutting too close.
- Secure loose yarn by weaving it back into the stitches.
- Use matching yarn and a needle to stitch any small holes.
- Check regularly to catch problems early before they worsen.
- Handle repairs softly to maintain the pouf’s shape and texture.
Creative Variations
Adding creative variations to your pouf bath crochet project can transform a simple piece into a stunning centerpiece. Playing with different colors and textures not only enhances its look but also adds a unique touch that reflects your style. These variations keep the process exciting and offer endless possibilities to customize your pouf.
Color Patterns
Choosing the right color patterns can make your pouf stand out. You might want to try alternating stripes of bold and neutral tones to create contrast that catches the eye. Another idea is to use a gradient effect, starting with a dark shade at the base and gradually shifting to a lighter hue at the top.
Why not experiment with color blocking? Using large blocks of solid colors can give your pouf a modern, clean look. You can also mix multiple colors within one round to create a speckled or marbled effect. Think about the room where your pouf will live—do you want it to blend in or pop?
Texture Techniques
Texture can add depth and interest to your pouf beyond color. Try combining different stitches like bobble, popcorn, or puff stitches to create raised patterns. These stitches add a tactile quality that invites touch and makes your pouf more inviting.
Using chunky or boucle yarn can also change the feel completely, giving a soft, cozy finish. You could alternate smooth yarn with textured yarn to highlight certain sections. Have you considered how different textures might affect the pouf’s durability and comfort?

Credit: offthebeatenhook.com
Frequently Asked Questions
What Materials Are Needed To Crochet A Pouf Bath?
You need bulky yarn, a large crochet hook, a stitch marker, and stuffing. Choose water-resistant yarn for durability in bathrooms.
How Long Does It Take To Crochet A Pouf Bath?
It typically takes 4 to 6 hours depending on your crochet speed and skill level. Beginners may take longer.
Can I Customize The Size Of My Crocheted Pouf Bath?
Yes, adjust the number of stitches and rounds to make your pouf bigger or smaller. Use a pattern guide for accuracy.
What Stitch Is Best For Crocheting A Bath Pouf?
The single crochet stitch is ideal as it creates a tight, durable fabric. It holds stuffing well and maintains shape.
Conclusion
Crocheting a pouf bath is a fun and useful project. It adds comfort and style to any bathroom. You only need basic crochet skills and simple materials. The steps are easy to follow and suit beginners well. With patience, you can create a cozy, soft pouf for everyday use.
Try different yarn colors to match your space. Enjoy the process and the final cozy result. This project brings a personal touch to your home. Give it a try and feel proud of your work.


