
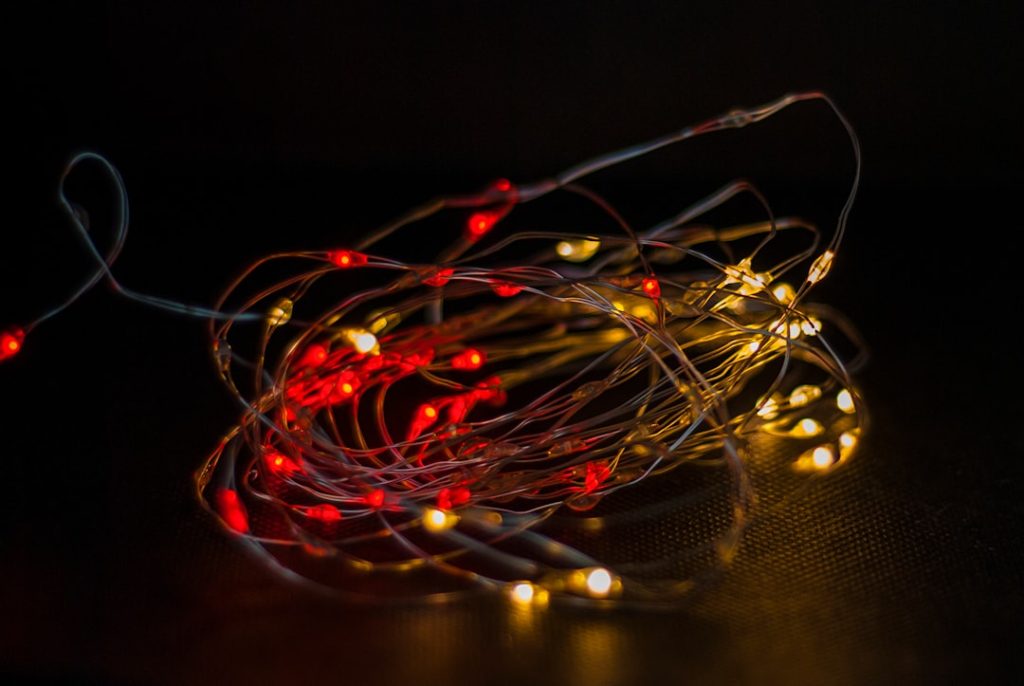
Are your Christmas lights not shining as bright as they used to? Don’t toss them out just yet.
You can fix that string of lights yourself, saving money and stress. Imagine the joy of seeing your home sparkle again, all because you took a few simple steps. In this guide, you’ll learn easy ways to find and repair those broken bulbs or faulty connections.
Keep reading, and by the end, your holiday decorations will glow like new.

Credit: www.homehardware.ca
Tools You’ll Need
Repairing a string of Christmas lights needs the right tools. These tools help find and fix broken bulbs or wires quickly. Having them ready makes the job easier and safer. Here is a list of essential tools for the task.
Multimeter
A multimeter checks electrical current and voltage in the lights. It helps find breaks or faulty bulbs by measuring continuity. This tool is crucial to pinpoint the exact problem.
Replacement Bulbs
Keep extra bulbs matching your light string. Different sets need different bulbs. Having spares allows quick swapping of burnt-out or broken bulbs.
Wire Cutters
Wire cutters trim damaged wires or remove broken bulbs safely. They make clean cuts to avoid further damage. This tool is handy for small repairs.
Electrical Tape
Electrical tape insulates exposed wires after repair. It protects against short circuits and moisture. Use it to secure connections firmly.
Needle-nose Pliers
Needle-nose pliers grip small parts and pull bulbs out gently. They help bend wires back into place. This tool improves precision during repair.
Flashlight
A flashlight brightens dark areas and helps inspect bulbs closely. It reveals loose connections and damaged parts clearly. Good lighting ensures thorough checking.
Common Issues With Christmas Lights
Christmas lights bring magic to the holiday season, but they often face common issues that can turn your festive mood upside down. Knowing what usually goes wrong helps you fix the problem faster and get your lights glowing again. Let’s look at the most frequent troubles you might encounter with your Christmas lights.
Burnt Out Bulbs
Burnt out bulbs are the top culprit when your string of lights stops working. One bad bulb can cause an entire section to go dark, especially in older or series-wired sets.
Check each bulb carefully for dark or blackened tips. Sometimes, just replacing that single bulb restores the whole string. Do you keep extra bulbs handy for these moments?
Broken Wires
Wires can break or fray from bending, storage, or rough handling. This creates a gap in the electrical flow, making some or all bulbs go out.
Look for visible cuts, kinks, or exposed wires. Using electrical tape or replacing the damaged section can often solve the issue. Have you ever found a hidden wire break that was the real problem?
Faulty Fuses
Many Christmas light strings have small fuses in the plug to protect against overloads. If a fuse blows, your entire string won’t light up.
Check the fuse by opening the plug and inspecting it. If it looks blackened or broken, replace it with the exact type. Keeping spare fuses with your light set can save time and frustration.
Spotting The Problem
Check each bulb carefully to find the one that is not lighting. Look for broken wires or loose connections along the string. Identifying the faulty part is key to fixing the lights quickly and safely.
Spotting the Problem Imagine the joy of untangling a string of Christmas lights only to find half of them aren’t twinkling. Before you toss them aside, take a moment to spot the problem. Identifying the culprit is often easier than you think and can save you a trip to the store.Visual Inspection
Start with a thorough visual inspection. Look for broken bulbs, frayed wires, or any signs of damage. Sometimes, it’s as simple as a bulb not being seated properly or a wire being slightly twisted. Check for any signs of corrosion on the bulb bases. Corrosion can interrupt the circuit and cause sections of the string to go dark. A little attention to detail can save a lot of hassle.Testing Each Bulb
Testing each bulb individually is a bit like a treasure hunt. You never know which one holds the key to illumination. Consider using a bulb tester, a handy tool that can quickly identify defective bulbs. Start from one end and methodically check each bulb. It might seem tedious, but remember, often it’s just one faulty bulb that causes the whole string to go dark. Swap out any suspect bulbs with a working one to see if the string lights up.Checking The Fuse Box
Don’t overlook the fuse box in the plug. Many light strings have tiny fuses that can blow without any visible sign. Gently open the fuse compartment and examine the fuses. If they appear dark or broken, replace them with spare fuses usually included in the package. This simple check can sometimes be the magic fix you’ve been looking for. By taking these steps, you’re not just fixing lights—you’re ensuring that your holiday season shines bright. Have you ever found a surprising fix to a problem like this? Share your story in the comments!Fixing Burnt Out Bulbs
Burnt out bulbs are a common cause of Christmas light strings not working. Fixing them is simple and saves money. You only need to find the faulty bulb and replace it carefully. This will bring your lights back to life quickly.
Removing The Faulty Bulb
First, unplug the light string to stay safe. Look closely for a bulb that looks dark or broken. Gently twist the bulb counterclockwise to loosen it. Pull the bulb straight out from its socket. Avoid using force to prevent damage.
Replacing With A New Bulb
Take a new bulb that matches the size and voltage of the old one. Insert it carefully into the empty socket. Twist the bulb clockwise until it fits snugly. Plug the lights back in and check if the new bulb glows. Repeat if more bulbs are burnt out.
Repairing Broken Wires
Repairing broken wires is essential to fix a string of Christmas lights. Damaged wires cause lights to stop working or flicker. Fixing these wires can save money and extend the life of your lights. The process involves finding the damaged area and securing the wires properly. With simple tools, anyone can repair broken wires safely.
Identifying Wire Damage
First, unplug the lights from the power source. Look closely along the wire for cuts, cracks, or exposed copper. Check for dark spots or melted areas that show overheating. Gently bend the wire to spot hidden breaks inside the insulation. Use a tester or multimeter to check for electrical continuity. A break means no flow of current, causing the lights to fail.
Using Electrical Tape Or Wire Connectors
Once the broken wire is found, strip away about half an inch of insulation from both ends. Twist the exposed copper wires together tightly. Wrap the joined wires with electrical tape to insulate and protect them. For a stronger fix, use wire connectors designed for thin wires. Push the wires into the connector and screw it tight. Always cover the repair with electrical tape for extra safety and weather resistance.
Replacing Blown Fuses
Replacing blown fuses is a common fix when your Christmas lights suddenly stop working. Fuses protect your string from electrical damage, but they can burn out over time. Knowing how to find and replace them can save you from buying a whole new set.
Locating The Fuse Compartment
Most Christmas light strings have a small fuse compartment built into the plug. It’s usually a sliding or pop-out cover near the prongs. Look for a tiny tab or a clear plastic window that you can open carefully with your fingernail or a small tool.
Sometimes the compartment blends in, so don’t rush. Take a close look, and if you don’t see it, check the packaging or manual for clues. Have you ever overlooked this small detail and replaced bulbs only to find the fuse was the real problem?
Installing New Fuses Safely
Before opening the fuse compartment, make sure your lights are unplugged to avoid any shock. Inside, you’ll usually find two small fuses side by side. Remove the blown fuses gently, noting their orientation so you can insert the new ones correctly.
Use replacement fuses that match the voltage and amperage indicated on the plug or original fuses. Press the new fuses firmly into place and close the compartment securely. Plug your lights back in and watch for any flickering or issues—this simple step often brings your decorations back to life.
Testing The Lights After Repair
After repairing your string of Christmas lights, testing them thoroughly is crucial to ensure everything works perfectly. This step confirms your fix and helps prevent any unexpected outages during the festive season. Let’s dive into how you can confidently check your lights and enjoy a bright, cheerful display.
Connect The Lights To A Power Source Safely
Before you plug in your repaired string, inspect the cord and plug for any visible damage. Make sure your hands are dry to avoid shocks. Using a grounded outlet reduces risk and ensures your safety.
Once ready, plug the lights in and watch carefully. Do all bulbs light up? Are there any flickering or dim spots? These signs tell you if the repair held or if further troubleshooting is needed.
Look For Consistent Brightness Across Bulbs
Uniform brightness means the electrical flow is steady throughout the string. If some bulbs appear dim or off, it might mean a weak connection or a faulty bulb still inside the string.
Replace any problematic bulbs and check if the brightness improves. This step can save you from replacing the entire set unnecessarily.
Use A Light Tester For Precision
A light tester is a handy device that identifies problems in individual bulbs or wiring. It can pinpoint the exact spot that needs attention, making your repair more accurate.
If you don’t own one, consider borrowing or buying one—it’s a small investment for hassle-free holiday lighting.
Test The Lights In Different Settings
Try turning the lights on and off multiple times to ensure the repair holds under regular use. Flickering when switching on might indicate a loose connection.
Also, test the lights in the actual display environment. Sometimes outdoor conditions affect the performance differently than indoors.
Ask Yourself: Would You Trust These Lights All Season?
If you hesitate, inspect the string again. It’s better to fix minor issues now than deal with dark spots on Christmas Eve.
Testing after repair is your final quality check. Take your time and enjoy the glow of lights you know are safe and reliable.

Credit: www.angi.com
Preventive Tips For Future Use
Taking care of your Christmas lights helps them last longer and work better every year. Simple habits protect the wires and bulbs from damage. Following a few easy tips keeps your lights bright and safe for many holidays.
Proper Storage
Store lights in a cool, dry place to avoid moisture damage. Wrap them gently around a spool or cardboard to prevent tangles and breaks. Use plastic containers or zip bags to keep dust and insects away. Label each set to find them easily next season.
Avoiding Overloads
Do not plug too many light strings into one outlet. Check the wattage limit on your extension cords and power strips. Use surge protectors to prevent electrical damage. Spread the load across different circuits to reduce the risk of overheating and fire.

Credit: thechristmaslightemporium.com
Frequently Asked Questions
How Do I Find The Broken Bulb In Christmas Lights?
Check for bulbs that look dim or are missing. Replace bulbs one by one to see which restores the string. Use a light tester for precise detection. This helps identify the faulty bulb quickly without testing the whole strand.
What Tools Do I Need To Repair Christmas Lights?
You’ll need a replacement bulb, light tester, electrical tape, and wire cutters. These tools help locate and fix issues safely. Having them ready makes the repair process faster and easier.
Can I Fix A Broken Wire On Christmas Lights?
Yes, you can repair broken wires using electrical tape or wire connectors. Ensure the lights are unplugged before fixing. Properly insulated wires prevent shorts and restore functionality safely.
How Do I Test Christmas Lights Before Hanging Them?
Plug the lights in and check for sections that don’t light up. Use a light tester to find faulty bulbs or wires. Testing beforehand ensures your decorations look perfect when displayed.
Conclusion
Fixing Christmas lights can save time and money. Start with careful checking of bulbs and wires. Replace any broken bulbs with the right size. Use a tester to find faulty spots quickly. Keep safety in mind while handling electrical parts.
With patience, your lights will shine bright again. Enjoy the festive glow you created yourself. Simple steps bring joy to holiday decorating. Try these tips for a hassle-free repair. Bright lights make the season feel special.


