
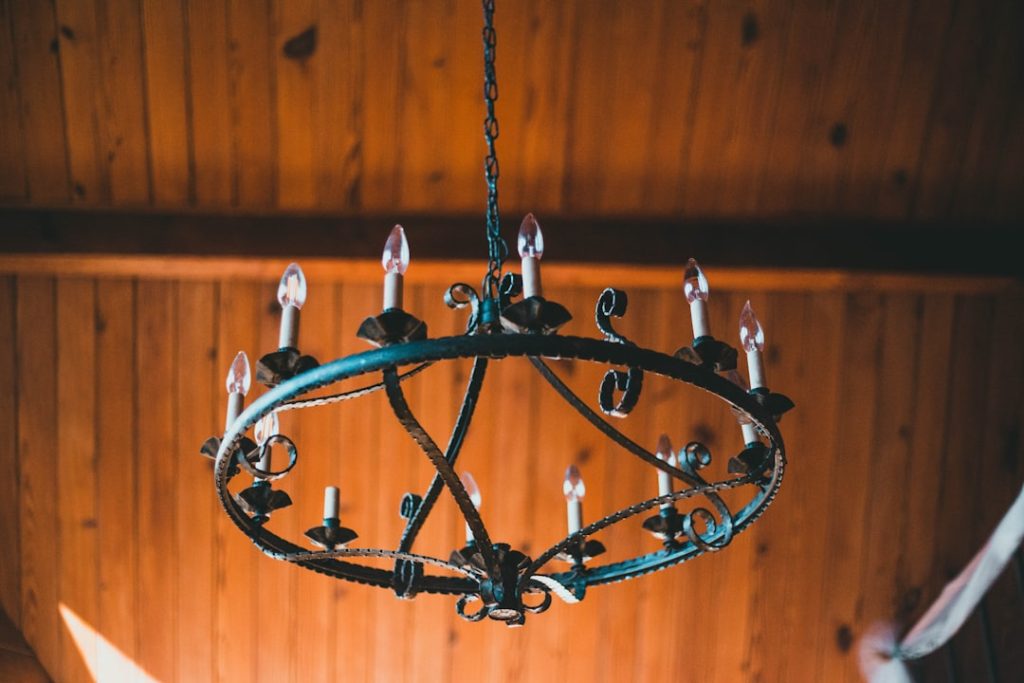
Changing a light bulb in a chandelier might sound simple, but it can quickly become tricky if you’re not sure how to do it safely and efficiently. You don’t want to risk breaking delicate parts or standing on an unstable chair.
In this guide, you’ll learn step-by-step how to replace those bulbs without stress or damage. By the end, you’ll feel confident tackling your chandelier bulbs anytime, making your space shine brighter and safer. Ready to get started? Let’s make this task easy for you!
Safety First
Changing light bulbs in a chandelier might seem straightforward, but safety should always be your top priority. Handling electrical fixtures can be risky if you don’t take the right precautions. Before climbing up or touching anything, it’s essential to prepare properly to protect yourself and your home.
Turn Off Power
Never start changing bulbs without switching off the power. This means turning off the light switch and, better yet, switching off the circuit breaker that controls the chandelier. It might feel like an extra step, but it prevents any chance of electric shock while you work.
Have you ever thought about how many accidents happen because someone underestimated this simple precaution? Don’t be one of those statistics. Take a moment to ensure the power is completely off before you touch the bulbs.
Use A Stable Ladder
Reaching up to a chandelier means working at a height, so having a stable ladder is crucial. Avoid standing on chairs or unstable furniture, which can easily tip over. A ladder with a broad base and non-slip feet will keep you secure while you change the bulbs.
Before climbing, check that the ladder is fully open and locked into place. Position it so you can comfortably reach the bulbs without overstretching. Have someone nearby if possible—that extra pair of hands can make a big difference for your safety.
Wear Protective Gear
Protecting your hands and eyes helps avoid injuries from broken glass or falling debris. Wearing gloves gives you a better grip on the bulb and shields your skin from sharp edges. Safety goggles can prevent dust or small fragments from getting into your eyes.
Think about the last time you handled a bulb—did you wear protection? Small precautions like these prevent unexpected accidents. Taking a few seconds to put on gloves and goggles can save you from painful cuts or eye irritation.

Credit: chandelierslife.com
Gather Necessary Tools
Before you start changing light bulbs in your chandelier, it’s important to gather all the necessary tools. Having everything ready saves time and prevents frustration. It also helps keep you safe and ensures the job goes smoothly.
Select The Right Bulbs
Not all bulbs fit every chandelier. Check the wattage limits on your fixture to avoid overheating. Also, match the bulb shape and base type to your chandelier’s sockets.
Consider energy-efficient options like LED bulbs—they last longer and use less power. Have a few extras on hand, so you don’t have to run to the store mid-task. Do you know if your chandelier needs clear or frosted bulbs? That choice can affect the light quality significantly.
Prepare Cleaning Supplies
Changing bulbs often means dusting your chandelier too. Gather a microfiber cloth, mild cleaner, and gloves to protect your hands and the bulbs. A step ladder or sturdy stool is essential if your chandelier hangs high.
Cleaning while changing bulbs prevents dirt buildup and keeps your fixture sparkling. Have a soft brush ready for delicate areas. Are you prepared to handle fragile glass pieces safely?
Have A Helper Ready
Chandeliers can be large and awkward to reach alone. A helper can steady your ladder and hand you bulbs or tools. This extra pair of hands makes the process faster and safer.
Even if your chandelier isn’t very high, having someone nearby adds security. They can also turn the light on and off for you, avoiding unnecessary trips up and down. Who do you trust to assist you with this task?
Remove Old Bulbs
Carefully twist the old bulb counterclockwise to loosen it from the socket. Support the bulb gently to avoid dropping or breaking it during removal.
Removing old bulbs from a chandelier requires caution and care. It’s essential to follow the right steps to ensure safety and prevent damage. Below is a guide to help you remove old bulbs efficiently.Access The Bulbs Safely
First, ensure the power is off. Use a sturdy ladder to reach the chandelier. Position it to allow easy access to the bulbs. Avoid leaning too far, which can cause imbalance.Unscrew Or Unclip Bulbs
Identify how the bulbs are attached. Some bulbs screw in, while others clip in place. Use your fingers to gently unscrew or unclip the bulbs. Avoid using excessive force, which can break the bulb.Handle Fragile Bulbs Carefully
Hold each bulb by its base, not the glass. This prevents breakage. If a bulb feels stuck, gently wiggle it free. Place removed bulbs in a safe container for disposal. Avoid dropping them on hard surfaces.
Credit: lustria.com
Clean The Chandelier
Cleaning your chandelier enhances its glow and extends its life. Regular cleaning removes dust and grime that dull the lights. A clean chandelier brightens the whole room and looks inviting.
Dust Off Fixtures
Use a soft cloth or feather duster to remove loose dust. Gently wipe each arm and bulb holder. Avoid pressing too hard to prevent damage. Dusting regularly stops buildup and keeps the chandelier shining.
Clean Glass Or Crystals
Remove glass parts carefully if possible. Wash them in warm, soapy water using a mild detergent. Rinse well and dry with a lint-free cloth. For fixed crystals, wipe gently with a damp cloth. This keeps glass sparkling clear and bright.
Avoid Harsh Chemicals
Do not use ammonia or bleach on your chandelier. Harsh chemicals can damage metal and dull glass. Stick to mild soap and water or special chandelier cleaners. These keep your fixture safe and looking its best.
Install New Bulbs
Installing new bulbs in a chandelier requires care and attention. Proper installation ensures the chandelier works safely and looks great. Follow simple steps for the best results.
Choose Correct Bulb Type
Select bulbs that match your chandelier’s specifications. Check the wattage, base type, and shape. Using the wrong bulb can cause damage or poor lighting.
Common types include:
- Incandescent
- LED
- CFL
- Halogen
Refer to the chandelier manual or existing bulbs for guidance.
Insert Bulbs Securely
Hold each bulb by the base, not the glass. Align the bulb base with the socket carefully. Turn the bulb gently clockwise until it fits snugly.
Avoid forcing the bulb. Too much pressure may break it or damage the socket.
Check Alignment And Fit
Ensure bulbs sit straight and flush in the sockets. Misaligned bulbs can cause flickering or uneven lighting. Test each bulb by turning on the chandelier.
If a bulb does not light up, remove and reinsert it. Confirm it is secure and properly connected.
Test The Chandelier
Testing your chandelier after changing the light bulbs is crucial to ensure everything works safely and correctly. It’s not just about seeing if the bulbs light up; it’s about confirming the electrical system is functioning and spotting any hidden issues. Taking a few moments to test can save you time and prevent potential hazards.
Restore Power
Once you’ve replaced the bulbs, the first step is to restore power to the chandelier. If you turned off the circuit breaker or removed a fuse earlier, switch it back on. Make sure the power source is securely activated before moving forward.
Have you ever flipped the breaker but forgot to check if it was the right one? Double-checking can save you from unnecessary troubleshooting later.
Switch On Lights
Next, turn on the chandelier’s light switch to see if the bulbs illuminate. Watch closely for any flickering or dimming, which can signal connection problems. If the lights come on steadily, you’re likely in the clear.
Sometimes a bulb that looks fine might not light up due to a loose connection. Gently wiggle the bulb socket to ensure it’s secure and making good contact.
Troubleshoot Issues
If the chandelier doesn’t light up or the bulbs flicker, it’s time to troubleshoot. Check the bulb installation first—are they screwed in tightly but not too tight? Inspect the sockets for corrosion or debris that might block electrical contact.
- Verify the circuit breaker is still on and hasn’t tripped again.
- Test the replaced bulbs in another lamp to rule out defective bulbs.
- Look for damaged wiring or loose connections around the chandelier’s base.
Consider this: could the fixture itself be faulty? Sometimes, chandeliers need professional attention if wiring is compromised. Don’t hesitate to call an electrician if you feel uncertain about any step.
Maintenance Tips
Proper maintenance keeps your chandelier bright and safe. Regular care extends bulb life and prevents damage. Follow these simple tips to maintain your chandelier effectively.
Regular Cleaning Schedule
Dust and dirt reduce light quality. Clean the chandelier every few weeks. Use a soft cloth or a feather duster. Avoid harsh chemicals that may harm finishes. Regular cleaning helps bulbs shine brighter and last longer.
Replace Bulbs Timely
Change bulbs as soon as they burn out. Old bulbs can flicker and cause uneven lighting. Use bulbs with the right wattage for your fixture. Timely replacement keeps the chandelier looking fresh and working well.
Inspect Wiring Periodically
Check wires for wear or damage every few months. Loose or frayed wires can cause shorts or fire risks. Turn off power before inspecting. Call a professional if you find any problems. Safe wiring ensures your chandelier functions without hazards.
Credit: lustria.com
Frequently Asked Questions
How Do I Safely Change Chandelier Light Bulbs?
Turn off the power before replacing bulbs to avoid shocks. Use a sturdy ladder and a cloth or gloves to handle bulbs carefully. Replace bulbs with the correct wattage and type for your chandelier.
What Type Of Bulbs Fit Chandeliers?
Most chandeliers use candelabra base bulbs. Choose LED or incandescent bulbs depending on your brightness and energy needs. Always check your chandelier’s specifications for bulb size and wattage limits.
Can I Replace Chandelier Bulbs Without Removing The Fixture?
Yes, if you can safely reach the bulbs. Use a stable ladder and ensure the power is off. Removing the fixture is only necessary if bulbs are hard to reach or stuck.
How Often Should Chandelier Bulbs Be Replaced?
Replace chandelier bulbs when they burn out or flicker. On average, bulbs last about 1,000 to 2,000 hours. Using LED bulbs can extend replacement intervals significantly.
Conclusion
Changing light bulbs in a chandelier is simple and safe. Always turn off the power first. Use a sturdy ladder to reach the bulbs easily. Handle bulbs gently to avoid breakage. Follow these steps every time you need to replace a bulb.
This keeps your chandelier bright and your room welcoming. Regular care helps your chandelier last longer. Now, you can change bulbs without stress or worry. Bright light, safe hands.


