
Are you looking to add a unique, cozy touch to your living space without spending a fortune? Making your own DIY Moroccan poufs is easier than you think, and it’s a fun project that lets you express your style.
Imagine sinking your feet into a soft, colorful pouf after a long day, or using it as a stylish seat when friends come over. In this guide, you’ll discover simple steps to create your very own Moroccan poufs that look stunning and feel amazing.
Ready to transform your room and impress everyone with your handmade skills? Let’s get started!
Credit: kechart.com
Materials Needed
Gathering the right materials is key to crafting a beautiful DIY Moroccan pouf. These materials influence the pouf’s look, feel, and durability. Select items that match your style and skills. Prepare well to make the sewing process smooth and enjoyable.
Choosing The Right Fabric
Opt for thick, durable fabrics like leather or faux leather. These give the pouf a classic Moroccan style and last long. Cotton or canvas fabrics work for a softer touch but may need lining. Choose colors and patterns that fit your room’s decor.
Essential Tools
- Heavy-duty sewing needle or sewing machine
- Strong thread, preferably polyester or nylon
- Scissors for cutting fabric
- Measuring tape or ruler
- Chalk or fabric marker for marking cuts
- Stuffing material such as foam, old clothes, or fiberfill
- Optional zipper for easy stuffing removal
Optional Decorative Elements
Add trims like tassels, embroidery, or piping for extra flair. Use colorful threads to create unique patterns. Small mirrors or beads can enhance the traditional Moroccan look. These details personalize your pouf and make it stand out.

Credit: homeon129acres.com
Preparing The Fabric
Preparing the fabric is a crucial part of making your DIY Moroccan poufs. This stage sets the foundation for a neat and well-constructed pouf that looks professional and lasts long. Taking time to measure and mark accurately can save you from frustrating mistakes later.
Measuring And Cutting
Begin by measuring your fabric carefully. Moroccan poufs typically require several panels of fabric, so knowing the exact size of each piece is important. Use a measuring tape and jot down your dimensions clearly.
Lay the fabric flat on a clean surface before cutting. Sharp fabric scissors or a rotary cutter work best for clean edges. Cutting precisely along your measurements ensures all pieces will fit together perfectly, making sewing easier and the final product more polished.
Marking Stitch Lines
Once your fabric pieces are cut, it’s time to mark where you will sew. Use a fabric-safe pencil or chalk to draw stitch lines about ½ inch from the edge. This guides you to sew straight and consistent seams.
Marking stitch lines also helps prevent fabric shifting during sewing. It’s a small step that makes a big difference in the pouf’s shape and durability. Have you noticed how a simple guideline can boost your confidence when stitching?
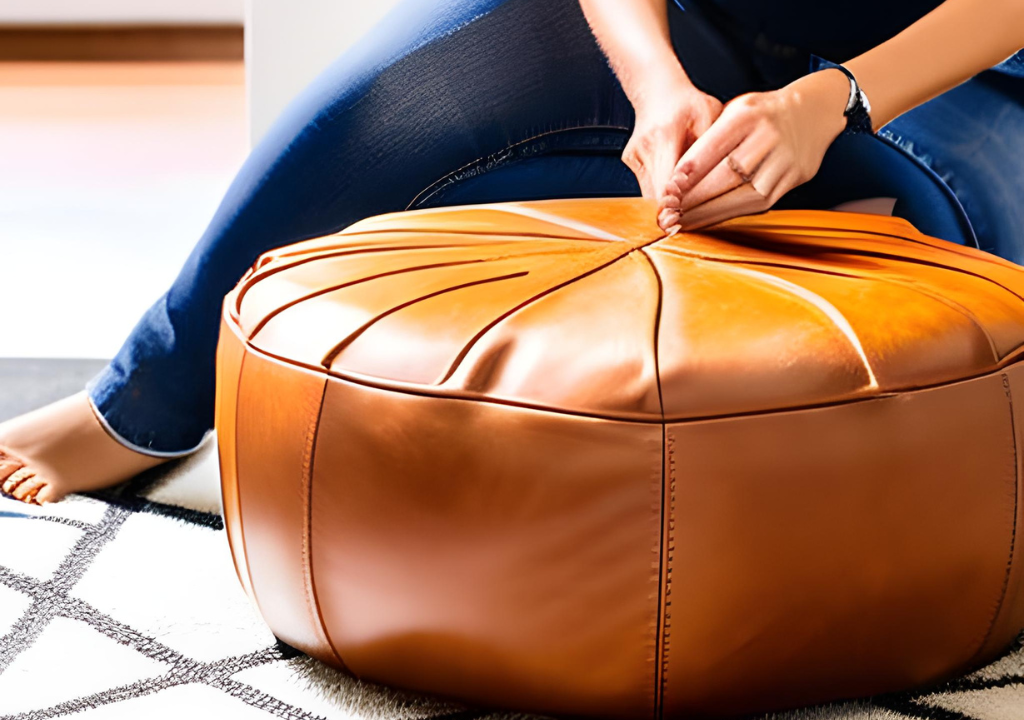
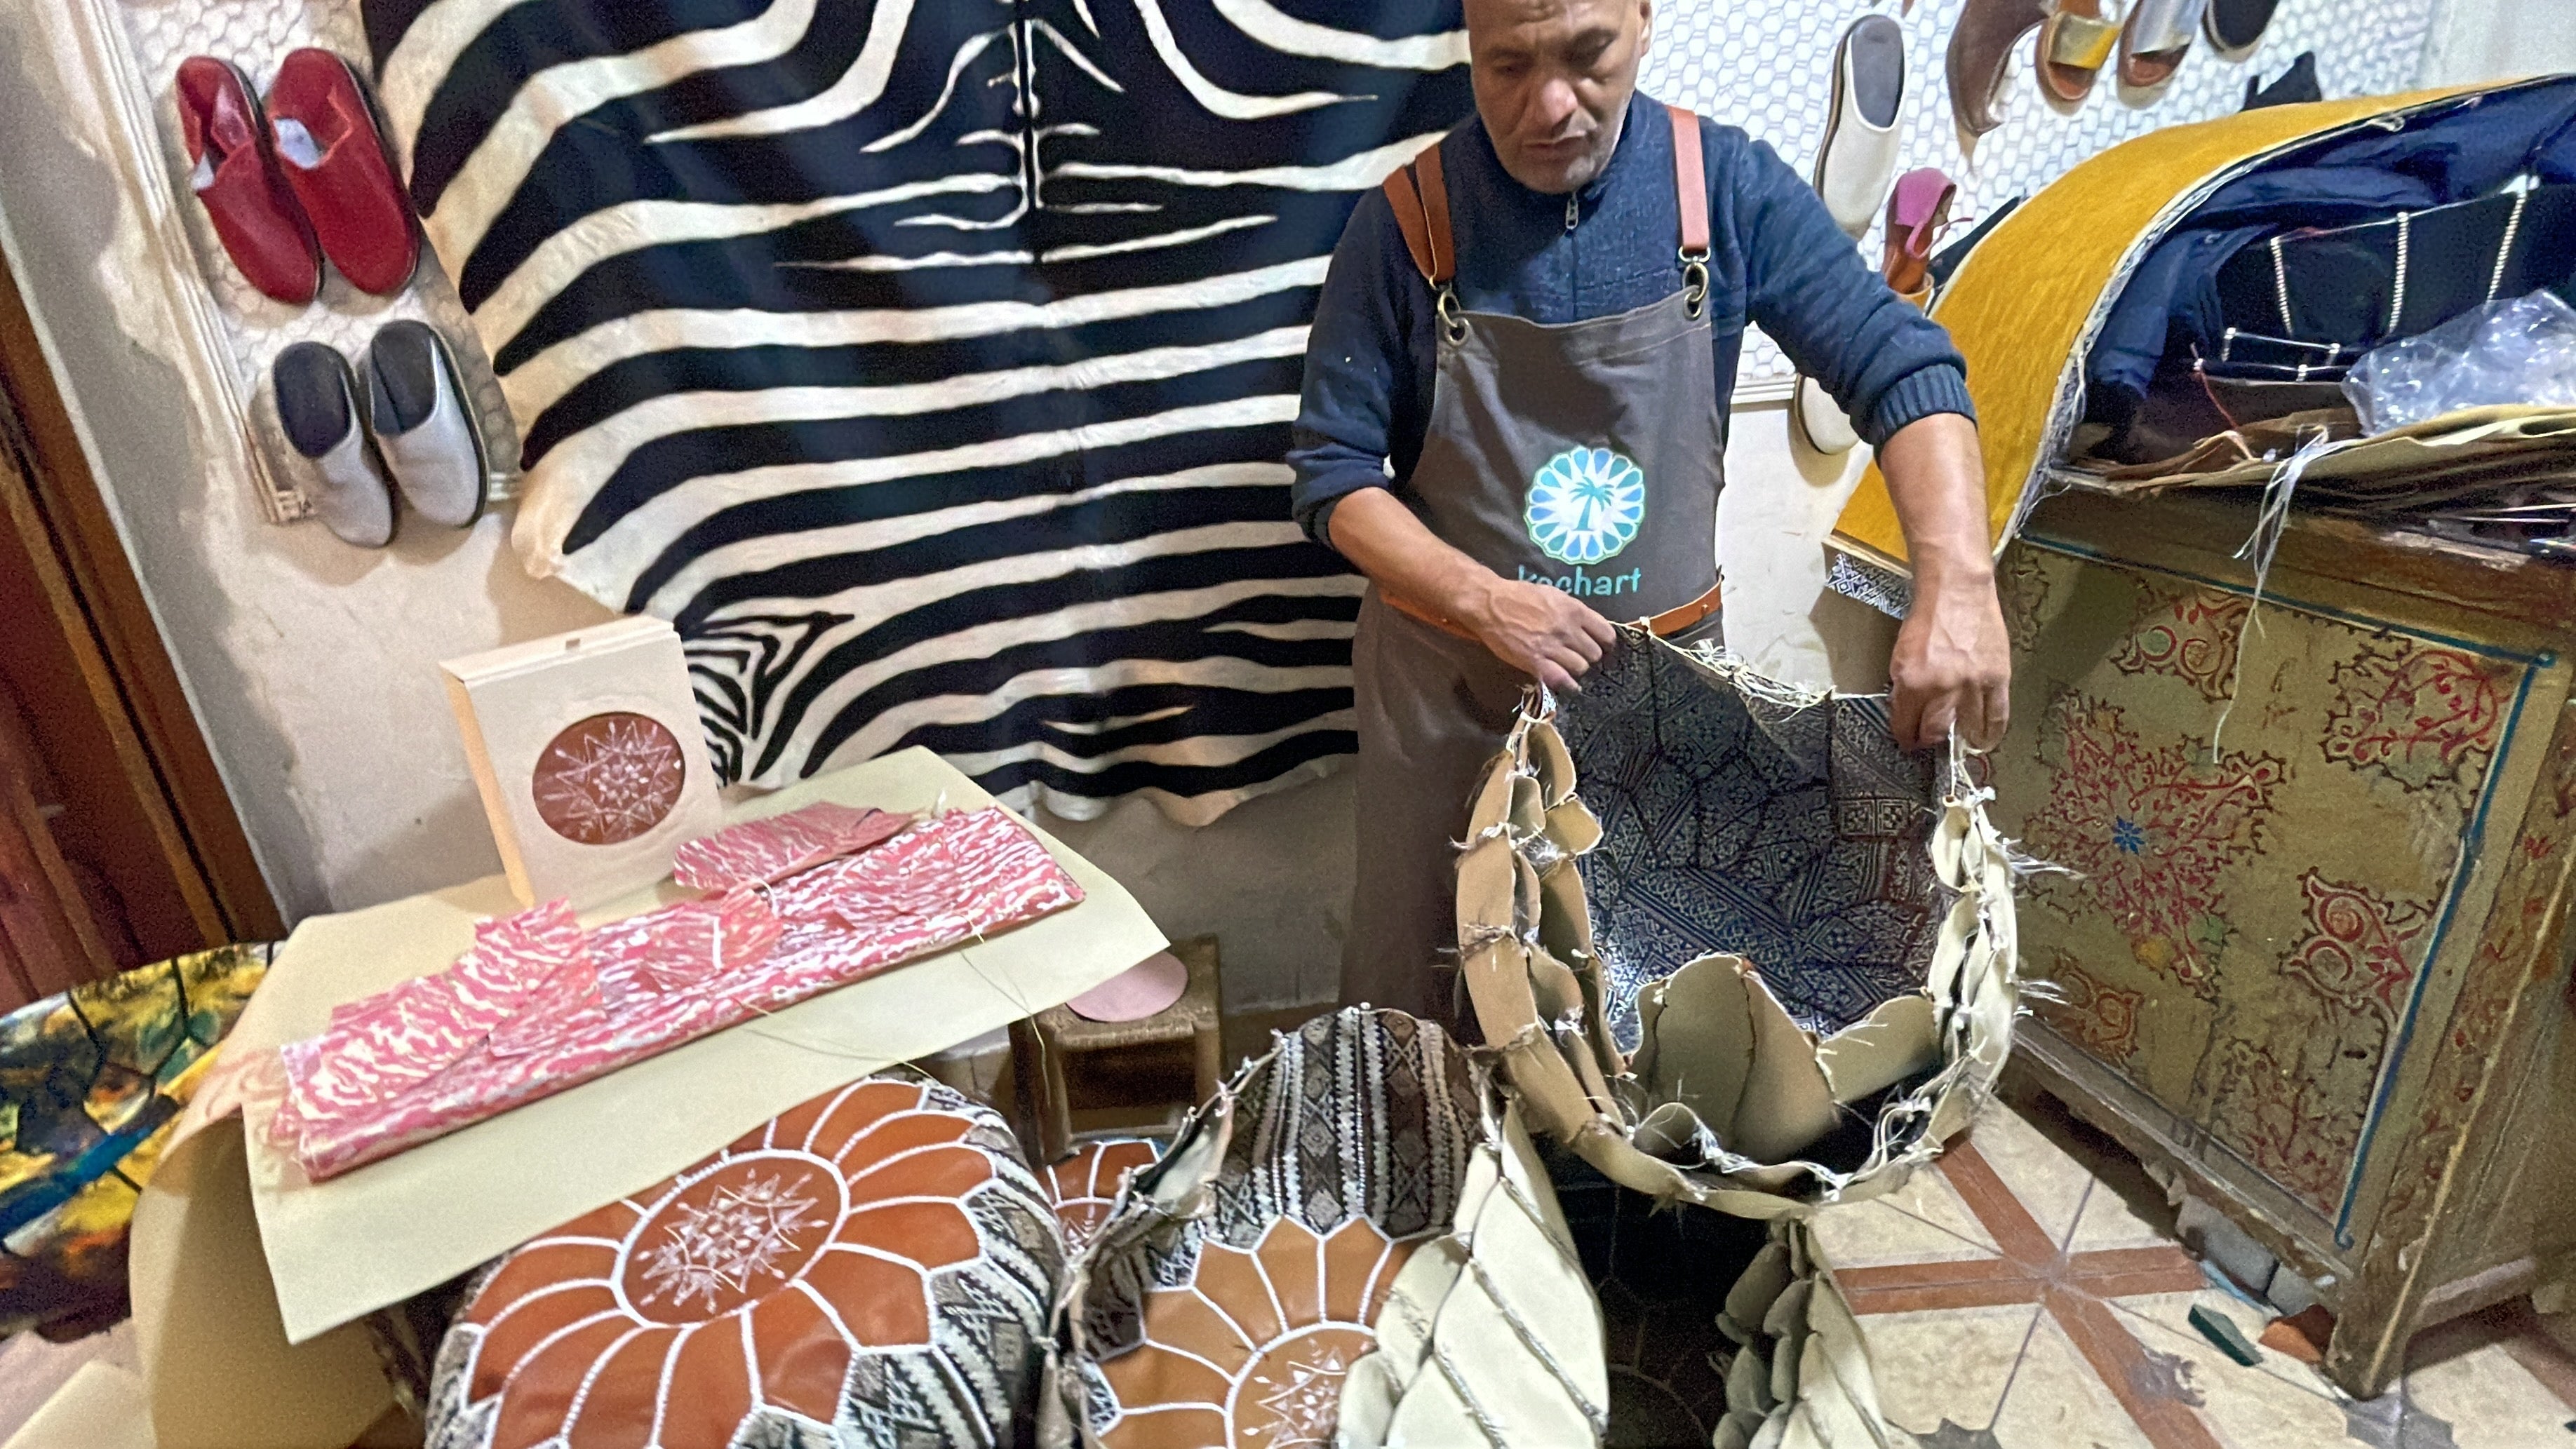
Sewing The Pouf
Sewing the pouf involves stitching fabric pieces into a round shape with strong seams. Use thick thread and a sturdy needle for durability. Filling it with soft material creates a comfortable, handmade Moroccan pouf.
Sewing the pouf is the heart of your DIY Moroccan pouf project. This is where your creativity and craftsmanship come into play. You might find it surprisingly satisfying to watch as each stitch brings your vision to life.Stitching The Panels
Start by arranging your pre-cut fabric pieces into a pattern that appeals to your taste. It’s essential to ensure all panels align correctly before you begin sewing. This step avoids any lopsidedness in the final product. Use a durable thread that matches or contrasts with your fabric, depending on your desired look. A strong stitch is crucial here, as the pouf will need to withstand daily use. Take your time with this step; precision will pay off in the end.Adding Decorative Seams
Decorative seams can elevate your pouf from simple to stunning. Think about using contrasting threads or adding tassels for a touch of flair. These elements can transform your pouf into a centerpiece. Consider hand-stitching some embellishments for an authentic Moroccan feel. Adding these personal touches can make the pouf uniquely yours. What decorative elements will you choose to reflect your style?Stuffing The Pouf
Stuffing your DIY Moroccan pouf correctly makes all the difference in comfort and shape. The right filling not only supports your weight but also helps the pouf maintain its distinctive look over time. Let’s focus on choosing the best materials and how to fill your pouf effectively for a perfect finish.
Selecting Filling Materials
You have several options to fill your pouf, each offering different levels of firmness and durability. Common choices include:
- Polyester fiberfill:Soft and lightweight, great for a plush feel but may compress over time.
- Foam pieces:Provide firm support and hold shape well, ideal if you want a more structured pouf.
- Recycled fabric scraps:Eco-friendly and cost-effective, but you’ll need to pack them tightly for support.
- Old clothes or cushions:A budget-friendly option, perfect if you want to reuse materials and add personal touch.
Consider what you want in terms of comfort and durability. Would you prefer a soft, squishy pouf or one that keeps its form like a solid ottoman?
Filling Techniques
How you stuff your pouf affects its final look and usability. Start by loosely adding the filling, then gradually press it down to avoid lumps.
Use your hands to spread the filling evenly, making sure corners and edges are well packed. This prevents sagging and keeps the pouf’s shape sharp.
Check firmness frequently by sitting on the pouf. If it feels too soft, add more filling. If too firm, remove some or fluff the material inside.
Finally, close the pouf securely to keep the filling in place. A zipper or strong stitching works best to allow future adjustments.
Finishing Touches
The finishing touches on your DIY Moroccan pouf are what truly bring your creation to life. This stage is where function meets style, ensuring your pouf is not only sturdy but also a stunning accent piece. Paying attention to these details makes a huge difference in the final look and feel.
Closing The Pouf
Once your pouf is stuffed and shaped, it’s time to close the opening securely. You can use a strong needle and thick thread to hand-sew the final seam, ensuring it holds up under daily use. Choosing a thread color that matches your fabric helps keep the stitches discreet and polished.
If you prefer a cleaner look, consider adding a hidden zipper along one edge before stuffing. This allows you to remove the filling and wash the cover, which is perfect for keeping your pouf fresh over time.
Adding Embellishments
Embellishments give your pouf personality and authenticity. You might sew on traditional Moroccan tassels at the corners or add embroidered patches to the surface. These small details transform a simple pouf into a vibrant, eye-catching piece.
Think about using beads, metallic thread, or even hand-painted designs to customize your pouf further. What kind of style do you want your pouf to express? Adding embellishments is your chance to answer that question creatively.
Styling Your Pouf
Styling your Moroccan pouf is where your creativity truly shines. It’s not just about adding a seat; it’s about creating a cozy vibe and enhancing your space’s personality. Think of your pouf as a versatile piece that can either stand out as a statement or blend seamlessly with your existing decor.
Placement Ideas
Where you put your pouf can change the whole feel of the room. Near a coffee table, it offers extra seating without crowding the space. Placing it by a window creates a perfect spot to relax with a book or sip your morning tea.
Consider tucking it beside a low bookshelf or at the foot of your bed to add texture and warmth. If your living room has an empty corner, a pouf can fill that space beautifully without overwhelming it. Have you thought about using it as a footrest in front of your favorite armchair? It instantly ups the comfort factor.
Complementary Decor Tips
Pair your pouf with rugs that share similar colors or patterns to create harmony. Add cushions in matching or contrasting shades to make the area inviting. Wooden or metal trays on top can turn your pouf into a makeshift table for snacks or magazines.
Mix different textures around your pouf—think woven baskets, soft throws, or ceramic planters. This contrast makes the space feel layered and interesting. Have you noticed how a small pouf can anchor a reading nook or coffee corner? It’s a subtle way to pull your decor together.

Credit: www.thechroniclesofhome.com
Frequently Asked Questions
What Materials Do I Need For A Diy Moroccan Pouf?
You need leather or fabric, strong thread, stuffing, needles, and a sewing machine or hand-sewing tools. Optional items include embellishments like tassels or embroidery for added style.
How Do I Sew A Moroccan Pouf Step-by-step?
Cut fabric into panels, sew them together inside out, stuff tightly, then close the final seam. Use strong stitches for durability and ensure even stuffing for a neat shape.
Can I Customize The Size Of My Moroccan Pouf?
Yes, customize by adjusting panel dimensions before cutting. Larger panels create bigger poufs, and smaller panels make compact ones. Ensure proportional stitching for balance.
How Do I Stuff A Moroccan Pouf Properly?
Use firm stuffing like foam or old clothes. Pack tightly to maintain shape and comfort. Evenly distribute the stuffing to avoid lumps and sagging.
Conclusion
Creating your own DIY Moroccan poufs brings charm to any room. It lets you add personal style and save money. The steps are simple and fun to follow. Use materials that suit your taste and budget. Enjoy the process of making something unique and useful.
Your handmade poufs will brighten your home and impress guests. Start crafting today and see the difference it makes.


