
Are you ready to bring your creativity to life by adding a photo on canvas? Whether you want to decorate your home, create a unique gift, or showcase your favorite memories, putting a photo on canvas is a simple and stunning way to do it.
You’ll discover easy steps that anyone can follow—no special skills needed. By the end, you’ll have the confidence to transform your photos into beautiful canvas art that catches the eye and sparks conversation. Keep reading to unlock the secrets of turning your pictures into lasting masterpieces!
Credit: www.canvasprintscanada.com
Choosing The Right Canvas
Choosing a canvas with the right texture and size makes your photo look its best. Thicker canvases often hold colors well and last longer. Consider the photo style to pick a suitable canvas type.
Choosing the right canvas is crucial for displaying your photo beautifully. The canvas you select influences the final look and feel. It’s important to consider materials, size, and surface preparation.Types Of Canvas Materials
Different materials offer varying textures and durability. Cotton canvases are popular for their affordability and versatility. They provide a smooth surface ideal for detailed images. Linen canvases are more expensive but offer a luxurious feel. They are strong and resist warping over time. Synthetic canvases, made from polyester, provide vibrant color reproduction. They are less susceptible to environmental changes.Selecting Canvas Size
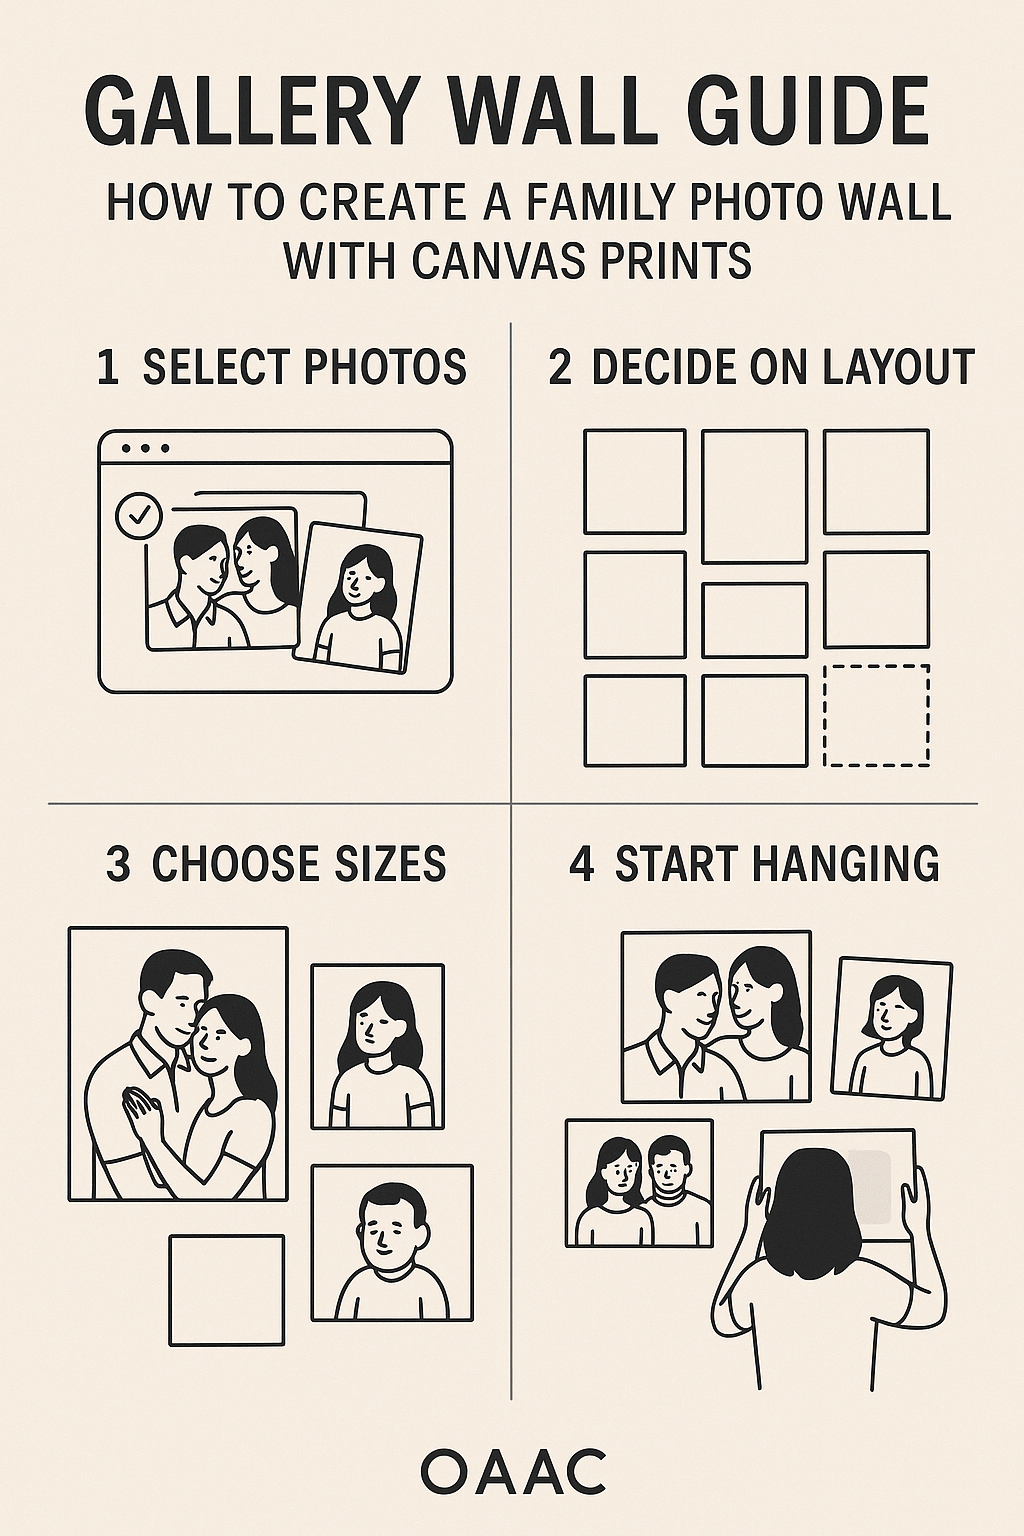
The size of the canvas impacts the photo’s visual appeal. Large canvases are great for creating a focal point in a room. They draw attention and can fill a large wall space. Smaller canvases are perfect for intimate settings. They work well in a gallery wall arrangement. Consider the room’s size and purpose when choosing. A well-proportioned canvas complements the space beautifully.Preparing The Canvas Surface
Preparation ensures the photo adheres well and looks professional. Start by cleaning the canvas to remove dust. Use a lint-free cloth for this task. Apply a coat of gesso if needed. Gesso primes the canvas and enhances color vibrancy. Allow the gesso to dry completely before adding the photo. Proper preparation enhances the longevity and appearance of your photo.
Credit: at.csudh.edu
Preparing Your Photo
Preparing your photo before adding it to a canvas can make a huge difference in the final look of your artwork. Taking the time to select the right image, edit it properly, and adjust its size ensures your canvas will look sharp and professional. Let’s dive into how you can get your photo ready for the best results.
Selecting High-quality Images
Choose images with high resolution to avoid pixelation on the canvas. Look for photos that are at least 150-300 DPI (dots per inch) for a crisp print. Avoid blurry or heavily compressed files since they won’t translate well when enlarged.
Think about what the photo communicates. Does it have clear focus and good lighting? These elements help maintain detail and color vibrancy after printing.
Editing For Best Results
Use simple editing tools to enhance your photo before printing. Adjust brightness, contrast, and saturation to make sure colors pop without looking unnatural. Removing distractions or blemishes can also improve the overall appearance.
Have you tried sharpening your photo slightly? It can bring out details that might otherwise get lost on canvas. But don’t overdo it—too much sharpening creates unwanted noise.
Resizing And Cropping Tips
Make sure your photo fits the canvas size you plan to use. Resizing should maintain the image’s aspect ratio to avoid distortion. Crop out unnecessary background or elements that don’t add value to your composition.
Use guides or grids in your editing software to keep the subject centered or aligned the way you want. This step can save you from surprises when your photo is printed on the canvas.
Printing Your Photo
Printing your photo on canvas turns digital images into lasting art. It requires selecting the right printing method and materials. The quality of the print affects the final look of your canvas.
Consider different options to find what fits your budget and needs. Professional services offer polished results. DIY methods give more control and can save money.
Choosing Printing Methods
Printing methods vary in quality, cost, and durability. Inkjet printing is popular for canvas art. It produces vibrant colors and smooth gradients. Dye-sublimation is another option, using heat to embed ink into the canvas. It is durable and water-resistant.
UV printing uses ultraviolet light to dry ink instantly. This method creates sharp details and long-lasting prints. Choose a method that matches your desired finish and budget.
Using Professional Printing Services
Professional printers specialize in canvas prints. They use high-quality materials and advanced machines. Their prints usually last longer and look more vibrant. These services offer custom sizes and framing options.
Many provide online tools to upload photos and preview the final product. Delivery options make it easy to get your canvas at home. Professionals handle color correction and image enhancement for the best results.
Diy Printing Options
Printing your photo on canvas at home saves money and adds a personal touch. Use a high-resolution image and a printer capable of handling canvas sheets. Matte or glossy canvas papers are available for different looks.
After printing, stretch the canvas over a wooden frame. Use staples or tacks to secure it tightly. Seal the print with a clear spray to protect colors. DIY prints may not match professional quality but offer great learning and fun.
Mounting The Photo On Canvas
Mounting a photo on canvas transforms your image into a stunning piece of art. It requires careful handling and the right technique to ensure the photo stays secure and looks professional. This section covers essential tips for mounting your photo on canvas, focusing on adhesives, stretching, and avoiding common mistakes.
Using Adhesives And Tools
Choose an adhesive that works well with both photo paper and canvas. Spray adhesives offer even coverage and avoid wrinkles. Apply glue in a well-ventilated area to prevent inhaling fumes. Use a clean roller or squeegee to press the photo firmly onto the canvas. This removes air bubbles and keeps the photo flat. Have scissors, a craft knife, and a ruler ready for trimming excess edges precisely.
Stretching The Canvas
Stretching the canvas ensures a smooth, taut surface that showcases your photo beautifully. Place the canvas on a flat surface. Pull the edges evenly to avoid wrinkles or sagging. Use canvas pliers for a better grip and even tension. Secure the canvas by stapling it to a wooden frame, starting from the center of each side and working outwards. Check the photo’s position frequently to keep it centered and aligned.
Avoiding Common Mounting Mistakes
- Do not use too much adhesive. It may cause bubbling or peeling.
- Always keep the photo clean and dry before mounting.
- Do not stretch the canvas unevenly. It may warp the image.
- Avoid rushing the process. Take time to align and press properly.
- Do not use low-quality tools. They can damage the photo or canvas.
Enhancing The Canvas Art
Adding a photo to your canvas is just the beginning. Enhancing your canvas art can transform a simple image into a striking piece that captures attention and lasts for years. Think about how you want your art to feel and interact with the space around it — every choice you make can deepen that impact.
Adding Protective Coatings
Protective coatings shield your canvas from dust, moisture, and fading. You can use varnishes or sprays designed specifically for canvas art. These coatings not only protect but can also enhance the colors, making them pop or adding a matte finish for a softer look.
Applying a coating is easier than you might think. Use a soft brush or spray evenly across the surface. Have you checked if your photo print reacts well with acrylic varnish? Testing on a small corner first can save you from surprises.
Incorporating Mixed Media
Adding different materials can give your canvas a unique texture and depth. Consider using acrylic paint, fabric pieces, or even metallic elements alongside your photo. These additions create a tactile experience that draws viewers in closer.
Try layering paint around the edges or placing small objects that relate to your photo’s theme. What story do you want your canvas to tell beyond the photo itself? Experimenting here can make your art truly personal and unexpected.
Framing Options
Choosing the right frame can elevate your canvas and complement your room’s style. Floating frames create a modern, clean look, while traditional wood frames add warmth and classic charm. You don’t always need a frame; sometimes, simply stretching the canvas on a robust wooden frame is enough.
Think about where you’ll hang your canvas. Will a frame help it stand out or blend in? Trying out different styles before deciding can give you a clearer vision of what works best with your photo art.
Credit: www.canvaspop.com
Displaying And Caring For Canvas Photos
Displaying and caring for canvas photos ensures they stay beautiful for years. Proper care protects the image and keeps the colors bright. Good display choices also enhance the room’s look and highlight your photo.
Ideal Placement And Lighting
Place canvas photos away from direct sunlight. Sunlight can fade colors over time. Choose walls with soft, indirect light. Avoid areas with high humidity like bathrooms or kitchens. Keep photos away from heat sources such as radiators. A stable environment helps preserve the canvas quality.
Cleaning Tips
Use a soft, dry cloth to clean the canvas surface. Avoid water or cleaning sprays, which can damage the print. Gently dust the frame and edges regularly. For stubborn dirt, use a slightly damp cloth and dry immediately. Never use abrasive materials or strong chemicals.
Storage And Maintenance
Store canvas photos upright in a dry, cool place when not displayed. Wrap them in breathable fabric, not plastic, to avoid moisture buildup. Check photos regularly for dust or signs of wear. Rotate displayed photos to minimize exposure to light. Proper care extends the life and beauty of your canvas photo.
Frequently Asked Questions
How Do I Upload A Photo To Canvas?
To upload a photo on Canvas, go to your course page, click “Files,” then “Upload. ” Select your image, and it will be available for use in assignments or discussions.
Can I Add Photos Directly In Canvas Assignments?
Yes, you can insert photos in Canvas assignments using the Rich Content Editor. Click the image icon, upload your photo, and place it within your text.
What Photo Formats Does Canvas Support?
Canvas supports common image formats like JPEG, PNG, GIF, and BMP. Use these formats for smooth uploading and display across all devices.
How Do I Resize A Photo On Canvas?
After uploading your photo in the Rich Content Editor, click it and drag the corners to resize. This keeps your image clear and fits your content.
Conclusion
Adding a photo on Canvas is simple and quick. Just follow the steps carefully. Choose a clear photo for the best result. Upload it and adjust the size as needed. This helps make your Canvas projects more personal and fun.
Practice these steps to feel more confident. Soon, adding photos will become easy and natural. Keep exploring new ways to use photos in your work. Your projects will look better and more creative. Give it a try today!


