
Looking to brighten up your home with string lights but not sure how to attach them to your house siding? You’re in the right place.
Hanging string lights can instantly add warmth and charm to your outdoor space, but doing it wrong can lead to damage or tangled messes. In this guide, you’ll discover simple, effective ways to secure your lights safely and neatly. By the end, you’ll have the confidence to light up your home like a pro—without frustration or hassle.
Keep reading to learn the best tips that will make your string light setup look amazing and last longer.
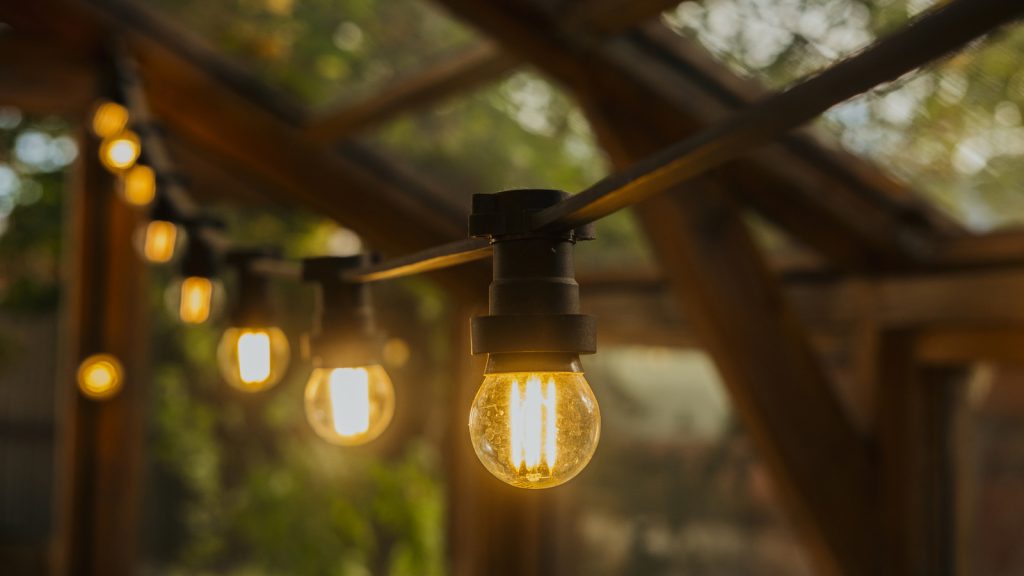
Credit: www.outdoorguide.com
Choosing The Right String Lights
Choosing the right string lights is key for a beautiful and safe display. The perfect lights match your siding type and outdoor conditions. Picking well-made lights ensures durability and great looks. Consider the style, strength, and size before buying. These points help you find the best fit for your home.
Types Of String Lights
String lights come in many styles. Classic incandescent bulbs give a warm glow. LED bulbs use less energy and last longer. Globe lights add a modern touch with round bulbs. Fairy lights are small and delicate for subtle effects. Choose the type that fits your style and setting.
Weather Resistance Features
Outdoor lights must resist rain, wind, and sun. Look for lights with waterproof ratings like IP65 or higher. Strong insulation protects wires from damage. UV-resistant coatings stop fading and cracking. Weatherproof lights last through seasons without trouble.
Length And Brightness Considerations
Measure the area to cover with lights. Longer strings reduce the need for extra plugs. Brightness depends on bulb size and type. LEDs offer bright light with low power use. Balance brightness to avoid glare but keep visibility. Choose length and brightness for your display needs.
Preparing Your House Siding
Preparing your house siding is an essential first step before attaching string lights. This preparation ensures the lights stay secure and your siding remains undamaged. Taking time now saves effort later and helps achieve a clean, attractive setup.
Cleaning The Surface
Start by removing dirt, dust, and debris from the siding. Use a soft brush or cloth and mild soap with water. Clean areas where lights will attach thoroughly. Dry the surface completely to help adhesives or clips stick better.
Inspecting For Damage
Look closely for cracks, loose panels, or peeling paint on the siding. Damaged areas can weaken the hold of fasteners. Repair or replace any broken sections before hanging lights. This step protects your home and ensures safety.
Selecting Attachment Points
Choose strong, stable spots to secure your string lights. Focus on trim boards, gutters, or sturdy hooks. Avoid fragile or soft siding areas that may break or cause damage. Mark points evenly to create a balanced and neat look.
Damage-free Attachment Methods
String lights can be hung using clips that won’t harm your siding. These clips hold lights firmly without leaving marks or holes. This keeps your house safe while adding a cozy glow.
Attaching string lights to your house siding can add charm to your home. Yet, many worry about damaging their siding. With the right methods, you can hang your lights without leaving a mark. Here are some effective, damage-free options.Using Adhesive Hooks
Adhesive hooks are simple and effective. They’re perfect for temporary light displays. Peel off the backing and press the hook onto the siding. Ensure the surface is clean for better grip. These hooks are easy to remove when you’re done.Employing Clip-on Hooks
Clip-on hooks are another great choice. They attach directly to the siding grooves. No tools or nails needed. Slide the hook onto the siding edge. Then, hang your lights on the hook. They are reusable and leave no damage.Magnetic Hooks For Metal Siding
Have metal siding? Use magnetic hooks. They’re strong and hold lights securely. Just attach the magnet to the metal surface. No drilling or adhesive required. They’re easy to move and remove.Tension Rods And Poles
Tension rods work well for windows and doorways. Adjust the rod to fit snugly between two surfaces. Hang the lights on the rod. No need for hooks or adhesives. Perfect for temporary setups.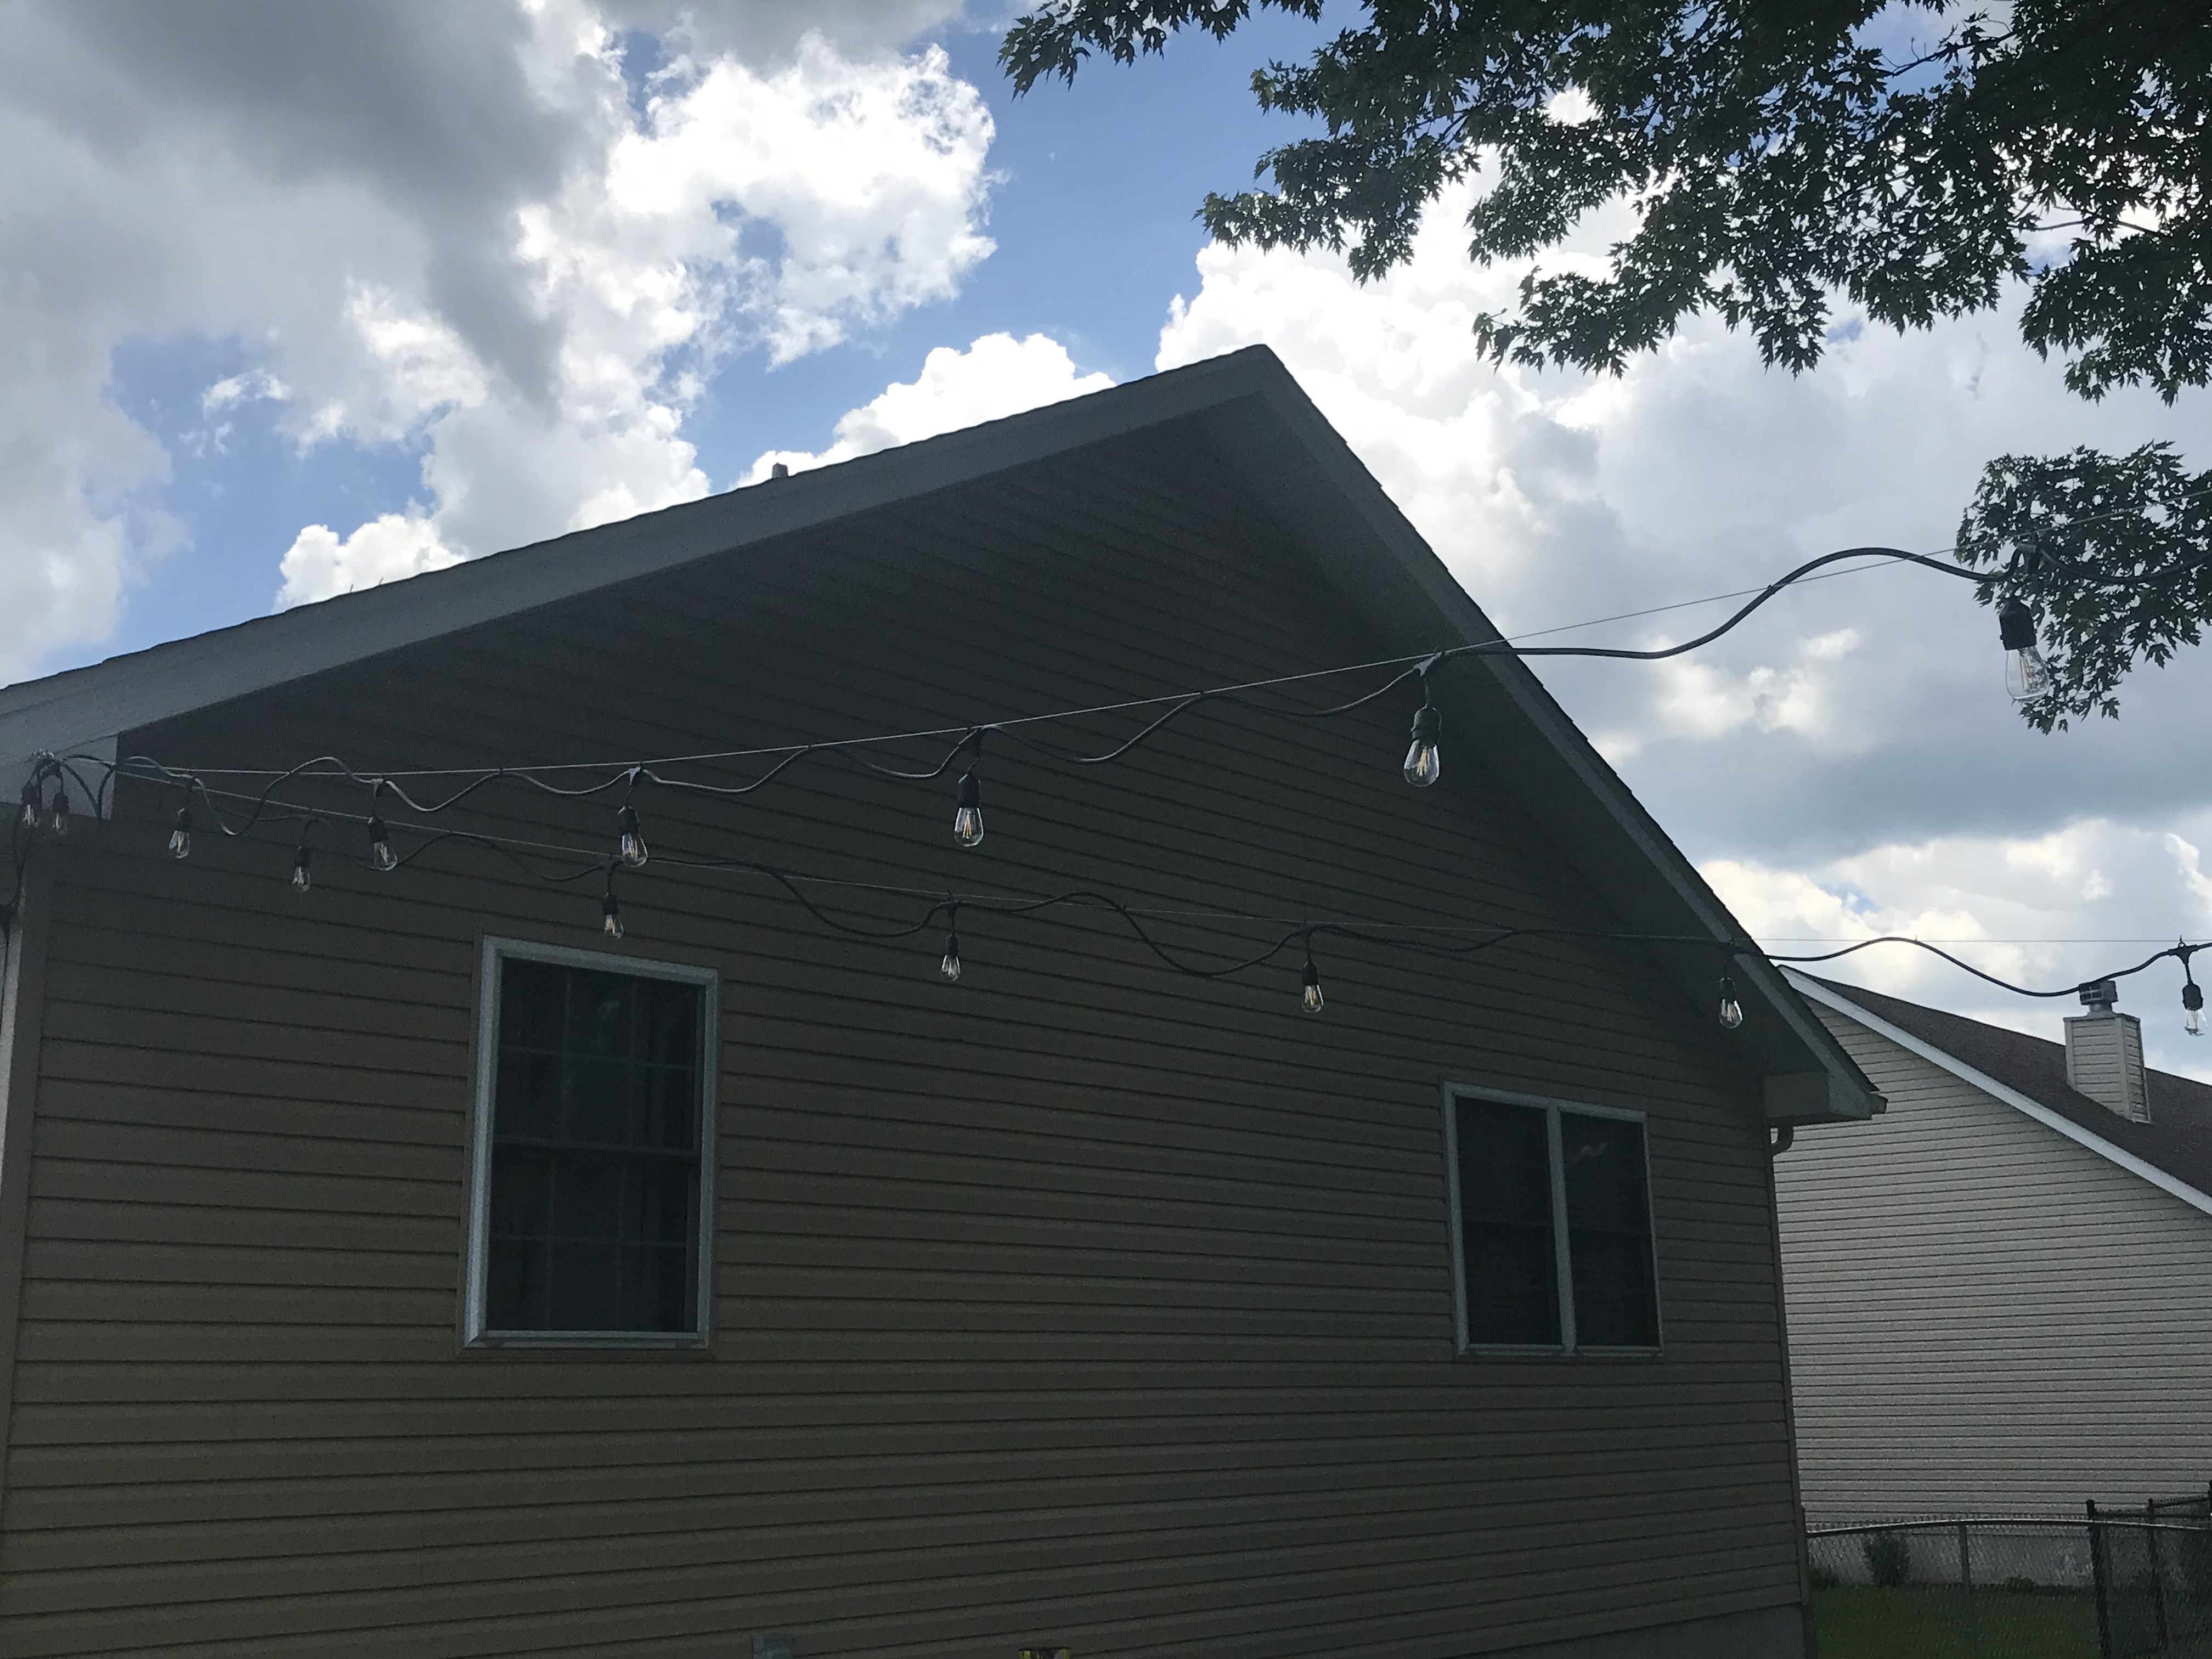
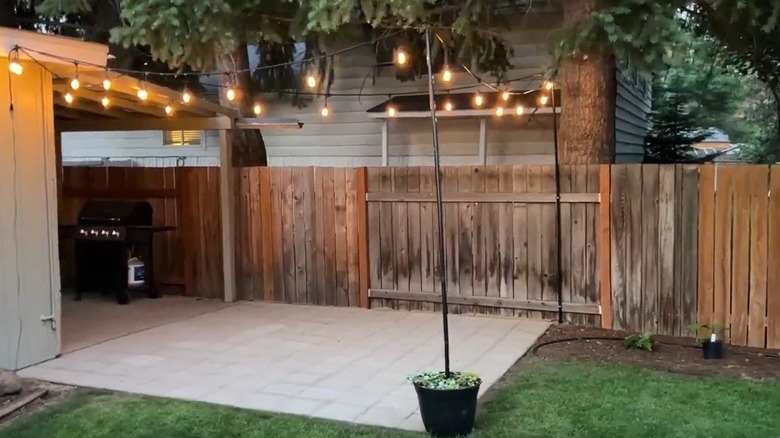
Credit: www.acupfullofsass.com
Tools And Materials Needed
Attaching string lights to your house siding is easier and safer when you have the right tools and materials at hand. Preparing everything beforehand saves you from interruptions and ensures a neat, damage-free setup. Here’s what you’ll need to gather before starting your project.
Essential Tools
- Measuring Tape:To measure the length of your string lights and the distance on your siding.
- Step Ladder:A sturdy ladder helps you reach higher areas safely and comfortably.
- Hammer or Drill:Depending on your fasteners, you’ll need either a hammer for nails or a drill for screws.
- Wire Cutters:Useful for trimming excess wire or cutting zip ties.
- Level:To keep your lights straight and evenly spaced.
Recommended Fasteners
Choosing the right fasteners protects your siding and holds your lights firmly in place. Avoid using nails that can leave permanent holes.
- Adhesive Clips:Plastic clips with adhesive backing work well on smooth siding and won’t cause damage.
- Siding Clips:Designed specifically for hanging lights on vinyl or aluminum siding without puncturing.
- Hook-and-Loop Straps:Great for bundling wires and securing lights around gutters or railings.
- Zip Ties:Useful for fastening lights to fences or other structures near your siding.
Safety Equipment
Your safety should be a priority as you work outdoors and at heights. Even a small fall can cause injury.
- Work Gloves:Protect your hands from sharp edges and rough surfaces.
- Safety Glasses:Shield your eyes from debris or accidental pokes from wires.
- Non-Slip Shoes:Help you maintain stable footing on ladders or wet surfaces.
- Assistant or Spotter:Having someone nearby adds an extra layer of safety, especially when using ladders.
Do you have all these ready? Missing just one tool or safety item can slow you down or risk damage. Preparing thoughtfully makes your light-hanging experience smooth and enjoyable.
Step-by-step Installation Process
Installing string lights on house siding can transform your home’s look. The key is a clear plan and safe setup. Follow these steps for a smooth installation.
Planning Your Layout
Measure the area where you want to hang the lights. Check the length of your string lights to match the space. Decide on the pattern: straight lines, zigzags, or around windows. Mark key points with painter’s tape or chalk. This helps keep the lights even and neat.
Securing The Lights Safely
Choose clips made for siding to avoid damage. Attach clips at regular intervals to support the lights. Avoid nails or staples that can harm the siding. Gently snap the lights into the clips. Make sure they are tight but not stretched.
Managing Power Cords
Place cords near power sources to avoid long extensions. Use outdoor-rated extension cords if needed. Keep cords off the ground to prevent tripping. Secure cords with clips or hooks along the siding. Check that plugs and connections stay dry and safe.
Maintenance And Storage Tips
Proper maintenance and storage of string lights keep them safe and working longer. Taking time to care for the lights saves money and effort in the future. Simple checks and careful storage prevent damage and extend their life.
Checking For Wear And Tear
Inspect the string lights for broken bulbs and frayed wires. Look for any discoloration or cracks in the casing. Test the lights by plugging them in before storing. Replace damaged bulbs or sections to avoid hazards. Regular checks stop small problems from becoming big ones.
Proper Storage Techniques
Wrap the lights gently around a spool or cardboard to avoid tangles. Store them in a sturdy box or container to protect from dust and moisture. Keep the storage area cool and dry to prevent damage. Avoid heavy items on top of the lights to prevent crushing. Label the box for easy finding next season.
Seasonal Removal Advice
Remove lights carefully to avoid pulling or snapping wires. Detach clips or hooks slowly to protect siding and lights. Clean the lights with a soft cloth before storing. Allow the lights to dry completely to prevent mold or rust. Store lights soon after removal to avoid misplacing parts.

Credit: www.thisoldhouse.com
Frequently Asked Questions
How Do I Safely Attach String Lights To House Siding?
Use clips designed for your siding type to avoid damage. Avoid nails or staples. Ensure lights and clips are weather-resistant for safety and durability.
What’s The Best Way To Hang Lights On Vinyl Siding?
Use vinyl siding hooks or adhesive clips. These hold lights securely without holes. Make sure clips fit your light string’s thickness.
Can I Use Nails Or Staples On House Siding?
No, nails or staples can damage siding and cause leaks. Use purpose-built clips or hooks instead for safe attachment.
How Do I Prevent String Lights From Falling Off Siding?
Secure clips firmly and space them evenly along the wire. Avoid heavy or bulky lights that strain the clips.
Conclusion
Attaching string lights to house siding is easy with the right steps. Use clips or hooks designed for your siding type. Avoid nails or anything that can damage the surface. Plan the layout before starting to save time. Check that the lights are secure and safe from wind.
Enjoy the warm, cozy glow on your home’s exterior. Brighten your space without worry or mess. Simple tools and care make a big difference. Now, your house looks festive and inviting all year.


