
Are you looking to brighten up your workspace without spending a fortune? Making your own USB desk lamp is easier than you think.
Imagine having a light that fits perfectly on your desk, powered right from your computer or charger. You’ll not only save money but also create something unique that matches your style. Ready to learn how to build a simple, effective lamp that you can customize?
Keep reading, and by the end, you’ll have a handy guide to light up your desk just the way you want.

Credit: www.youtube.com
Materials Needed
Gathering the right materials is crucial for building a USB desk lamp. The quality of your lamp depends on the parts you choose. Each component plays a role in how well the lamp will work and look. This section covers everything needed to create a functional and stylish lamp.
Choosing The Right Usb Lamp
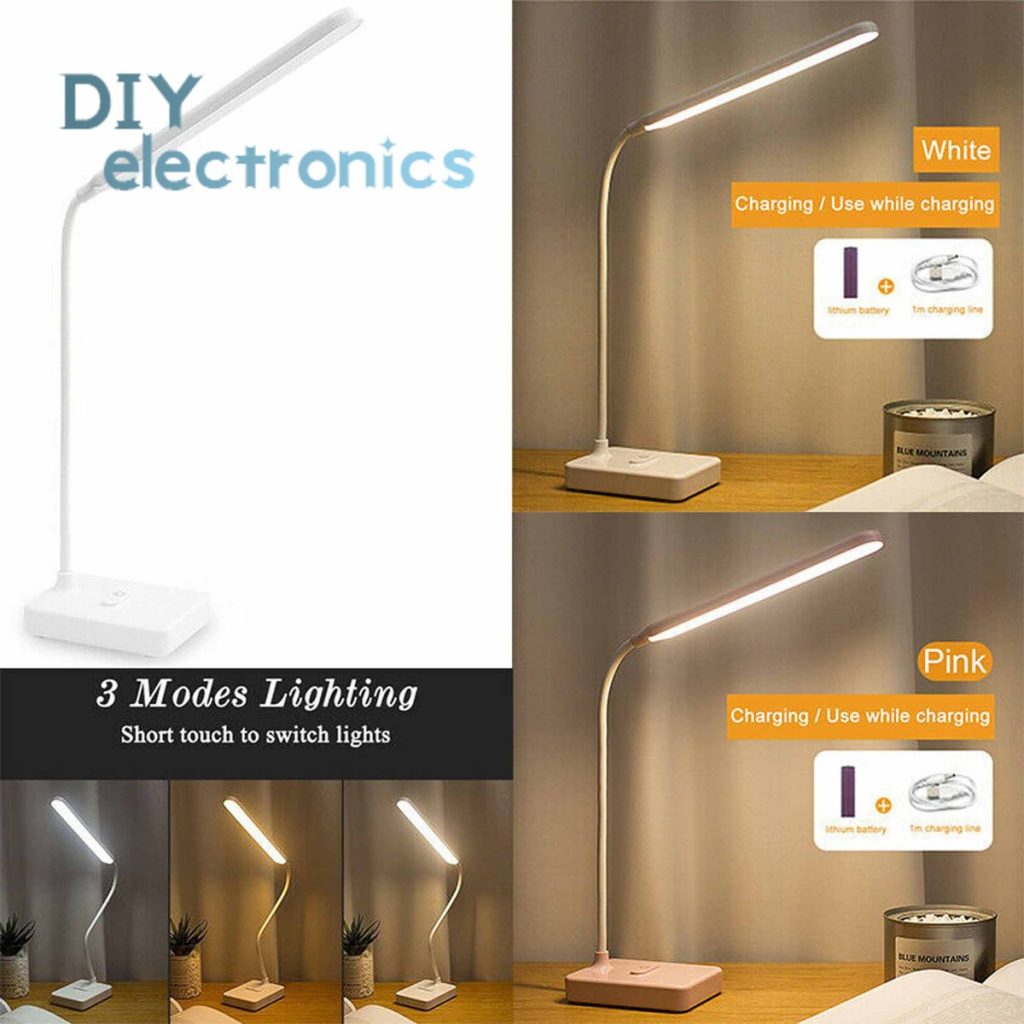
Select a USB lamp base that fits your workspace. Look for a model with a flexible neck for easy adjustment. A sturdy base helps keep the lamp stable. Make sure the USB connector matches your power source. Small and compact designs save desk space.
Selecting Suitable Led Lights
Pick LED lights that offer bright, soft light to protect your eyes. Choose energy-efficient LEDs to save power. Warm white or daylight colors work well for reading and working. Check the LED’s voltage and current requirements. Ensure compatibility with your USB power supply.
Tools And Accessories Required
- Soldering iron and solder for electrical connections
- Wire cutters and strippers for preparing wires
- Heat shrink tubing or electrical tape for insulation
- Screwdriver set for assembling parts
- Multimeter to test electrical circuits
- Glue gun or strong adhesive for securing components
- Small pliers for bending wires and holding parts
Preparing The Base
Preparing the base is a crucial part of making a USB desk lamp. It ensures the lamp stands firmly and looks neat. A good base supports the lamp’s weight and keeps it stable during use. This section covers selecting a stand, cutting materials, and assembling parts for a solid foundation.
Selecting A Stable Stand
Choose a stand that holds the lamp securely without tipping. Heavy materials like wood or metal work best. Consider the size and weight to balance the lamp’s arm and light. A wide base reduces wobbling and increases safety.
Cutting And Shaping Materials
Cut the base material to the right size using a saw or strong scissors. Smooth edges by sanding or filing to avoid sharp points. Shape the base to fit the lamp’s design and USB cable placement. Keep measurements accurate for a clean finish.
Assembling The Base Components
Join the cut parts using strong glue or screws for durability. Attach any rubber pads or felt underneath to prevent slipping. Secure the USB cable path to avoid tangles. Check all parts are tight and stable before moving to the next step.
Wiring The Usb Connection
Connect the USB cable’s power wires to the lamp’s LED terminals carefully. Ensure correct polarity to avoid damage and secure all connections tightly.
Wiring the USB connection is a critical part of making a USB desk lamp. It involves connecting the LED light to a power source using a USB cable. This process ensures the lamp functions efficiently and safely. Understanding USB wiring is essential for a successful DIY project.Identifying Usb Power Wires
To start, identify the USB power wires. USB cables typically have four wires. The red wire carries the positive voltage. The black wire is the ground. Sometimes, there are green and white wires. These are used for data transfer. For a lamp, focus on the red and black wires. Carefully strip the insulation from these wires. Use a wire stripper for precision.Connecting Led To Usb Power
Next, connect the LED to the USB power. Ensure the LED matches the USB power output. Typically, USB ports provide 5 volts. Connect the LED’s positive terminal to the red wire. Attach the negative terminal to the black wire. Solder the connections for stability. Ensure the connections are secure. Loose connections can cause flickering.Ensuring Safety And Insulation
Safety is crucial in any wiring project. Insulate the connections with electrical tape. This prevents short circuits. Use heat shrink tubing for added protection. Slide it over the connection points. Use a heat gun to shrink the tubing. This creates a tight, secure seal. Avoid any exposed wires. Test the lamp before use. Ensure it functions correctly without overheating.
Credit: www.amazon.ie
Attaching The Lamp Head
Attaching the lamp head is a key step in building your USB desk lamp. This part controls how light spreads and how the lamp looks. A well-attached lamp head ensures safety and good lighting. Focus on choosing the right shade, securing the LED, and mounting the shade correctly. These steps shape the final look and function of your lamp.
Choosing A Lamp Shade
Pick a lamp shade that fits your lamp’s style and size. The shade should be light and heat-resistant. Common materials include plastic, fabric, or metal. The shade controls light direction and softness. Choose a shape that focuses light where you need it. Consider a small shade for a focused beam or a wide one for gentle light.
Fixing The Led To The Shade
Attach the LED firmly to the lamp shade. Use strong glue or small screws for a steady hold. Make sure the LED faces out of the shade’s opening. Avoid covering the LED to keep light bright. Check that the LED wires are secure and clear of the shade edges. This prevents damage or short circuits.
Mounting The Shade On The Base
Secure the lamp shade to the base tightly. Use a clamp, screws, or a simple bracket, depending on your base design. Make sure the shade sits straight and does not wobble. Test the lamp head’s position before tightening fully. Adjust the angle for the best light direction. A stable shade keeps your lamp safe and functional.
Testing And Troubleshooting
Testing and troubleshooting your USB desk lamp is crucial to ensure it works perfectly and lasts long. Identifying problems early saves you time and frustration. Let’s break down how to verify your lamp’s power, find common issues, and boost its brightness.
Checking Power Supply
Start by confirming your USB port or power adapter provides enough power. Not all USB ports deliver the same current; some might be too weak for your lamp.
- Try plugging the lamp into a different USB port or another power source.
- Use a USB power meter if you have one, to measure voltage and current output.
- Ensure your USB cable isn’t damaged or too long, as this can reduce power flow.
Have you noticed your lamp flickers or doesn’t turn on? This is often a sign of insufficient or unstable power supply.
Diagnosing Common Issues
If the lamp still doesn’t work, check the wiring and connections carefully. Loose or incorrect wiring is a frequent culprit.
- Inspect solder joints for cracks or weak connections.
- Make sure the LED and resistor are correctly placed according to your circuit diagram.
- Test the LED separately with a battery to confirm it lights up.
Sometimes, the problem is as simple as a reversed LED polarity. Double-check the positive and negative leads before moving on.
Improving Light Brightness
If your lamp lights up but feels dim, there are ways to make it brighter without risking damage.
- Use a resistor with a lower resistance value to allow more current through the LED.
- Switch to a higher-quality or higher-lumen LED for better brightness.
- Keep the lamp’s diffuser clean and opt for reflective surfaces inside the lamp to maximize light output.
Have you experimented with different LED types or resistor values? Small adjustments can make a big difference in brightness and energy efficiency.
Customization Ideas
Customizing your USB desk lamp lets you tailor it perfectly to your workspace and style. Adding personal touches not only boosts its functionality but also makes it uniquely yours. Here are some practical ideas to help you customize your lamp effectively.
Adding Adjustable Features
Adjustable parts make your lamp flexible and user-friendly. You can add a swivel arm or a bendable neck using simple hinges or flexible tubing. This way, you can direct light exactly where you need it, reducing eye strain and improving focus.
Consider adding a dimmer switch or multiple brightness settings. It gives you control over the light intensity, making your lamp suitable for different tasks and moods. Have you thought about how a small adjustment can change your entire working experience?
Incorporating Color Filters
Color filters are a simple way to change the mood of your lighting. Use transparent colored gels or plastic sheets to add a soft tint to your lamp’s light. Blue filters can help with concentration, while warmer tones create a cozy atmosphere.
You can even create a set of interchangeable filters to switch colors based on your needs. This feature is especially useful if you spend long hours at your desk and want to reduce eye fatigue. Which color would help you stay productive?
Personalizing With Decorations
Decorate your lamp to reflect your personality and style. Use washi tape, stickers, or small decals to add patterns and colors. You could also glue on small objects like beads or buttons for a tactile touch.
Another idea is to paint the lamp’s base or shade with acrylic paints for a custom look. These small changes make your lamp feel like a part of your creative space. How would you make your lamp stand out on your desk?

Credit: www.homehardware.ca
Frequently Asked Questions
What Materials Do I Need To Make A Usb Desk Lamp?
You need a USB cable, LED light, resistor, switch, and lamp housing. Also, basic tools like a soldering iron and wire strippers are essential for assembly.
How Do I Safely Connect The Usb To The Led?
Strip the USB cable wires, connect the positive wire to the LED’s anode through a resistor, and the negative wire to the cathode. Secure connections with solder and insulate with heat shrink tubing.
Can I Customize The Brightness Of My Usb Desk Lamp?
Yes, adding a potentiometer or using dimmable LEDs allows brightness control. This lets you adjust light intensity for various tasks or moods.
Is It Possible To Power The Lamp From A Laptop Usb Port?
Yes, a laptop USB port can power low-wattage LED lamps safely. Ensure your lamp uses less than 5V and 500mA to avoid overloading the port.
Conclusion
Making a USB desk lamp is simple and fun. You only need a few tools and parts. Follow the steps carefully to build your own light. This project saves money and adds a personal touch to your space. You can customize the lamp to fit your style and needs.
Enjoy brightening your desk with something you made yourself. Keep practicing to improve your skills and try new ideas. A small project can bring big satisfaction. Give it a try today!


