
Looking for a unique way to brighten up your space? Imagine turning simple plumbing pipes into a stylish desk lamp that sparks conversation and adds character to your room.
If you enjoy hands-on projects and want to create something both functional and eye-catching, this guide is made just for you. By the end of this article, you’ll know exactly how to transform ordinary pipes into a lamp that fits your style and lights up your workspace.
Ready to impress yourself and your guests with a cool, DIY lighting piece? Let’s get started!
Materials Needed
Gathering the right materials is key to building a sturdy and stylish plumbing pipe desk lamp. The parts you choose affect both the lamp’s look and function. You want to balance durability with ease of assembly, so your workspace feels inviting and unique.
Plumbing Pipes And Fittings
Start with basic black iron pipes or galvanized steel pipes—they offer a raw, industrial look that’s popular and durable. You’ll need various lengths depending on your design, plus fittings like elbows, tees, and flanges to connect the pieces securely.
Think about the size of your desk lamp and how heavy the pipes will be. Smaller diameter pipes (around ½ inch or ¾ inch) usually work well without making the lamp too bulky. Have you considered how the pipe’s texture and color will match your room’s style?
Electrical Components
For wiring, pick a standard lamp cord with a switch for easy on/off control. Include a light socket compatible with your bulb choice—E26 sockets are common and fit many bulbs. Don’t forget a sturdy bulb, like an LED Edison-style bulb, which adds charm without overheating.
Safety matters, so ensure your electrical parts are rated for indoor use and match your country’s voltage. Have you checked if your lamp design allows easy bulb replacement and safe wiring concealment?
Tools Required
- Pipe wrench or adjustable wrench for tightening fittings
- Wire stripper and electrical tape for safe wiring connections
- Drill with metal bits if you need to create holes in flanges or pipes
- Screwdriver to secure the socket and switch components
- Measuring tape to ensure precise pipe lengths
Having the right tools makes the assembly smoother and safer. Missing just one tool can turn a quick project into a frustrating challenge—what’s your toolkit like right now?
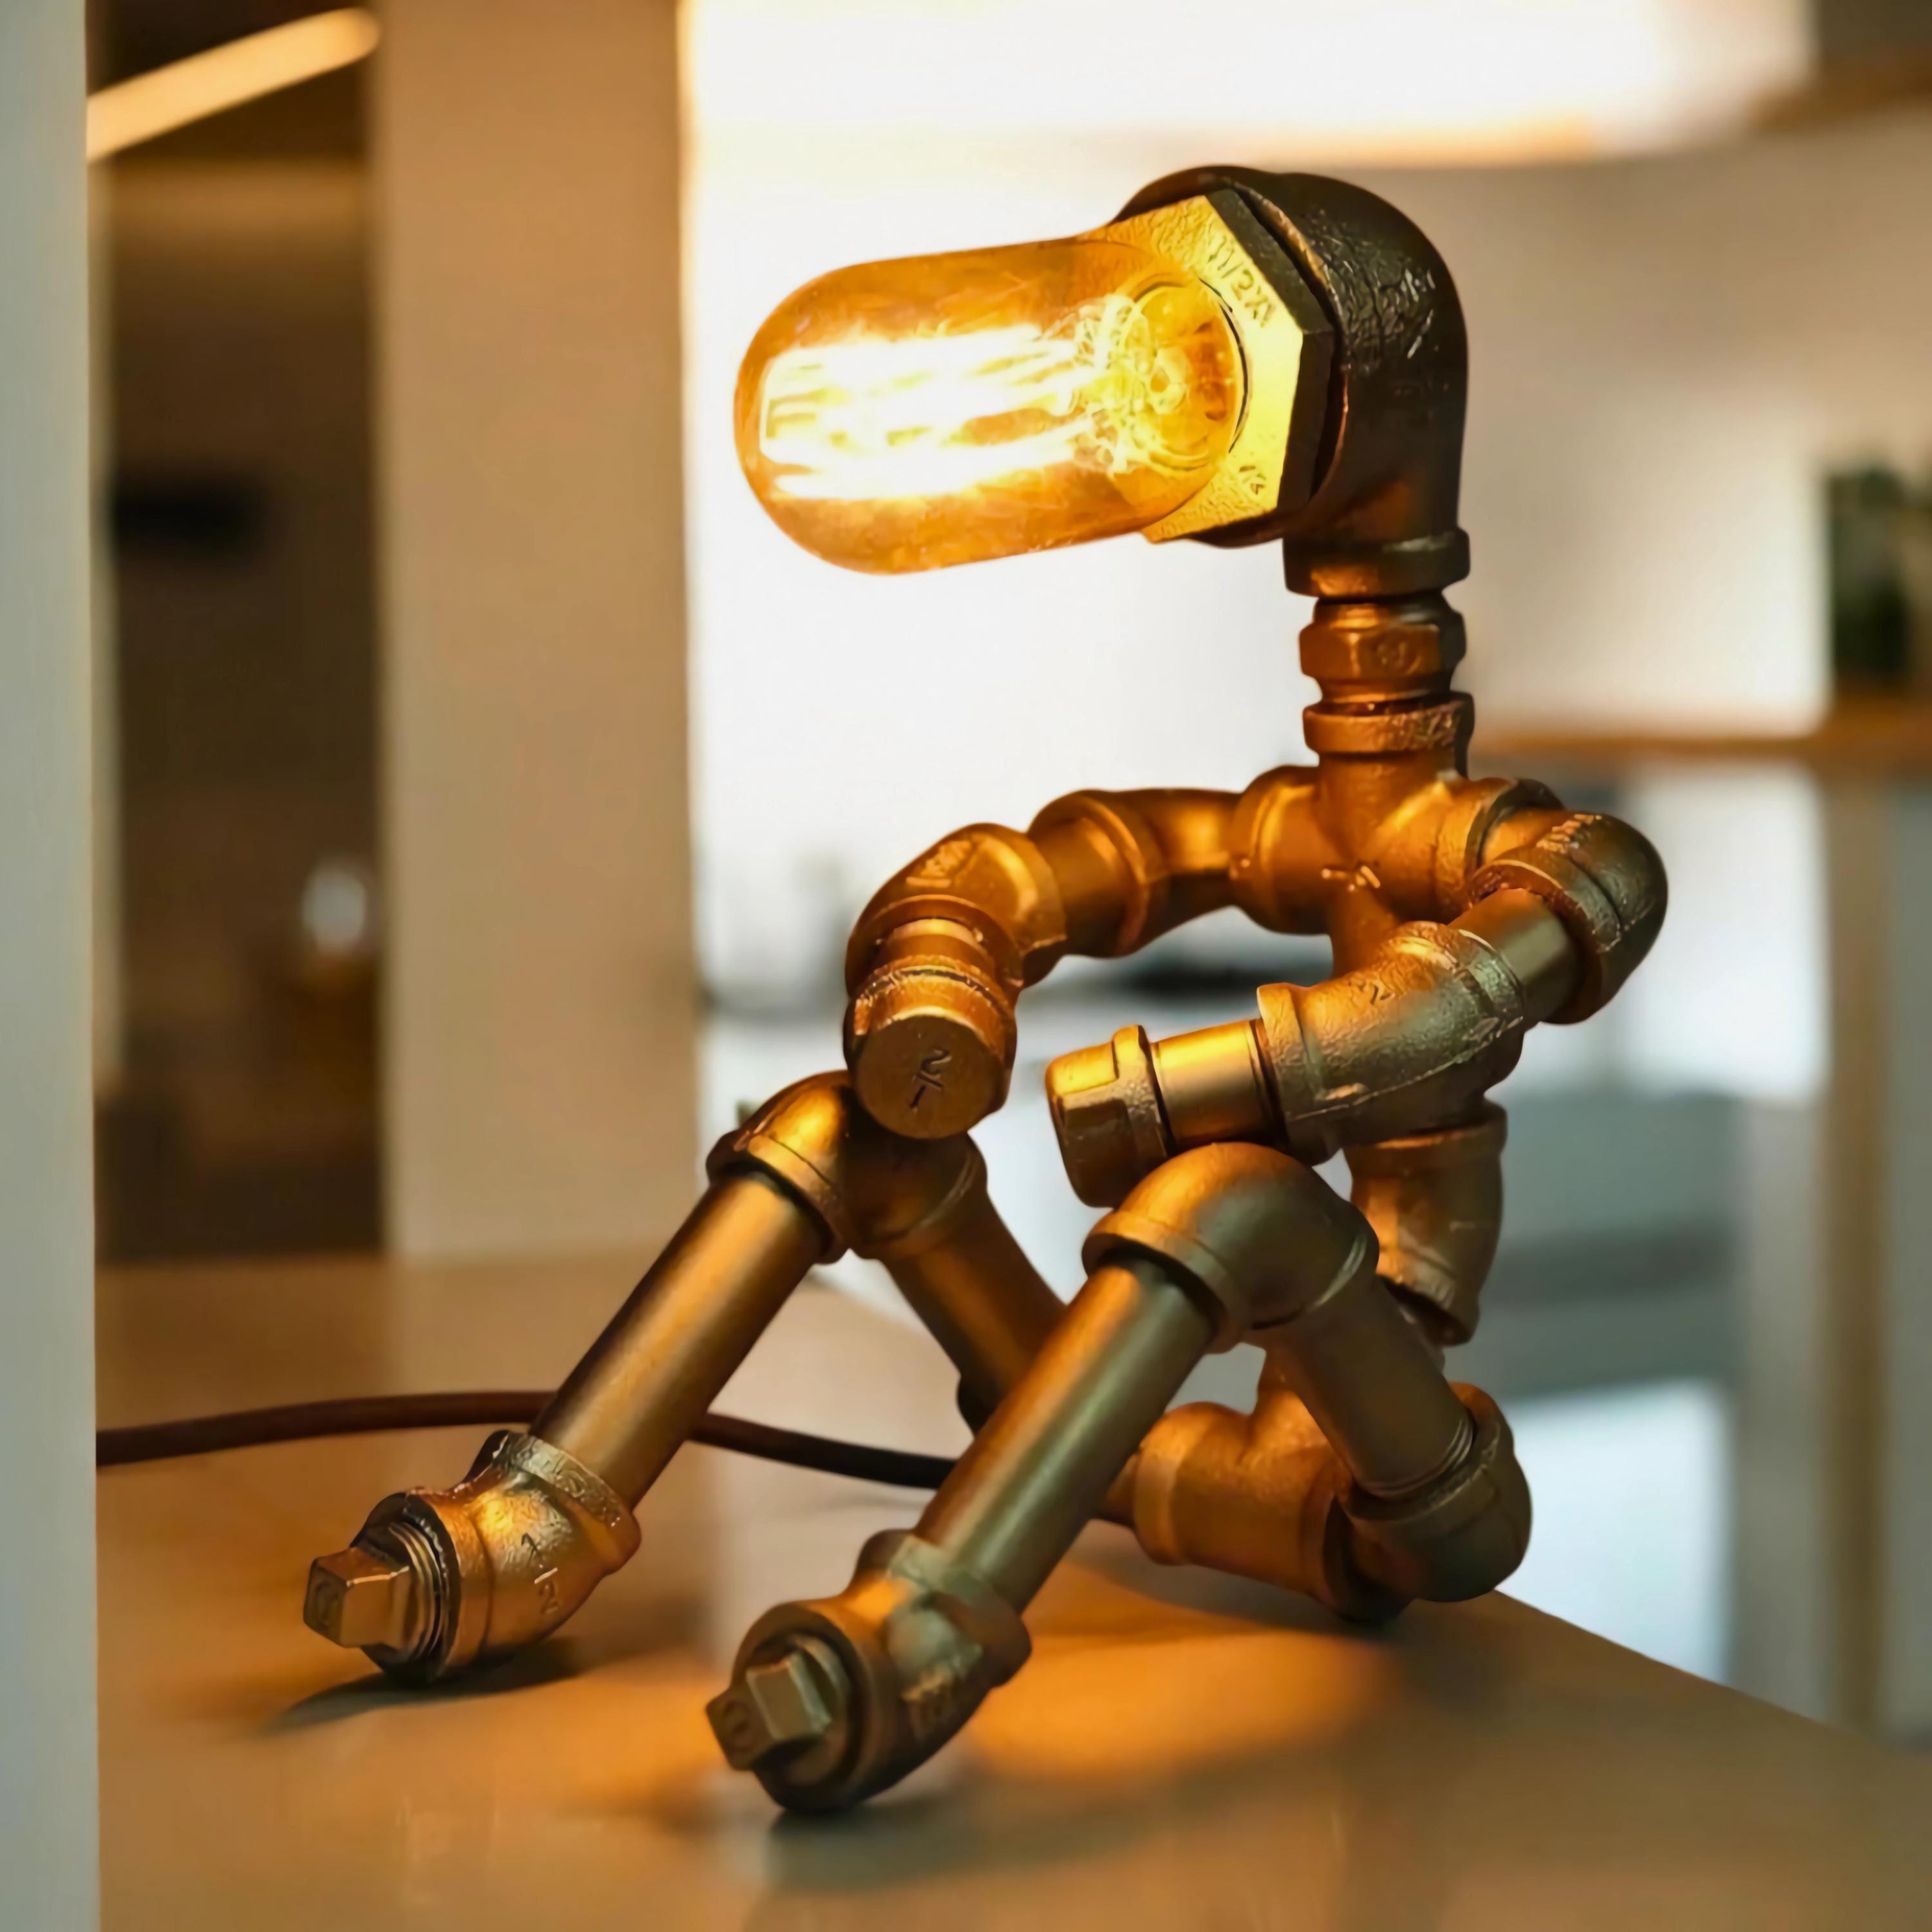
Credit: www.etsy.com
Design Planning
Design planning is the foundation of creating a unique plumbing pipe desk lamp. It shapes how your lamp will look and function. Taking time to plan carefully helps you avoid costly mistakes and ensures the finished piece fits your space perfectly.
Choosing A Style
Your lamp’s style sets the tone for the entire project. Are you aiming for industrial, modern, or rustic? Each style calls for different pipe finishes and fittings.
Think about the environment where the lamp will live. Will it sit on a sleek desk in an office or a cozy corner in your living room? Your choice will affect the pipe arrangement and additional elements like shades or switches.
Measuring And Sketching
Precise measurements keep your project on track. Start by measuring the desk space and deciding on the lamp’s height and width. Sketch your design on paper or use a digital tool to visualize the structure.
Include details like pipe lengths, joint angles, and base size. Sketching helps you spot potential issues early and plan for the right materials. Have you ever built something only to realize a key piece was too short? Avoid that frustration here.
Selecting A Light Bulb
The bulb influences both the lamp’s look and the quality of light. Choose between LED, incandescent, or vintage Edison bulbs depending on your style and brightness needs.
Consider the bulb’s size and socket type to make sure it fits your design. Also, think about energy efficiency and heat output—LEDs stay cool and save power. Which bulb will make your lamp both functional and eye-catching?
Pipe Assembly
Creating a plumbing pipe desk lamp involves assembling various pipe components. This part of the process is crucial for the lamp’s stability and aesthetic. Each section of the pipe assembly needs careful attention to ensure a sturdy and functional result. Here’s a breakdown of the steps involved in assembling your pipe lamp.
Cutting Pipes To Size
Begin by measuring the required lengths for each pipe. Use a pipe cutter for precise cuts. Ensure all pipes are the same length for a balanced look. Double-check measurements to avoid mistakes. This step is key for a neat assembly.
Connecting Pipes And Fittings
Once cut, connect the pipes using fittings. Hand-tighten each connection. Ensure a snug fit without over-tightening. Check alignment as you go. Secure connections are vital for stability. Adjust as needed for a straight structure.
Securing The Base
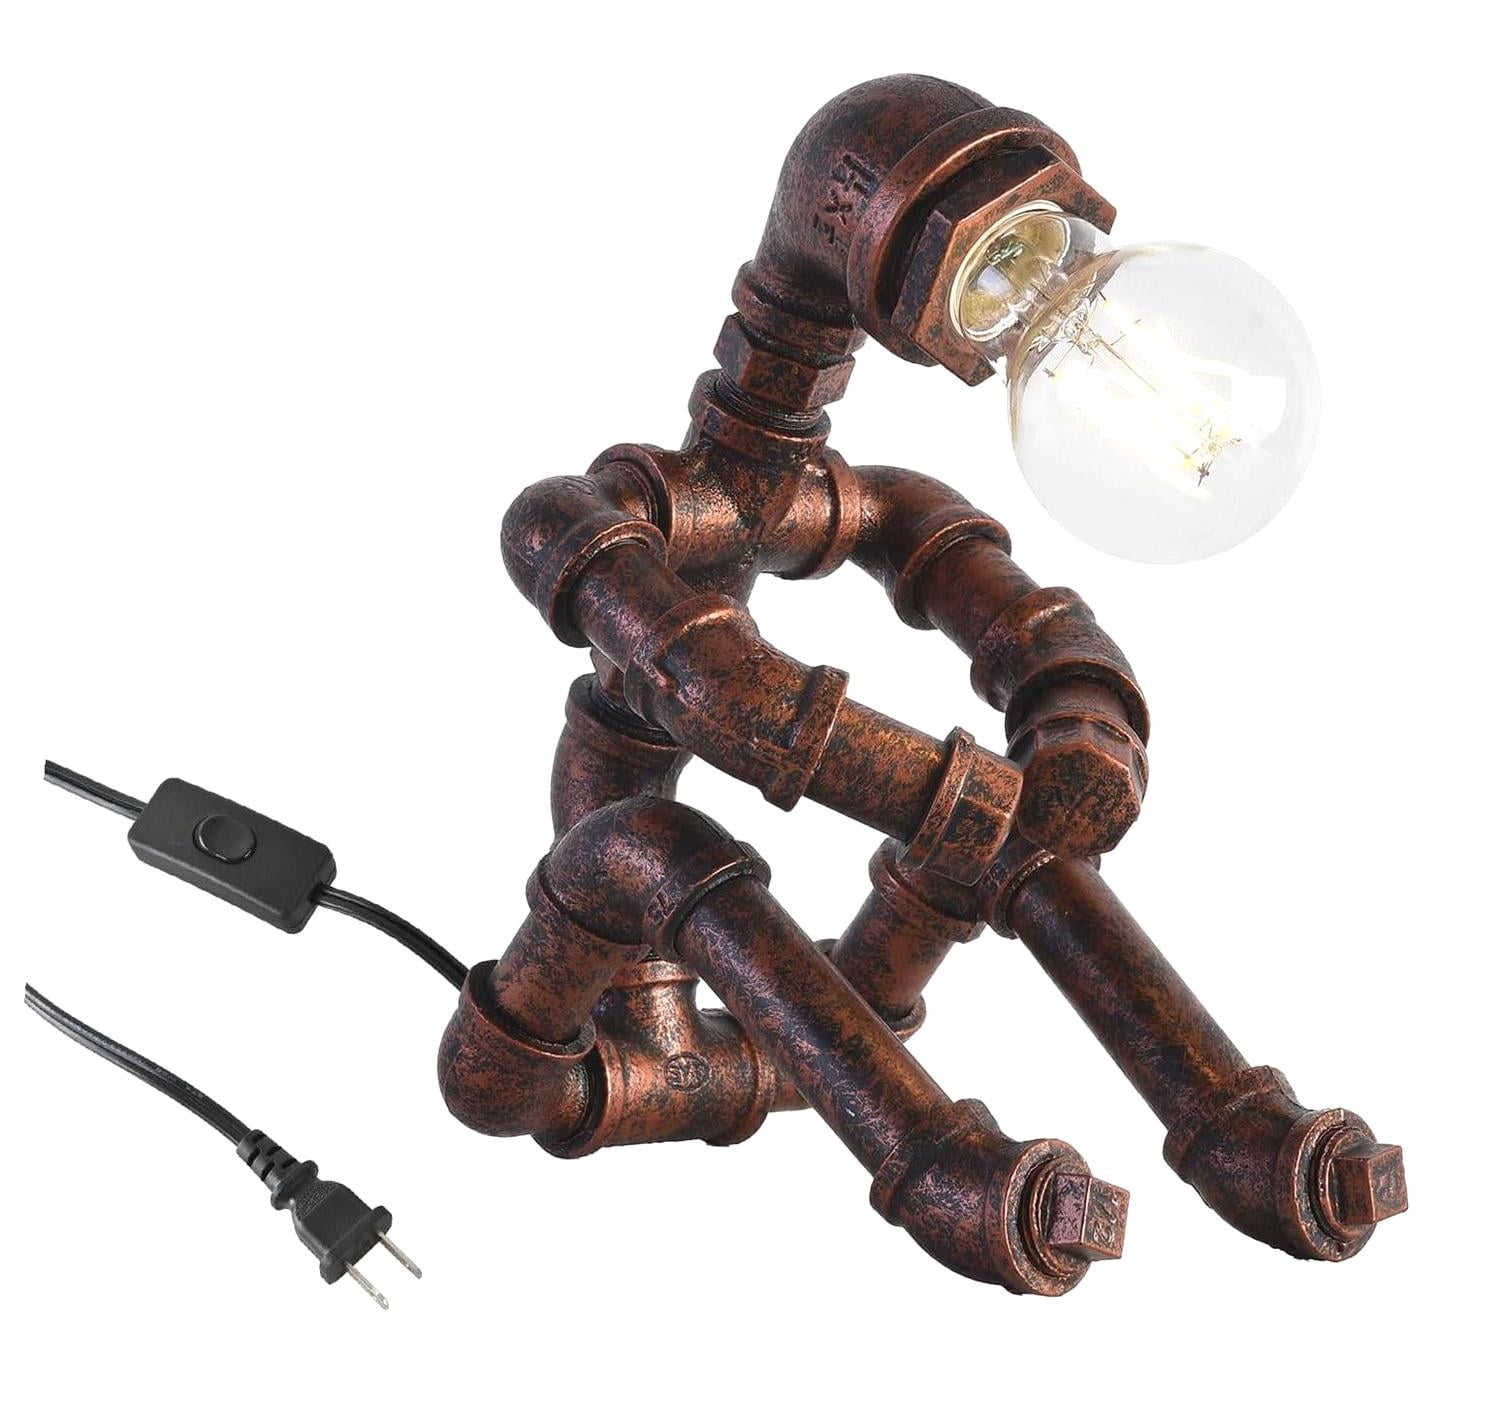
Attach the pipes to a sturdy base. The base should support the lamp’s weight. Use screws to secure the pipes firmly. Balance the structure to prevent tipping. A stable base ensures safety and durability.

Credit: www.amazon.ca
Wiring The Lamp
Wiring the lamp is a key part of building your plumbing pipe desk lamp. This step connects the electrical parts and makes the lamp work. Taking your time and doing it right ensures the lamp is safe and functional.
Preparing The Cord
Start by cutting the power cord to the needed length. Strip about an inch of insulation from each wire end. Use wire strippers to avoid damaging the copper inside. Separate the wires carefully to keep them from touching each other. Twist the copper strands tightly for a clean connection.
Attaching The Socket
Open the lamp socket to access its terminals. Match the cord wires with the correct terminals—usually marked as “live” and “neutral.” Loop the wire ends around the screws and tighten them firmly. Make sure no bare wire shows outside the terminal. Close the socket cover securely to protect the wires.
Safety Tips
- Always unplug the cord before working on wiring.
- Use insulated tools to avoid shocks.
- Check all connections for tightness and no loose wires.
- Use electrical tape or wire nuts to cover exposed wires.
- Test the lamp with a low watt bulb first.
Finishing Touches
Finishing touches bring your plumbing pipe desk lamp to life. These small steps add style and protect your work. They make your lamp look polished and professional. Focus on painting or sealing, adding a lampshade, and testing the lamp for safety.
Painting Or Sealing
Paint or seal the pipes to protect them from rust. Choose paint made for metal surfaces to ensure good coverage. Use spray paint for an even finish. Let each coat dry before applying the next one.
Sealing keeps the metal shiny and clean. Use clear sealant for a natural look. It also prevents dust from sticking to the pipes. This step helps your lamp last longer.
Adding A Lampshade
Pick a lampshade that fits your lamp’s style and size. The shade should match the pipe color or add contrast. Attach the lampshade securely to avoid wobbling. Use clips or screws that fit your lamp base.
The right lampshade controls light direction. It softens harsh light and adds comfort to your workspace. Choose fabric or paper shades for a warm glow.
Testing The Lamp
Check all wiring before turning on the lamp. Make sure connections are tight and safe. Use a socket tester to verify electrical safety.
Turn on the lamp and watch for flickers or sparks. Test the switch to ensure it works smoothly. Adjust anything loose or unstable before regular use.
Testing protects you from electrical hazards. It guarantees your lamp works well every day.
Credit: www.walmart.com
Creative Variations
Creative variations let you personalize your plumbing pipe desk lamp. You can shape the design to fit your style and space. Small changes bring unique looks and add charm. Experimenting with parts and details makes the lamp truly yours.
Different Pipe Configurations
Change the pipe layout to create distinct shapes. Try straight lines for a modern look. Use angled joints to form geometric patterns. Curved pipes add softness and flow. Mix tall and short sections for height contrast. These tweaks affect both style and light direction.
Incorporating Vintage Elements
Blend old-fashioned items with your lamp for a retro feel. Use Edison bulbs for warm, nostalgic light. Add aged brass or copper fittings for character. Attach antique switches or gauges for interest. These touches give your lamp a timeless charm and cozy vibe.
Customizing With Colors
Paint pipes to match your room’s palette. Matte black or white offers a sleek look. Bright colors like red or blue create a bold statement. Use metallic spray paint for an industrial shine. Color choice impacts the lamp’s mood and style. Paint also protects pipes from rust and wear.
Troubleshooting Tips
Troubleshooting your plumbing pipe desk lamp can save you time and frustration. Understanding common problems helps you fix issues quickly and keep your lamp working perfectly. Let’s dive into some practical tips that will guide you through assembly, electrical concerns, and ongoing maintenance.
Common Assembly Issues
Sometimes the pipes don’t fit together as smoothly as expected. Check the thread sizes carefully—different brands might have slight variations. If you feel resistance, don’t force the pieces; instead, try cleaning the threads or applying a bit of lubricant like WD-40.
Have you noticed wobbling or instability? Tighten all connections evenly and use a level to ensure your lamp stands straight. Adding rubber pads under the base can also improve grip and reduce movement on smooth surfaces.
Electrical Problems
If your lamp doesn’t light up, first test the bulb with a different lamp to rule out a faulty bulb. Next, inspect the wiring for loose connections or exposed wires. Properly securing wire nuts and using electrical tape can prevent shorts and sparks.
Experiencing flickering lights? This often indicates a poor connection or a loose plug. Try plugging the lamp into a different outlet or tightening the socket connection. Have you checked if the switch is functioning smoothly? Sometimes, replacing the switch solves the issue instantly.
Maintenance Advice
Dust and grime can build up on the pipes and bulbs, affecting both appearance and functionality. Regularly wipe down your lamp with a soft cloth and mild cleaner. Avoid harsh chemicals that can damage the metal finish.
Periodically check all fittings and wiring for wear and tear. Are you noticing any discoloration or unusual heat from the lamp? These signs mean it’s time to replace parts or consult an electrician for safety. Keeping your lamp in good shape ensures it lasts longer and stays safe.
Frequently Asked Questions
What Materials Are Needed To Make A Plumbing Pipe Desk Lamp?
You need metal pipes, pipe fittings, a lamp socket, wiring, a light bulb, and a lamp base. Tools like a drill and wrench are helpful. These materials create a sturdy, industrial-style desk lamp.
How Do I Safely Wire A Plumbing Pipe Desk Lamp?
Turn off power before wiring. Connect wires from the socket to the power cord correctly. Use wire nuts and electrical tape for secure connections. Follow safety guidelines to avoid shocks or fire hazards.
Can I Customize The Size Of My Pipe Desk Lamp?
Yes, you can adjust pipe lengths and fittings to change height and width. Customizing allows you to fit your desk space and style preferences perfectly.
What Type Of Light Bulb Works Best For Pipe Desk Lamps?
LED bulbs are energy-efficient and long-lasting. Choose warm white for a cozy feel or daylight bulbs for bright, clear light. Ensure the bulb fits the socket size.
Conclusion
Creating a plumbing pipe desk lamp is a fun and useful project. It adds a unique touch to your workspace. You can customize the lamp to fit your style and needs. The steps are simple and require basic tools. This project saves money compared to buying a store lamp.
It also gives you a sense of pride in making something yourself. Try building one and enjoy the warm, industrial look it brings. Simple, creative, and practical. What more could you want?


