
Looking for a simple way to brighten up your workspace? You can make your own desk lamp with a USB connection, and it’s easier than you think.
Imagine having a lamp that fits perfectly on your desk, powered right from your laptop or power bank. This guide will walk you through every step, so you don’t need to be an expert to create something useful and stylish.
Ready to transform your desk with a custom USB lamp? Keep reading, and you’ll have your own light source in no time.

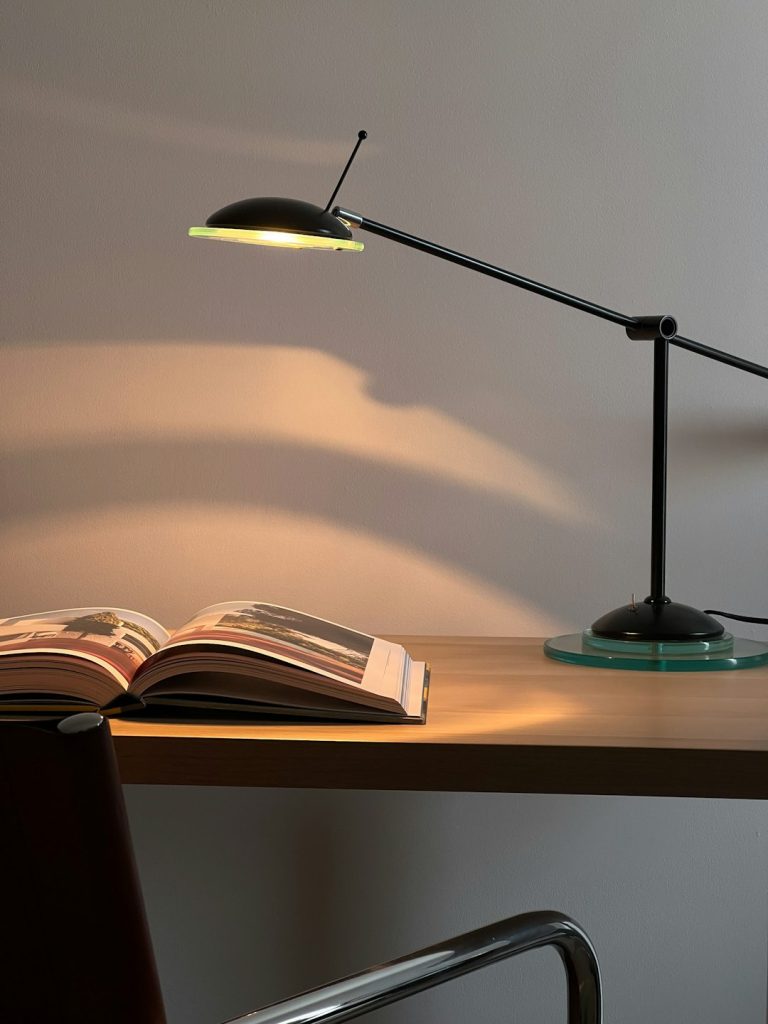
Credit: lexon-design.com
Choosing The Right Desk Lamp
Choosing the right desk lamp is key to creating a functional and stylish USB-powered light source. Not every lamp is easy to convert, so picking the right one will save you time and effort. Think about where you want the lamp to sit and how you plan to use it before making your choice.
Lamp Types Suitable For Usb Conversion
Some lamps are easier to convert to USB power than others. Desk lamps with simple on/off switches and standard bulbs usually work best. Look for lamps with a removable bulb socket and a basic wiring setup.
- Gooseneck lamps:Flexible necks make positioning easy, and their straightforward wiring is perfect for USB conversion.
- Metal or plastic base lamps:These often have space inside the base to hide USB adapters and wiring cleanly.
- LED desk lamps:Some LED lamps have built-in adapters but can be modified to accept USB power with minor tweaks.
Avoid lamps with complex electronics or integrated dimmers if you’re new to DIY projects. These can complicate the USB conversion process.
Materials And Tools Needed
Having the right materials and tools makes the conversion smoother. You’ll need basic electrical components and some handy tools to complete the job safely.
| Materials | Tools |
|---|---|
| USB power adapter or USB cable with power supply | Wire strippers |
| Replacement bulb socket (if needed) | Screwdrivers (flathead and Phillips) |
| Electrical tape or heat shrink tubing | Soldering iron (optional but recommended) |
| Wire connectors or twist-on wire nuts | Multimeter for testing connections |
Have you checked if your workspace already has the right tools? Sometimes borrowing or buying a simple kit can make all the difference. Don’t rush—preparing your materials carefully sets you up for success.
Preparing The Lamp For Conversion
Preparing the lamp for conversion is a key step to ensure safety and success. Proper preparation helps avoid damage and electrical hazards. It also makes the USB conversion smoother and more efficient.
Disassembling The Lamp Safely
Unplug the lamp before starting any work. Use a screwdriver to remove screws carefully. Keep all small parts in a container to avoid loss. Avoid using force to separate parts. Handle glass or plastic shades gently to prevent breaks. Work on a clean, flat surface with good light.
Inspecting Electrical Components
Check the power cord for any cuts or damage. Look for loose wires inside the lamp base. Examine the socket to ensure it is intact and clean. Identify the type of bulb and socket for compatibility. Replace any worn or faulty parts before converting. Safety first—avoid using damaged electrical parts.
Selecting Usb-compatible Lighting Components
Creating a USB desk lamp requires selecting the right components. USB-compatible lighting components are crucial for efficiency and functionality. They ensure your lamp works smoothly with any USB port. Focus on choosing the right bulbs and power adapters. Let’s dive into the details.
Choosing Usb Led Bulbs
USB LED bulbs come in various shapes and sizes. They are energy-efficient and last long. Consider the bulb’s brightness measured in lumens. Higher lumens mean brighter light. Opt for bulbs with a color temperature that suits your needs. Warm light is cozy, while cool light is crisp. Check the bulb’s voltage compatibility with USB power. Usually, 5V is ideal for USB connections.
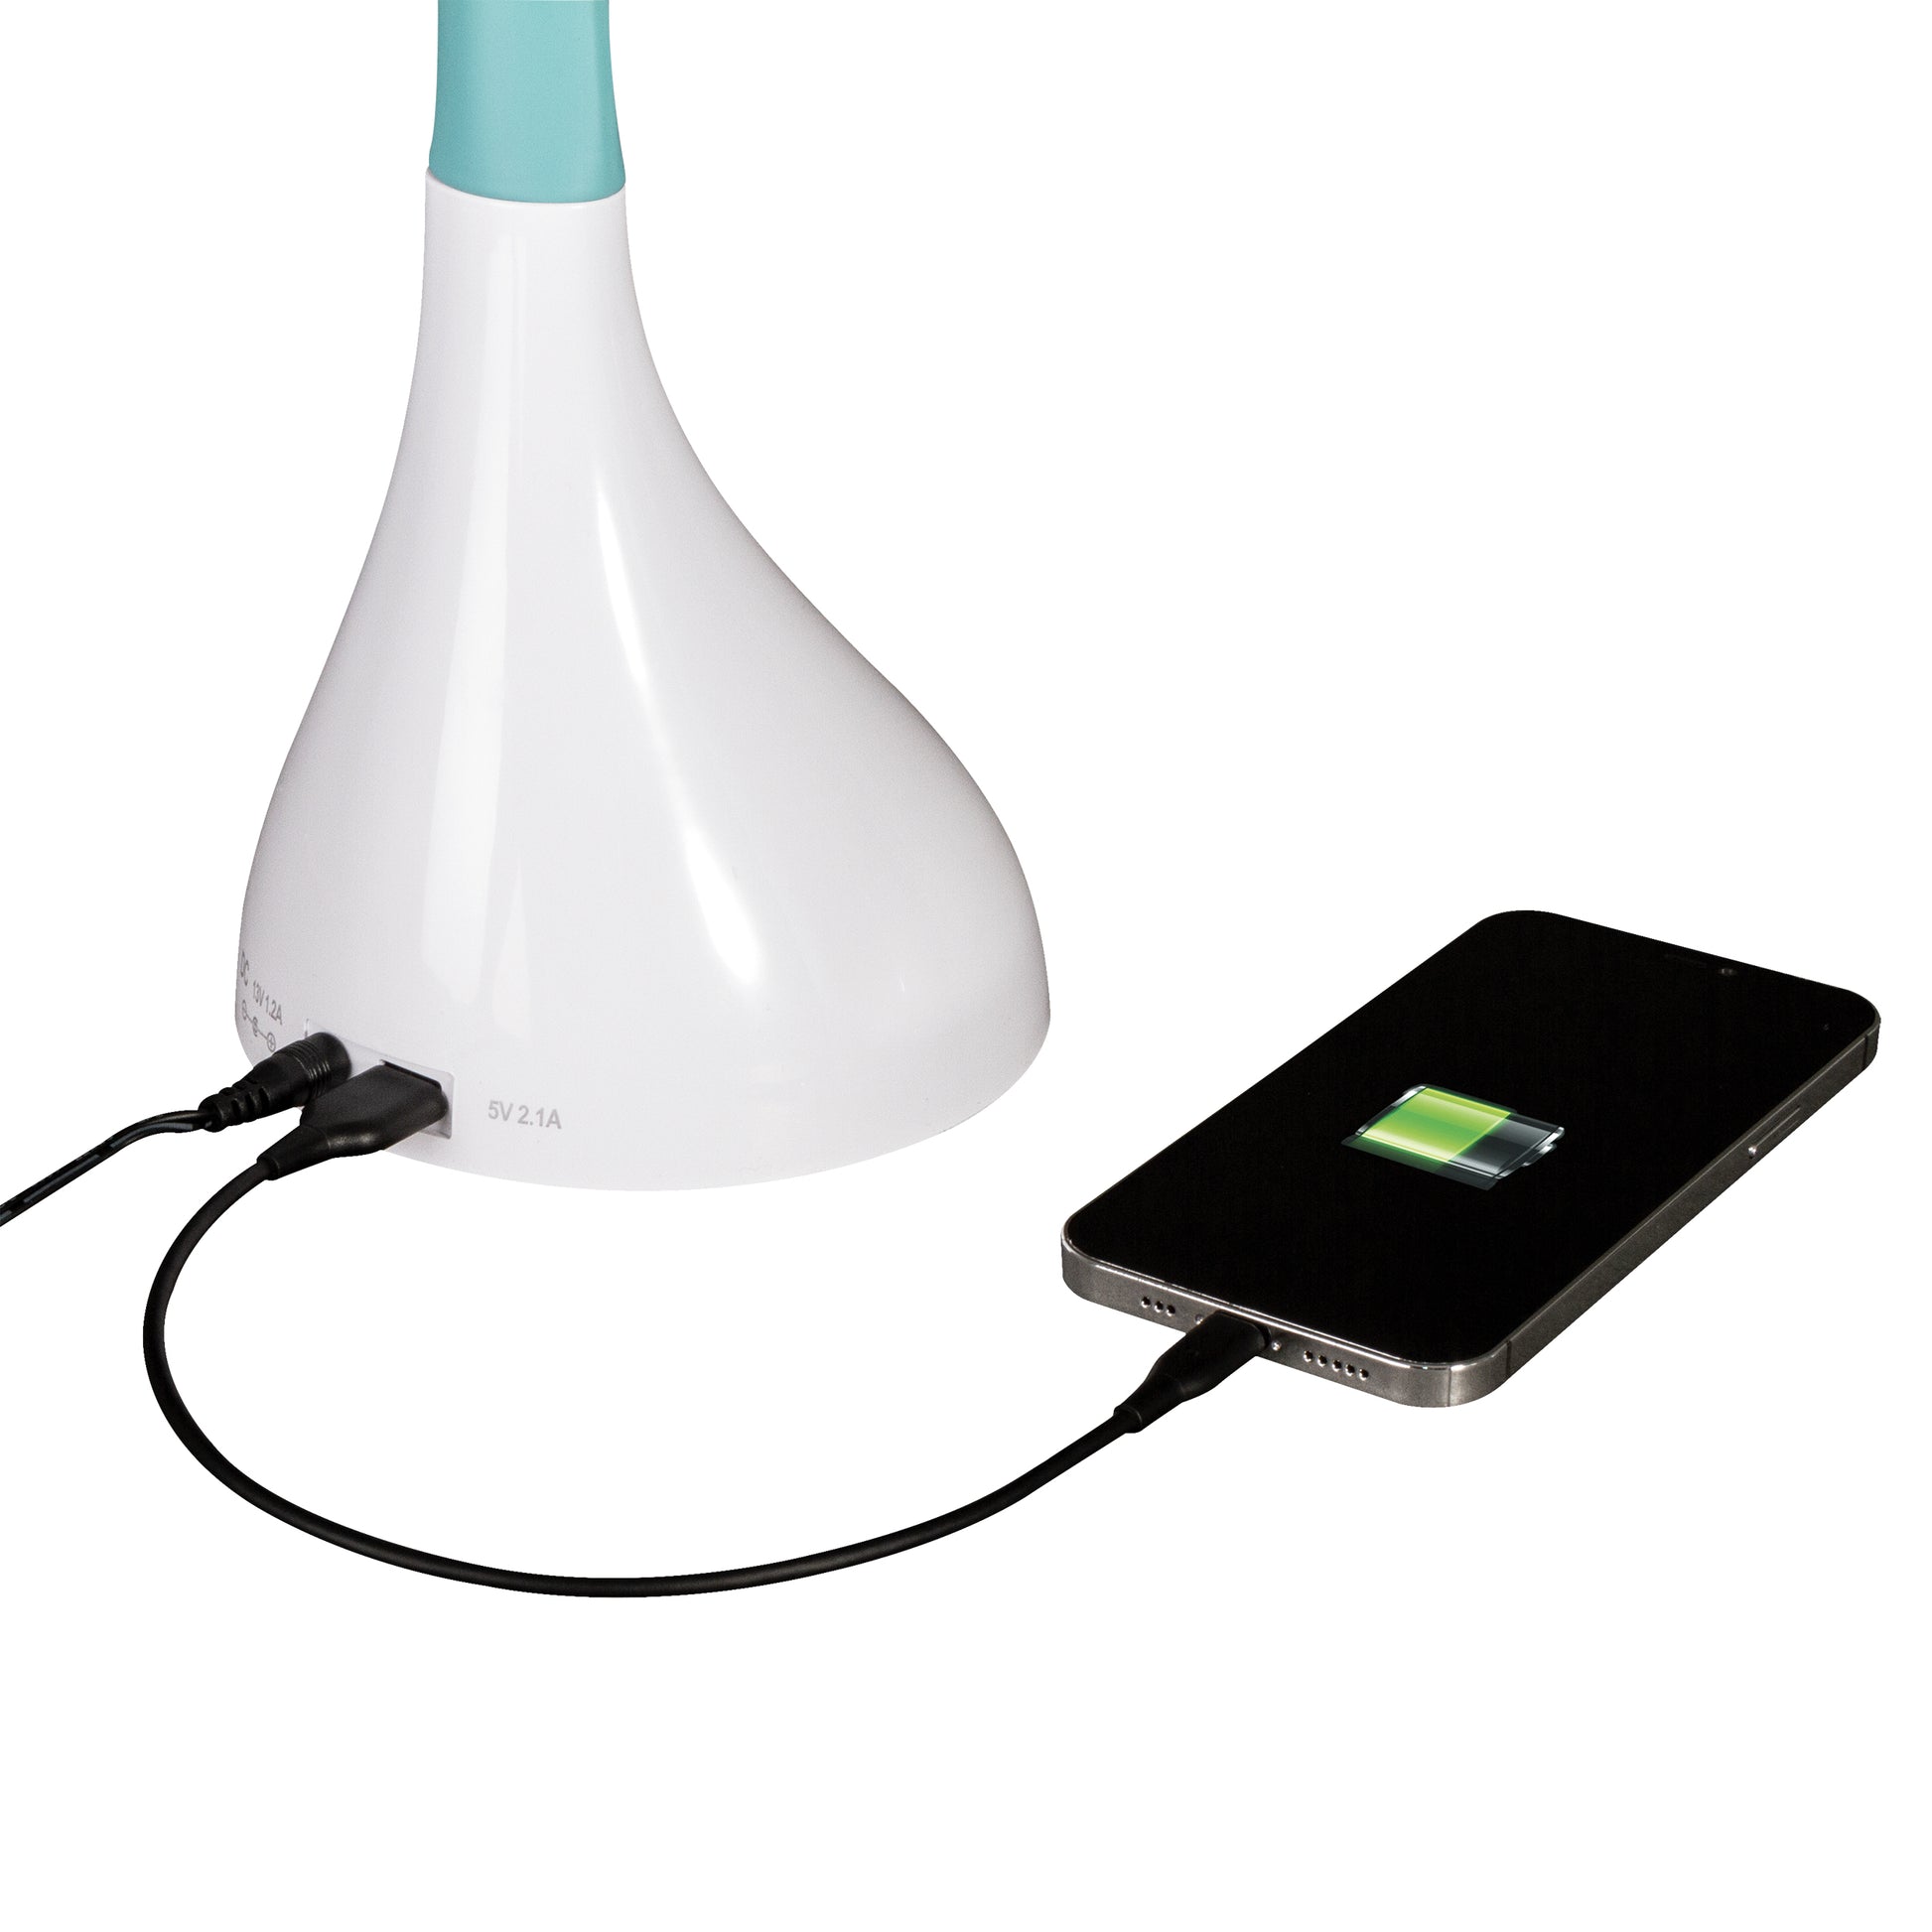
Using Usb Power Adapters
USB power adapters convert power for your lamp. Ensure the adapter provides the right output for your LED bulb. Most USB adapters output 5V. Check the amperage to match your bulb’s requirements. A higher amperage can power more bulbs or brighter lights. Look for adapters with multiple USB ports if you need more than one light. This setup is handy for desks needing more lighting.
Wiring The Usb Connection
Wiring the USB connection is a crucial part of making your own desk lamp USB-powered. It ensures that your lamp receives the right amount of power and functions safely. Getting this step right not only guarantees performance but also protects you from electrical mishaps.
Connecting Usb Cables To The Lamp
Start by identifying the positive and negative wires inside the USB cable—usually, red is positive and black is negative. Carefully strip about half an inch of insulation off each wire without damaging the metal strands inside. Then, connect the positive wire to the lamp’s positive terminal and the negative wire to the negative terminal, making sure the connections are firm.
Use a multimeter to check continuity before moving forward. This helps you avoid wiring mistakes that could cause the lamp to malfunction. Have you ever found yourself frustrated because of a loose wire? Taking the time to secure connections now will save you from that hassle.
Ensuring Proper Insulation And Safety
Once the wires are connected, cover exposed metal parts with electrical tape or heat shrink tubing. This prevents accidental short circuits and protects you from electric shocks. Avoid using materials that can easily wear down or get sticky over time.
Double-check that no bare wires are touching each other or any metal parts of the lamp. If you want extra safety, consider adding a small fuse inline with the USB power line. This simple addition can protect your lamp from power surges and potential damage.
Testing Your Usb Desk Lamp
Testing your USB desk lamp is a key step. It ensures your lamp works correctly and safely. This stage helps spot any problems early. A thorough test improves your lamp’s performance and durability.
Checking Power Supply And Light Function
First, connect your lamp to a USB power source. Use a computer, power bank, or USB wall adapter. Observe if the lamp powers on immediately. The light should glow steadily without flickering.
Check brightness levels. Adjust any dimmer controls to confirm they respond well. Ensure the lamp head moves freely and the LED lights up in all positions. Verify the USB cable is firmly attached and not loose.
Troubleshooting Common Issues
If the lamp does not light up, check these points:
- Make sure the USB port or adapter supplies enough power.
- Confirm all wires are connected securely and not damaged.
- Inspect the LED bulb for any visible defects or breakage.
- Try a different USB cable to rule out cable faults.
- Test the lamp with another power source to isolate the issue.
For flickering lights, check the connection points. Loose wires often cause flickering. Re-seat the USB plug firmly. Replace any damaged cables immediately. If brightness is low, ensure the power source meets lamp requirements.
Customizing And Enhancing Your Lamp
Customizing your USB desk lamp lets you tailor it exactly to your needs and style. It transforms a simple light source into a functional and personal workspace companion. Small upgrades can make a big difference in comfort and aesthetic appeal.
Adding Adjustable Brightness
Adjustable brightness is a game-changer for any desk lamp. It allows you to set the perfect light level whether you’re reading, working on your computer, or relaxing.
You can add a dimmer switch or use a touch-sensitive LED strip. Both options let you smoothly control the light intensity with ease.
Think about your daily tasks and how different brightness levels could reduce eye strain. Have you noticed how harsh light can tire your eyes after long hours?
Decorative Touches And Finishes
Decorating your lamp makes it a unique piece that reflects your personality. Simple finishes like painting the base or wrapping the cord with colorful fabric can add charm.
Try using washi tape, stickers, or small decals to personalize the lamp shade. These are inexpensive ways to create a design that suits your taste.
Consider how your lamp fits into your room’s style. Does it blend in, or do you want it to stand out as a statement piece?
Tips For Maintaining Your Usb Desk Lamp
Maintaining your USB desk lamp keeps it working well and looking good. Small habits protect the lamp’s parts and extend its life. Simple cleaning and timely replacements make a big difference. Follow easy tips to keep your lamp bright and safe.
Cleaning And Care
Dust and dirt can block the light and damage parts. Wipe the lamp with a soft, dry cloth regularly. Avoid water or harsh cleaners that harm the lamp’s surface. Clean the USB port gently to remove dust. Keep the lamp away from moisture and heat. Turn off and unplug before cleaning to stay safe.
Replacing Usb Components
USB parts wear out over time and may need changing. Check cables and connectors for frays or damage. Use the correct type of USB cable for your lamp. Replace any faulty or loose cables promptly to avoid power issues. Buy parts that fit your lamp model to ensure proper function. Handle components with care during replacement to avoid breaking them.

Credit: www.gntos.org
Credit: ottlite.com
Frequently Asked Questions
How Do I Make A Desk Lamp Usb-powered?
To make a desk lamp USB-powered, replace its power source with a USB cable. Use a USB adapter or plug that fits your lamp’s voltage and current. Connect the lamp’s wires to the USB cable, ensuring correct polarity for safe operation.
What Materials Are Needed To Build A Usb Desk Lamp?
You need a lamp base, LED bulb, USB cable, switch, soldering tools, and wire connectors. Optionally, use a 3D-printed or wooden lamp frame. Ensure the LED bulb matches the USB’s 5V output for safety and efficiency.
Can I Use Any Led Bulb For A Usb Desk Lamp?
No, use LED bulbs compatible with 5V USB power. Avoid high voltage bulbs that need adapters. Low-voltage LED strips or bulbs designed for USB power are ideal for desk lamps.
How Do I Safely Connect Usb Power To A Lamp?
Strip the USB cable wires and connect the red wire to the lamp’s positive terminal. Connect the black wire to the negative terminal. Use electrical tape or heat shrink tubing to insulate connections and prevent shorts.
Conclusion
Making a desk lamp USB is simple and fun. You only need a few tools and parts. This project saves money and adds a personal touch to your workspace. It also gives good light for reading or working. Try different styles and colors to match your room.
Enjoy the satisfaction of creating something useful by yourself. Keep safety in mind while working with electrical parts. Now, your desk has a bright, handy lamp made by you.


