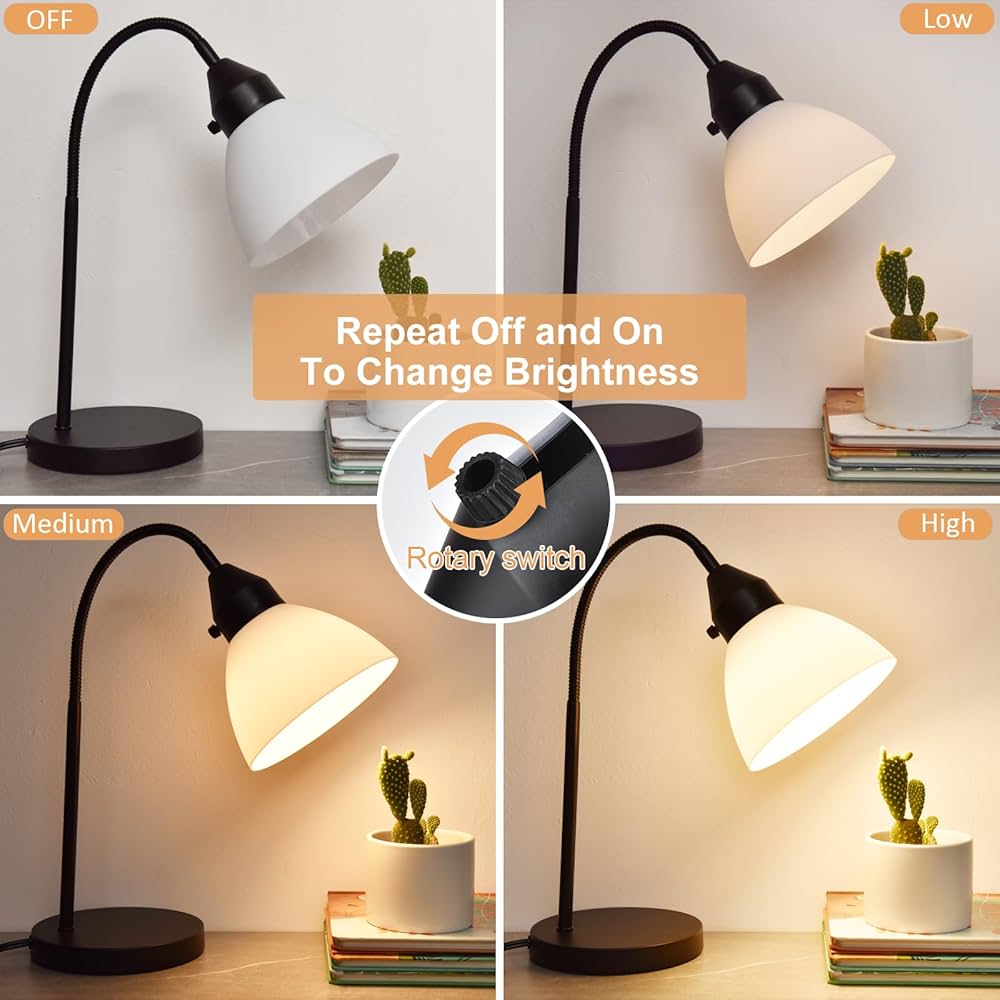
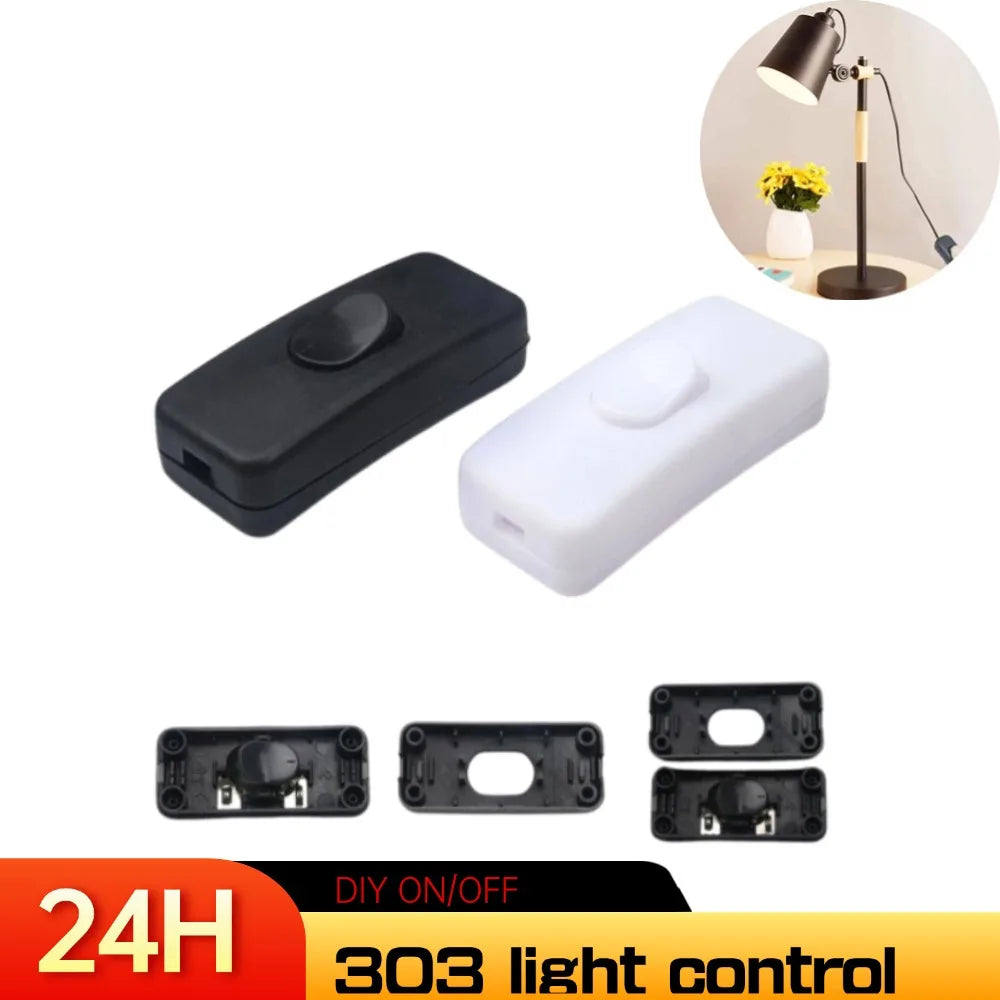
Is your desk lamp switch acting up or completely broken? You don’t have to buy a new lamp or call an electrician.
Changing the switch yourself is easier than you might think. In this guide, you’ll learn simple, step-by-step instructions to replace your desk lamp switch quickly and safely. By the end, your lamp will be working like new, and you’ll feel proud of a small repair done all on your own.
Keep reading—you’re just a few steps away from bringing light back to your workspace.

Credit: www.lowes.com
Tools And Materials Needed
Changing the switch of a desk lamp requires a few basic tools and materials. Having the right items ready makes the task easier and safer. Prepare everything before starting the repair to save time and avoid frustration.
Below is a list of tools and materials needed for this simple project. Each item plays an important role in ensuring a smooth process.
Tools Required
- Screwdriver set (flathead and Phillips)
- Wire strippers
- Needle-nose pliers
- Voltage tester or multimeter
- Small utility knife
- Soldering iron (optional, for soldered connections)
Materials Needed
- Replacement switch compatible with your lamp
- Electrical tape
- Wire nuts or connectors
- Replacement wires (if original wires are damaged)
Safety Gear
- Insulated gloves
- Protective eyewear
Safety Precautions
Changing the switch of a desk lamp might seem straightforward, but skipping safety precautions can lead to accidents or damage. Taking the right safety steps protects you and ensures the lamp works perfectly after the repair. Your safety should always come before anything else when working with electrical components.
Turn Off And Unplug The Lamp
Always unplug the lamp from the power outlet before starting any work. This simple step removes the risk of electric shock. Even if the lamp is off, it can still carry current when plugged in.
Use Insulated Tools
Use tools with insulated handles to prevent electrical conduction. Regular metal tools can increase the risk of electric shocks if the lamp is accidentally plugged in or if residual current exists. Insulated tools add a crucial layer of protection.
Work In A Dry Environment
Make sure your working space is completely dry. Water and electricity don’t mix well and can cause serious injury. Avoid working near sinks or places where liquid spills might occur.
Check The Switch And Wiring Condition
Inspect the switch and wiring for any signs of damage before removal. Frayed wires or broken parts might indicate other issues that need attention. Have a replacement ready to avoid prolonged exposure to faulty components.
Wear Protective Gear
Consider wearing safety glasses and gloves to protect your eyes and hands from accidental sparks or sharp edges. You might underestimate small risks, but protection goes a long way. It’s better to be cautious than sorry.
Test The Lamp After Replacement Safely
After installing the new switch, plug the lamp in carefully and test it. Keep your hands clear of any exposed wiring during the first power-up. Stand back and observe if the lamp functions correctly without unusual sounds or smells.
Removing The Old Switch
Begin by unplugging the lamp to ensure safety. Gently remove the cover or casing around the switch. Carefully disconnect the wires attached to the old switch, noting their positions for reattachment.
Removing the old switch of a desk lamp is a simple task. It requires some basic tools and a bit of patience. This process can breathe new life into your lamp. Before starting, ensure you have everything you need. Follow these steps carefully to ensure safety and effectiveness.Unplugging The Lamp
Safety comes first. Always unplug the lamp before starting any work. This prevents electric shock. Double-check the plug to make sure it’s disconnected from the outlet. Never work on a lamp while it’s plugged in. This is a crucial safety measure.Accessing The Switch
Locate the switch housing on your desk lamp. It is usually near the base or along the cord. Use a screwdriver to open the housing. Be gentle to avoid damage. Carefully remove the cover to access the switch inside. Keep track of any screws or small parts.Disconnecting Wires
Inside, you will see wires connected to the switch. Note their arrangement for reassembly. Use a screwdriver to loosen the screws holding the wires. Carefully disconnect each wire from the old switch. Take your time to ensure you don’t damage any components.Choosing A Replacement Switch
Choosing the right replacement switch is key to fixing a desk lamp properly. The switch controls the lamp’s power and affects how you use it daily. Picking a switch that fits well ensures the lamp works safely and smoothly. Knowing about the types of switches and matching the correct specifications will help you make the best choice.
Types Of Switches
Desk lamps use several common switch types. Each type works differently and suits various lamp designs.
- Toggle Switch:A small lever you flip up or down to turn the lamp on or off.
- Push Button Switch:Press once to turn on, press again to turn off.
- Rotary Switch:A knob you twist to switch the lamp on or off.
- Slide Switch:A small slider that moves back and forth to control power.
- Touch Switch:Turns the lamp on or off by touch, no physical button.
Choose the switch type that matches your lamp’s original design and personal comfort.
Matching Specifications
Check the original switch’s specifications before buying a replacement. This step keeps the lamp safe and working well.
| Specification | What to Check | Why It Matters |
|---|---|---|
| Voltage Rating | Match the lamp’s voltage, usually 110-120V or 220-240V. | Prevents electrical problems or damage. |
| Current Rating | Check the maximum amperage the switch can handle. | Ensures safe operation without overheating. |
| Size and Shape | Fit the switch into the lamp’s switch housing. | Allows easy installation and proper function. |
| Connection Type | Look at wire terminals or solder points. | Makes wiring simple and secure. |
Matching these details helps you avoid costly mistakes and keeps your lamp working safely.
Installing The New Switch
Installing the new switch is a crucial part of fixing your desk lamp. This step requires attention to detail and some basic handling of electrical components. Don’t rush—taking your time here ensures safety and functionality.
Connecting The Wires
Start by identifying the wires coming from your lamp. Usually, you’ll find two wires: one live (often black or brown) and one neutral (white or blue). Carefully strip about half an inch of insulation from each wire end using a wire stripper or scissors.
Next, attach these wires to the terminals on your new switch. Most switches have clear markings like “L” for live and “N” for neutral. If you ever feel unsure, look up the switch’s manual or check the wire colors again—mixing them up can cause the lamp not to work or even create a safety hazard.
Securing The Switch
Once the wires are connected, it’s time to fix the switch into place. Slide the switch into the lamp’s switch holder or casing. If your lamp has a small screw or clip to hold the switch, tighten it gently but firmly. You want the switch stable but not damaged.
Don’t forget to check if the wires are neatly tucked away and not pinched anywhere. A loose wire can lead to intermittent power issues or even short circuits.
Testing The Connection
Before assembling the lamp completely, test the switch’s function. Plug the lamp into a power source and try turning it on and off. If the light flickers or doesn’t come on, double-check your wire connections and the switch’s position.
What happens if the lamp still doesn’t work? Sometimes, the switch might be faulty, or the wiring inside the lamp could have other issues. Testing early saves you from unnecessary reassembly and frustration.

Credit: www.amazon.com
Troubleshooting Common Issues
Troubleshooting common issues can save you time and frustration when changing the switch of a desk lamp. Identifying the exact problem helps you avoid unnecessary replacements or extra repairs. Let’s look at some frequent problems and how you can tackle them effectively.
Check If The Lamp Is Getting Power
First, ensure your desk lamp is actually receiving power. Sometimes, the issue isn’t with the switch but the power source or cord.
- Try plugging the lamp into a different outlet.
- Test the power cord for any visible damage or frays.
- Use a different bulb to rule out a burned-out light bulb.
I once spent an hour replacing a switch only to realize the outlet was faulty. Always verify power first to avoid unnecessary work.
Identify If The Switch Mechanism Is Faulty
Not all switch problems are obvious. Sometimes, the switch feels loose or doesn’t click properly.
- Toggle the switch multiple times to feel for any unusual resistance or looseness.
- Listen for the clicking sound; a missing or soft click might mean internal damage.
- Check if the switch is stuck in one position.
Does your switch feel different than usual? That subtle change often signals it’s time to replace it.
Inspect Wiring Connections
Loose or disconnected wires inside the lamp can cause intermittent or complete failure of the switch.
- Unplug the lamp before opening it up to inspect the wiring.
- Look for loose, burnt, or disconnected wires near the switch.
- Secure any loose connections with wire nuts or electrical tape.
Once, a friend’s lamp switch didn’t work because a wire had slipped out. Fixing that was easier than swapping the switch entirely.
Test The Switch With A Multimeter
If you have a multimeter, testing the switch can confirm if it’s defective.
- Set your multimeter to continuity mode.
- Touch the probes to the switch terminals and toggle the switch.
- A continuous beep indicates the switch works; silence means it’s faulty.
Using this tool removes guesswork and guides you toward the right replacement part.
Consider Environmental Factors
Sometimes, dust, moisture, or corrosion affects switch performance.
- Check if the switch contacts are dirty or corroded.
- Clean gently with a cotton swab and rubbing alcohol.
- Ensure the lamp is used in a dry, clean environment to prevent future issues.
Have you ever found grime inside your switch? Cleaning it can often restore function without replacing parts.

Credit: www.amazon.ca
Frequently Asked Questions
How Do I Safely Remove The Old Switch From A Desk Lamp?
First, unplug the lamp to avoid electric shock. Use a screwdriver to open the lamp base. Carefully disconnect the wires from the old switch, noting their positions for reattachment.
What Tools Are Needed To Change A Desk Lamp Switch?
You typically need a screwdriver, wire strippers, and a replacement switch. A voltage tester can also help ensure safety before handling wires.
How Do I Connect Wires To The New Desk Lamp Switch?
Strip the wire ends and attach them to the switch terminals. Ensure a firm connection by tightening screws. Match wires to the same terminals as before for proper function.
Can I Replace Any Switch Type On A Desk Lamp?
No, use a compatible switch type for your lamp model. Check voltage and current ratings to avoid electrical issues or damage.
Conclusion
Changing the switch of a desk lamp is simple and quick. Follow each step carefully to avoid mistakes. Always unplug the lamp before starting work. Use the right tools for safety and ease. Test the lamp after replacing the switch to ensure it works well.
Taking your time helps you finish the job correctly. Now, your desk lamp will light up smoothly again. This small fix saves money and keeps your workspace bright. Try it yourself and enjoy the results.


