

Have you ever wanted to turn your favorite photo into a beautiful canvas that you can proudly display at home or gift to someone special? Putting a picture on canvas is easier than you might think, and it can transform your memories into stunning wall art.
Whether you’re a beginner or looking for a simple, step-by-step guide, this article will show you exactly how to do it. By the end, you’ll have all the tips and tricks to create your own personalized canvas with confidence. Ready to bring your photos to life?
Let’s dive in!
Credit: anthonypullano.ca
Choosing The Right Picture
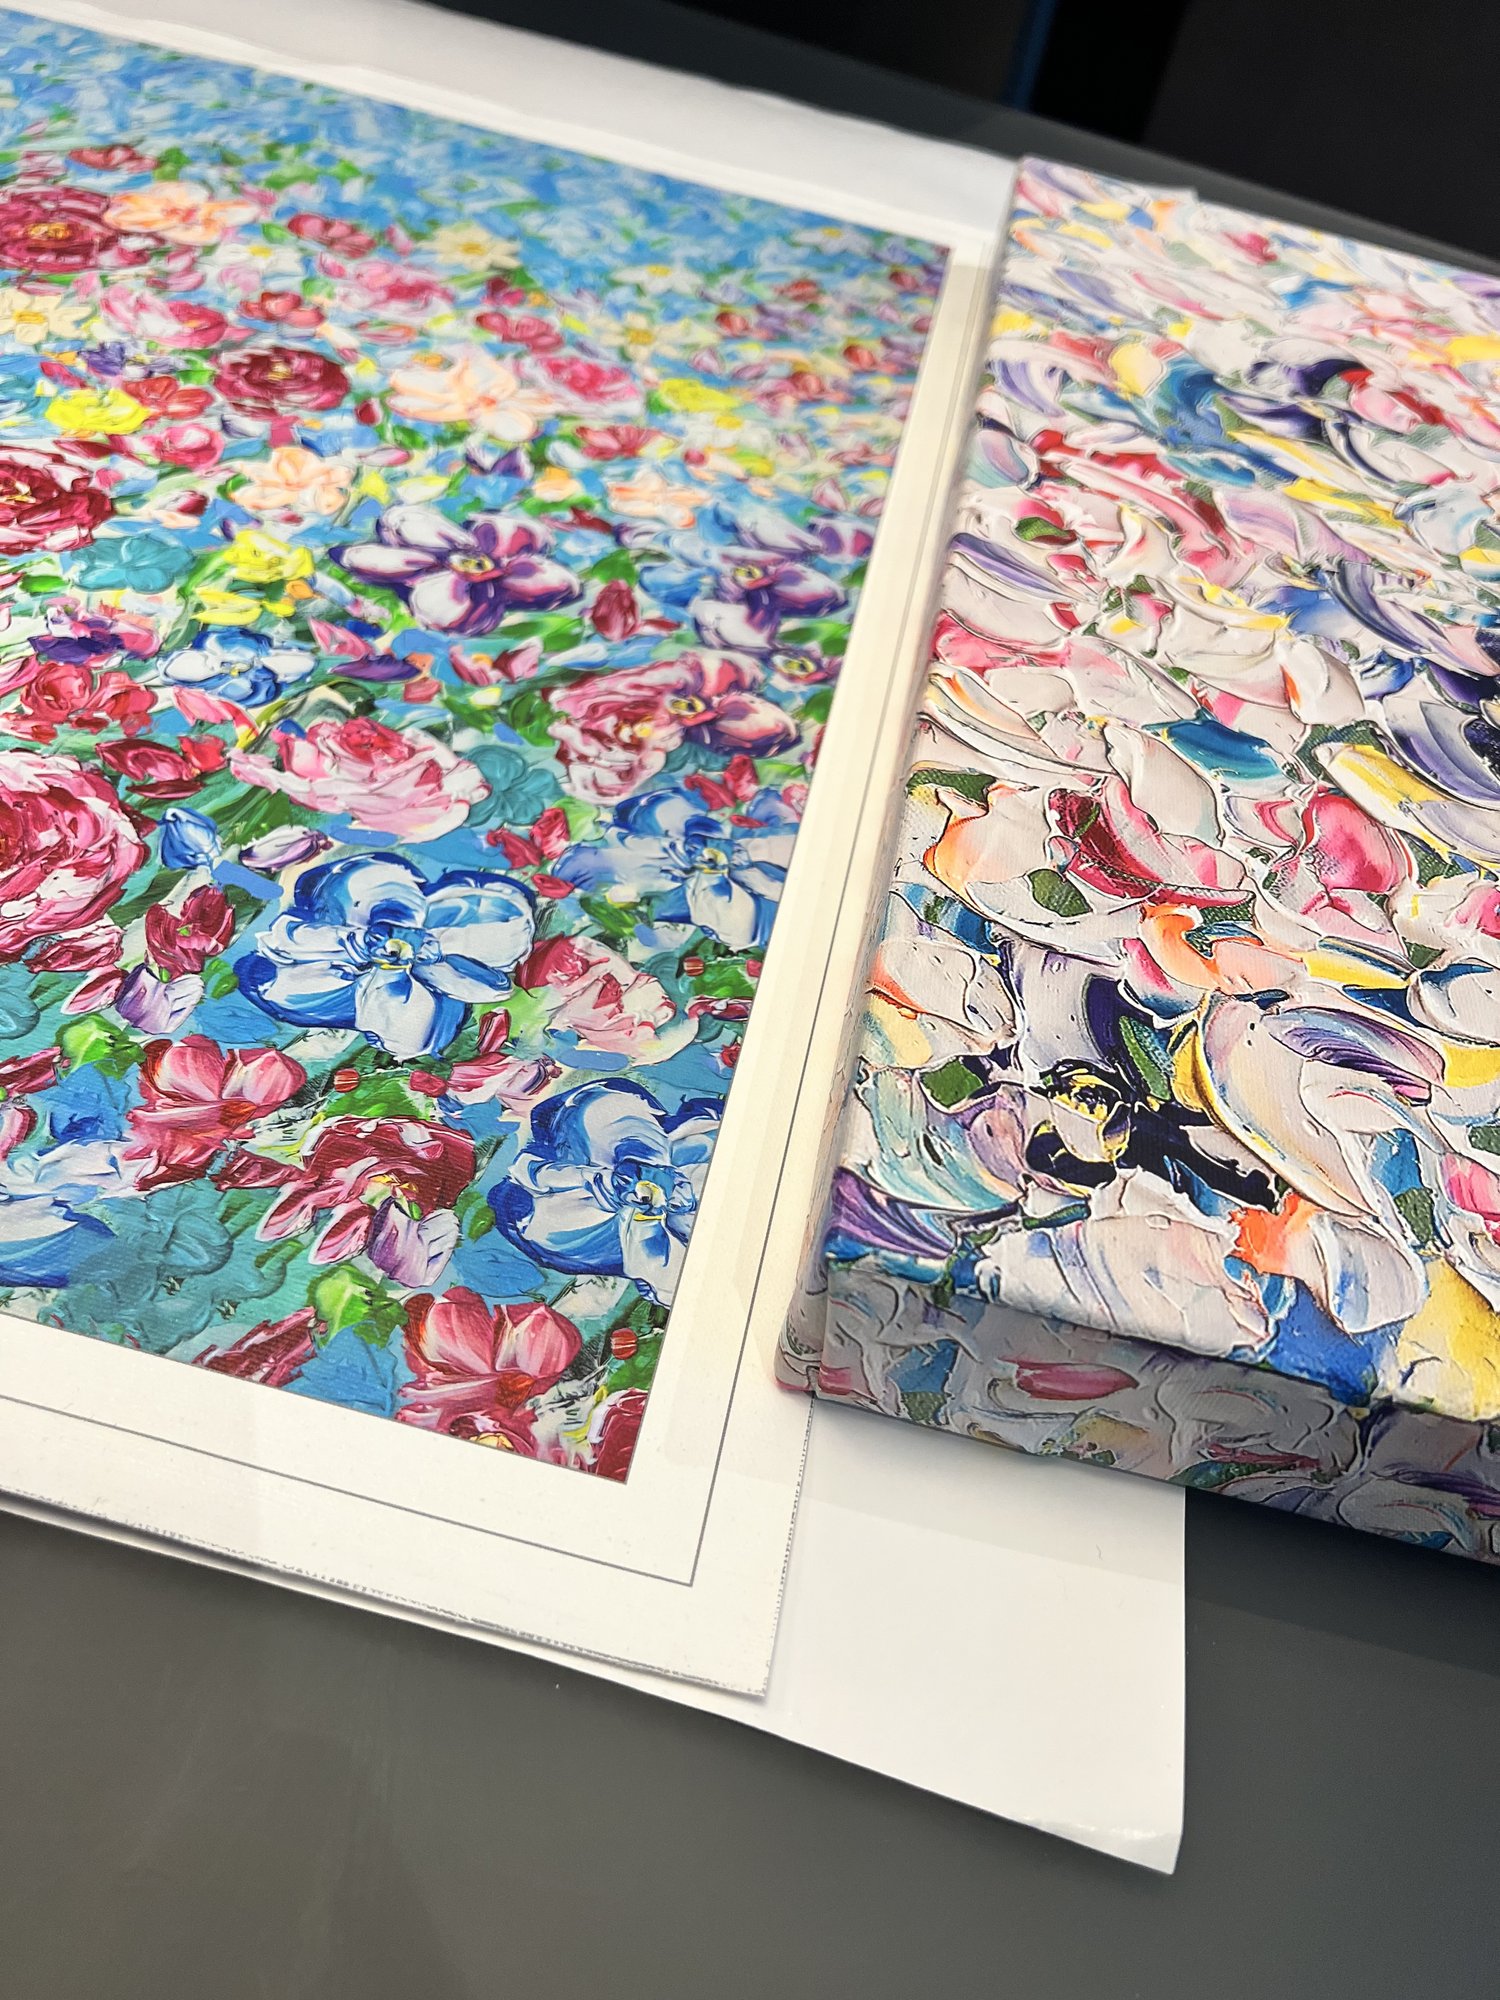
Choosing a clear, high-quality picture ensures the best result on canvas. Bright colors and simple designs work well for printing. Select an image that fits your space and style for a perfect display.
Choosing the right picture is crucial for creating a stunning canvas. A well-chosen image can transform your space and reflect your personality. Consider several factors to ensure your canvas stands out.Selecting High-quality Images
Start with a high-resolution image. This ensures clarity and sharpness on the canvas. Low-quality images can appear pixelated or blurry. Check the image’s details before deciding. Aim for professional or high-resolution photos.Considering Image Size And Resolution
The image size must match the canvas dimensions. A mismatch can lead to cropping or distortion. Ensure the resolution is adequate for enlargement. A resolution of 300 DPI is ideal for crisp results. This maintains image quality during printing.Choosing The Right Subject And Style
Select a subject that resonates with you. It could be a landscape, portrait, or abstract art. Consider the style that fits your room’s decor. Bright, bold images suit modern spaces. Soft, muted tones work well in traditional settings. Choose what reflects your taste and complements your environment.Preparing Your Materials
Preparing your materials is the foundation for creating a stunning picture on canvas. Having the right supplies and workspace can make the process smoother and more enjoyable. Let’s dive into what you need to gather and set up before you start.
Types Of Canvas To Use
Choosing the right canvas affects both the look and durability of your finished piece. You can pick from:
- Stretched Canvas:Pre-stretched over wooden frames, ready to hang or paint on.
- Canvas Panels:Canvas glued to a rigid board, great for small or practice projects.
- Roll Canvas:Comes in large rolls, perfect if you want custom sizes or to stretch your own canvas.
Think about where your picture will hang and how much time you want to spend preparing the canvas. Have you considered how texture might change the way your image looks?
Gathering Printing Supplies
Good quality printing supplies ensure your picture transfers clearly onto the canvas. Here’s what you’ll need:
- Inkjet Printer:Most suitable for printing on special transfer paper.
- Transfer Paper:Designed to transfer your image from paper to canvas smoothly.
- Adhesive Spray or Gel Medium:Helps the image stick firmly to the canvas surface.
- Protective Sealant:To protect your image from fading and damage over time.
Skip any low-quality materials—you’ll regret blurry or peeling images later. What’s your experience with different printing papers or adhesives?
Setting Up Your Workspace
Creating a dedicated workspace makes the whole process easier and less messy. You’ll want:
- A flat, clean surface large enough for your canvas and supplies.
- Good lighting to see details clearly as you work.
- Easy access to water and cleaning materials for quick fixes.
- Protective covers like old newspapers or plastic sheets to keep your area tidy.
Have you noticed how a well-organized space helps you focus? Take a moment to clear distractions before you begin.
Printing Your Picture
Printing your picture is a key step in transferring your image onto canvas. The quality of the print affects how vibrant and sharp your final artwork appears. Choosing the right printer, paper, and settings ensures your picture looks its best before moving to the canvas.
Using Inkjet Vs. Laser Printers
Inkjet printers use liquid ink, making them great for rich colors and smooth gradients. They work well for photos and detailed images. Laser printers use toner powder and heat, producing sharp text and fast prints. However, they may lack the color depth needed for canvas art.
Inkjet printers usually deliver better results for canvas prints. They provide more color accuracy and subtle shading. Laser printers can fade faster and might not stick well to special canvas paper.
Selecting The Best Printing Paper
Choose paper designed for canvas printing to get the best outcome. Matte or semi-gloss canvas paper works well. It absorbs ink evenly and prevents smudging. Avoid regular photo paper since it can cause ink to crack or peel on canvas.
Look for thick, textured paper that mimics real canvas. This adds a professional feel and improves ink adhesion. Some papers come with a coating to protect colors from fading over time.
Adjusting Print Settings For Canvas
Set your printer to the highest quality mode for detailed prints. Use the “photo” or “best” print quality option. Select the correct paper type in your printer settings to match the canvas paper.
Disable any automatic color correction to keep true colors. Check the print preview to ensure proper size and alignment. Print a test sheet to verify the colors and sharpness before printing the final image.
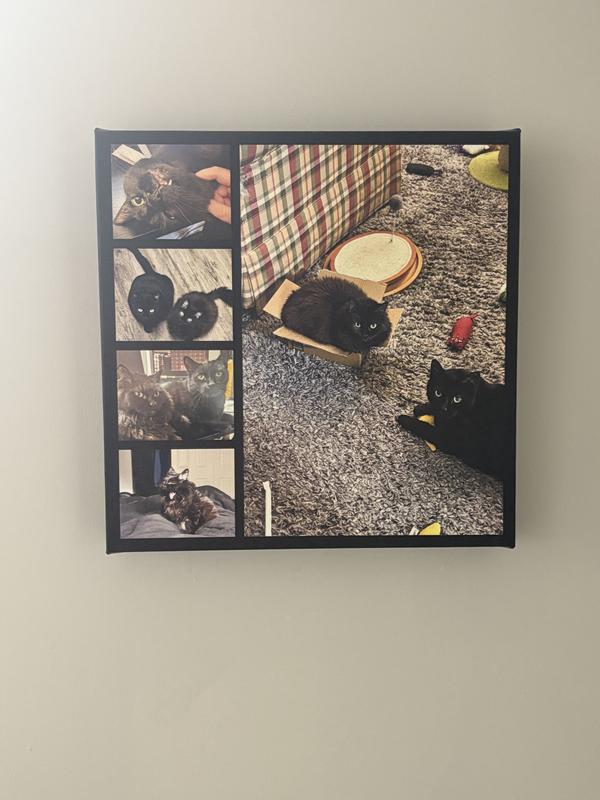
Credit: www.snapfish.com
Transferring The Image To Canvas
Transferring an image onto canvas is a key step that can make your artwork pop with clarity and style. Choosing the right transfer method depends on your tools, materials, and the look you want to achieve. Let’s break down practical ways to get your picture from paper or digital form onto that textured canvas surface.
Using Transfer Paper
Transfer paper is a simple tool that lets you trace your image onto the canvas. You place the transfer paper between your printed image and the canvas, then trace over the design with a pencil or stylus.
This method works well for detailed line drawings or designs that you want to paint over later. Have you ever noticed how tracing helps you focus on shapes and proportions? It’s a low-tech, reliable way to get your image exactly where you want it.
To get crisp lines, secure both the image and the transfer paper firmly with tape. Light pressure while tracing prevents smudging and ensures the transfer paper leaves a clean outline on the canvas.
Applying Gel Medium Transfers
Gel medium transfers create a unique, almost vintage effect by transferring a printed image directly onto the canvas. You start by applying a layer of gel medium to the canvas, then place a laser-printed image face down onto it.
After drying, you gently rub the paper away with water, leaving the ink embedded in the gel layer on your canvas. This technique requires patience but rewards you with a smooth, integrated image that looks painted-in rather than stuck on.
One tip: use a laser print, not an inkjet, for the best transfer results. Have you tried this before? It can surprise you how much texture and depth it adds to your piece.
Direct Printing On Canvas Techniques
Direct printing uses specialized printers that can print your image straight onto the canvas surface. This method offers sharp details and vibrant colors, perfect if you want a professional finish without hand-painting.
Many print shops offer this service, or you can invest in an inkjet printer designed for canvas. Make sure to use archival inks to prevent fading over time.
Consider how your image’s resolution will affect the final print. Low-resolution images can look pixelated, so always work with high-quality files. Would you want your masterpiece to lose detail at this stage? Probably not.
Finishing Touches
Finishing touches bring your canvas artwork to life and protect it for years. These final steps enhance the image and prepare it for display. Each detail helps your picture stand out beautifully on canvas.
Sealing And Protecting Your Artwork
Sealing your canvas locks in colors and prevents damage. Use a clear acrylic spray or brush-on varnish designed for canvas. Apply thin, even layers for the best protection. Let each coat dry fully before adding another. This step guards against dust, moisture, and fading from sunlight.
Adding Paint Or Enhancements
Enhance your image by adding paint or details with acrylics. Touch up edges or add highlights and shadows to improve depth. Use fine brushes for small details and larger brushes for broad strokes. Keep colors close to the original photo to maintain harmony. This step adds a personal artistic touch to your canvas.
Framing And Displaying Your Canvas
Choose a frame that complements your artwork style and room decor. Floating frames add modern flair, while traditional wood frames offer classic charm. Mount your canvas securely using wall hooks or brackets. Display your piece where light enhances its colors but avoids direct sunlight. Proper framing and placement showcase your canvas at its best.
Troubleshooting Common Issues
Working with canvas art can bring some challenges. Small mistakes may affect your final picture. Knowing how to fix these issues helps keep your work neat and long-lasting. Troubleshooting common problems is key to better results and less frustration.
Avoiding Image Smudges And Fading
Smudges often happen when the ink or paint is still wet. Use a clean, dry surface to place your canvas after printing or painting. Avoid touching the image directly. Allow the picture to dry completely before handling.
Fading occurs from sunlight and moisture. Keep your canvas away from direct sunlight. Store it in a cool, dry place. Use UV-protective sprays to help keep colors bright for longer.
Fixing Transfer Mistakes
Transfer errors like misalignment or incomplete images can happen during the process. Gently lift the image with a damp cloth if you catch the mistake early. Reapply carefully after smoothing out wrinkles or bubbles.
For stubborn errors, consider using an eraser designed for art or lightly sanding the canvas surface. Reprint or repaint the image if needed to cover mistakes. Patience and a steady hand improve the transfer quality.
Maintaining Canvas Longevity
Protect your canvas by avoiding high humidity and extreme temperatures. Use a frame with glass or acrylic to shield the art from dust and damage. Regularly dust the canvas with a soft brush or cloth.
Consider applying a clear varnish to seal the image. This adds a protective layer against dirt and fading. Store unused canvases flat or rolled loosely to prevent creases and cracks.
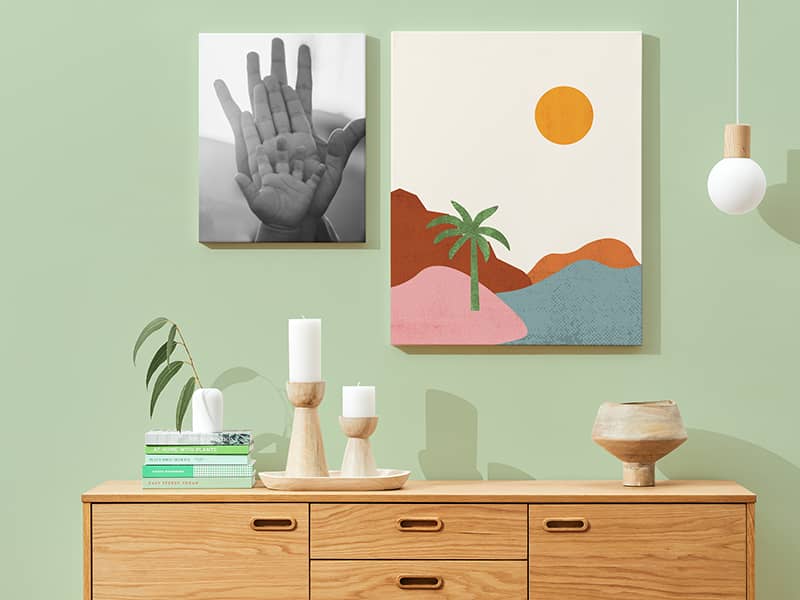
Credit: www.canva.com
Frequently Asked Questions
How Do I Transfer A Photo To Canvas?
You can transfer a photo to canvas using gel medium. Print the image on regular paper, apply gel on canvas, place photo face down, and peel after drying. This method preserves photo details and provides a smooth canvas finish.
What Materials Are Needed To Put A Picture On Canvas?
You need canvas, gel medium or Mod Podge, a printed photo, brush, and scraper. Optional items include acrylic paint and a sealing spray for protection. These materials ensure a clean and durable photo transfer on canvas.
Can I Use Any Photo For Canvas Printing?
Yes, but high-resolution photos work best. Clear, bright images produce sharp and vibrant results. Avoid low-quality or pixelated pictures to maintain detail and color accuracy on the canvas.
How Long Does The Photo Transfer Process Take?
The process typically takes 24 hours. This includes drying time for the gel medium and final sealing. Patience ensures the photo fully adheres and the canvas surface remains smooth and durable.
Conclusion
Putting a picture on canvas can brighten any room. It shows your style and creativity clearly. Follow simple steps to get a great result. Choose the right picture and prepare your materials well. Stretch the canvas carefully for a smooth look.
Paint or print your image with patience. Enjoy the process and take your time. Your personalized art will bring joy for years. Try this project and see how fun it can be. A handmade canvas picture adds warmth to your space.


