

Are you looking to boost your home’s security and save energy at the same time? Setting up a motion sensor light might be the perfect solution for you.
Imagine never fumbling for a switch in the dark or deterring unwanted visitors with a bright, automatic light. It’s easier than you think, and once it’s done, you’ll wonder how you ever lived without it. Keep reading, and you’ll learn simple steps to install your motion sensor light quickly and effectively—no special skills needed.
Your home’s safety and convenience are just a few easy moves away.
Choosing The Right Motion Sensor Light
Choosing the right motion sensor light is important for safety and convenience. The correct light helps save energy and protects your property. Consider the environment where you will install the light. Think about the size of the area and the type of motion you want to detect. These factors help you pick the best sensor light for your needs.
Types Of Motion Sensors
Different motion sensors detect movement in various ways. Here are common types:
- Passive Infrared (PIR): Detects body heat from people or animals.
- Ultrasonic: Uses sound waves to sense motion.
- Microwave: Sends out radio waves and measures reflection changes.
- Dual-technology: Combines two sensor types to reduce false alarms.
PIR sensors work well outdoors and use less power. Ultrasonic and microwave sensors cover larger areas but may trigger false alarms. Dual-technology sensors are more accurate but cost more.
Power Sources And Installation Options
Motion sensor lights come with different power sources. Choose one that fits your installation needs.
- Battery-powered: Easy to install anywhere, no wiring needed.
- Hardwired: Connects to home electricity for constant power.
- Solar-powered: Charges using sunlight, eco-friendly and cordless.
Battery models offer flexibility but need regular battery changes. Hardwired lights require professional installation but are reliable. Solar lights save energy but depend on sunlight availability.
Consider mounting height and angle. Position sensors to cover entry points or dark areas. Proper placement ensures better detection and fewer false triggers.

Credit: www.youtube.com
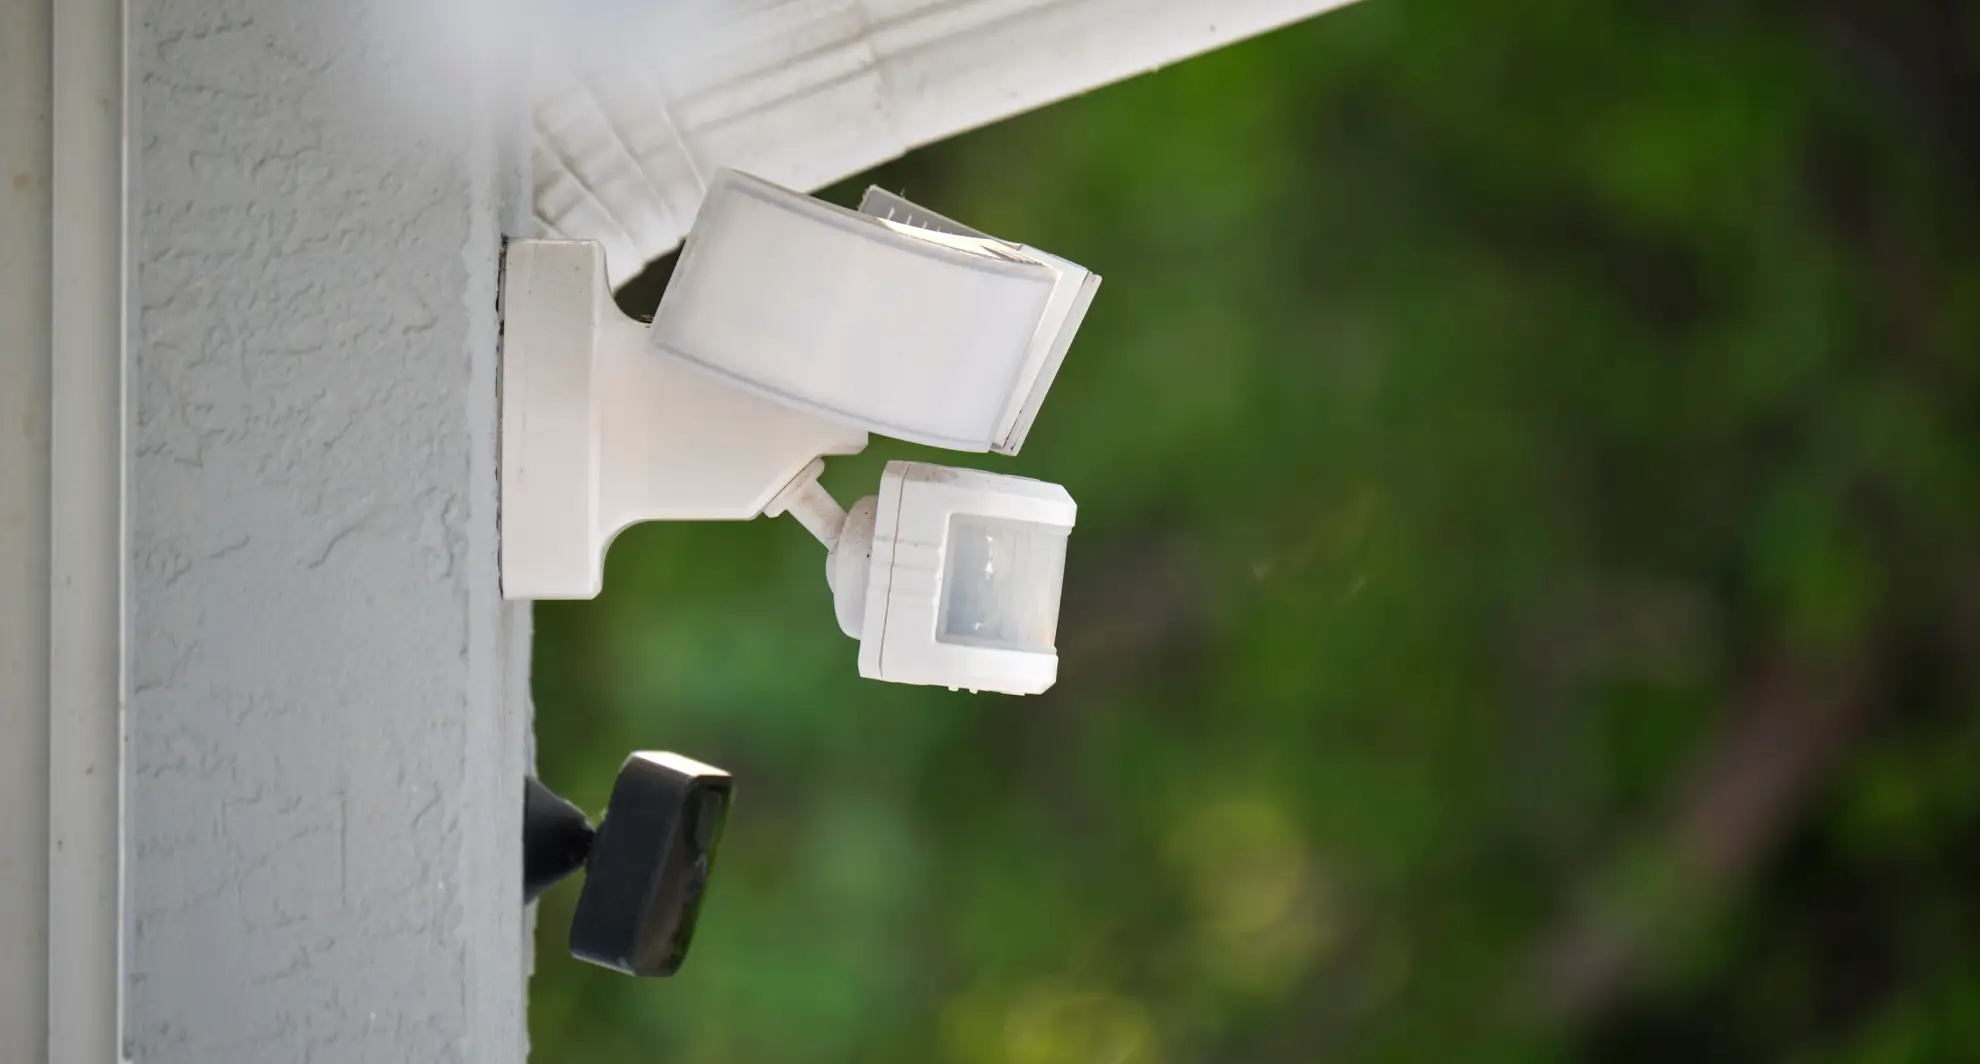
Selecting The Ideal Location
Choosing the right place for your motion sensor light matters a lot. The sensor must see the area clearly. It should cover the space you want to light up or protect. Placing it in the wrong spot can cause problems. The light might not turn on when needed. Or it could switch on too often without a reason.
Optimal Height And Angle
Set the sensor at a good height to catch movement well. Usually, 6 to 10 feet above the ground works best. This height lets the sensor detect motion over a wide area. Point the sensor slightly downward. This angle helps it focus on people or animals walking nearby. Avoid aiming it straight ahead or too high up. Doing so can miss important movements.
Avoiding False Triggers
False alarms waste energy and annoy everyone. Keep the sensor away from busy streets or roads. Cars passing by may cause it to turn on often. Avoid pointing it at trees or bushes that move in the wind. Also, stay clear of heat sources like vents or air conditioners. These can trick the sensor. Check the sensor’s coverage and adjust the angle to reduce false triggers.
Installing The Motion Sensor Light
Installing a motion sensor light is a straightforward task that enhances home security and convenience. Proper installation ensures the sensor detects movement accurately and the light works efficiently. Prepare carefully to avoid common issues during setup.
Gathering Necessary Tools
Collect all tools before starting installation. This saves time and prevents interruptions.
- Screwdriver (flat or Phillips)
- Drill with bits
- Wire strippers
- Voltage tester
- Electrical tape
- Mounting screws and anchors
- Motion sensor light unit
- Ladder (if needed)
Having these tools ready makes the installation smooth and safe.
Step-by-step Mounting Guide
Turn off power at the breaker to avoid electric shock. Test wires with a voltage tester.
Choose a location with clear view for the sensor. Avoid areas with direct sunlight or heat sources.
- Mark holes for mounting bracket on the wall.
- Drill holes and insert anchors if needed.
- Attach mounting bracket securely with screws.
- Connect wires: black to black (live), white to white (neutral), green or copper to ground.
- Secure wire connections with electrical tape.
- Attach the motion sensor light to the bracket.
- Adjust sensor angle for best coverage.
- Restore power and test the light by moving in front of the sensor.
Fine-tune settings such as sensitivity and timer after testing for optimal performance.

Credit: www.youtube.com
Adjusting Sensor Settings
Adjust sensor sensitivity to detect movement within your desired range. Set the light timer to control how long the light stays on after activation. Adjust the daylight sensor to prevent the light from turning on during daylight hours.
Adjusting the sensor settings is crucial for a motion sensor light. It ensures the light works efficiently and meets your needs. Each setting plays a key role in how your light performs. Below, we explore how to adjust these settings effectively.Sensitivity Levels
Sensitivity levels control how easily the sensor detects movement. Adjust this setting to avoid false triggers. Set it too low, and it might miss real movement. Set it too high, and it might react to small animals or wind. Test different levels to find the right balance for your space.Light Duration And Timeout
Light duration defines how long the light stays on after activation. Most sensors allow adjustments from a few seconds to several minutes. Shorter durations save energy but might turn off too soon. Longer durations provide more light but use more power. Consider your specific needs and energy usage.Detection Range
Detection range determines how far the sensor can detect movement. Adjust this setting to cover the desired area. A wider range might catch movements outside your intended zone. A smaller range focuses on a specific area. Ensure the range aligns with your security requirements. Adjust it carefully to avoid unnecessary activations.Testing And Fine-tuning
Testing and fine-tuning your motion sensor light is crucial to ensure it works exactly how you want it. This process helps you avoid false triggers and missed activations, providing reliable lighting when you need it most. Taking time to test carefully can save you from frustration and extra adjustments later.
Initial Testing Procedures
Start by positioning the motion sensor light in its intended location. Walk through the detection area slowly to check if the light activates promptly. Observe from different angles to see how wide the sensor’s coverage is and if any spots are missed.
Adjust the sensor’s sensitivity settings if the light doesn’t respond as expected. Some models have dials or switches labeled “sensitivity” or “range” that allow you to increase or decrease detection distance.
Test the light during both day and night to confirm it only activates when needed. Many sensors include a daylight sensor to prevent unnecessary activation in bright conditions. Make sure this feature is working correctly by testing at different times or shading the sensor.
Common Issues And Fixes
If the light turns on too often without clear cause, check for heat sources or moving objects near the sensor. Trees blowing in the wind, passing cars, or even pets can trigger false alarms. Try repositioning the sensor or adjusting sensitivity to reduce unwanted activations.
Sometimes the light might fail to turn on when motion occurs. This could mean the sensor’s range is too short or its angle is off. Increasing the detection range or angling the sensor towards the expected motion path usually solves this problem.
Another issue is the light staying on longer than necessary. Most sensors have a time delay setting that controls how long the light stays lit after detecting movement. Shorten this delay if you want the light to turn off quicker and save energy.
Have you noticed your sensor light behaving oddly at certain times? Environmental factors like weather, temperature, or even insects can affect performance. Regularly revisiting your setup and making small tweaks can keep your motion sensor light working smoothly over time.
Maintenance Tips
Maintaining your motion sensor light keeps it working well and extends its life. Dirt, dust, and old batteries can reduce its performance. Regular care ensures your light responds quickly and stays bright. Follow simple steps to keep your sensor clean and powered.
Regular Cleaning
Dust and grime can block the sensor and light. Clean the sensor with a soft cloth every few weeks. Avoid harsh chemicals that may damage the lens. Wipe the light cover gently to remove dirt. Check for spider webs or debris that may interfere with detection.
Battery Replacement And Upkeep
Check batteries regularly for power levels. Replace batteries at least once a year or when the light dims. Use the type of battery recommended by the manufacturer. Remove batteries if the light will not be used for a long time to prevent leakage. Proper battery care keeps the sensor active and reliable.
Credit: mrelectric.com
Frequently Asked Questions
How Do You Install A Motion Sensor Light?
To install a motion sensor light, first turn off the power. Mount the sensor in a desired location, connect the wiring according to the instructions, and secure the unit. Finally, restore power and test the sensor to ensure proper operation.
What Settings Should I Adjust On A Motion Sensor Light?
Adjust sensitivity, duration, and detection range. Sensitivity controls motion detection distance. Duration sets how long the light stays on. Detection range defines the area covered. Proper settings optimize performance and reduce false triggers.
Can Motion Sensor Lights Save Energy?
Yes, motion sensor lights save energy by only activating when movement is detected. They reduce electricity usage by turning off automatically when no motion is present, making them eco-friendly and cost-effective for both indoor and outdoor use.
Where Is The Best Location For Motion Sensor Lights?
Place motion sensor lights in high-traffic or vulnerable areas like entrances, garages, and pathways. Ensure the sensor has a clear, unobstructed view to detect motion effectively. Avoid placing near heat sources or busy streets to prevent false alarms.
Conclusion
Setting a motion sensor light is simple and useful. It helps save energy and improves safety around your home. Follow the steps carefully for best results. Test the light to make sure it works well. Adjust the settings to match your needs.
With the right setup, your space will stay bright when needed. Enjoy the convenience and peace of mind it brings.


