
Are you struggling to get your Lutron motion sensor light switch to work just right? Maybe the lights stay on too long or turn off too quickly, leaving you frustrated.
Adjusting your motion sensor switch doesn’t have to be confusing or complicated. In this guide, you’ll discover simple steps to customize your switch settings so your lights respond perfectly to your needs. Keep reading, and soon you’ll have full control over your lighting with ease and confidence.
Credit: ledco.ca
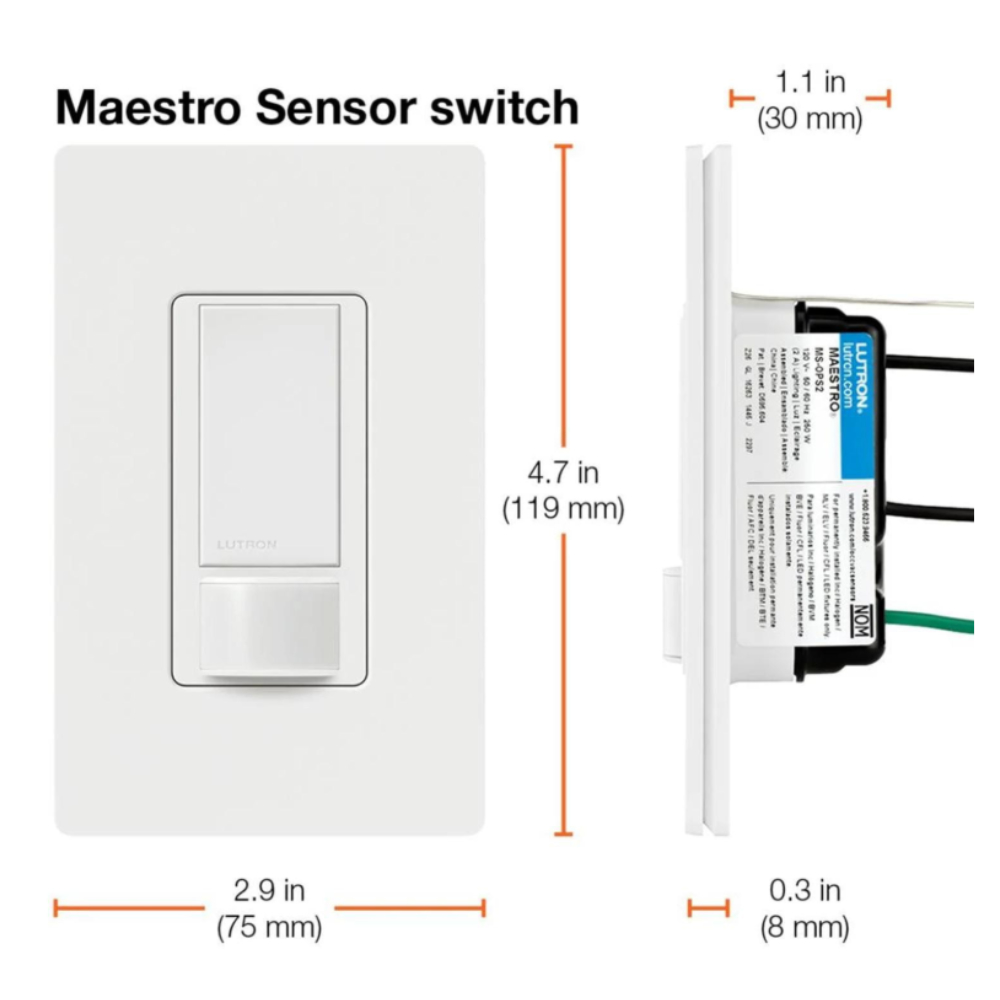
Lutron Motion Sensor Basics
Understanding the basics of your Lutron motion sensor light switch is essential before making any adjustments. These devices can save energy and add convenience by automatically turning lights on or off when they detect movement. But to get the most out of your sensor, you need to know what features it offers and the different models available.
Key Features
Lutron motion sensor switches come with several useful features that help you customize how your lights behave.
- Motion Detection Range:This controls how far the sensor can detect movement. Some models can sense activity up to 30 feet away, while others cover smaller areas.
- Time Delay Settings:You can adjust how long the light stays on after motion is no longer detected. This helps avoid lights turning off too quickly or staying on unnecessarily.
- Ambient Light Sensitivity:Many sensors include a daylight sensor that prevents the light from turning on if there’s enough natural light in the room.
- Manual Override:This feature lets you turn the light on or off manually without affecting the sensor’s automatic function.
Knowing these features helps you fine-tune your switch to match your daily habits and lighting needs. Have you noticed if your lights turn off too soon or stay on longer than you want? Adjusting these settings can fix that.
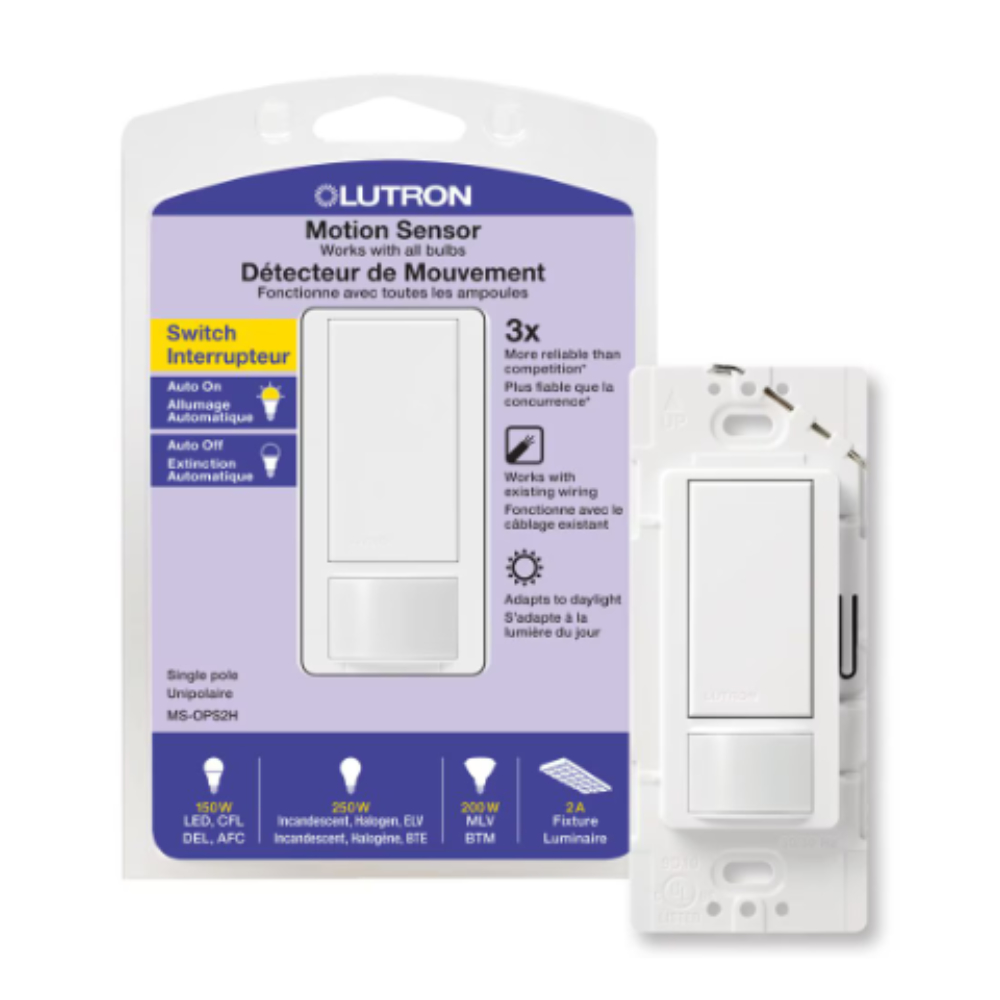
Types Of Models
Lutron offers a variety of motion sensor switch models designed for different spaces and preferences. Picking the right one can make a big difference in how well your lighting works.
| Model | Best For | Features |
|---|---|---|
| Maestro Occupancy Sensor | Bedrooms, bathrooms, and small rooms | Adjustable time delay, manual override, ambient light sensor |
| Radio Powr Savr Wireless Sensor | Large rooms, open spaces | Wireless control, wide detection range, daylight sensing |
| Caséta Wireless Motion Sensor | Smart home setups | Works with smart hubs, customizable schedules, remote control |
Think about where you want to install the sensor and how you use the space. Would a wireless model be better for your living room, or is a simple occupancy sensor enough for your hallway? Your choice affects how you adjust the settings later.

Credit: www.youtube.com
Tools Needed For Adjustment
Adjusting a Lutron motion sensor light switch requires a few simple tools. Having the right tools ensures a smooth and safe adjustment process. These tools help you access the switch and make precise changes.
Gathering these tools before starting saves time and avoids interruptions. Each tool has a specific role in the adjustment process.
Flathead Screwdriver
A flathead screwdriver helps remove the switch cover plate. It fits into the small slots of the screws. This tool also assists in gently prying the switch from the wall if needed.
Phillips Screwdriver
The Phillips screwdriver is needed to remove the screws holding the switch. Most Lutron switches use Phillips screws. Using the correct screwdriver prevents damage to the screws and switch.
Voltage Tester
A voltage tester checks if the power is off before working. It ensures safety by detecting live wires. Never touch wires without confirming the power is off.
Small Needle Nose Pliers
Needle nose pliers help in adjusting or repositioning wires. They provide a firm grip in tight spaces. Use them carefully to avoid damaging wires.
Replacement Batteries (if Applicable)
Some Lutron motion sensors use batteries for settings memory. Having fresh batteries ready is helpful. Replace old batteries to avoid interruptions during adjustment.
Instruction Manual
The instruction manual guides you through the adjustment steps. It contains specific details for your model. Keep it handy for quick reference during the process.
Locating The Adjustment Controls
Adjustment controls on a Lutron motion sensor switch are usually found behind the faceplate. Remove the cover carefully to access sensitivity and time delay settings. These controls help customize how the light responds to motion and timing.
Locating the adjustment controls on a Lutron motion sensor light switch is crucial. These controls help customize the lighting to your preferences. Understanding where to find and how to adjust them ensures optimal performance. Here’s a guide to help you with these adjustments.Sensor Sensitivity
The sensor sensitivity determines how the switch detects movement. You can usually find the sensitivity control on the side or back of the switch. Adjusting this setting changes how far or how much movement is needed to activate the light. Increase the sensitivity for larger rooms or where more movement occurs. Decrease it to prevent unwanted activations from small pets or drafts.Time Delay Settings
Time delay settings control how long the light stays on after motion stops. Look for a small dial or switch labeled with time increments. Common options range from a few seconds to several minutes. Set a shorter delay to save energy. Use a longer delay in areas where you need consistent light, like hallways or bathrooms.Ambient Light Levels
The ambient light level setting determines when the light turns on based on surrounding light. This control is often marked with a sun or moon icon. Adjust this to ensure the light only activates in low-light conditions. This prevents the light from turning on during daylight or when other lights are sufficient.Step-by-step Adjustment Process
Adjusting your Lutron motion sensor light switch can make a huge difference in how well it responds to movement and controls your lighting. It’s not just about flipping a switch; fine-tuning ensures the sensor fits your daily routine and room conditions perfectly. Let’s walk through the adjustment process so you can get your lights working exactly the way you want.
Power Off And Safety
Before touching anything, always turn off the power at the circuit breaker. This step protects you from electric shock and prevents damage to your device. Even if you’re confident, taking this safety precaution is non-negotiable.
After switching off, use a voltage tester on the light switch wires to confirm there’s no electricity flowing. Safety first means you can work calmly and avoid costly mistakes.
Accessing The Sensor Panel
Next, remove the switch’s faceplate carefully using a screwdriver. Behind it, you’ll find the sensor panel with its adjustment dials or buttons. Sometimes, the panel is hidden under a small cover, so check your model’s manual for details.
Handling these components gently is crucial. If you force anything, you risk breaking the sensor or voiding the warranty. Have you noticed how delicate these panels feel? That’s why a light touch goes a long way.
Adjusting Sensitivity
Sensitivity controls how much movement is needed to trigger the light. If your sensor is too sensitive, it might turn on with passing shadows or small pets. Too low, and it might not react when you enter the room.
Use the sensitivity dial or button to set this. Start at a medium level and test by walking across the room. Adjust incrementally until the sensor responds just right without false triggers.
Setting Time Delay
The time delay determines how long the light stays on after no movement is detected. Do you prefer the light to turn off quickly or stay on for a while? This setting lets you customize that.
Turn the time delay dial to your desired duration, usually ranging from a few seconds to several minutes. Test it out by leaving the room and seeing if the light turns off when you want it to.
Tuning Light Sensor
The light sensor prevents the light from turning on when there’s enough natural light. This saves energy but might need adjustment based on your room’s brightness.
Adjust the light sensor dial to the ambient light level of your space. If your room has lots of sunlight, set it higher so the light stays off during the day. In darker rooms, lower the setting to ensure the light activates appropriately.
Testing Your Settings
Testing your settings after adjusting your Lutron motion sensor light switch is crucial to ensure it works just the way you want. This phase helps you confirm that the sensor detects motion accurately and that the lights respond as expected. Spending a few minutes here can save you from frustration later.
Motion Detection Check
Start by walking through the sensor’s detection area at different speeds and angles. Notice if the light switch responds immediately or if there’s a delay. If it misses your movement, try adjusting the sensor’s sensitivity.
Pay attention to areas where detection might be weak, like corners or behind furniture. Can you spot any blind spots? Moving objects like pets or curtains may trigger false positives, so watch out for those too.
Light Activation Test
Once motion detection feels right, check how the light activates. Does it turn on brightly or dimly? Adjust the light level to fit your room’s needs by using the brightness control.
Test how long the light stays on after motion stops. Is the time too short or too long for your comfort? You can tweak the timer settings to make sure the light turns off at the right moment, saving energy without leaving you in the dark.

Credit: www.amazon.ca
Troubleshooting Common Issues
Troubleshooting common issues with your Lutron motion sensor light switch can save you time and frustration. Identifying the problem quickly allows you to make simple adjustments that restore proper function. Let’s look at some frequent problems and how you can fix them yourself.
Sensor Not Triggering
If your light switch isn’t responding to movement, start by checking the sensor’s position. It should have a clear line of sight to the area where motion is expected. Objects like furniture or curtains can block the sensor and stop it from detecting movement.
Another common cause is the sensor’s sensitivity setting. If it’s set too low, small or distant movements might not register. Try increasing the sensitivity through the switch’s adjustment dial or app to see if that helps.
Also, consider the power supply. A loose wiring connection or a tripped breaker could prevent the sensor from working. Double-check the installation and ensure everything is secure and powered.
Light Staying On Too Long
When the light remains on after you’ve left the room, the timeout setting is likely too long. You can shorten this interval using the switch’s timer adjustment. This lets you customize how quickly the light turns off after no motion is detected.
Another reason might be constant small movements near the sensor, like pets or fans causing it to reset repeatedly. If this sounds like your situation, reposition the sensor or adjust its sensitivity to ignore minor motions.
False Activations
False activations can be annoying, turning your light on when there’s no one around. One cause could be sunlight or reflections hitting the sensor, tricking it into thinking there’s motion. Try shading the sensor or changing its angle to avoid direct light exposure.
Electrical interference or nearby moving objects like curtains or plants can also trigger false signals. Check the surroundings and remove or relocate anything that might cause movement in the sensor’s range.
Have you noticed a pattern in when false activations happen? Pinpointing the triggers can make it easier to apply the right fix.
Maintenance Tips For Longevity
Proper maintenance keeps your Lutron motion sensor light switch working well for years. Small efforts improve sensor accuracy and extend its life. Follow simple tips to avoid common issues and maintain smooth operation.
Cleaning The Sensor
Dust and dirt block the sensor’s view, causing false triggers or no response. Clean the sensor gently using a soft, dry cloth. Avoid liquids or abrasive materials that can damage the sensor surface.
Check the sensor at least once a month. Keep the area around the sensor free from cobwebs and dust buildup. This ensures the sensor detects motion clearly and reacts properly.
Regular Testing
Test your motion sensor light switch regularly to confirm it works correctly. Walk through the sensor’s range and observe if the light turns on and off as expected. This helps catch any issues early.
Adjust the sensitivity settings if the sensor misses motion or triggers too often. Regular testing ensures the sensor stays reliable and saves energy by turning lights off when no one is present.
Frequently Asked Questions
How Do I Adjust The Sensitivity On A Lutron Motion Sensor?
To adjust sensitivity, press the “Adjust” button on the switch. Use the dial to increase or decrease detection range. Test the sensor to ensure it detects motion accurately in your space.
Can I Change The Time Delay On Lutron Motion Sensors?
Yes, you can set the time delay. Use the switch’s settings menu to select delay options from 30 seconds to 30 minutes. This controls how long the light stays on after motion stops.
What Is The Best Way To Reset A Lutron Motion Sensor?
To reset, turn off power at the circuit breaker. Wait 30 seconds, then turn power back on. The sensor will return to default settings and be ready for reconfiguration.
How Do I Calibrate Lutron Motion Sensor For Low Light Conditions?
Adjust the ambient light setting via the switch’s control panel. Lower the threshold so the sensor activates only in dim or dark conditions. This prevents unnecessary light during daylight hours.
Conclusion
Adjusting your Lutron motion sensor light switch is simple and quick. Start by setting the sensitivity and time delay to fit your needs. Test the sensor in different lighting to ensure it works well. Small changes can improve energy savings and convenience.
Keep the instructions handy for future tweaks. Enjoy the ease of automated lighting in your home.


