
Is your outdoor light’s motion sensor not working right? Maybe it flickers on and off, or it just won’t detect movement anymore.
You don’t have to live in the dark or call a costly electrician. Replacing your motion sensor yourself is easier than you think. In this guide, you’ll find simple steps to get your outdoor lights back to shining bright and keeping your home safe.
Keep reading, and you’ll learn how to do it quickly and safely—no special tools or skills needed!
Tools And Materials Needed
Replacing a motion sensor for outdoor lights requires specific tools and materials. Having the right equipment makes the job safer and faster. It also ensures the sensor works properly after installation.
Gather everything before starting. This avoids interruptions and helps keep the work organized. Knowing what tools and materials you need is the first step to success.
Essential Tools
- Screwdriver set (flathead and Phillips)
- Wire strippers
- Voltage tester or multimeter
- Electrical tape
- Wire nuts or connectors
- Ladder (if the sensor is high up)
- Safety gloves
- Flashlight (for working in low light)
These tools help you remove the old sensor safely. They also assist in connecting the new sensor without damaging wires.
Choosing The Right Sensor
Pick a sensor that fits your outdoor lighting needs. Check the sensor’s voltage compatibility with your existing lights. Most outdoor sensors work with 120V systems, but confirm to avoid issues.
Look for sensors with adjustable settings. This allows you to change motion sensitivity and light duration. Sensors with weatherproof ratings like IP65 or higher last longer outdoors.
Consider the sensor’s detection range. A wider range covers more area, reducing blind spots. Also, choose sensors that are easy to install and come with clear instructions.
Credit: mrelectric.com
Safety Precautions
Working with outdoor lighting involves electricity, which can be dangerous if you’re not careful. Taking the right safety precautions protects you from shocks and accidents. It also ensures the job goes smoothly without unexpected interruptions.
Power Off The Circuit
Before touching any wiring or components, turn off the power at the circuit breaker. This step is crucial to avoid electric shock. Simply switching off the outdoor light’s wall switch isn’t enough because power might still flow through the wires.
Use a voltage tester to confirm that the circuit is indeed off. Have you ever assumed the power was off only to get a nasty surprise? Double-checking saves you from that risk and gives you peace of mind.
Wear Protective Gear
Protect your hands with insulated gloves designed for electrical work. These gloves reduce the risk of shock and keep your hands safe from sharp edges on fixtures or wires.
Also, wear safety glasses to shield your eyes from dust, debris, or unexpected sparks. Even a small piece of insulation or dirt can cause irritation or injury when working overhead or in tight spaces.
Think about your comfort too—wear clothes that cover your arms and legs. This simple step helps you avoid cuts or scrapes while working outside. Have you prepared your gear before starting? Taking time to get properly equipped can make all the difference.
Removing The Old Motion Sensor
Begin by turning off the power to the outdoor light to ensure safety. Gently remove the old motion sensor by unscrewing it and disconnecting the wires. Carefully detach the sensor without damaging the wiring for easy installation of the new one.
Removing the old motion sensor from your outdoor lights might seem daunting, but with the right approach, it can be straightforward. Whether you’re upgrading or replacing a faulty sensor, knowing how to safely and efficiently remove the old unit is crucial. Imagine the satisfaction of completing this DIY task and enhancing your home’s security.Accessing The Sensor
First, ensure your safety by turning off the power at the circuit breaker. This step is non-negotiable to prevent electrical shocks. Once the power is off, use a ladder to access the motion sensor, especially if it’s mounted high. Inspect the area around the sensor. You might find screws or clips holding a protective cover in place. Remove these carefully to expose the sensor without damaging any components.Disconnecting The Wiring
Once the sensor is exposed, you’ll notice several wires connected to it. Typically, these include black, white, and ground wires. Before disconnecting, take a picture or note the wiring setup. This will be invaluable when connecting the new sensor. Use a screwdriver to loosen the wire connectors and gently pull the wires apart.Detaching The Sensor
With the wires disconnected, the sensor should be free to remove. It might be attached with screws or a mounting bracket. Unscrew or unclip the sensor from its mount, ensuring you’re holding it securely to prevent it from falling. If the sensor has been in place for a while, it might need a little coaxing to come loose. As you remove the sensor, think about how much easier this task will be next time, now that you’ve gained this experience. Are you ready to tackle the installation of the new sensor?Installing The New Motion Sensor
Installing the new motion sensor is the key step to restore your outdoor light’s function. Careful handling ensures safety and correct operation. Follow clear steps to wire, mount, and adjust the sensor for best results.
Wiring The Sensor Correctly
Turn off the power at the circuit breaker before starting. Open the sensor’s wiring compartment carefully. Match the wires by color: typically black is live, white is neutral, and green or bare is ground. Use wire connectors to join wires securely. Check all connections for tightness. Close the compartment once wiring is done.
Mounting The Sensor
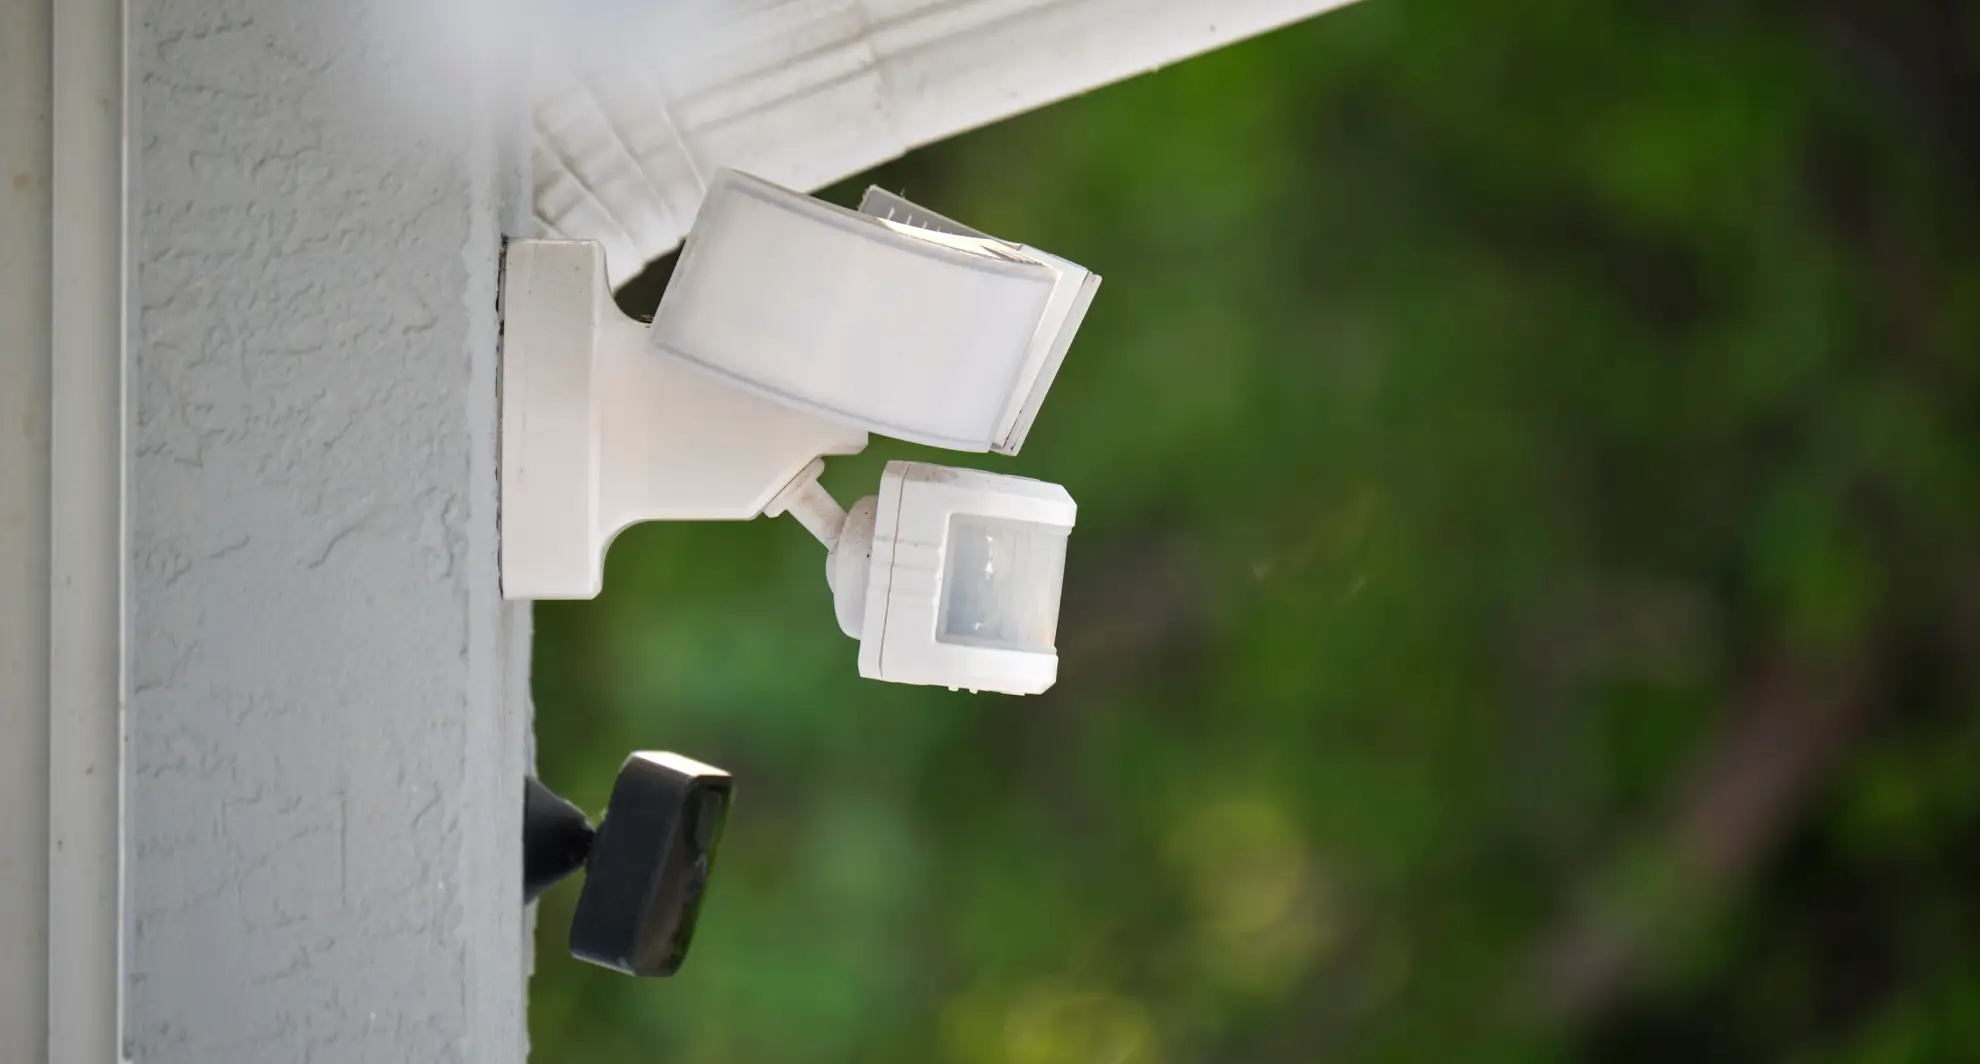
Choose a stable surface near the light fixture. The sensor should face the area you want to monitor. Use screws or brackets included with the sensor to fix it firmly. Avoid placing it near heat sources or direct sunlight. Make sure the sensor is at the recommended height, usually 6 to 10 feet.
Adjusting Sensor Settings
Locate the adjustment dials or switches on the sensor. Set the sensitivity to detect motion without false alarms. Adjust the time delay to control how long the light stays on after activation. Set the light level sensor to prevent activation during daylight. Test the settings by walking in front of the sensor and watch for proper response.
Testing The New Sensor
Testing the new motion sensor is key to ensure your outdoor lights work perfectly. This step confirms the sensor detects motion accurately and triggers the light as expected. Proper testing saves time and avoids future issues with false triggers or no response.
Powering On And Initial Check
Turn the power back on at the circuit breaker or switch. Watch the sensor’s indicator light for a quick blink or steady glow. This shows the sensor has power and is active.
Walk slowly in front of the sensor to see if the lights turn on. If the light activates, the sensor is working at a basic level. If not, check wiring or the sensor placement.
Sensitivity And Range Adjustment
Locate the sensor’s sensitivity dial or buttons. Adjust them to set how far and how easily the sensor detects motion.
- Start with medium sensitivity for testing.
- Walk across the detection area at different distances.
- Note when the light turns on and off.
If the sensor triggers too often or misses movement, tweak the sensitivity. Lower it for fewer false alarms. Increase it for better detection of distant motion.
Test multiple times at different angles. Confirm the sensor covers the intended area without blind spots.
Credit: www.youtube.com
Troubleshooting Common Issues
Outdoor motion sensor lights are great for security and convenience, but they can sometimes act up. When your motion sensor isn’t working right, it’s easy to get frustrated. Troubleshooting common issues can save you time, money, and the hassle of replacing parts unnecessarily.
Sensor Not Detecting Motion
If your sensor doesn’t pick up movement, first check if the sensor lens is clean and free from dirt or spider webs. Even a small obstruction can block the sensor’s view.
Next, confirm the detection range and angle settings. Some sensors allow you to adjust sensitivity or the coverage area—make sure these match your needs. Also, verify that the sensor isn’t facing direct sunlight or reflective surfaces, as these can interfere with its ability to detect motion.
Have you considered how temperature changes might affect your sensor? Some sensors struggle in extreme cold or heat, which can reduce their effectiveness.
Light Stays On Constantly
If your light stays on all night, the sensor might be stuck in “on” mode or receiving continuous signals. Start by checking the timer settings—sometimes the delay is set too long.
Look for moisture inside the sensor housing. Water can cause short circuits, making the sensor think motion is always present. Dry the sensor and reseal any openings to prevent future issues.
Also, inspect the wiring connections. Loose or damaged wires can cause the light to remain on without detecting motion.
False Triggers
False triggers are frustrating and can waste energy. They often happen because the sensor is too sensitive or placed near moving objects like trees or busy streets.
Adjust the sensitivity settings lower if your sensor allows it. Try repositioning the sensor to avoid detecting irrelevant motion such as passing cars or swaying branches.
Consider the time of day settings. Some sensors can ignore motion during daylight hours to prevent unnecessary activation.
Have you noticed pets or insects triggering your sensor? Small animals can cause false alarms, so think about adding a pet-immune sensor or raising the sensor’s detection height.
Maintenance Tips For Longevity
Maintaining your outdoor motion sensor is key to keeping your lights working smoothly for years. Simple care routines can prevent malfunctions and save you from frequent replacements. Let’s look at practical ways to extend your sensor’s life and ensure reliable performance.
Regular Cleaning
Dirt, dust, and spider webs can block the sensor’s lens, causing it to miss movement or trigger lights unnecessarily. Gently wipe the sensor with a soft cloth dampened with mild soap and water every few months. Avoid harsh chemicals that might damage the sensor’s surface.
Check for bugs or debris that get stuck inside the sensor housing. Clearing these out keeps the sensor’s detection sharp and responsive. Have you noticed your light flickering or turning on without reason? Cleaning might solve it faster than you expect.
Seasonal Adjustments
Outdoor conditions change with the seasons, affecting how your motion sensor behaves. In winter, cold temperatures can reduce the sensor’s sensitivity, while bright summer sunlight might cause false triggers. Adjust the sensor’s angle and sensitivity settings to match the season’s conditions.
Try lowering the sensitivity during summer to avoid lights turning on from small animals or moving leaves. In colder months, increase it slightly to detect movement more easily. Are you monitoring how your sensor reacts to different weather? Small tweaks can make a big difference.

Credit: www.amazon.ca
Frequently Asked Questions
How Do I Choose The Right Motion Sensor Replacement?
Select a sensor compatible with your light’s voltage and mounting type. Check detection range and sensitivity for your outdoor area.
What Tools Are Needed To Replace An Outdoor Motion Sensor?
You’ll need a screwdriver, voltage tester, wire strippers, and electrical tape. These tools ensure safe and efficient sensor replacement.
How Can I Safely Disconnect The Old Motion Sensor?
Turn off the power at the circuit breaker first. Use a voltage tester to confirm no electricity flows before disconnecting wires.
How Do I Test The New Motion Sensor After Installation?
Restore power and walk within the sensor’s range. Adjust settings to ensure the light activates properly when motion is detected.
Conclusion
Replacing a motion sensor for outdoor lights can be simple and quick. Follow each step carefully and take safety first. Use the right tools and check the connections well. Test the sensor after installation to make sure it works. A working motion sensor improves security and saves energy.
You can do this job yourself without needing a pro. Stay patient and focused during the process. Your outdoor lights will shine bright and respond correctly. Enjoy the added safety and convenience at your home.


