

Have you ever wanted to turn your favorite photographs into beautiful canvas art? Imagine seeing your most cherished memories or stunning images displayed proudly on your walls, adding a personal touch to any room.
You might think this is complicated or expensive, but it doesn’t have to be. You’ll discover simple, step-by-step ways to put your photographs on canvas, making your space truly unique. Keep reading, and you’ll learn how easy it is to create lasting art that speaks to you every day.
Choosing The Right Photo
Choosing a clear, high-quality photo ensures your canvas print looks sharp and vibrant. Bright images with good lighting work best for lasting results. Select photos that have strong details and simple backgrounds to enhance the final artwork.
Choosing the Right Photo Choosing the right photo is key for a stunning canvas. The right image can turn a simple room into an art gallery. It sets the mood and tells a story. Each photo carries its own emotion. Ensure the image is worthy of display.Selecting High-resolution Images
High-resolution images are crucial for canvas prints. A sharp, clear photo ensures no blurry spots. Check the image’s pixel count. More pixels mean better quality. Use at least 300 DPI for clear prints. This guarantees the photo looks detailed on canvas.Considering Image Composition
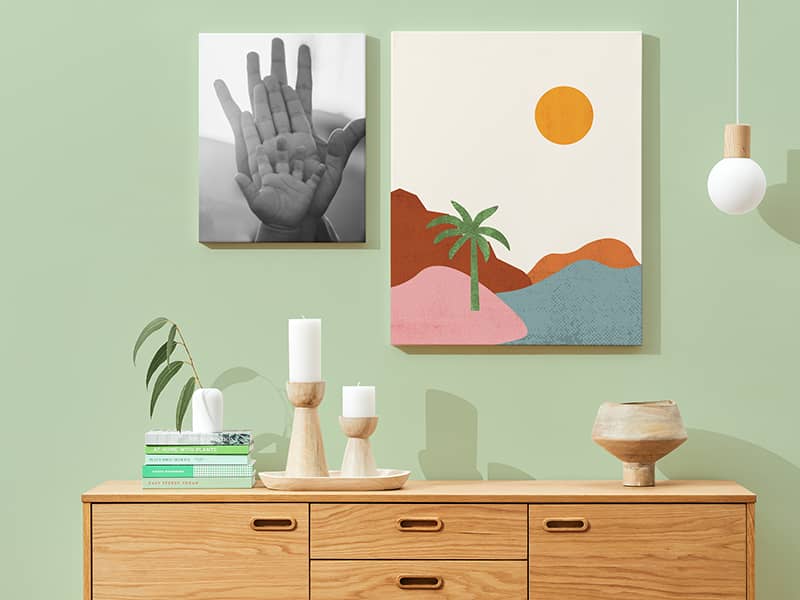
Image composition affects the canvas’s impact. Balance elements within the frame. Use the rule of thirds for a pleasing layout. Avoid cluttered backgrounds. Focus on the subject. This keeps the viewer’s attention. Simplicity often enhances beauty.Matching Photo Style With Canvas Size
Photo style should match the canvas size. Big canvases suit landscape shots. They capture wide scenes. Portraits fit smaller sizes. Consider the room’s space, too. A large photo dominates small rooms. Choose wisely for harmony. This enhances the display’s visual appeal.Credit: www.canvaspop.com
Preparing The Photo For Printing
Preparing your photo before printing it on canvas is crucial to ensure the final piece looks sharp and vibrant. It’s not just about picking a nice picture; it’s about making sure that every detail pops and the colors speak to the mood you want to convey. Taking time to properly prepare your image saves you from disappointment and costly reprints.
Editing And Enhancing The Image
Start by cleaning up your photo. Remove any dust spots, blemishes, or distractions that could draw attention away from the main subject. Using tools like Photoshop or free alternatives such as GIMP, you can easily fix small imperfections.
Enhancing your image means sharpening the details and smoothing out rough edges. This step is especially important if your photo was taken in low light or with a smartphone camera. Have you noticed how a subtle sharpening filter can bring life back to a slightly blurry photo?
Optimizing Colors And Contrast
Colors on your screen often look different once printed, so adjusting them is essential. Increase the contrast slightly to prevent your canvas from looking flat. Colors should feel balanced—not too saturated or washed out.
Try softening overly bright areas without losing detail. If you want a warm, inviting photo, tweak the color temperature toward yellow and orange tones. Is your image too cool or too neutral? Small color shifts can make a big difference on canvas.
Cropping And Resizing Tips
Before printing, crop your photo to fit the canvas size without cutting out important parts. Remember that canvas prints often wrap around wooden frames, so keep key elements away from the edges.
Resizing your image must maintain a high resolution—ideally 300 DPI (dots per inch) or higher. Low-resolution images become pixelated when enlarged. How often have you been surprised by how blurry a large print can look? Avoid this by checking image size and resolution carefully.
Use these tips to give your photo the best chance to shine on canvas. Your final print will thank you for the effort.
Selecting Canvas Material
Choosing the right canvas material is key to making your photo look its best on canvas. The canvas affects color, detail, and overall feel. Different materials offer unique qualities that suit various styles and budgets. This guide helps you understand canvas options to pick the perfect one.
Types Of Canvas Fabrics
Canvas fabrics vary mainly between cotton and polyester. Cotton canvas feels natural and offers a traditional look. It soaks ink well, giving rich colors. Polyester canvas is durable and resists moisture. It keeps colors bright longer and is less prone to shrinking. Some canvases combine both fabrics for balanced strength and texture.
Matte Vs Glossy Finishes
Matte finish provides a soft, glare-free look. It suits photos with subtle tones or vintage style. Glossy finish adds shine and vibrant colors. It works well for photos with bold contrasts and bright areas. The finish affects how light reflects off the surface and how the image feels.
Canvas Thickness And Texture
Canvas thickness impacts durability and presentation. Thicker canvas gives a sturdy feel and lasts longer. Thin canvas is lighter but can wrinkle easily. Texture ranges from smooth to rough. Smooth canvas shows fine details clearly. Rough texture adds artistic depth but may soften details. Choose based on the photo style and display setting.
Credit: www.canva.com
Printing Methods
Printing photographs on canvas requires choosing the right printing method. This choice affects the final look, durability, and color quality of your canvas print. Different techniques suit different needs and budgets. Understanding how each printing method works helps you select the best option for your photo project.
Inkjet Printing Process
Inkjet printing uses tiny nozzles to spray ink directly onto the canvas. It produces sharp images with vibrant colors. This method works well for detailed photos and artwork. The ink is water-resistant, but a protective coating helps prevent fading. Inkjet prints offer a wide color range and smooth gradients.
Dye Sublimation Technique
Dye sublimation transfers dye onto a coated canvas using heat. The heat turns the dye into gas, bonding it with the canvas fibers. This method creates durable prints with vivid colors. The print feels like part of the canvas, not just on top. Dye sublimation is great for bright, long-lasting images.
Choosing Professional Printing Services
Professional services use high-quality printers and materials. They ensure color accuracy and sharp details in your prints. Experts prepare your photo files for the best results. Many services offer proofing to check colors before printing. Choose a service with good reviews and experience in canvas printing.
Stretching The Canvas
Stretching the canvas is a crucial step to transform your printed photograph into a gallery-worthy piece. This process ensures your image is taut and smooth, ready to be displayed or gifted. If done right, it can dramatically enhance the overall appearance and durability of your canvas print.
Tools Needed For Stretching
- Canvas stretcher bars:These wooden frames provide the structure to stretch your canvas.
- Staple gun or tacks:Use these to secure the canvas onto the stretcher bars firmly.
- Canvas pliers:These help you grip and pull the canvas tightly without damaging it.
- Scissors or a craft knife:For trimming excess canvas after stretching.
- Measuring tape or ruler:To ensure even alignment and proper sizing.
Step-by-step Stretching Guide
Start by assembling your stretcher bars into a frame. Lay your canvas face down on a clean surface, then place the frame on top.
Use canvas pliers to grip one side of the canvas and pull it over the frame edge tightly. Secure this side with staples or tacks in the center of the bar, then move to the opposite side and repeat.
Next, work on the remaining sides, pulling and stapling the canvas evenly. Pay attention to the corners; fold them neatly before securing to avoid bulkiness. Trim any extra fabric for a clean finish.
Avoiding Wrinkles And Bubbles
Wrinkles and bubbles can ruin the look of your stretched canvas. To prevent this, always pull the canvas tight but don’t overstretch it—it should feel firm but not strained.
Staple the canvas starting from the center of each side, then move outward. This technique distributes tension evenly, reducing the chance of creases forming.
If small bubbles appear after stretching, gently smooth them out by pressing from the center toward the edges. Have you noticed how a little extra care here turns a good canvas into a professional-looking masterpiece?
Framing And Finishing
Framing and finishing are key to making canvas photographs look stunning. These steps protect your artwork and enhance its style. Proper finishing helps the canvas last longer and keeps colors bright.
Choosing the right frame, adding protective coatings, and hanging your canvas correctly all matter. These details bring out the best in your photo print and make it ready for display.
Frame Options For Canvas Prints
Canvas prints often come with a few framing choices. Some popular options include:
- Floating Frames:These frames surround the canvas without covering edges. They give a modern, clean look.
- Gallery Wrap:The canvas is stretched over thick wooden bars. The image wraps around the sides, no frame needed.
- Traditional Frames:Classic wood or metal frames add elegance and protect edges.
Pick a frame that fits your room’s style and the photo’s vibe.
Adding Protective Coatings
Protective coatings shield your canvas from dust and sunlight. They prevent fading and damage over time. Common types include:
- UV-Resistant Varnish:Blocks harmful rays to keep colors bright.
- Matte or Glossy Finish:Matte reduces glare, glossy adds shine.
- Water-Resistant Sealant:Guards against moisture and stains.
Apply coatings carefully with a clean brush or spray for best results.
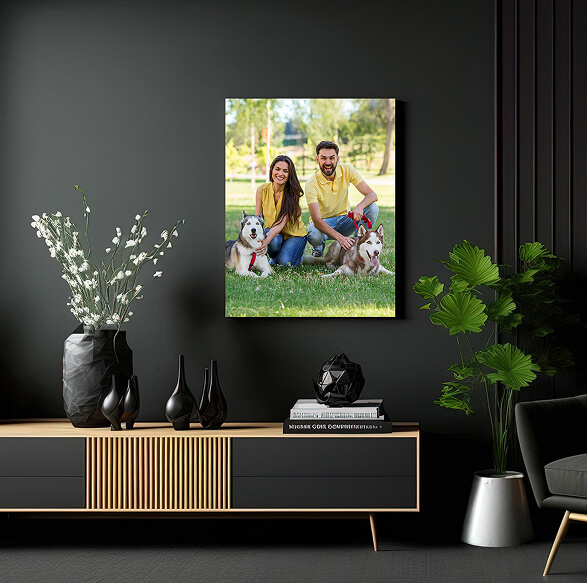
Hanging Tips For Display
Proper hanging ensures your canvas looks great and stays secure. Consider these tips:
- Use strong hooks or anchors suited for your wall type.
- Hang at eye level for easy viewing.
- Keep canvas away from direct sunlight and damp areas.
- Use a level to keep the canvas straight.
Well-hung canvas makes your photo the room’s focal point.
Caring For Canvas Prints
Caring for canvas prints helps keep your photos vibrant and fresh. Proper care extends the life of your artwork. It prevents damage and maintains its beauty. Simple habits protect your canvas from wear and tear. Follow these tips to enjoy your prints longer.
Cleaning And Maintenance
Dust your canvas regularly with a soft, dry cloth. Avoid using water or cleaning sprays. If needed, gently wipe with a slightly damp microfiber cloth. Do not scrub or use harsh chemicals. Keep the surface dry to prevent damage. Check edges and corners for dirt buildup. Use a soft brush to clean hard-to-reach areas.
Avoiding Sunlight Damage
Place your canvas away from direct sunlight. UV rays cause colors to fade quickly. Use curtains or blinds to reduce light exposure. Rotate prints occasionally to prevent uneven fading. Consider UV-protective glass if framing your canvas. Avoid placing prints near heat sources or vents. Cooler, shaded areas help preserve colors best.
Storage Recommendations
Store canvas prints in a cool, dry place. Keep them upright to avoid pressure marks. Wrap prints in acid-free paper for protection. Avoid plastic covers that trap moisture. Store away from damp or humid areas. Use cardboard or foam boards for extra support. Label stored prints to find them easily later.
Credit: www.canvaschamp.com
Frequently Asked Questions
How Do I Transfer Photos Onto Canvas?
To transfer photos onto canvas, print your photo on transfer paper. Then, place it face down on the canvas. Use an iron to press it firmly. Carefully peel the paper away, leaving the image on the canvas. Finish by sealing with a clear acrylic spray.
What Materials Are Needed To Print Photos On Canvas?
You need a canvas, photo transfer paper, an inkjet printer, and an iron. Also, have scissors, a ruler, and clear acrylic spray for sealing. These materials help create a durable and vibrant photo canvas print at home.
Can I Use Any Photo For Canvas Printing?
Yes, but high-resolution photos work best for canvas printing. Low-resolution images may appear blurry or pixelated. Choose photos with good lighting and sharp details. This ensures a clear, attractive print on your canvas.
How Do I Protect A Photo Printed On Canvas?
Protect your photo canvas by applying a clear acrylic sealant spray. This adds a protective layer against moisture and UV light. Also, avoid direct sunlight and humid areas to prevent fading or damage. Proper care extends the canvas’s lifespan.
Conclusion
Creating canvas prints from your photos adds charm to any space. Choose the right photo and size to match your style. Use quality materials for a lasting and clear image. Stretching the canvas carefully keeps the picture smooth and neat.
Personal touches make your artwork unique and special. Enjoy the process and display your memories proudly on canvas. This simple project brings your favorite moments to life beautifully.


