
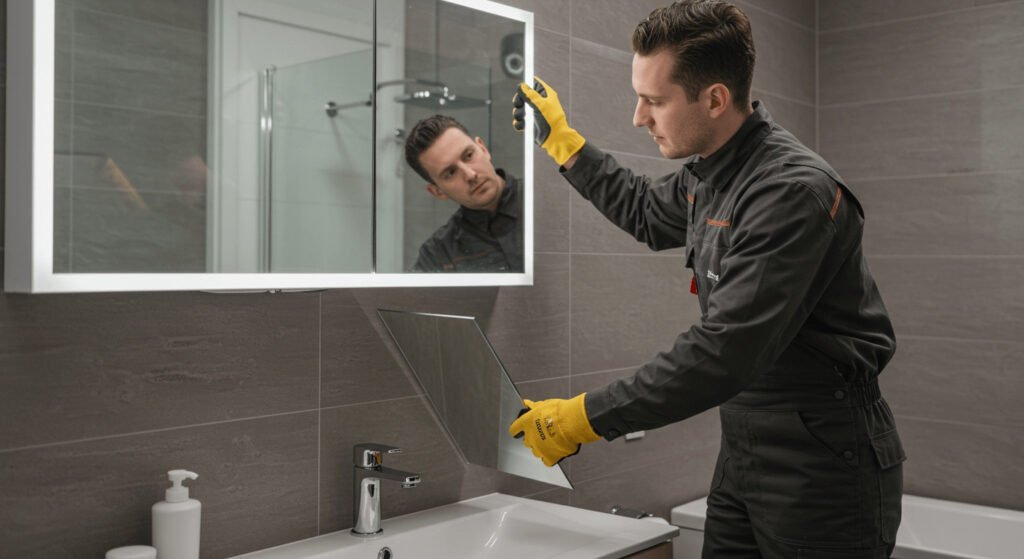
Removing a bathroom mirror from the wall might seem tricky, but it doesn’t have to be. Whether you’re updating your space or fixing a problem, knowing the right steps can save you time, money, and frustration.
In this guide, you’ll discover simple, clear instructions that make the process safe and easy. Ready to learn how to remove your bathroom mirror without damage? Keep reading—you’re closer than you think to mastering this handy skill.
Credit: bfymirror.com
Tools You’ll Need
Removing a bathroom mirror requires the right tools to keep the process safe and smooth. Having proper equipment helps avoid damage to the wall or glass. Gather these tools before starting to make the job easier and faster.
Safety Gloves
Wear safety gloves to protect your hands from sharp edges or broken glass. Gloves also improve your grip while handling the mirror.
Flat Pry Bar Or Putty Knife
Use a flat pry bar or a sturdy putty knife to gently separate the mirror from the wall. These tools help loosen adhesive or clips holding the mirror in place.
Suction Cups
Suction cups give a secure hold on the mirror surface. They reduce the risk of dropping the mirror while removing it from the wall.
Utility Knife
A utility knife cuts through caulk or paint sealing the mirror edges. This step prevents damage to the wall paint or drywall.
Tape
Apply strong tape across the mirror surface to hold broken pieces if the glass cracks. It keeps the mirror safer to handle during removal.

Credit: www.youtube.com
Preparing The Area
Clear the space around the mirror to avoid accidents and protect your belongings. Cover surfaces with a drop cloth to catch dust and debris. Gather necessary tools nearby to work smoothly and safely.
Before you dive into the process of removing a bathroom mirror from the wall, it’s crucial to prepare the area adequately. This step ensures not only your safety but also the protection of your bathroom’s fixtures and decor. A well-prepared space can make the task more efficient and prevent accidental damage.Clear The Bathroom
Start by removing any items that could obstruct your workspace. Take out toiletries, decorative items, and any portable furniture. This will give you ample room to maneuver and reduce the risk of knocking things over. Consider temporarily relocating rugs or mats. These can become tripping hazards or catch debris during the mirror removal process. A clutter-free bathroom simplifies the task and helps maintain focus.Protect Surroundings
Safeguarding your bathroom’s surfaces is essential. Lay down a drop cloth or old towels beneath the mirror to catch any falling debris. This step is particularly helpful if the mirror shatters unexpectedly. Cover nearby fixtures and countertops with protective materials. You might use painter’s tape to secure coverings in place. This prevents scratches and keeps your bathroom looking pristine. Taking these preparation steps seriously can save you time and frustration. Have you ever had to fix something unexpected during a home project because you skipped prep? It’s easier to prevent problems now than to fix them later.Identifying Mirror Attachment
Before you start removing your bathroom mirror, it’s important to figure out how it’s attached to the wall. Identifying the attachment method will save you time and prevent damage to your wall or mirror. Sometimes, mirrors are held in place by simple clips, while other times they are glued directly to the surface.
Check For Clips Or Brackets
Look closely around the edges of the mirror. Are there small metal or plastic clips gripping it? These clips usually hold the mirror securely but can be removed carefully with a screwdriver or a flat tool.
Sometimes brackets are hidden behind the mirror or along the top and bottom edges. You might need to gently pry the mirror forward to see if any brackets are supporting it. Knowing this can help you avoid accidentally breaking the glass.
Look For Adhesive Or Glue
If you don’t see any clips or brackets, your mirror might be glued to the wall. Adhesive can be tricky because it bonds the mirror tightly and removing it requires patience.
Run your hand gently around the edges and feel for any bumps or uneven surfaces where glue might be applied. Mirrors glued to drywall often need a special tool, like a wire or a putty knife, to separate them without cracking.
Have you ever tried pulling a mirror off the wall without checking how it’s attached? It’s easy to cause damage if you don’t know what’s holding it in place. Take your time to inspect, and you’ll make the process much smoother.
Credit: bfymirror.com
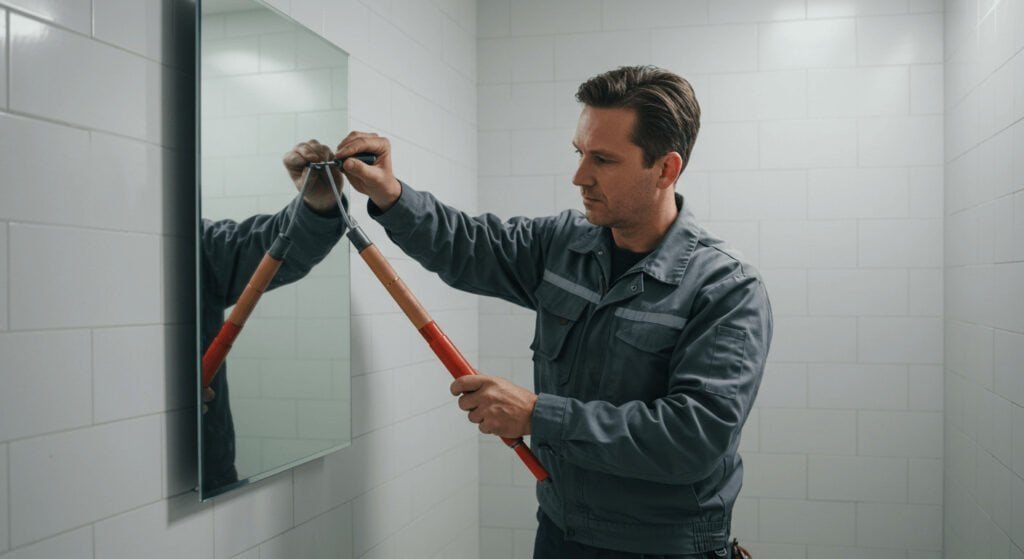
Removing Mirrors With Clips
Removing a bathroom mirror held by clips is simple with the right care. These clips secure the mirror, but they are easy to loosen. Taking your time helps avoid damage to the wall or mirror.
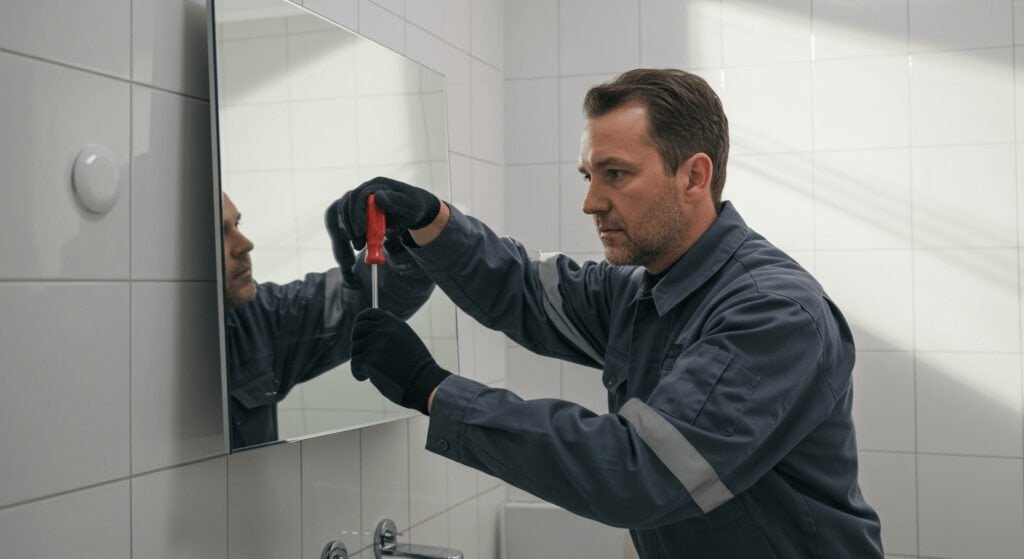
Loosen Clips Carefully
Start by inspecting the clips around the mirror. Use a flathead screwdriver to gently pry each clip away from the mirror edge. Do this slowly to prevent cracking the glass. Keep the mirror steady as you work on each clip. Place a soft cloth or padding under the mirror to catch it if it slips.
Lift The Mirror Out
Once all clips are loose, support the mirror with both hands. Lift it straight up and away from the wall. Move slowly to avoid hitting anything nearby. If the mirror feels stuck, check for hidden clips or adhesive. Set the mirror down on a soft surface to keep it safe.
Removing Mirrors With Adhesive
Removing a bathroom mirror that is glued to the wall requires care and the right approach. Adhesive holds the mirror firmly, so you need to soften it first. This makes the mirror easier to remove without damaging the wall or the glass. Follow these simple steps to safely detach your mirror.
Soften Adhesive
Heat helps to loosen the adhesive under the mirror. Use a hair dryer or heat gun on a low setting. Move the heat source slowly across the mirror edges. Keep the heat steady for several minutes. This softens the glue and reduces its grip. Avoid overheating to prevent cracking the mirror.
Use A Wire Or String
Take a strong wire or dental floss to cut through the softened glue. Slide the wire behind the mirror edge carefully. Use a gentle sawing motion to separate the adhesive. This technique works well on large mirrors. It minimizes pressure and helps prevent cracks.
Separate Mirror From Wall
After cutting through the adhesive, gently pull the mirror away from the wall. Support the mirror with both hands to avoid dropping it. If the mirror resists, apply more heat and try again. Take your time to avoid damaging the wall surface. Place the mirror on a soft surface once removed.
Handling Large Or Heavy Mirrors
Handling large or heavy bathroom mirrors requires extra care to avoid damage and injury. These mirrors can be bulky and awkward to manage alone, so preparing yourself properly is key. Taking the right approach will save you frustration and keep both you and your mirror safe.
Get Assistance
Never try to remove a large mirror by yourself. Ask a friend or family member to help you handle the weight and size. Having a second pair of hands makes the process smoother and reduces the risk of dropping or cracking the glass.
Think about the space around your mirror. Is there enough room to safely maneuver it once detached? Extra help can also be useful for clearing the area and guiding the mirror away from walls and furniture.
Use Proper Lifting Techniques
Lift with your legs, not your back. Keep your feet shoulder-width apart for better balance. Bend at the knees while keeping your back straight to avoid strain.
Hold the mirror close to your body to maintain control. Avoid twisting your torso while carrying it; instead, turn your whole body by moving your feet. This reduces the chance of injury and keeps the mirror stable.
Have you planned where to set the mirror down safely once it’s off the wall? Prepare a soft, flat surface ahead of time to rest the mirror and prevent scratches or cracks.
Cleaning Residue And Wall Repair
After successfully removing your bathroom mirror, you’ll likely face sticky adhesive and minor wall damage. Tackling these issues promptly keeps your bathroom looking fresh and prevents further wear. Let’s focus on clearing leftover adhesive and fixing any wall imperfections.
Remove Leftover Adhesive
Sticky residue can be stubborn, but patience and the right tools make a difference. Start by gently scraping off large glue chunks with a plastic putty knife to avoid wall scratches.
If residue remains, dab a cloth with rubbing alcohol or an adhesive remover and gently rub the area. Test a small spot first to ensure it won’t damage your wall paint.
For extra-tough glue, try applying a warm, damp cloth for a few minutes to soften the adhesive before scraping again. Have you noticed how some adhesives soften more quickly with heat? It’s a handy trick to save time.
Patch Wall Damage
Small holes or dents are common after mirror removal, especially if the mirror was secured with screws. Use lightweight spackling paste to fill these imperfections; it’s easy to apply and dries quickly.
Apply the spackle with a putty knife, smoothing it so it’s flush with the wall surface. Once dry, sand the area lightly with fine-grit sandpaper to create a smooth finish.
Don’t forget to wipe away dust before repainting. Choosing a paint color that matches your existing wall can make repairs nearly invisible. What’s one thing you’ve learned about wall repair that surprised you?
Safety Tips Throughout The Process
Removing a bathroom mirror can be tricky and even risky without proper safety measures. You want to protect yourself and avoid damaging the wall or the mirror. Paying close attention to safety throughout the process not only keeps you injury-free but also makes the task smoother and less stressful.
Wear Protective Gear
Always put on safety goggles to shield your eyes from glass shards or dust. Thick gloves are essential to protect your hands from sharp edges if the mirror breaks unexpectedly. Consider wearing long sleeves to guard your arms against scratches or cuts.
Prepare The Work Area
Clear the space around the mirror so you have room to move freely. Lay down a drop cloth or old blanket on the floor to catch any falling debris. Remove any fragile items nearby to prevent accidents or damage during removal.
Check For Hidden Fasteners And Wiring
Look carefully for screws, clips, or adhesive strips holding the mirror in place before you start. Use a stud finder to detect any electrical wiring behind the wall to avoid shocks. Have a helper assist you by holding the mirror steady as you inspect it.
Use The Right Tools
Using improper tools can lead to accidents or damage. A putty knife, utility knife, or screwdriver can help loosen the mirror gently without breaking it. Keep tools within reach but out of the way to prevent tripping or dropping them.
Take Your Time And Stay Focused
Rushing increases the chance of mistakes or injuries. Move slowly and deliberately, especially when prying or lifting the mirror. Pause to reassess your approach if the mirror feels stuck or if you encounter resistance.
Frequently Asked Questions
How Do I Safely Remove A Bathroom Mirror?
Start by protecting the area with a drop cloth. Use a utility knife to cut any caulk or adhesive. Carefully pry the mirror off using a putty knife or pry bar. Always wear gloves and safety glasses to avoid injury.
What Tools Are Needed To Remove A Bathroom Mirror?
You will need a utility knife, putty knife, pry bar, gloves, safety glasses, and a drop cloth. Optional tools include a heat gun to soften adhesive and suction cups for handling large mirrors safely.
Can I Remove A Bathroom Mirror Without Damaging The Wall?
Yes, by gently cutting the caulk and prying the mirror slowly. Avoid forcing the mirror off quickly. Use proper tools and take your time to minimize wall damage.
How Do I Handle Adhesive When Removing A Bathroom Mirror?
Use a utility knife to cut through caulk and adhesive gently. For stubborn adhesive, apply heat with a heat gun to soften it before prying. Work slowly to avoid damaging the wall or mirror.
Conclusion
Removing a bathroom mirror from the wall can be simple and safe. Take your time and follow the steps carefully. Use the right tools to avoid damage to the wall or glass. Always protect your hands and eyes during the process.
After removal, clean the area well before installing a new mirror. This guide helps you save time and avoid mistakes. Now, you can handle mirror removal with confidence and ease.


