
Removing a mirror from your bathroom wall might seem tricky, but it doesn’t have to be. Whether you want to replace it with a new style or simply need to fix something behind it, knowing the right steps can save you time and avoid damage.
In this guide, you’ll discover simple, clear instructions that anyone can follow. By the end, you’ll feel confident handling the job yourself—no stress, no mess. Ready to get started? Let’s dive into how you can safely and easily remove your bathroom mirror.

Credit: www.youtube.com
Tools And Materials Needed
Removing a bathroom mirror needs the right tools and materials. These items help you work safely and avoid damage. Preparing everything before starting saves time and effort. Use tools that are easy to handle and fit the job.
Basic Hand Tools
- Screwdriver – for removing screws that hold the mirror
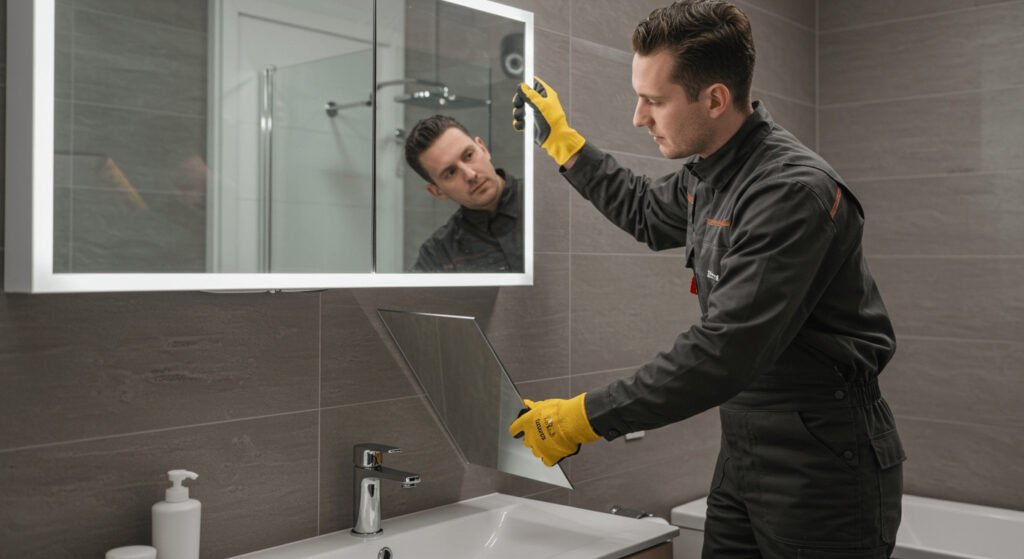
- Putty knife – to gently pry the mirror away from the wall
- Utility knife – to cut through caulk or adhesive
- Measuring tape – to check mirror size and placement
Safety Equipment
- Gloves – protect your hands from sharp edges
- Safety goggles – shield eyes from glass shards or dust
- Mask – avoid breathing in dust or mold particles
Additional Materials
- Plastic sheeting or drop cloth – to cover surfaces and catch debris
- Painter’s tape – to secure the mirror and prevent cracking
- Adhesive remover – helps clean leftover glue from the wall
- Bucket and sponge – for cleaning the wall after removal
Credit: bfymirror.com
Prepare The Bathroom Area
Clear the bathroom counter and floor to avoid accidents. Cover surfaces with a cloth to catch falling debris. Make sure the area is dry and well-lit for safe work.
Removing a mirror from your bathroom wall might seem daunting at first, but a little preparation goes a long way. Before you dive into the actual removal process, it’s crucial to prep the bathroom area. This ensures not only your safety but also the protection of your bathroom fixtures and surfaces. Imagine trying to juggle mirror removal while tripping over your bathroom essentials or worrying about damaging your countertop. Let’s make sure everything is in place for a smooth operation.Clear The Surrounding Space
Start by clearing out all the items around the mirror. Take down any wall decorations or shelves that might be in the way. Move toiletries, toothbrushes, and any other personal items to another room. This creates a clutter-free zone, reducing the risk of accidents. It also gives you more space to work comfortably. Think of it as creating your own little workshop in the bathroom.Protect Surfaces And Fixtures
Cover the countertop and sink with a thick towel or an old blanket. This helps cushion any accidental drops. No one wants to deal with chipped tiles or scratched surfaces. Use painter’s tape to secure the towel, ensuring it doesn’t slip off during the process. If your mirror is large, consider using a drop cloth on the floor. This adds an extra layer of protection for your tiles. By taking these simple steps, you’re setting the stage for a hassle-free mirror removal. Have you ever underestimated the prep work for a project and wished you hadn’t? This time, let’s get it right from the start.Identify The Mirror Mounting Type
Identifying the mirror mounting type is essential before removal. Different mirrors attach to walls in various ways. Knowing the mounting style helps avoid damage to the wall or mirror. It also guides the tools and techniques needed for removal.
Check For Clips Or Brackets
Look closely around the edges of the mirror. Many bathroom mirrors use metal or plastic clips. These clips hold the mirror firmly against the wall. Some mirrors have brackets at the top or bottom. Clips and brackets usually allow easy removal by loosening screws or sliding the mirror out.
Look For Adhesive Or Glue
Some mirrors stick directly to the wall using adhesive or glue. These mirrors do not have visible clips or brackets. Adhesive mirrors require careful prying to avoid cracking. The glue may soften with heat or special solvent. Identifying glue helps prepare for gentle, slow removal.
Remove Mirrors With Clips Or Brackets
Removing a bathroom mirror that is held by clips or brackets is straightforward if you know how to handle the hardware safely. These mirrors often feel secure but can be gently freed without damaging the wall or the mirror itself. You just need the right tools and a careful approach.
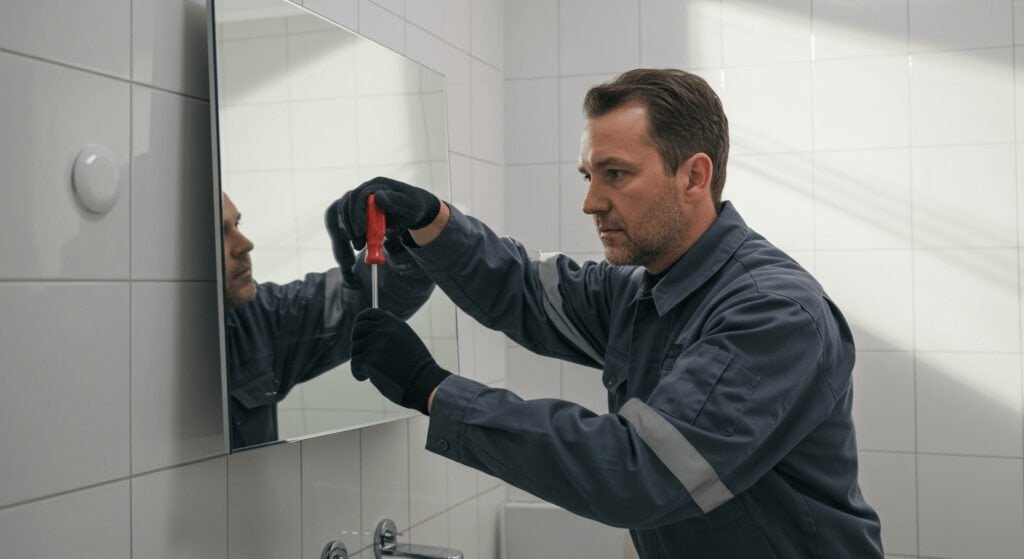
Loosen And Remove Clips
Start by examining the clips or brackets holding the mirror. Most clips are either screwed into the wall or snapped around the mirror edges.
- If screws secure the clips, grab a screwdriver that fits well to avoid stripping them.
- Loosen each screw slowly and keep them in a small container so you don’t lose any parts.
- For snap-on clips, gently pry them away using a flathead screwdriver or a putty knife, applying even pressure to avoid cracking the mirror.
Don’t rush this step. I once tried to yank a clip off too quickly and ended up chipping the mirror’s corner. Taking your time here saves you from costly mistakes.
Lift The Mirror Off The Wall
After all clips or brackets are removed, the mirror should be free to lift off. Use both hands and support the bottom edge firmly.
Lean the mirror forward slightly to clear any remaining clips or nails, then lift it away from the wall carefully. If the mirror feels stuck, double-check that no clips are still holding it.
Have a soft surface ready nearby, like a blanket or foam, to place the mirror down immediately. This protects it from scratches or cracks once it’s off the wall.
Remove Mirrors With Adhesive
Removing a bathroom mirror stuck with adhesive can feel tricky, but it’s manageable with the right approach. Adhesive bonds can be strong, so you’ll need patience and the right tools to avoid damaging your wall or the mirror. Here’s how to carefully detach a mirror that’s glued to your bathroom wall.
Heat The Adhesive
Heating the adhesive softens its grip, making the mirror easier to remove. Use a hairdryer or heat gun on a low setting and move it evenly across the mirror edges. Be cautious not to overheat; too much heat can crack the glass or damage paint on the wall.
Warm adhesive becomes more flexible, which means less force is needed to pry the mirror off. This step often surprises people—simple heat can save you hours of struggling. Have you tried warming up stubborn glue before? It really makes a difference.
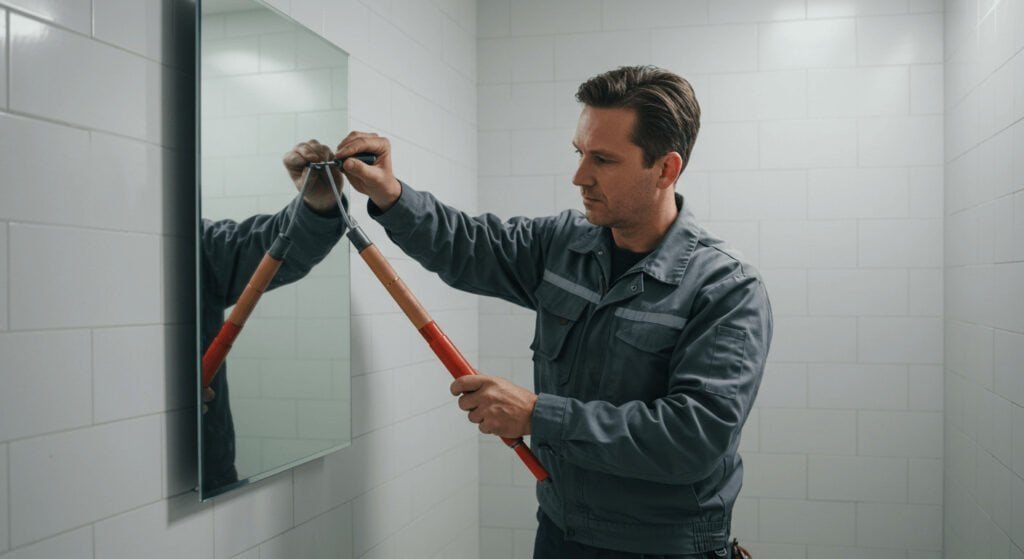
Use A Putty Knife Or Wire
After heating, slide a putty knife or a strong wire behind the mirror to separate it from the wall. Start at one corner and gently work your way along the edges. If you use wire, try a gentle sawing motion to cut through the adhesive layer.
Sharp tools can scratch the wall or break the glass, so always go slow and steady. You want to create a gap without cracking the mirror. Do you have a putty knife handy? If not, a thin plastic spatula can work as a safer alternative.
Slowly Pry Off The Mirror
Once the adhesive starts to loosen, carefully pry the mirror away from the wall. Use gentle, even pressure to avoid sudden breaks. If the mirror resists, apply more heat and keep working the putty knife or wire behind it.
Patience is key here. Rushing can lead to shattered glass and wall damage. Imagine the cleanup if the mirror breaks—would you risk it? Take your time and let the adhesive give way gradually.
Handle Broken Or Stuck Mirrors
Handling broken or stuck bathroom mirrors needs care and patience. Safety must come first to avoid injuries. Removing the mirror in small pieces helps control the process. This approach keeps the wall intact and reduces mess.
Wear Safety Gear
Wear thick gloves to protect your hands from sharp glass. Safety goggles shield your eyes from flying shards. Long sleeves and pants protect your skin from cuts. Use a dust mask to avoid breathing in glass dust. Prepare a sturdy surface nearby to place broken pieces safely.
Remove In Sections
Start by loosening the edges gently with a putty knife or flat tool. Work slowly to avoid cracking the entire mirror at once. Break off small sections carefully, one at a time. Place each piece on a soft cloth or cardboard. Keep checking for loose glass behind the mirror. Clean any adhesive residue left on the wall after removing all pieces.
Clean The Wall After Removal
After removing a mirror from your bathroom wall, the next crucial step is cleaning the surface thoroughly. This ensures the wall is ready for repainting or installing a new mirror without any bumps or stains. Leaving leftover adhesive or wall damage unattended can affect the appearance and durability of any future installation.
Remove Residual Adhesive
Adhesive residue can be stubborn, but removing it completely is necessary to achieve a smooth wall. Use a plastic scraper or an old credit card to gently lift off as much glue as possible without damaging the paint or drywall.
If some adhesive remains, apply a small amount of adhesive remover or rubbing alcohol to a cloth and rub the area gently. Be patient—rushing this step might cause more damage to the wall surface.
Have you noticed how different adhesives respond to various removers? Test a small hidden spot first to avoid discoloration or peeling paint.
Repair Wall Damage
Inspect the wall carefully for any holes, cracks, or dents left behind after removing the mirror and adhesive. Filling these imperfections with spackle or a lightweight wall filler can restore a smooth surface.
Use a putty knife to apply the filler evenly and let it dry completely before sanding it down to blend with the surrounding wall. A fine-grit sandpaper works best to avoid scratching the paint around the repair.
Have you considered how minor repairs can transform your bathroom’s look? Even small holes can become a distraction if left untreated, so take the time to fix them well.
Credit: bfymirror.com
Dispose Of The Old Mirror Safely
Disposing of an old bathroom mirror needs careful handling. Mirrors contain glass that can break easily and cause injury. Proper disposal protects your safety and the environment. Follow safe steps to discard the mirror without risk.
Prepare The Mirror For Disposal
Wrap the mirror in thick blankets or bubble wrap. Secure the wrapping with strong tape. This prevents glass shards from spreading if broken. Label the package as “Fragile” to alert handlers.
Check Local Disposal Rules
Many places have rules for glass disposal. Visit your city or town website for guidelines. Some areas require special drop-off points for glass. Others allow curbside pickup with specific instructions.
Use Protective Gear
Wear gloves to protect your hands from sharp edges. Safety glasses shield your eyes from shards. Long sleeves and pants add extra protection. Handle the mirror carefully to avoid accidents.
Recycle If Possible
Some recycling centers accept mirrors and glass items. Call your local center to confirm. Recycling reduces waste and helps the environment. If recycling is not available, follow safe trash disposal methods.
Dispose Of In Small Pieces
If breaking the mirror is needed, do it carefully. Wrap the mirror first, then break inside the wrapping. Place broken pieces in a strong box or container. Seal it tightly before disposal.
Tips For Installing A New Mirror
Installing a new mirror in the bathroom can refresh the space instantly. Proper installation keeps the mirror secure and safe. Follow simple tips to ensure the mirror fits well and looks great.
Choose The Right Mirror Size And Style
Select a mirror size that matches your wall and vanity. Consider the style of your bathroom. A modern or classic mirror should blend with the decor. Measure the wall space carefully before buying.
Prepare The Wall Surface
Clean the wall thoroughly to remove dust and grease. A smooth surface helps the mirror stick better. Repair any holes or cracks. Use a level to mark the mirror position for accurate placement.
Use Proper Mounting Hardware
Choose mounting hardware suitable for your wall type. Drywall anchors work for drywall walls. For tile or concrete walls, use special screws or plugs. Follow the mirror manufacturer’s instructions for hardware recommendations.
Check For Studs Behind The Wall
Use a stud finder to locate wall studs. Mounting the mirror on studs provides stronger support. If studs are not available, use heavy-duty anchors. This prevents the mirror from falling or shifting.
Secure The Mirror Safely
Ask for help to hold the mirror while installing. Tighten screws evenly to avoid cracks. Avoid over-tightening to protect the mirror frame. Double-check the mirror is level and stable before finishing.
Seal Edges To Prevent Moisture Damage
Apply clear silicone sealant around the mirror edges. This stops water from seeping behind the mirror. It helps prevent mold and damage to the wall. Allow the sealant to dry completely before using the bathroom.
Frequently Asked Questions
How Do I Safely Remove A Bathroom Mirror?
Start by protecting the area with drop cloths. Use a utility knife to cut through any caulking. Gently pry the mirror off using a putty knife. Always wear gloves and safety glasses to avoid injury.
What Tools Are Needed To Remove A Bathroom Mirror?
You will need a utility knife, putty knife, gloves, safety glasses, and possibly a pry bar. These tools help cut caulk and safely detach the mirror without damaging the wall.
Can I Remove A Mirror Glued To The Wall?
Yes, but carefully. Cut around the edges with a utility knife. Use a heat gun to soften the glue if needed. Slowly pry the mirror off to avoid damage or injury.
How To Avoid Wall Damage When Removing A Mirror?
Cut all caulking and adhesive thoroughly before prying. Use gentle, steady pressure when removing the mirror. Protect the wall with painter’s tape and a putty knife to minimize damage.
Conclusion
Removing a bathroom mirror can be simple with the right steps. Take your time and work carefully to avoid damage. Use the proper tools and protect yourself during the process. Clean the wall after removal to prepare for the next step.
Following these tips helps keep your bathroom safe and neat. Now, you can update your space with confidence and ease.


