
Is your LED desk lamp cable damaged or not working right? You don’t have to replace the whole lamp just yet.
Fixing the cable yourself can save you time and money. You’ll learn simple and effective steps to repair your LED desk lamp cable safely. By the end, you’ll feel confident handling the problem and bringing your lamp back to life.
Keep reading to discover easy solutions that anyone can do.
Common Cable Issues
LED desk lamp cables often face issues that can disrupt your workflow or study time. Understanding common cable problems helps you spot them early and fix them before they cause bigger damage. Let’s look at the usual suspects that affect your lamp’s cable performance.
Frayed Wires
Frayed wires happen when the cable’s protective layer wears off, exposing the inner wires. This can cause flickering lights or complete power loss. If you notice any visible damage or the cable feels rough in spots, it’s time to check for fraying.
Have you ever pulled your lamp cable only to find tiny strands sticking out? That’s a clear sign. Handling cables gently and avoiding sharp bends can extend their life significantly.
Loose Connections
Loose connections are a sneaky cause of intermittent lamp function. They often occur where the cable meets the plug or the lamp base. If your lamp cuts out when you move the cable, a loose connection might be the culprit.
Try wiggling the cable gently near the connection points. If the light flickers or goes off, the connection is unstable. Tightening or re-soldering these connections can restore proper contact and keep your lamp steady.
Broken Plugs
A broken plug can stop your LED desk lamp from turning on entirely. This happens if the plug’s pins are bent, broken, or if the casing cracks. Such damage makes it unsafe to use the lamp until repaired or replaced.
Inspect your plug regularly. If you see any cracks or bent pins, don’t force it into the socket. Replacing the plug or swapping out the cable might be the safest option to avoid electrical hazards.

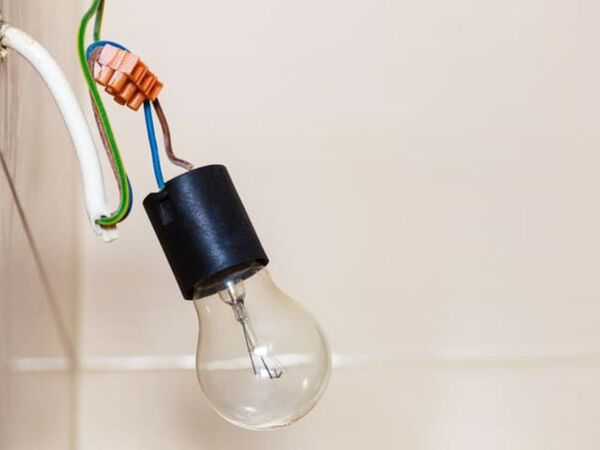
Credit: www.amazon.co.uk
Tools Needed
Before you start fixing your LED desk lamp cable, gathering the right tools is essential. Having everything ready not only saves time but also helps you avoid unnecessary frustration. You might be surprised how a simple tool can make a tough repair much easier.
Basic Repair Kit
Every repair begins with a solid basic kit. This usually includes:
- Screwdrivers:A set of small Phillips and flathead screwdrivers to open the lamp casing.
- Wire Strippers:These help you remove insulation without damaging the wires inside.
- Electrical Tape:For safely covering exposed wires after repair.
- Soldering Iron and Solder:If your cable needs rejoining, soldering ensures a strong connection.
- Multimeter:To check if the cable is conducting electricity properly.
Think about the last time you tried fixing something without the right tool—how much longer did it take? Equipping yourself well from the start changes the game.
Safety Gear
Safety is often overlooked but crucial when working with electrical items. Simple gear can protect you from shocks and injuries:
- Insulated Gloves:These prevent electric shocks while handling live wires.
- Safety Glasses:Protect your eyes from solder splashes or small wire fragments.
- Heat-Resistant Mat:Place your soldering iron on this to avoid burns or fire hazards.
Have you ever stopped to consider how a small safety precaution could prevent a major accident? Taking these steps ensures your repair session stays safe and smooth.
Preparing For Repair
Gather all necessary tools like a screwdriver, wire strippers, and electrical tape before starting. Ensure the lamp is unplugged to avoid shocks. Clear a clean workspace to keep parts organized and avoid losing small pieces.
Preparing your LED desk lamp for repair is crucial. This ensures safety and efficiency. Before diving into the repair process, gather necessary tools. A screwdriver, electrical tape, and a multimeter are essential. These tools will help diagnose and fix the issue effectively.Unplugging The Lamp
Safety first. Always unplug the lamp before starting. This prevents electric shock. Ensure the lamp is completely powered off. Double-check by trying to turn it on.Inspecting The Damage
Examine the cable for visible damage. Look for cuts, frays, or exposed wires. Check the plug and connections as well. Identifying the problem is key. It helps you decide the best repair method. Use a multimeter to test continuity. This tool checks for broken wires inside. Connect the multimeter to both ends of the cable. If it beeps, the wire is intact. If not, the wire may be broken internally.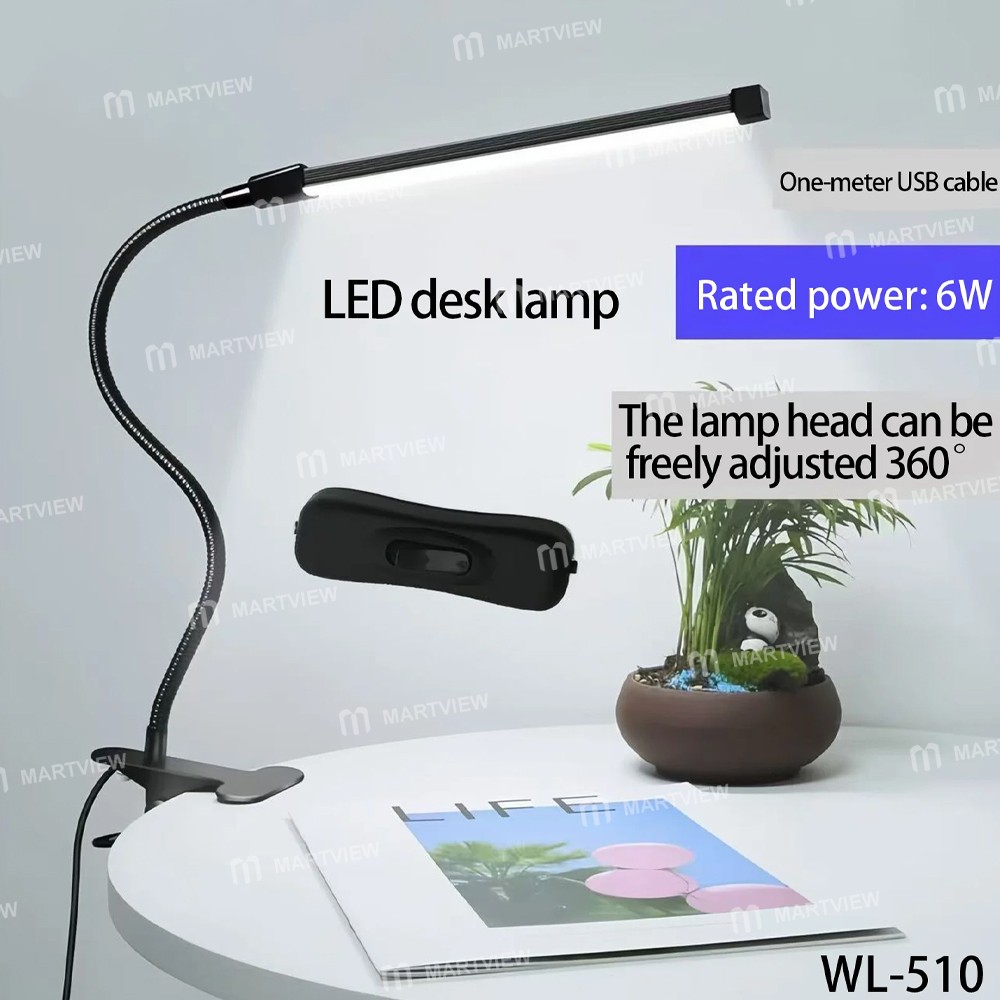
Credit: www.martview.com
Fixing Frayed Wires
Fixing frayed wires in your LED desk lamp cable is crucial for safety and functionality. Exposed or damaged wires can cause short circuits or even electric shocks. With some simple tools and careful work, you can restore your lamp’s cable and extend its life.
Stripping The Cable
Start by cutting the damaged section of the cable with wire cutters. Use a wire stripper or a sharp knife to carefully remove about 1 to 2 centimeters of the outer insulation from the cable, exposing the inner wires.
Be gentle to avoid nicking the inner wires, as this can weaken them. If your lamp cable has multiple wires inside, strip each wire individually to prepare them for reconnection.
Twisting And Soldering Wires
Once the wires are exposed, twist the matching wires together tightly. This ensures a solid connection and reduces the risk of loose contacts that cause flickering.
For a stronger and more reliable fix, solder the twisted wires. Heat the wire joint with a soldering iron and apply solder until it flows smoothly over the connection. This step might seem tricky at first, but it significantly improves durability.
If you don’t have a soldering iron, twisting wires tightly and securing them with electrical tape can work temporarily. But ask yourself: do you want a temporary fix or a long-lasting solution?
Using Heat Shrink Tubing
Slip a piece of heat shrink tubing over one side of the cable before reconnecting the wires. After soldering, slide the tubing over the joint and use a heat source like a hairdryer or heat gun to shrink it tightly around the wires.
Heat shrink tubing provides excellent insulation and protects the repaired area from moisture and further damage. It looks neater and feels stronger than just wrapping with tape.
Remember, a proper insulated repair reduces risk and makes your desk lamp safe to use again. Have you ever tried this simple fix yourself?
Reattaching Loose Connections
Loose connections in your LED desk lamp cable can cause flickering or complete power loss. Fixing these connections is a straightforward task that can save you from buying a new lamp. Let’s focus on how to identify and reattach these loose parts safely and effectively.
Checking Connectors
Start by unplugging your lamp to avoid any electrical hazards. Carefully inspect the cable ends and connectors for any visible damage or looseness. Wiggle the connectors gently to check if they feel unstable or disconnected inside the housing.
Sometimes dust or debris inside the connectors can cause poor contact. Use a soft brush or compressed air to clean them before proceeding. Have you noticed how a small speck of dirt can cause so many problems?
Securing With Electrical Tape
Once you find a loose connection, push the wires firmly back into place. Wrap the joint with electrical tape to keep the connection secure and insulated. Make sure you cover the exposed wires completely to prevent short circuits.
Electrical tape adds flexibility and protection, but avoid overwrapping as it can create bulk and stress on the cable. You might want to test the lamp after taping to ensure the fix works before finishing up. How often do you overlook this simple step, only to face the same problem again?

Credit: www.youtube.com
Replacing Broken Plugs
Replacing broken plugs on your LED desk lamp can bring it back to life without needing a full replacement. This fix saves money and reduces electronic waste. It’s easier than you might think, especially if you have basic tools and a little patience.
Removing The Old Plug
Start by unplugging your lamp from the power source to avoid any risk of electric shock. Examine the broken plug closely to see how it’s attached to the cable. Usually, you’ll find a small screw or a clip holding it in place.
Use a screwdriver or a pair of wire cutters to carefully remove the old plug. If the plug is glued or sealed, gently cut around it without damaging the cable itself. Keep track of the wires inside—their colors and order matter for reconnecting the new plug.
Installing A New Plug
Choose a new plug that matches the specifications of your lamp and power outlet. Open the new plug and identify where each wire should connect—typically, there are markings for live, neutral, and ground wires.
- Strip about 1 cm of insulation from each wire end.
- Insert the wires into the corresponding terminals inside the new plug.
- Tighten the screws firmly to ensure a solid connection.
Once the wires are secured, close the plug casing tightly. Tug gently on the cable to check that everything is locked in place. Plug your lamp back in and test it—does it light up without flickering? If yes, you’ve successfully replaced the broken plug.
Testing The Repair
Testing the repair is a crucial part of fixing your LED desk lamp cable. It ensures the lamp works safely and correctly after the fix. Take your time to check all connections and the lamp’s response. This step helps avoid future issues and confirms your work was successful.
Powering On
Plug the lamp into a power source carefully. Observe if the lamp turns on without flickering or delay. A steady light shows the cable repair is good. If the lamp does not power on, recheck your connections. Make sure the plug fits securely and the switch is on.
Checking For Stability
Move the cable gently near the repaired section. Watch if the light stays steady without blinking or going off. Test the lamp by bending the cable slightly to simulate normal use. Stability means the repair is solid and safe. If the light flickers, the cable might need another fix.
Preventing Future Damage
Preventing future damage to your LED desk lamp cable is key to extending the life of your lamp and avoiding frequent repairs. Taking simple but effective steps can save you time, money, and frustration. Think about how often you use your lamp and the wear and tear the cable might face daily. What small changes could you make to protect it better?
Proper Cable Management
Keeping your lamp cable organized prevents tangling and reduces strain on the wires inside. Use cable clips or ties to secure the cable along your desk or wall. Avoid sharp bends or tight loops, which can cause the wires to fray or break over time.
Try to route the cable away from high-traffic areas to reduce accidental pulls or trips. If your desk has holes or channels for cables, use them to keep the cord hidden and safe. This simple habit can stop damage before it starts.
Regular Inspections
Make it a habit to check your lamp cable regularly for any signs of wear, like cracks, exposed wires, or loose connections. Spotting issues early allows you to fix them before they become serious problems.
Look closely at the plug and the point where the cable connects to the lamp. These spots often take the most stress and can show damage first. Have you noticed any stiffness or discoloration in your cable? These could be warning signs.
Setting a reminder to inspect your cable every few weeks can make a big difference. It’s a quick and easy way to keep your lamp working safely and efficiently for years.
Frequently Asked Questions
How Do I Identify A Broken Led Desk Lamp Cable?
Check for visible damage like cuts or frays on the cable. Test the lamp by gently wiggling the cable near the plug and base. If the light flickers or turns off, the cable is likely broken and needs repair or replacement.
Can I Fix A Frayed Led Desk Lamp Cable Myself?
Yes, you can fix minor frays using electrical tape or heat shrink tubing. Make sure to unplug the lamp first. For exposed wires, carefully insulate them to prevent short circuits. If damage is severe, consider replacing the cable for safety.
What Tools Do I Need To Repair A Desk Lamp Cable?
Basic tools include wire strippers, electrical tape, soldering iron, and heat shrink tubing. A multimeter helps check continuity and detect faults. Having these tools ensures a safe and effective cable repair on your LED desk lamp.
How To Safely Solder A Broken Led Lamp Cable?
Strip the wire ends, twist them together, and apply solder to join. Use a soldering iron at moderate heat to avoid damage. Insulate the joint with heat shrink tubing or electrical tape to prevent shorts and ensure durability.
Conclusion
Fixing a LED desk lamp cable can save time and money. Start by checking the cable for visible damage. Use basic tools to repair or replace the faulty parts. Stay patient and work carefully to avoid more damage. A simple fix can make your lamp work like new again.
Keep safety in mind while handling electrical parts. Regularly inspect your lamp cables to prevent future issues. Small repairs help extend your lamp’s life and keep your workspace bright. Try these steps next time your lamp cable acts up.


