
Have you ever wanted to add a personal touch to your living space without spending a fortune? Sewing your own decorative pillow cover is a simple and rewarding way to do just that.
Imagine picking the fabric you love, creating a design that matches your style, and finishing it all with your own hands. In this guide, you’ll discover easy steps that anyone can follow—even if you’ve never sewn before. By the end, you’ll have a beautiful pillow cover that makes your room feel uniquely yours.
Ready to get started? Let’s dive in!
Materials Needed
Gathering the right materials makes sewing a decorative pillow cover easier. Having everything ready saves time and avoids frustration. Choose quality fabrics and necessary tools for the best results.
Fabric Choices
Select fabric that matches your room style and comfort needs. Cotton is soft and easy to sew. Linen offers a natural, textured look. Velvet feels rich and adds elegance. Consider durability for pillows used often. Pre-washed fabric prevents shrinking later.
Tools And Supplies
- Sewing machine for fast, even stitches
- Fabric scissors for clean cuts
- Measuring tape or ruler for accuracy
- Pins or clips to hold fabric pieces together
- Thread matching your fabric color
- Iron to press seams flat
- Seam ripper for fixing mistakes
- Needles for hand sewing small details
Optional Decorative Elements
- Zippers or buttons for easy pillow removal
- Trim like lace, ribbons, or piping for style
- Fabric paint or markers for custom designs
- Appliques or patches for added texture
- Embroidery thread for personalized stitching
Choosing Pillow Size
Choosing the right pillow size is key to making a decorative pillow cover that fits perfectly. A well-fitted cover looks neat and enhances your room’s style. Picking the correct size prevents the pillow from looking too loose or too tight inside the cover.
Measuring Your Pillow
Measure your pillow’s length and width with a tape measure. Lay the pillow flat on a table. Measure straight across from edge to edge. Write down both measurements in inches or centimeters.
Measure the pillow at its fullest points. Check if the pillow is square or rectangular. Accurate measurements help you sew a cover that fits well.
Standard Vs Custom Sizes
Standard pillow sizes include 16×16, 18×18, and 20×20 inches. These sizes fit most couch or bed pillows. Buying fabric and patterns for standard sizes is easier and saves time.
Custom sizes are for pillows that don’t fit standard shapes. Use custom sizes for unique or handmade pillows. Custom covers need precise measuring and extra fabric. Choose based on your pillow’s size and shape for the best fit.
Cutting The Fabric
Choose fabric carefully and lay it flat on a clean surface. Use sharp scissors to cut precise, straight lines for accurate pillow cover edges. Measure twice to ensure the fabric fits your pillow perfectly.
Cutting the fabric is a crucial step in sewing a decorative pillow cover. Precision in this stage ensures your pillow cover fits perfectly. It also contributes to the overall aesthetic appeal. Below, we explore how to measure, mark, and cut your fabric accurately.Measuring And Marking
Begin with measuring the pillow insert. Use a measuring tape for accuracy. Add an extra inch to each side for seam allowance. This ensures the cover fits snugly. Mark these measurements on your fabric using tailor’s chalk. Mark clearly to avoid errors during cutting. Double-check your measurements for precision.Cutting Tips For Accuracy
Ensure your fabric lies flat on a smooth surface. Use sharp fabric scissors for clean cuts. Cut slowly along your chalk lines. Maintain steady hands to prevent jagged edges. Consider using a rotary cutter for straight lines. This tool can increase cutting accuracy. Always follow safety precautions with sharp tools.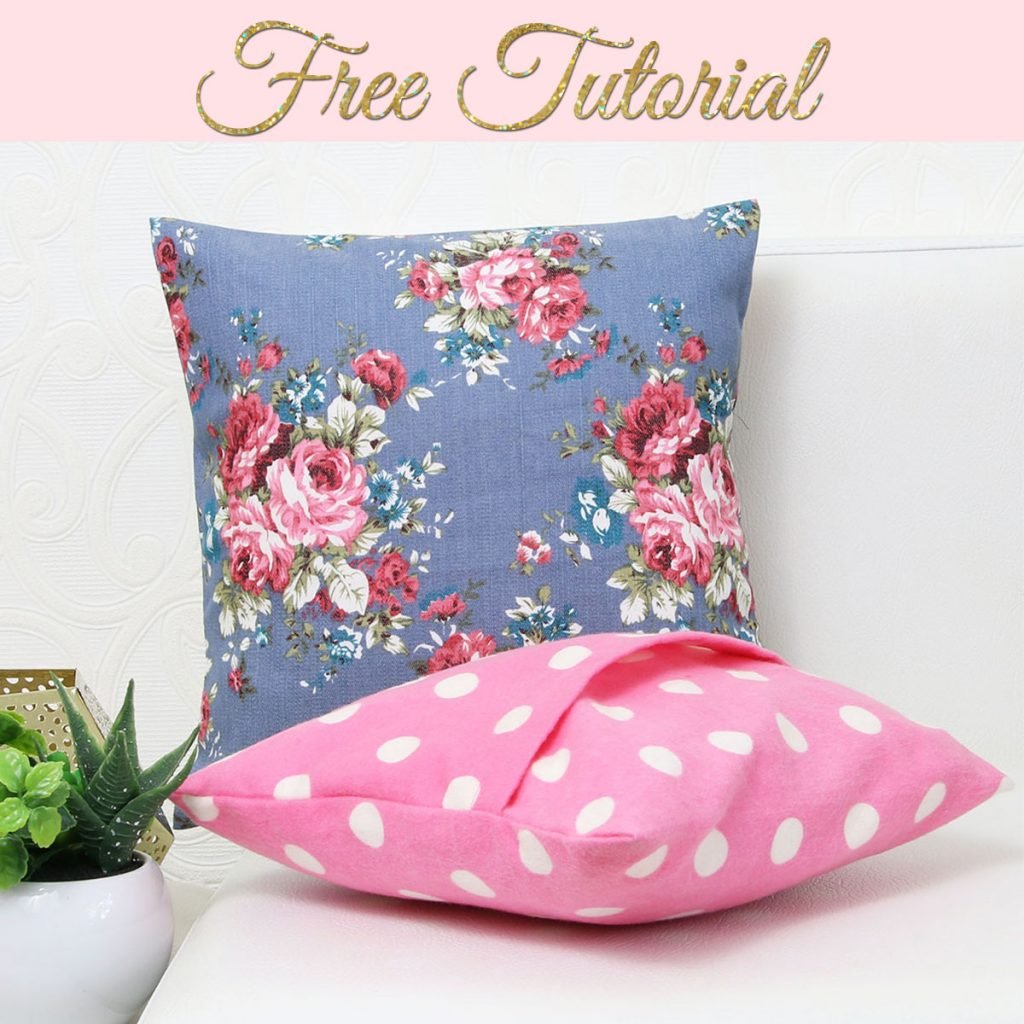
Credit: blog.treasurie.com
Sewing The Cover
Sewing the cover is where your pillow starts to take shape. This part demands precision and attention to detail, but it’s also where you get to see your fabric come alive. Taking your time here ensures your decorative pillow not only looks good but also lasts through regular use.
Pinning The Fabric Pieces
Before stitching, pin the fabric pieces together to keep them aligned. Place the right sides of the fabric facing each other, so the seams will be hidden inside once flipped. Use plenty of pins along the edges, especially around corners and curves, to prevent shifting while sewing.
Think about the type of pins you use. Sharp pins slide through fabric smoothly, reducing puckering. If you’ve ever sewn without pinning, you know how frustrating it can be when edges don’t match up. Pinning saves you from that headache.
Stitching Techniques
Choose a straight stitch for most pillow covers as it’s strong and clean. If your fabric is stretchy, a zigzag stitch offers flexibility without breaking. Adjust your stitch length to about 2.5mm for durability, but reduce it for delicate fabrics.
Don’t rush the sewing machine. Consistent speed helps maintain even stitches and prevents fabric bunching. Have you noticed how a shaky hand can cause uneven seams? Steady stitching creates a professional finish.
Adding Seams And Hems
After stitching, press the seams open with an iron to reduce bulk and create a smooth edge. Adding a ½ inch seam allowance gives your cover strength and room for adjustments. For hems, fold the fabric edge twice, about ¼ inch each time, before stitching to hide raw edges.
Consider finishing the inside seams with a zigzag stitch or pinking shears to prevent fraying. This little extra step adds durability and keeps your pillow looking neat after washing. Have you ever had a pillow cover unravel after a wash? Proper seam finishing avoids that problem.
Adding Closures
Adding closures to a decorative pillow cover helps keep the pillow inside secure. It also gives a clean and finished look to your project. There are several closure options to choose from. Each offers a unique style and ease of use. Pick the one that fits your sewing skills and pillow design best.
Zippers
Zippers provide a strong and neat closure. Choose a zipper color that matches the fabric. Sew the zipper carefully along one edge of the pillow cover. This allows easy removal and cleaning of the pillow insert. Use a zipper foot on your sewing machine for best results. Zippers work well for modern and sleek pillow designs.
Buttons And Snaps
Buttons and snaps add a charming touch to pillow covers. Sew buttons on one side and make buttonholes on the other. Snaps are easier to install and use small snap pliers. Both options keep the pillow securely inside. They are perfect for traditional or casual pillow styles. Choose buttons or snaps that complement the fabric and design.
Envelope Style Closure
The envelope style closure uses overlapping fabric flaps. Sew two flaps on the back of the pillow cover. The flaps overlap, creating a pocket to slide the pillow insert into. This closure needs no extra hardware. It is simple and quick to make. The envelope style works well for casual and country-style pillows.
Incorporating Decorative Details
Adding decorative details to your pillow cover can completely change its look and feel. These small touches make your creation stand out and reflect your personal style. Think about what kind of vibe you want—classic, playful, or artistic—and choose details that speak to that.
Piping And Trim
Piping adds a clean, professional edge to your pillow cover. It’s a narrow strip of fabric, often with a cord inside, sewn into the seams. This detail not only strengthens the edges but also creates a sharp outline that draws the eye.
You can match the piping color to your fabric for subtlety or pick a contrasting color for a bold effect. Think about using velvet or satin trims for a rich texture. If you’ve never sewn piping before, start with pre-made piping to make the process easier.
Appliques And Embroidery
Appliques let you add shapes or patterns by sewing smaller pieces of fabric onto the pillow cover. This technique allows endless creativity—you can create flowers, geometric designs, or even initials. Sewing them by hand or machine gives a tactile detail that catches the light and attention.
Embroidery offers a more delicate, artistic touch. Whether you use a simple running stitch or intricate patterns, embroidery adds texture and personality. If you want to try embroidery but worry about skill level, start with basic stitches and simple designs to build confidence.
Fabric Paint And Stencils
Fabric paint is a fantastic way to customize your pillow without sewing. You can use stencils to create repeatable patterns or freehand for a more unique look. This method is quick and allows you to experiment with colors and shapes that fabric alone can’t provide.
Make sure to use fabric paint designed to withstand washing. To avoid smudges, place cardboard inside the pillow cover while painting. Have you thought about combining paint with other details like piping? That mix can make your pillow truly one-of-a-kind.
Finishing Touches
Adding the final touches to your decorative pillow cover enhances its look and feel. These steps ensure your project looks neat and professional. Small details make a big difference in the finished product.
Pressing The Pillow Cover
Press the pillow cover with an iron on a low heat setting. Use a pressing cloth to avoid fabric damage. Focus on seams and edges for a crisp finish. Pressing removes wrinkles and gives the cover a polished look.
Inserting The Pillow
Carefully insert the pillow form into the cover. Push the pillow into the corners to fill them well. Smooth out any lumps or folds. A snug fit helps the pillow keep its shape.
Final Adjustments
Check the pillow cover for any loose threads or uneven seams. Trim excess threads for a clean appearance. Adjust the cover so the pattern aligns properly. Fluff the pillow gently to restore its fullness.

Credit: sewfinity.com
Care And Maintenance Tips
Proper care keeps your decorative pillow covers looking fresh and new. Following simple maintenance tips extends their life and beauty. Understanding washing and storing methods protects the fabric and colors.
Washing Instructions
Check the fabric type before washing your pillow covers. Use cold water to prevent shrinking and fading. Choose a gentle cycle on the washing machine or hand wash for delicate fabrics. Use mild detergent to avoid damage. Avoid bleach and harsh chemicals. Air dry flat or hang to dry, avoiding direct sunlight. Iron on low heat if needed, following fabric guidelines.
Storing Your Pillow Covers
Clean pillow covers before storing to prevent stains and odors. Store in a cool, dry place to avoid moisture and mold. Use breathable storage bags or cotton pillowcases for protection. Avoid plastic bags that trap moisture. Keep covers folded neatly to prevent wrinkles. Add lavender sachets or cedar blocks to keep pests away. Rotate pillow covers seasonally to maintain freshness.

Credit: www.youtube.com
Frequently Asked Questions
What Materials Do I Need To Sew A Pillow Cover?
You need fabric, thread, scissors, pins, a zipper or buttons, and a sewing machine or needle. Choose fabric that matches your decor style.
How Do I Measure Fabric For A Pillow Cover?
Measure your pillow’s width and height. Add 1 inch for seam allowances on all sides. Cut fabric accordingly.
Can I Sew A Pillow Cover Without A Sewing Machine?
Yes, hand sewing is possible but slower. Use a strong needle and tight stitches for durability.
How Do I Insert A Zipper In A Pillow Cover?
Sew the zipper along one edge of the fabric pieces before stitching the rest. This ensures easy opening.
Conclusion
Sewing a decorative pillow cover is simple and fun. You can choose any fabric and design you like. Follow the steps carefully, and your pillow will look great. This project adds a personal touch to your home. It also saves money compared to buying new covers.
Try different colors and patterns to match your style. Soon, you will enjoy cozy, unique pillows made by your own hands. Keep practicing, and sewing will become easier each time. Enjoy your new decorative pillow cover!


