
Are you looking to add a stylish mirror to your wall without the hassle of drilling holes? Gluing a mirror to your wall can be a simple and effective way to transform any room.
But you might wonder, how do you do it safely and securely? In this guide, you’ll discover easy steps and expert tips to make sure your mirror stays put and looks amazing. Keep reading, and you’ll learn exactly what you need to know to get the job done right the first time.
Choosing The Right Adhesive
Choosing the right adhesive is crucial when gluing a mirror to your wall. The wrong glue can cause the mirror to fall, damage the wall, or even ruin the mirror’s reflective backing. Understanding the types of adhesives available and what factors affect your choice helps you avoid costly mistakes and ensures a secure, lasting bond.
Types Of Mirror Glue
There are several adhesives designed specifically for mirrors, each with unique properties. Here are the most common types:
- Silicone Adhesive:Flexible and water-resistant, perfect for bathrooms or humid areas.
- Mirror Mastic:A thick, strong adhesive that doesn’t damage the reflective backing.
- Epoxy Glue:Very strong but less flexible, suitable for heavy mirrors on sturdy walls.
- Double-Sided Mirror Tape:Easy to use for small or lightweight mirrors, but less reliable for larger ones.
Choosing the right type depends on the mirror size, wall surface, and environmental conditions.
Factors To Consider
Think about the weight of your mirror first. Heavier mirrors demand stronger adhesives like epoxy or mirror mastic. Light mirrors might only need silicone or mirror tape.
Next, assess your wall surface. Porous or uneven walls need a more flexible adhesive that can fill gaps, such as silicone. Smooth, non-porous surfaces work well with most adhesives but check for compatibility.
Humidity and temperature also play roles. If the mirror goes in a bathroom, pick a water-resistant glue to avoid failures over time. Ask yourself: will this adhesive hold up under daily moisture exposure?
Safety Precautions
Never skip safety when working with adhesives. Many glues emit strong fumes that can irritate your eyes and lungs. Work in a well-ventilated area and consider wearing gloves to protect your skin.
Be careful not to get glue on your mirror’s reflective side—it can cause permanent damage. Also, follow the manufacturer’s instructions on curing times and weight limits closely.
Have you checked whether your adhesive is safe for indoor use? Taking these precautions ensures your project is safe and successful.
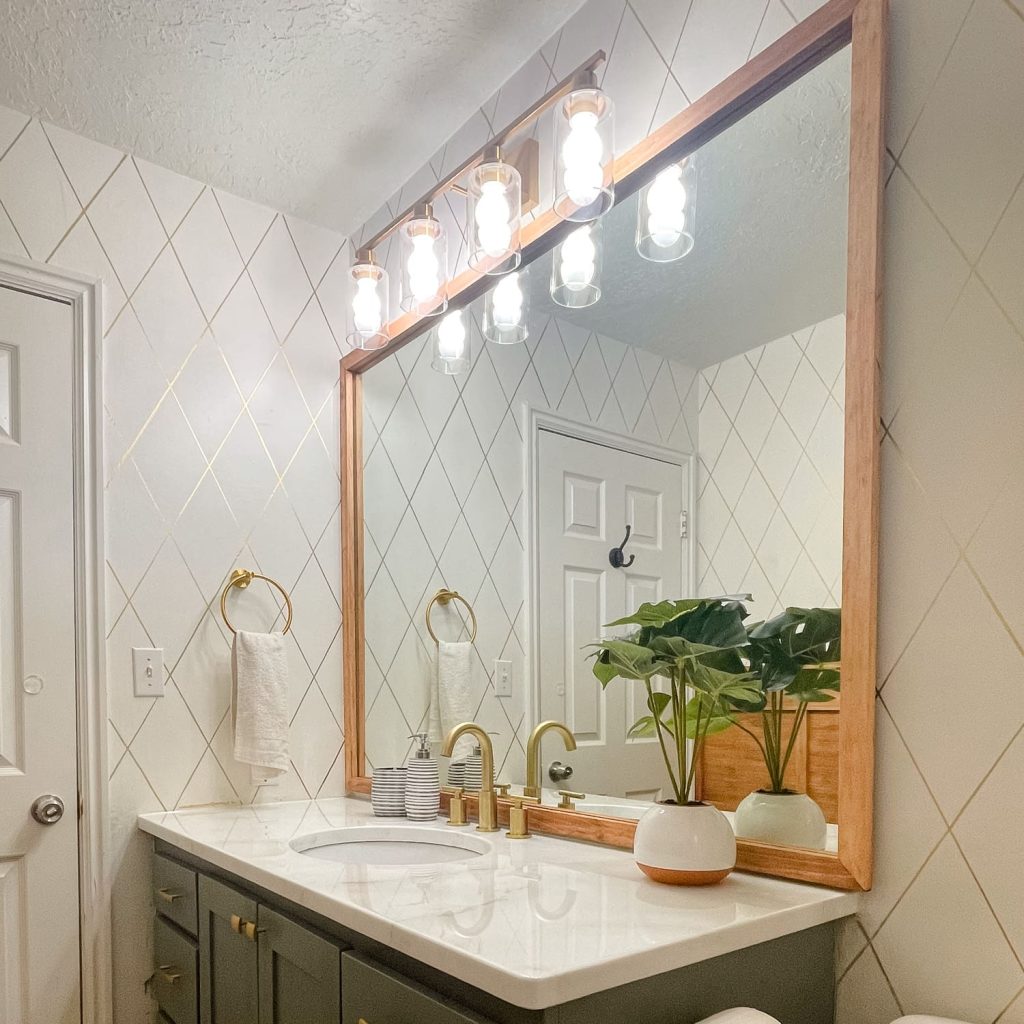
Credit: www.diychatroom.com
Preparing The Wall And Mirror
Clean the wall and mirror surface thoroughly to remove dust and grease. Ensure the wall is dry and smooth for better glue adhesion. Use a level to mark where the mirror will go.
Preparing the wall and mirror is crucial for a sturdy installation. This step ensures the mirror adheres well and stays secure over time. Proper preparation prevents damages and enhances the mirror’s lifespan.Cleaning The Surface
Start by cleaning both the wall and the back of the mirror. Use a mild detergent and water to remove dust and grime. Ensure the surfaces are dry before proceeding. A clean surface ensures better adhesion and longevity.Measuring And Marking
Measure the mirror and the wall area where it will be placed. Use a tape measure for accuracy. Mark the wall lightly with a pencil to guide placement. These marks help position the mirror correctly on the first try.Protecting Surrounding Areas
Cover the floor and nearby surfaces with drop cloths or newspaper. This protects against adhesive spills or accidental damage. Use painter’s tape on adjacent walls and trim to avoid marks. This step keeps your space clean and free from unintended mess.Applying The Adhesive
Applying adhesive to glue a mirror to the wall needs care and precision. The right technique ensures the mirror stays secure and looks great. Using the correct adhesive and applying it properly prevents damage and keeps the mirror safe for years.
Proper Glue Application Techniques
Choose a strong, mirror-safe adhesive. Apply the glue in small, even dots or beads. Keep the dots about 3 to 4 inches apart. This allows the glue to spread evenly when pressed.
Apply glue on the mirror’s back, avoiding the edges. Too close to edges can cause glue to squeeze out. Press the mirror gently against the wall. Hold it for a few minutes to set.
Avoiding Common Mistakes
- Do not apply too much glue; it can drip and damage surfaces.
- Never apply glue directly on the wall surface.
- Do not rush pressing the mirror; hold it firmly for proper bond.
- Avoid using weak adhesives that do not support the mirror’s weight.
- Do not ignore the drying time; wait fully before touching or hanging items.
Using Support For Large Mirrors
Large mirrors need extra care. Use temporary supports like painter’s tape or wooden braces. These keep the mirror in place while the glue dries. Check that the support does not press too hard and crack the mirror.
Leave supports in place for at least 24 hours. This ensures the adhesive cures fully. After removing supports, inspect the mirror’s edges for any loose spots.

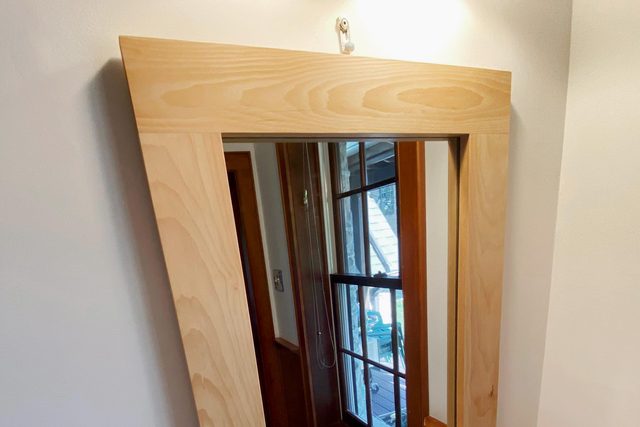
Credit: www.youtube.com
Mounting The Mirror
Mounting a mirror on the wall is more than just slapping on some glue and hoping for the best. The process requires careful handling to ensure the mirror stays secure and looks flawless. Paying attention to positioning, securing, and curing will save you from future headaches.
Positioning And Pressing
Start by deciding exactly where you want the mirror to hang. Use a level and tape to mark the spot on the wall to avoid crooked placement.
Hold the mirror against the wall and press firmly. This helps the adhesive bond well. Apply even pressure across the entire surface—don’t just press the edges.
Have you ever noticed how uneven pressure causes bubbles or weak spots? Avoid that by standing back and checking if the mirror sits flush against the wall.
Securing The Mirror
After pressing, you need to keep the mirror steady while the glue sets. Use painter’s tape or temporary brackets to hold it in place.
- Make sure the tape is strong enough to support the mirror’s weight.
- Check that it doesn’t leave marks when removed.
- For heavier mirrors, consider using wall anchors or clips for extra support.
Taking this extra step prevents the mirror from slipping or falling during curing. Have you ever skipped this only to find your mirror on the floor? Avoid that risk by securing it properly.
Curing Time And Handling
Adhesive needs time to cure fully—usually at least 24 hours. Resist the urge to touch or adjust the mirror during this period.
Keep the area free from vibrations or disturbances. Even slight movement can weaken the bond.
Once cured, test the mirror’s stability gently before hanging objects or decorations nearby. How much effort do you invest in curing, knowing it affects your mirror’s longevity?
Finishing Touches
After the mirror is securely glued to the wall, the final steps ensure a clean and polished look. These finishing touches protect the mirror and make it last longer. Simple care now saves time and effort later.
Cleaning Excess Glue
Use a damp cloth to wipe off any glue around the edges. Do this gently to avoid moving the mirror. For stubborn glue, a plastic scraper helps without scratching the surface. Clean promptly before the glue hardens.
Sealing Edges
Apply a thin bead of clear silicone sealant along the mirror’s edges. This stops moisture from getting behind the mirror. Smooth the sealant with a wet finger or a sealant tool. Let it dry fully for best protection.
Maintenance Tips
- Dust the mirror regularly with a soft cloth.
- Use mild glass cleaner to keep it shiny.
- Avoid harsh chemicals that can damage the seal.
- Check the sealant yearly and reapply if cracked.
- Be careful not to bump or knock the mirror.
Credit: www.familyhandyman.com
Frequently Asked Questions
What Type Of Glue Is Best For Mirrors On Walls?
Use mirror adhesive or silicone-based glue designed for mirrors. These adhesives provide strong, flexible bonds and prevent damage.
How Do I Prepare The Wall For Gluing A Mirror?
Clean the wall thoroughly to remove dust and grease. Ensure the surface is dry and smooth for better adhesion.
Can I Glue A Large Mirror Directly To Drywall?
Yes, but use heavy-duty mirror adhesive and apply it evenly. Support the mirror until the glue fully cures for safety.
How Long Does Mirror Adhesive Take To Dry?
Mirror adhesive usually takes 24 to 48 hours to fully cure. Avoid moving the mirror during this time to ensure a strong bond.
Conclusion
Gluing a mirror to the wall can be simple and safe. Choose the right glue and clean the surface well. Press the mirror firmly and hold it in place. Let the glue dry fully before touching the mirror. Take your time and follow these steps carefully.
A well-attached mirror adds beauty and light to any room. Enjoy your new wall mirror with confidence.


