
Have you ever stood in front of a wall mirror and thought, “How do I safely take this down without making a mess or damaging my walls?” Removing a wall mirror might seem tricky, but with the right steps, you can do it quickly and easily. Whether you’re redecorating, moving, or just want a change, knowing how to remove a wall mirror properly will save you time and stress.
Keep reading, and you’ll learn simple, clear tips that make the whole process smooth and hassle-free. Your walls—and your peace of mind—will thank you.

Credit: www.youtube.com
Tools You Need
Removing a wall mirror might seem straightforward, but having the right tools can make the task safer and faster. You want to avoid damage to your wall or the mirror itself while keeping yourself protected. Gathering everything you need before you start will save you from unnecessary trips and surprises.
Safety Gear
Safety should never be an afterthought when handling glass. Protect your eyes with safety goggles to shield against shards or dust.
Wear thick gloves to prevent cuts and ensure a firm grip on the mirror. Closed-toe shoes add an extra layer of protection in case the mirror slips or falls.
Think about your clothing too—long sleeves can help protect your arms from scratches. Would you want to deal with injuries that could have been avoided by simple precautions?
Removal Tools
A good putty knife or a flat pry bar is essential for loosening adhesive or caulk holding the mirror in place. A utility knife will help you cut through any sealant or tape cleanly.
Depending on how the mirror is mounted, you might need a screwdriver or a drill to remove screws or brackets. Have a sturdy step ladder nearby if the mirror is high up, ensuring you don’t overstretch or lose balance.
Do you know exactly how your mirror is attached? Identifying this early helps you pick the right tools without guesswork.
Cleaning Supplies
Once the mirror is down, you’ll likely face residue on the wall. Stock up on adhesive remover or rubbing alcohol to tackle sticky patches.
Keep a soft cloth or sponge handy for wiping off debris and cleaning the wall afterward. A gentle cleaner or mild soap will prepare the surface if you plan to repaint or install a new fixture.
Wouldn’t it be frustrating to finish the removal only to find you can’t restore the wall properly due to lack of cleaning supplies?
Prepare The Area
Clear the space around the mirror to avoid accidents. Lay down a drop cloth or old sheet to protect the floor from dust and debris. Gather all necessary tools within reach before starting.
Preparing the area is the first crucial step when you’re about to remove a wall mirror. This process ensures safety and efficiency, making your task smoother and less stressful. By taking the time to set up your space properly, you save yourself from potential mishaps and damage to your home.Clear The Surroundings
Begin by moving furniture and decorative items away from the mirror. This gives you ample space to work and prevents any accidental damage. Think of how a small stumble could lead to a broken vase or a scratched table. Ensure that the floor is entirely clear so you can easily navigate the room. This might also be a good time to involve a friend or family member to help with heavier items.Protect The Floor And Walls
Lay down a drop cloth or old sheets on the floor beneath the mirror. This catches any glass shards or debris that might fall during removal. Consider the type of flooring you have—hardwood may need more cushioning than carpet. Use painter’s tape to secure the cloth and avoid it slipping. For the walls, apply tape around the mirror’s edges. This adds a layer of protection to prevent scratches or paint chipping. Have you ever experienced the frustration of repainting walls due to preventable damage? This simple step saves you from that hassle. By preparing the area, you set yourself up for a successful project. Prioritize safety and organization, and the mirror removal will be an efficient task.Assess The Mirror Type
Before you start removing a wall mirror, it’s crucial to understand the type of mirror you’re dealing with. This helps you choose the safest and most efficient removal method. Different mirrors have different attachments and structures, so identifying these details will save you time and prevent damage to your walls or the mirror itself.
Framed Vs. Frameless
Mirrors usually come in two main types: framed and frameless. A framed mirror has a border made of wood, metal, or plastic. This frame can add weight but often offers extra support when removing the mirror.
Frameless mirrors, on the other hand, are just the glass with polished edges. They tend to be lighter but more fragile. Removing a frameless mirror requires extra care to avoid cracking the glass or damaging the wall behind it.
Ask yourself: Is your mirror surrounded by a visible frame, or is it just the glass on the wall? This simple question can change how you approach the removal process.
Wall Mounting Methods
Mirrors can be mounted in several ways, and knowing the method helps you avoid surprises during removal. Common mounting methods include:
- Adhesive Mounting:The mirror is glued directly to the wall with strong adhesive or double-sided tape.
- Clips or Brackets:Small metal or plastic clips hold the mirror in place along the edges.
- Hooks or Wire Hangers:The mirror hangs from nails, hooks, or wires attached to the back of the frame or mirror.
- Screws or Anchors:The mirror is screwed directly into the wall or mounted on a backing board that is screwed in.
Knowing which method was used helps you prepare the right tools. For example, adhesive mirrors require a gentle heating tool or a thin blade to separate the mirror from the wall safely. Clips or screws need a screwdriver, and hanging mirrors might just need you to lift them off the hooks carefully.
Have you ever tried removing a mirror only to find it glued tightly to the wall? Identifying the mounting method beforehand helps you avoid this frustrating situation.
Turn Off Power
Turning off the power is a vital safety step before removing a wall mirror. Electrical wires might run behind the mirror or nearby. Shutting off electricity prevents shocks and accidents during the removal process.
Check For Electrical Fixtures
Look closely around the mirror for any lights, switches, or outlets. These fixtures indicate electrical wiring behind the wall. Use a voltage tester to detect live wires. Avoid touching any wires or metal parts without power off.
Ensure Safety Precautions
- Turn off the circuit breaker linked to the mirror’s area.
- Double-check power is off with a voltage tester.
- Wear insulated gloves for extra protection.
- Use a sturdy ladder to reach the mirror safely.
- Keep children and pets away from the work zone.
Remove The Mirror
Removing a wall mirror requires care to avoid damage to the mirror or wall. Start by understanding how the mirror is attached. Some mirrors use adhesive, while others have clips or brackets. This section explains how to loosen these attachments and lift the mirror safely.
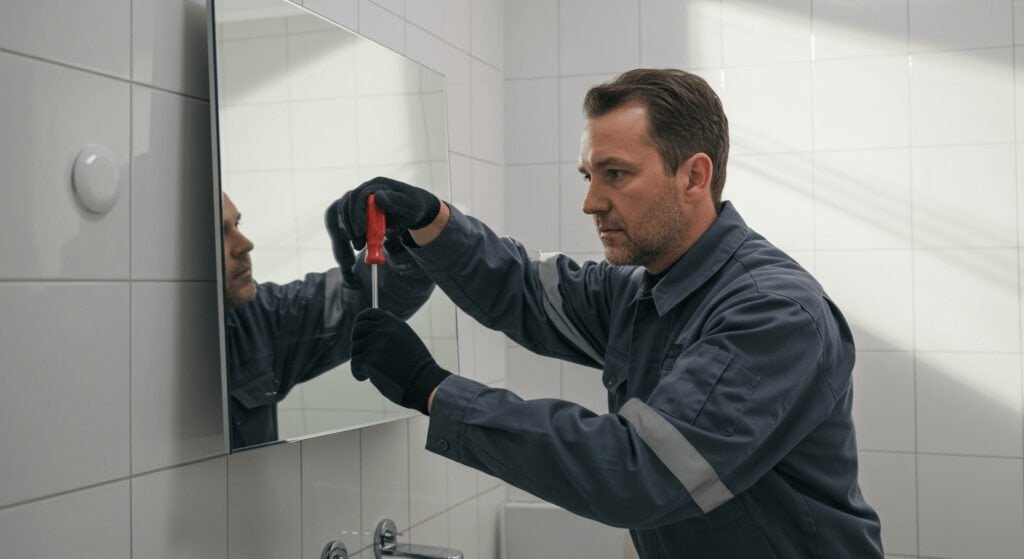
Loosen Adhesive Or Clips
Check if the mirror sticks directly to the wall with adhesive. Use a utility knife to cut around the edges. This helps break the seal without cracking the glass.
For mirrors held by clips, gently pry the clips away using a flat screwdriver. Work slowly to avoid bending or breaking them. Keep clips in a safe place for reinstallation or disposal.
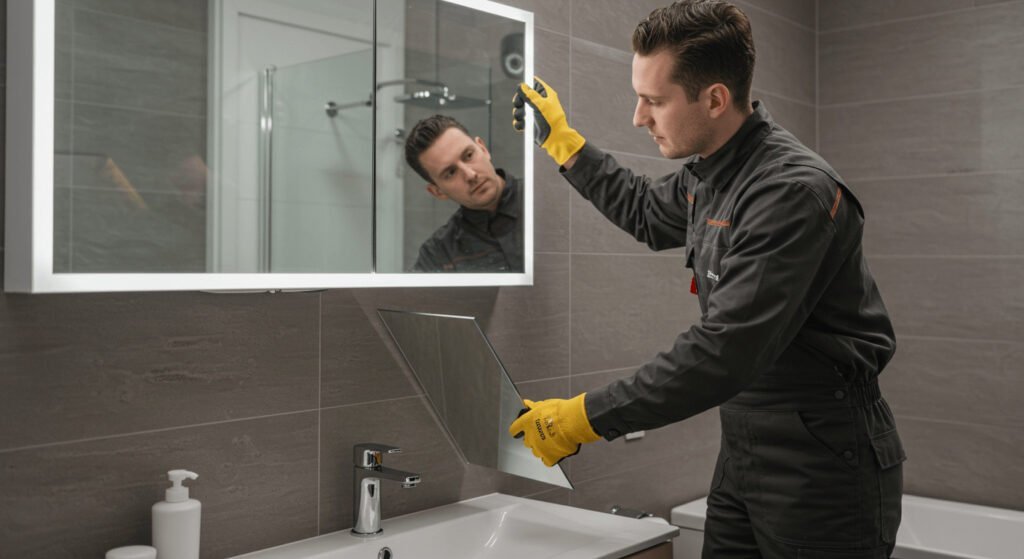
Lift The Mirror Safely
Wear gloves to protect your hands from sharp edges. Have a helper hold the mirror steady from the other side.
Lift the mirror slowly and evenly. Avoid twisting or bending it. Place it on a soft surface to prevent scratches or cracks.
Credit: bfymirror.com
Handle Stubborn Adhesive
Removing a wall mirror can be tricky when strong adhesive holds it tightly. Stubborn glue can damage your wall if pulled too hard. Handling this adhesive carefully protects your wall and eases mirror removal. Use simple tools and gentle techniques to soften and remove glue without harm.
Use Heat Or Solvents
Heat softens many types of adhesive, making removal easier. Use a hairdryer or heat gun on low setting. Move the heat source slowly over the glued area. Warm the adhesive for a few minutes to loosen it.
Apply a small amount of adhesive remover or rubbing alcohol. Dab it gently along the edges of the mirror. Let the solvent sit for several minutes. The glue will start to break down and lose grip.
Repeat heating and solvent application as needed. Avoid soaking the wall to prevent damage. Test solvents on a hidden spot first to check for paint reaction.
Avoid Wall Damage
Do not force the mirror off quickly. Pull slowly and evenly to reduce wall stress. Use a thin, flexible tool like a putty knife to slide between glue and wall. Wiggle it gently to loosen the adhesive bond.
Protect the wall surface by placing painter’s tape around the mirror edges. This tape helps prevent paint from peeling. Avoid metal tools that can scratch or gouge the wall.
Work patiently and stop if the wall shows signs of damage. Reapply heat or solvent and try again. Small breaks in glue cause less harm than rushing the job.
Repair Wall Surface
After removing a wall mirror, the wall surface often needs some attention to look flawless again. Repairing the wall is essential to create a smooth, clean canvas for painting or decorating. Taking the time to fix holes and smooth the surface can make a huge difference in the final appearance.
Fill Holes And Cracks
Start by inspecting the wall closely for any holes or cracks left behind by screws or mounting hardware. Use a quality spackling compound or wall filler to fill these gaps. Apply the filler with a putty knife, pressing it firmly into the hole to ensure it’s completely filled.
Don’t rush the drying process; let the filler dry fully according to the product instructions. If the hole is large, you might need to apply the filler in layers, allowing each layer to dry before adding the next. This prevents cracking and ensures a solid repair.
Sand And Smooth The Area
Once the filler is dry, the next step is to sand the area until it’s smooth and even with the rest of the wall. Use fine-grit sandpaper for the best results, and sand gently to avoid damaging the surrounding paint or drywall. Sanding not only smooths out imperfections but also helps the new paint adhere better.
After sanding, wipe the wall with a damp cloth to remove dust. This small step ensures a clean surface ready for painting or wallpapering. Have you ever skipped sanding, only to notice bumps under your fresh paint? Taking the time here saves frustration later.
Credit: bfymirror.com
Clean Up Residue
After removing a wall mirror, sticky residue often remains on the surface. This leftover adhesive can attract dust and dirt, making the wall look messy. Cleaning this residue is essential for a smooth, clean wall. It also prepares the surface for painting or hanging another item.
Remove Sticky Residue
Start by softening the adhesive with warm, soapy water. Use a sponge or cloth to apply it gently. Let it sit for a few minutes to loosen the residue. Rub the area softly in circular motions to lift the sticky parts.
If the residue is stubborn, try using rubbing alcohol or a commercial adhesive remover. Apply a small amount on a cloth and gently rub the sticky spots. Avoid harsh scrubbing to prevent wall damage. Always test a small area first to check for any paint reaction.
Use a plastic scraper or an old credit card to lift thick glue. Slide it carefully under the residue and push it off the wall. Work slowly to avoid peeling paint or drywall.
Final Wall Cleaning
After removing the sticky residue, clean the wall with a mild detergent solution. Wipe the surface with a damp cloth to remove any leftover cleaner or dirt. Dry the wall with a clean towel to prevent water marks.
Check for any missed spots and repeat cleaning if needed. A clean, smooth wall improves the look and makes further work easier. This step finishes the mirror removal process neatly and safely.
Frequently Asked Questions
How Do I Safely Remove A Wall Mirror?
To safely remove a wall mirror, wear gloves and protective eyewear. Use a utility knife to cut through caulk or adhesive. Gently pry the mirror away using a flat tool, starting at the edges. Work slowly to avoid breaking the glass or damaging the wall.
What Tools Are Needed To Remove A Wall Mirror?
You need gloves, safety glasses, a utility knife, a putty knife or flat pry bar, and adhesive remover. A drop cloth to protect the floor is also helpful. These tools ensure you remove the mirror safely without damaging the wall or risking injury.
Can I Reuse The Wall Mirror After Removal?
Yes, you can reuse the wall mirror if it remains intact. Handle it carefully to avoid cracks or chips. Clean off old adhesive before reinstalling. Inspect the mirror for any damage before reuse to ensure it is safe and looks good.
How Do I Remove Adhesive From The Wall After Mirror Removal?
Use an adhesive remover or warm soapy water to soften the glue. Scrape gently with a putty knife or scraper. Avoid harsh scraping to prevent wall damage. Clean the surface thoroughly before repainting or mounting a new mirror.
Conclusion
Removing a wall mirror can be simple and safe with the right steps. Take your time and use proper tools to avoid damage. Always protect yourself by wearing gloves and goggles. Clean the wall after removing the mirror to prepare for new decor.
Following these tips helps keep your space looking neat and fresh. Try these steps next time you need to take down a mirror. Easy and careful work makes the job much better.


