
Have you ever looked at a mirrored wall in your home and wondered how to take it down safely without causing damage? Removing a mirrored wall might seem tricky, but with the right steps, you can do it yourself without stress.
Whether you’re updating your space or fixing a problem, this guide will walk you through everything you need to know. Keep reading to discover simple, clear instructions that will help you remove your mirrored wall quickly and confidently.
Tools And Materials Needed
Removing a mirrored wall requires the right tools and materials to ensure the process is safe and effective. Without proper preparation, you risk damaging your wall or injuring yourself. Below is a detailed list of everything you need before you start.
Safety Gear
Safety should be your top priority. Mirrors can shatter unexpectedly, so protect yourself well.
- Safety goggles:Shield your eyes from glass shards and dust.
- Heavy-duty gloves:Prevent cuts while handling sharp edges.
- Dust mask:Avoid inhaling dust or adhesive particles.
- Long sleeves and pants:Minimize skin exposure to broken glass.
Have you ever underestimated the risk and ended up with minor cuts? Taking these precautions saves you from that hassle.
Essential Tools
Using the right tools makes the removal smoother and reduces damage to your walls.
- Utility knife:Score the edges of the mirror to break the seal.
- Putty knife or scraper:Gently pry the mirror from the wall.
- Heat gun or hairdryer:Soften adhesive behind the mirror for easier removal.
- Painter’s tape:Apply to mirror surface to prevent shattering.
- Crowbar or pry bar:Use carefully if the mirror is stubbornly fixed.
- Drop cloth or tarp:Protect your floor from glass pieces and adhesive.
Think about how much easier your job will be with a heat gun warming up that stubborn glue. Have you got one ready?
Preparation Supplies
These supplies help you handle the mirror carefully and prepare the area for repair after removal.
- Masking tape:Secure cracks or weak areas on the mirror.
- Adhesive remover:Clean residual glue from the wall after the mirror is off.
- Spackle or joint compound:Fill holes or imperfections on the wall.
- Sandpaper:Smooth out the wall surface before repainting.
- Bucket and sponge:Clean the wall post-removal.
Have you considered how much easier it will be to repaint once your wall is smooth and clean? Preparing these supplies in advance saves frustration later.
Preparing The Area
Preparing the area is a key step before removing a mirrored wall. This stage helps keep your space safe and clean. Proper preparation reduces the risk of damage and injury. Take time to organize and protect everything around the mirror.
Clearing The Space
Remove all items near the mirrored wall. Move furniture, decorations, and other objects away. This creates enough room to work comfortably. Clear the floor space to avoid tripping hazards. A tidy area speeds up the removal process.
Protecting Floors And Furniture
Cover floors with drop cloths or old sheets. This prevents scratches and glass damage. Use painter’s tape to secure coverings in place. Wrap nearby furniture with blankets or plastic wrap. Protection helps avoid costly repairs later.
Turning Off Power
Switch off power to any outlets or lights near the mirror. This step avoids electrical shocks during removal. Use a voltage tester to confirm power is off. Safety first. Never skip this important precaution.
Inspecting The Mirror Installation
Check the mirror’s edges and mounting carefully before removal. Look for glue, screws, or clips holding it in place. Understanding the installation helps prevent damage to walls and mirrors.
Removing a mirrored wall requires careful inspection of the installation. Understanding the mount type and securing method is essential. This process ensures safe and efficient removal.Types Of Mirror Mounts
Mirrors can be mounted in different ways. Common types include clips, channels, and brackets. Clips are small and hold the mirror at the edges. Channels are strips that support the mirror at the top and bottom. Brackets may hold the mirror from behind, providing firm support. Each type requires a different removal approach.Checking For Adhesives Or Screws
Inspect the mirror for adhesives or screws. Adhesives often appear as a thin layer behind the mirror. They provide a strong bond to the wall. Screws are usually visible at the corners or edges. They secure the mirror through pre-drilled holes. Identifying the securing method helps in choosing the right removal tools.
Credit: www.youtube.com
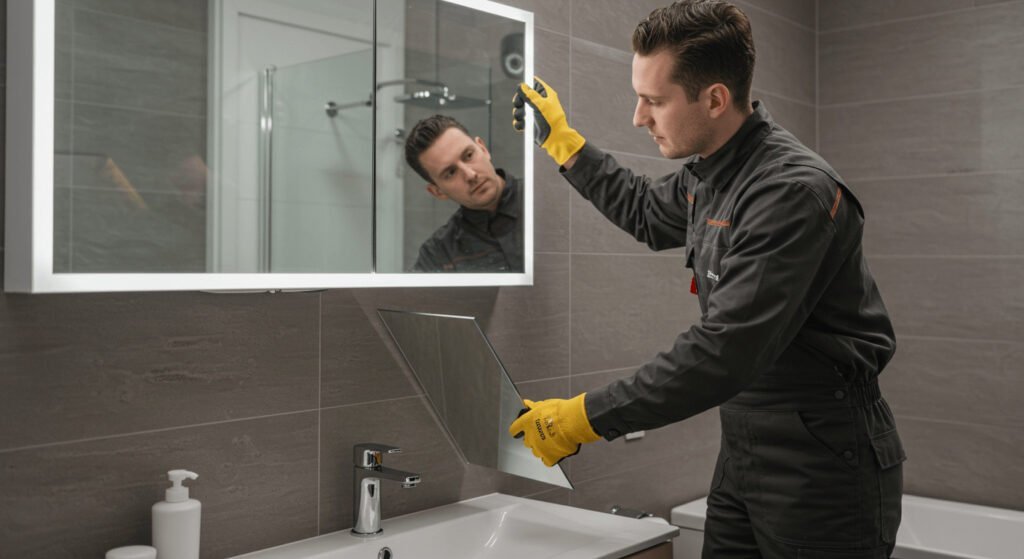
Removing The Mirror Safely
Removing a mirrored wall requires careful steps to keep yourself safe. Mirrors are heavy and fragile. Taking safety precautions avoids injuries and damage. The key is to work slowly and use the right tools. Follow these tips to remove the mirror without harm.
Loosening The Mirror
Start by softening any glue or adhesive. Use a putty knife or a thin blade. Slide it gently between the mirror and the wall. Avoid pushing too hard to stop the glass from cracking. Warm the adhesive with a hairdryer for easier removal. Work along the edges bit by bit. This makes the mirror come loose without breaking.
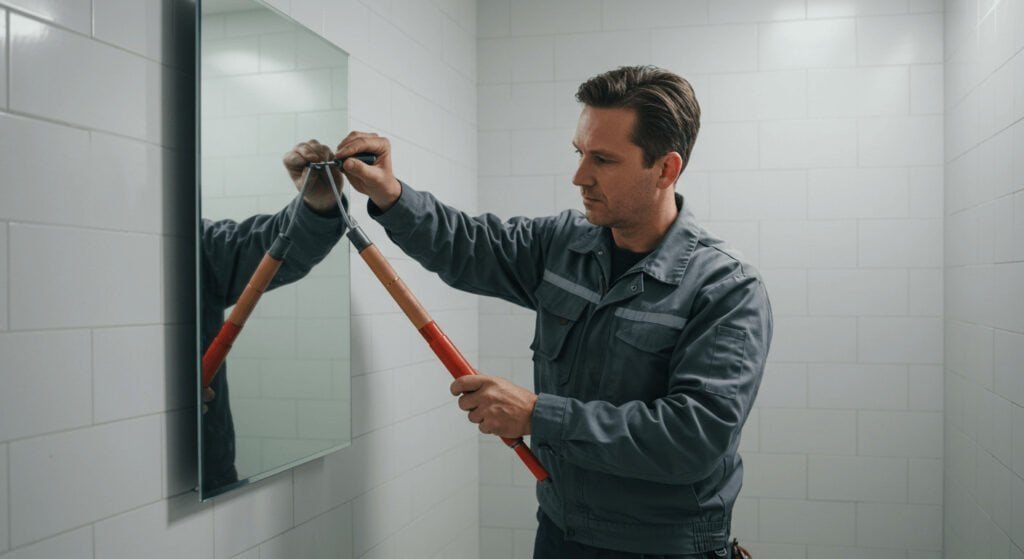
Using Proper Lifting Techniques
Mirrors are heavy and awkward to hold. Keep your back straight and bend your knees. Lift with your legs, not your back. Hold the mirror close to your body. Ask someone to help if it is large. Carry the mirror slowly and carefully. Place it on a soft surface to avoid damage.
Handling Broken Glass
Broken glass can cause serious cuts. Wear thick gloves and safety goggles. Use a broom and dustpan to sweep up small pieces. Place glass shards in a sturdy container or wrapped in thick paper. Never use your bare hands. Clean the area thoroughly to remove tiny fragments. Dispose of the glass safely according to local rules.
Cleaning Up After Removal
Cleaning up after removing a mirrored wall is essential to restore your space. It ensures safety and prepares the area for further repairs or decoration. Proper cleanup helps avoid accidents and keeps your home tidy.
Disposing Of Mirror Pieces
Handle mirror shards carefully to prevent cuts. Use thick gloves and safety goggles during cleanup. Collect broken pieces with a broom and dustpan. Place shards in a sturdy container or wrap them in heavy paper. Label the package as fragile before disposal. Check local rules for disposing of glass materials safely.
Removing Residual Adhesive
Remove leftover glue or adhesive with gentle scrapers. Avoid damaging the wall by working slowly. Use warm soapy water to soften sticky residue. For tough spots, apply a small amount of rubbing alcohol or adhesive remover. Test the remover on a hidden wall area first. Wipe clean with a damp cloth afterward.
Repairing The Wall Surface
Inspect the wall for holes or scratches after adhesive removal. Fill small holes with spackle or wall filler using a putty knife. Let the filler dry completely before sanding. Sand the surface smooth with fine-grit sandpaper. Apply primer and paint to match the existing wall color. Repairing the wall restores a fresh, clean look.
Credit: bfymirror.com
Preventing Future Damage
Removing a mirrored wall can leave your space looking fresh, but it also poses a risk of damage to your walls. Preventing future damage is essential to keep your room looking clean and ready for new decor. Taking the right precautions now will save you time and money later.
Using Wall Protectors
Wall protectors act as a buffer between your wall and the mirror or any heavy object. They help distribute the weight evenly and prevent scratches or dents.
You can choose from adhesive pads, foam strips, or rubber bumpers. These small additions are easy to apply and remove without leaving marks.
Have you ever noticed how tiny scratches accumulate over time from just a slight shift in heavy decor? Wall protectors stop that from happening.
Choosing Removable Mounts
Opt for removable mounts like command strips or reusable hooks instead of nails or screws. They hold your mirror securely but peel off cleanly when you need to take it down.
This choice minimizes wall damage and makes future changes much simpler. Plus, you avoid patching holes or repainting.
Think about the last time you moved a heavy item and ended up with a cracked wall—removable mounts can prevent that scenario entirely.
Credit: bfymirror.com
Frequently Asked Questions
How Do I Safely Remove A Mirrored Wall?
To safely remove a mirrored wall, wear protective gloves and goggles. Score the mirror edges with a utility knife. Use a suction cup to gently pull the mirror away from the wall. Dispose of broken glass carefully and repair the wall surface afterward.
What Tools Are Needed To Remove A Mirrored Wall?
You need a utility knife, suction cups, protective gloves, goggles, and a pry bar. These tools help score, lift, and detach the mirror safely. Having a drop cloth and adhesive remover is also useful for cleanup and wall restoration.
Can I Remove A Mirrored Wall Without Damaging Drywall?
Yes, remove the mirror slowly using suction cups and pry bars. Score the adhesive line first to loosen the mirror. Avoid forceful pulling to protect drywall. After removal, clean residual adhesive gently with a suitable solvent to prevent drywall damage.
How To Dispose Of Broken Mirror Pieces Safely?
Wrap broken mirror pieces in thick newspaper or bubble wrap. Place them in a sturdy box or container. Label the box as “broken glass” for safety. Dispose of it according to local hazardous waste guidelines to avoid injury or environmental harm.
Conclusion
Removing a mirrored wall takes patience and care. Start by gathering the right tools. Work slowly to avoid damage to walls or floors. Ask for help if the mirror is large or heavy. Clean up all glass pieces safely. A smooth wall awaits your next design choice.
Taking these steps ensures a safe, neat removal. Your space can feel fresh and new again. Ready for your next home project?


