
Are you looking to add a stylish mirror to your space but worried about the hassle of nails and drills? Gluing a mirror to the wall is a simple, clean way to transform any room instantly.
But how do you do it right so the mirror stays secure and looks perfect? In this guide, you’ll discover easy steps and expert tips that make the process safe and stress-free. Keep reading, and you’ll have your mirror up in no time—no mess, no fuss, just beautiful results you can be proud of.

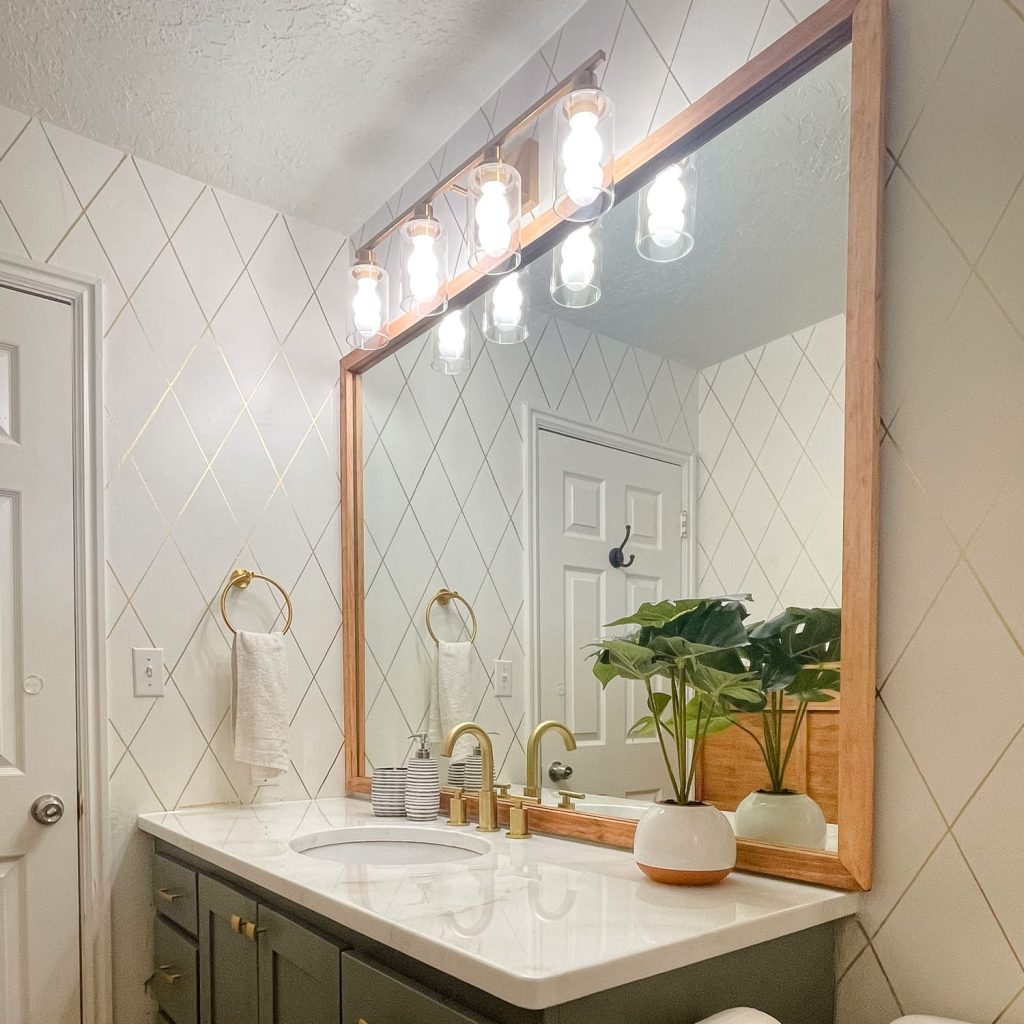
Credit: www.youtube.com
Choosing The Right Adhesive
Choosing the right adhesive is key to safely and securely attaching a mirror to your wall. The adhesive must hold the mirror’s weight and last over time. Picking the wrong glue can cause the mirror to fall or damage your wall. Consider the type of wall, mirror size, and environment before deciding. The right adhesive offers strong bonding and easy application.
Types Of Mirror Adhesives
- Mirror Mastic:A thick adhesive designed specifically for mirrors. It resists moisture and holds heavy mirrors well.
- Silicone Adhesive:Flexible and waterproof, good for bathrooms or damp areas. It also prevents damage to mirror backing.
- Construction Adhesive:Strong and versatile for large or heavy mirrors. Works on different wall surfaces.
- Double-Sided Tape:Suitable for small, lightweight mirrors. Easy to apply but not for heavy or large mirrors.
Safety Considerations
Always check if the adhesive is safe for mirrors. Some glues can damage the silver backing. Use adhesives labeled as “mirror-safe.”
Wear gloves to protect your skin. Work in a well-ventilated area to avoid breathing strong fumes. Keep the adhesive away from children and pets.
Adhesive Strength And Drying Time
Strong bonding is essential to hold mirrors firmly. Check the adhesive’s weight limit to match your mirror’s size.
Drying time varies. Some adhesives set in minutes, others take hours. Choose based on how quickly you need the mirror secure.
Allow full curing time before hanging or touching the mirror. This ensures the strongest hold and prevents accidents.
Preparing The Wall And Mirror
Clean the wall and mirror surface thoroughly to remove dust, grease, and moisture. Ensure both are dry and smooth for better glue adhesion. Use a level to mark the mirror’s position before applying adhesive.
Preparing the wall and mirror is a crucial step in ensuring your mirror is securely mounted and looks fantastic. A little attention to detail can save you from future mishaps. Whether it’s a small bathroom mirror or a grand piece for your living room, these preparation steps lay the groundwork for success.Cleaning The Surface
Before you even think about adhesives, ensure the wall and mirror surfaces are squeaky clean. Dust, grime, or grease can prevent glue from adhering properly. Use a mild cleaner and a lint-free cloth to wipe the wall. For the mirror, a glass cleaner works wonders. After cleaning, let both surfaces dry completely. Moisture is glue’s worst enemy.Measuring And Marking Placement
Accurate measurements are the backbone of a flawless installation. Grab a tape measure and determine where you want your mirror to sit. Mark these spots using a pencil for easy adjustments. Consider the room’s lighting and how it interacts with the mirror. A perfectly placed mirror not only reflects your image but also enhances your space’s ambiance.Protecting Surrounding Areas
Glue can be unforgiving if it drips onto your floors or furniture. Protect these areas with drop cloths or old newspapers. This simple step can save you from hours of cleaning up. Think about the wall too. Painter’s tape can be a great ally in keeping glue where it belongs. Have you ever regretted not taking precautions and ended up with a sticky mess? Remember those lessons as you prepare your wall and mirror.Applying Adhesive To The Mirror
Applying adhesive to the mirror is a crucial step that determines how securely your mirror will stay on the wall. The right technique ensures even coverage and a strong bond, preventing future mishaps like slipping or damage. Let’s look at how to apply adhesive effectively and what to avoid to get the best results.
Recommended Application Techniques
Start by cleaning the back of the mirror thoroughly to remove dust or grease. This helps the adhesive stick better.
Use a high-quality mirror adhesive designed specifically for glass and wall surfaces. These adhesives usually come in a tube with a nozzle, making it easier to apply.
- Apply the adhesive in small, evenly spaced dots or thin vertical lines rather than a large blob. This allows for better air circulation and a stronger bond.
- Keep the adhesive about 1 to 2 inches apart. Too close can cause excess squeeze-out; too far might weaken the hold.
- Consider using a caulking gun for more controlled application, especially on larger mirrors.
- If you’re working with a heavy mirror, add extra adhesive near the edges and the center for additional support.
Have you ever noticed how some adhesives dry too quickly and become hard to adjust? To avoid this, work efficiently but don’t rush. Apply adhesive in manageable sections if needed.
Avoiding Common Mistakes
One common error is applying too much adhesive. This can cause oozing when you press the mirror onto the wall, leading to messy cleanups and weak spots.
Another mistake is uneven application. If the adhesive isn’t spread consistently, the mirror might sit crooked or develop pressure points that could crack it over time.
- Don’t apply adhesive to the entire back surface like glue on paper. Mirrors need spots or lines for proper ventilation and drying.
- Avoid touching the adhesive with your fingers; oils can reduce its effectiveness.
- Don’t skip the drying time recommended by the adhesive manufacturer. Pressing the mirror too soon can shift the bond.
Ask yourself, how often do you check the product instructions carefully? Following them closely can save you from costly mistakes and ensure your mirror stays put for years.
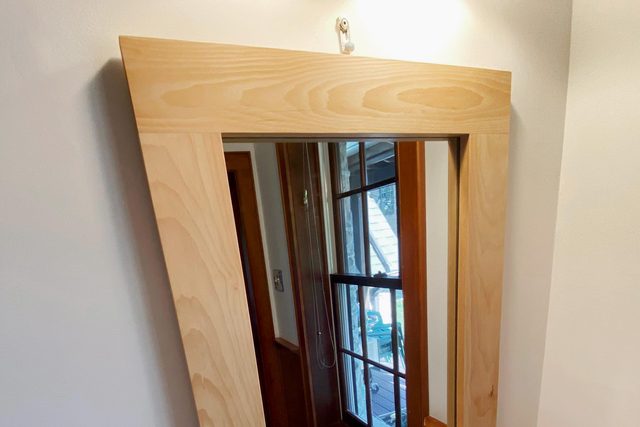
Credit: www.familyhandyman.com
Mounting The Mirror
Mounting the mirror on the wall requires care and precision. This process ensures the mirror stays secure and looks perfect. Proper mounting protects the mirror from falling and damaging the wall or itself.
Start with a clean, dry surface. This helps the adhesive stick well. Take your time to position the mirror correctly before pressing it firmly.
Aligning The Mirror Correctly
Place the mirror near the wall without glue first. Use a level tool to check if it is straight. Mark the edges lightly with a pencil. This helps guide you during the final mounting. Make sure the mirror is centered and balanced with the room’s design.
Pressing And Securing The Mirror
Apply even pressure across the mirror surface. Press firmly but avoid pushing too hard. Hold the mirror against the wall for at least one minute. This allows the glue to bond properly. Avoid moving the mirror after pressing to keep it secure.
Using Supports Or Tapes
Use painter’s tape or masking tape to hold the mirror. Place tape strips across the mirror edges. This supports the mirror while the glue dries. Leave the tape in place for 24 to 48 hours. Avoid touching or adjusting the mirror during this time. Supports give extra safety and prevent accidents.
Curing And Finishing Touches
After carefully applying the adhesive and placing your mirror, the curing and finishing touches play a crucial role in ensuring a strong, lasting bond. This phase demands patience and attention to detail to avoid common pitfalls like shifting or adhesive residue. Taking the right steps now will save you from headaches later and keep your mirror looking flawless.
Allowing Proper Drying Time
Patience is your best friend here. Even if the mirror looks secure, the adhesive needs sufficient time to cure fully—usually at least 24 to 48 hours. Avoid rushing to remove supports or hang anything on the mirror during this period to prevent weakening the bond.
Think about the temperature and humidity in your room; these factors can affect drying time. Cooler or damper environments may require extra hours. You can test the edge of the mirror gently after the recommended time, but don’t apply full pressure too soon.
Removing Temporary Supports
Supports like brackets or tape keep the mirror stable while the adhesive sets. Once the curing time is over, carefully remove these supports. Pull them away slowly to avoid disturbing the bond or scratching the mirror surface.
If you notice any minor movement when removing supports, pause and wait longer. It’s better to be cautious than risk the mirror falling. This step is critical for maintaining the mirror’s alignment and safety.
Cleaning Up Excess Adhesive
Adhesive residue around the edges can spoil the clean look of your mirror. Use a soft cloth dampened with warm, soapy water or a recommended adhesive remover to clean these spots gently. Avoid harsh chemicals that might damage the mirror or wall finish.
Try to clean excess adhesive before it fully dries for easier removal. If you miss any spots, a razor blade held at a slight angle can carefully scrape hardened adhesive—just be very gentle to avoid scratching.
Have you ever dealt with stubborn adhesive stains? Sometimes a little patience and the right tools make all the difference in the final appearance.

Credit: ledmirrorworld.co.uk
Tips For Long-lasting Mirror Installation
Ensuring your mirror stays firmly attached to the wall over time requires more than just the right glue. Paying attention to the environment and regular upkeep can make all the difference. Here are some practical tips that help keep your mirror installation durable and looking great.
Avoiding Moisture Damage
Moisture is one of the biggest threats to a glued mirror. Avoid placing mirrors in areas with high humidity unless you use waterproof adhesives specifically designed for bathrooms or kitchens.
If you must install a mirror in a moist area, seal the edges with silicone caulk to prevent water from seeping behind it. This simple step can stop damage before it starts.
Ask yourself: Is your chosen wall prone to condensation? If yes, invest in moisture-resistant backing materials to protect both your mirror and wall.
Regular Maintenance
Keeping your mirror clean is more than just aesthetic; it helps spot potential issues early. Wipe the mirror and surrounding wall gently with a soft, damp cloth every few weeks.
Check the adhesive area for any signs of peeling or discoloration. Catching small problems early prevents costly repairs later.
Consider scheduling a quick inspection of your mirror’s stability every few months, especially if it’s in a high-traffic area.
Troubleshooting Common Issues
If your mirror starts to loosen, don’t panic. First, check if the glue is still intact or if moisture has weakened the bond.
For small gaps or peeling edges, reapplying a thin layer of adhesive or silicone can often fix the problem without removing the mirror.
Cracks in the mirror itself or damage to the wall need immediate attention. Ignoring these can lead to safety hazards or more extensive damage.
Have you noticed any small shifts or sounds from your mirror? These signs often indicate the need for quick action before the mirror falls.
Frequently Asked Questions
What Type Of Glue Is Best For Mirrors On Walls?
Silicone adhesive or mirror mastic is best for gluing mirrors. They provide strong, flexible bonds and resist moisture. Avoid regular glue as it can damage the mirror backing. Always choose a glue designed specifically for mirrors.
How Do I Prepare The Wall Before Gluing A Mirror?
Clean the wall thoroughly to remove dust and grease. Make sure the surface is dry and smooth. Use a level to mark the exact spot. Proper preparation ensures a strong bond and prevents the mirror from falling.
Can I Glue A Heavy Mirror Directly To Drywall?
For heavy mirrors, use mirror clips or anchors along with adhesive. Drywall alone may not support the weight. Reinforce the wall or use studs for extra support to avoid accidents and damage.
How Long Does Mirror Glue Take To Dry Fully?
Mirror adhesive usually takes 24 to 48 hours to cure completely. Avoid moving the mirror during this time. Full drying ensures maximum strength and safety for your mounted mirror.
Conclusion
Gluing a mirror to the wall can be simple and safe. Choose the right glue and clean the surface well. Press the mirror firmly and hold it in place. Wait the recommended time for the glue to dry fully. Check the mirror’s stability before use.
With care, your mirror will stay strong and look great. This task can add style and space to any room. Try it yourself and enjoy the new look!


