
Are you looking to add a stylish touch to your space without spending a fortune? Framing a mirror on your wall is a simple way to transform a plain mirror into a stunning centerpiece.
Imagine turning an ordinary mirror into a piece of art that reflects your personality and enhances your room’s vibe. In this guide, you’ll discover easy steps to frame your mirror like a pro, even if you’ve never done it before.
Ready to give your walls a fresh, eye-catching look? Let’s get started!

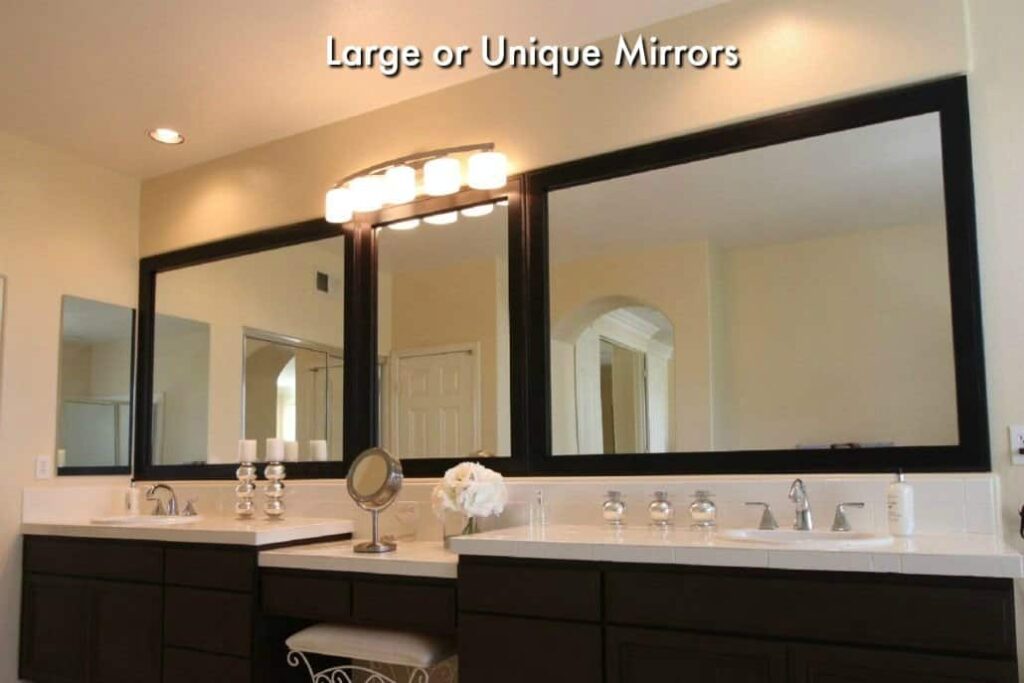
Credit: www.amazon.ca
Choosing The Right Mirror
Choosing the right mirror for your wall can transform your space dramatically. It’s not just about picking something that looks good; it’s about finding a mirror that fits your room’s size, shape, and style perfectly. This choice can either highlight your room’s best features or make it feel off-balance.
Selecting Mirror Size And Shape
The size of your mirror should complement the wall space without overwhelming it. A large mirror can make a small room feel bigger, but placing one that’s too big can crowd the area and feel heavy.
Think about the shape too. Rectangular mirrors work well above a sofa or console table, while round mirrors add softness and work nicely in entryways or bathrooms. What shape feels natural in your space? Sometimes, trying different shapes in your mind or with tape on the wall helps you decide.
Matching Mirror Style With Decor
Your mirror should blend with your existing decor style rather than clash with it. If your room has a modern look, choose mirrors with clean lines and minimal frames. For rustic or vintage rooms, a distressed wood or ornate frame fits better.
Consider the colors and materials in your room. A metal frame might match your light fixtures, while a wooden frame could tie into your furniture. Have you ever noticed how a mirror’s frame can either stand out as a feature or quietly support the room’s vibe?
Gathering Materials And Tools
Gather tools like a tape measure, level, drill, and screws. Choose materials such as wood or metal for the frame. Prepare all items before starting to ensure a smooth framing process.
Gathering the right materials and tools is the first step to ensure your mirror framing project is a success. It’s not just about having the items on hand; it’s about knowing why each one is important and how it contributes to the finished product. You’ll find that with the right preparation, the task becomes not just simple, but enjoyable.Essential Tools For Framing
To frame a mirror, you’ll need a few essential tools. A measuring tape is crucial for getting the dimensions right—there’s nothing worse than a frame that doesn’t fit. A miter saw is another key tool, as it helps you cut the frame pieces at the perfect angles. Don’t forget a hammer and nails or a nail gun to secure the frame. Sandpaper is necessary for smoothing the edges and any rough surfaces. Finally, a level ensures that everything is aligned perfectly, giving your mirror a professional finish.Materials For Different Frame Styles
The materials you choose for your frame can dramatically change its appearance and suit different decor styles. For a rustic look, consider using reclaimed wood. Its texture and history can add character to any room. If you’re aiming for something modern, sleek metal strips might be your best bet. They offer a clean and contemporary look that complements minimalist interiors. For a touch of elegance, ornate moldings can make your mirror stand out as a focal point. Have you thought about how these different materials could transform your space? The possibilities are endless, and it’s all about what resonates with your personal style.Measuring And Cutting The Frame
Measuring and cutting the frame are crucial steps that determine how well your mirror will fit and look on the wall. Precision here saves you time and materials while giving your project a polished finish. Let’s dive into how to get these steps right without stress.
Accurate Measurements For Perfect Fit
Start by measuring the mirror itself, not just the wall space. Use a tape measure and note down the height and width carefully. Add a small allowance—about 1/8 inch—to each side if you want the frame to snugly surround the mirror without gaps.
Check your measurements twice before cutting anything. Ask yourself: Have I accounted for the thickness of the frame material? Will the frame overlap the mirror edges slightly for a secure hold? Answering these helps avoid common mistakes.
Mark your measurements clearly on the frame material using a pencil and a straight edge. This line will guide your cuts, so make sure it’s visible and accurate. A poorly marked line can lead to crooked cuts and a wobbly frame.
Cutting Frame Pieces Safely
Choose the right saw for your frame material—miter saws work great for wood, while a fine-toothed handsaw might be better for thinner trims. Always wear safety goggles and gloves to protect yourself from dust and sharp edges.
Secure the frame piece firmly with clamps before cutting. This prevents slips and helps you make clean, straight cuts. Cutting slowly and steadily improves accuracy and reduces the chance of splintering.
After cutting, sand the edges lightly to smooth out any rough spots. Have you noticed how a small snag can throw off the whole assembly? Taking this extra step ensures your frame pieces fit together tightly and look professional.
Assembling The Frame
Assembling the frame is a crucial step in framing a mirror on the wall. This process involves joining the frame corners and securing the structure. A strong, well-assembled frame ensures the mirror stays safe and looks great.
Joining Frame Corners
Start by aligning the frame pieces at each corner. The corners should meet at a perfect 45-degree angle. Use wood glue on the edges to hold the pieces together. Clamp the corners tightly to avoid gaps. Allow the glue to dry for at least an hour. For extra strength, insert corner braces or nails carefully. This keeps the frame sturdy and prevents it from coming apart.
Securing The Frame Structure
Once the corners are joined, check the entire frame for stability. Add small nails or screws along the edges for added support. Use a hammer or screwdriver, but be gentle to avoid splitting the wood. Sand any rough edges to create a smooth finish. Attach hanging hardware to the back of the frame. This will make mounting the mirror on the wall easier and safer.
Attaching The Frame To The Mirror
Attaching the frame to the mirror is a crucial step that determines both the look and stability of your finished piece. You want the frame to sit flush and stay firmly in place without damaging the mirror. Choosing the right attachment method can save you headaches and keep your mirror looking great for years.
Using Adhesive Or Fasteners
You can attach the frame using strong adhesive or mechanical fasteners, depending on your mirror’s size and weight. Adhesives like mirror-safe epoxy or construction glue create a clean look without visible hardware. Make sure to apply the adhesive evenly on the back of the frame and press it firmly onto the mirror.
If your mirror is heavy or the frame bulky, consider fasteners such as small screws or mirror clips. These provide extra security but require drilling carefully to avoid cracking the glass. Always use rubber washers to cushion the screws and prevent damage.
Ensuring A Secure Fit
Once your frame is attached, check its alignment and fit. Does it hug the mirror evenly on all sides? Even a slight gap can cause the frame to wobble or look off. Press gently along the edges to make sure the adhesive bonds well or that fasteners hold tightly.
Think about the environment where your mirror will hang. Will humidity or temperature changes affect the adhesive’s strength? In bathrooms or kitchens, mechanical fasteners might be more reliable. You want your frame to stay put no matter what.
Have you noticed any movement after attaching the frame? Adding a few discreet corner braces or extra adhesive can reinforce the hold. A secure frame is not just about looks—it’s about safety too.
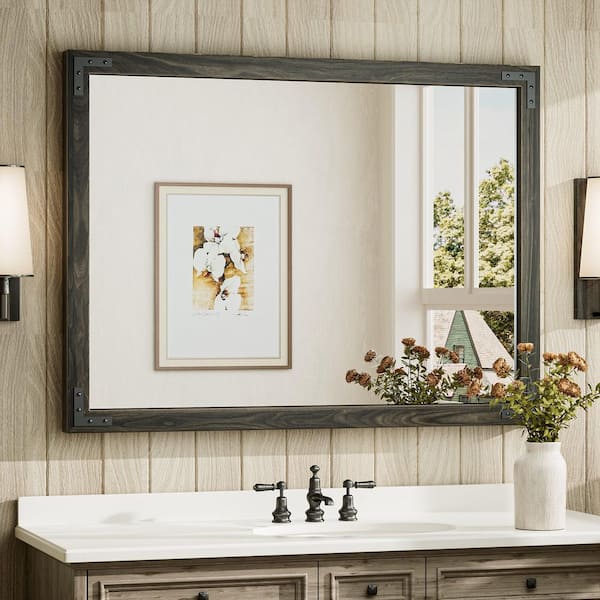
Credit: www.homedepot.com
Hanging The Framed Mirror
Hanging a framed mirror properly enhances your room’s style and function. It requires careful planning and the right tools. A well-hung mirror reflects light and space perfectly.
Follow simple tips to secure your mirror safely and attractively on the wall.
Choosing The Best Wall Location
Select a wall that suits the mirror’s size and style. Avoid walls that get direct sunlight to prevent glare. Pick a spot where the mirror reflects something beautiful or bright. Ensure the wall is strong enough to hold the mirror’s weight. Consider height; the center of the mirror should be at eye level for most people. This placement makes the room feel balanced and open.
Mounting Hardware And Techniques
Use hardware rated for the mirror’s weight to avoid accidents. Common options include:
- D-rings with picture wire for medium-weight mirrors
- Heavy-duty wall anchors and screws for large, heavy mirrors
- French cleats for a flush, secure fit
Attach mounting hardware firmly to the mirror frame. Find wall studs or use proper anchors for drywall installation. Use a level to keep the mirror straight. Double-check all fittings before hanging. This ensures your mirror stays safe and stable.
Adding Finishing Touches
Adding finishing touches to your framed mirror gives it a polished, stylish look. These final steps help the frame blend with your room’s decor. Small details can make a big difference in how the mirror stands out on your wall.
Painting Or Staining The Frame
Choose paint or stain based on your room’s style. Paint offers bright, solid colors that match any theme. Stain shows the natural wood grain, adding warmth and character.
Use a brush or cloth to apply paint or stain evenly. Let each coat dry completely before applying the next. This prevents drips and creates a smooth finish.
Consider light sanding between coats for better adhesion. Seal the frame with a clear topcoat for extra protection. This keeps the color fresh and prevents damage.
Decorative Enhancements
Decorative touches can make your mirror frame unique. Add trim, molding, or small accents to highlight the edges. Choose materials like metal, wood, or resin for variety.
Try using stencils to paint patterns or designs on the frame. This adds personality without heavy tools or skills. Another idea is to glue small decorative items like beads or shells.
Keep decorations balanced and not too crowded. The goal is to complement the mirror, not overpower it. Simple touches often create the best visual impact.
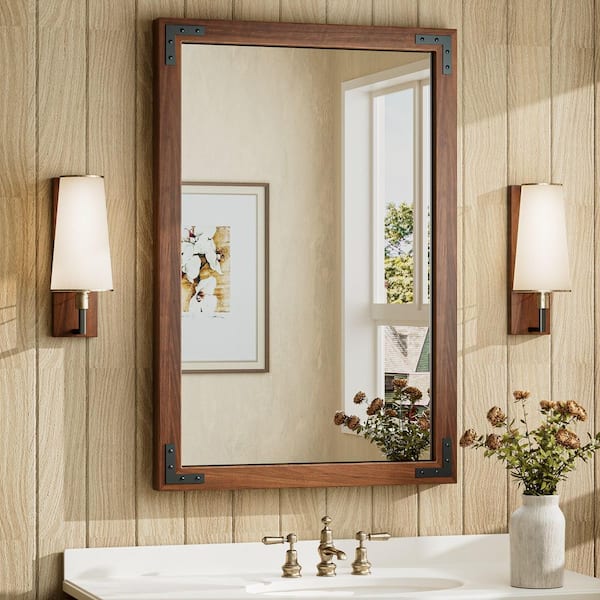
Credit: www.homedepot.com
Troubleshooting Common Issues
Framing a mirror on the wall can be rewarding, but it often comes with hiccups that slow you down. Troubleshooting common issues helps you avoid frustration and achieve a flawless finish faster. Let’s dive into practical solutions that you can apply right away.
Fixing Frame Alignment Problems
It’s easy to notice when a frame isn’t perfectly aligned. A crooked frame can ruin the whole look of your mirror and room. Start by checking the hanging hardware—sometimes the screws or hooks are uneven, causing the frame to tilt.
If you find the frame slightly off, try adjusting the position of the hanging points. Use a level to guide you; even a small nudge can make a big difference. If the frame still doesn’t sit right, add small rubber bumpers on the back corners to stabilize it and prevent shifting.
Have you ever stood back only to realize the mirror looks off from certain angles? That’s a sign you might need to reassess the wall anchors or switch to a more secure hanging method. Don’t hesitate to swap out flimsy nails for stronger wall anchors designed for your wall type.
Preventing Damage During Installation
Damage during installation can be disheartening, especially when you’re excited to see your project finished. Protect your mirror and wall by using painter’s tape around the edges before you start drilling or hammering. This simple step prevents scratches and keeps the glass safe.
Always use the right tools and hardware for your wall type. Drywall, plaster, and concrete all require different anchors and techniques. Using the wrong hardware can lead to cracks or holes that are tough to fix later.
Consider laying down a soft blanket or foam pad beneath the mirror while you work. It’s a small precaution that saved me from a cracked mirror after an accidental slip. How much effort do you put into protecting your tools and materials during home projects?
Frequently Asked Questions
How Do I Choose The Right Frame For My Mirror?
Select a frame that matches your room’s style and mirror size. Consider materials like wood or metal for durability. Choose colors that complement your decor to enhance the mirror’s appearance and overall room aesthetics.
What Tools Are Needed To Frame A Mirror On The Wall?
You will need a measuring tape, level, pencil, screws, anchors, drill, and screwdriver. These tools ensure precise placement and secure attachment of the frame to the wall.
How To Securely Hang A Framed Mirror On Drywall?
Use wall anchors or toggle bolts to support the mirror’s weight. Mark stud locations and use a level for straight hanging. Proper hardware prevents damage and keeps the mirror stable.
Can I Frame A Mirror Without Professional Help?
Yes, framing a mirror is a simple DIY project. Follow step-by-step instructions, use basic tools, and measure carefully. It saves money and allows customization to fit your style.
Conclusion
Framing a mirror on the wall can change any room’s look. It adds style and makes the space feel bigger. You only need a few tools and simple steps. Take your time to measure and choose the right frame. Secure it well to keep the mirror safe.
Enjoy the new look and the bright light it brings. Try this easy project to refresh your home today.


