
Setting your atomic wall clock might seem tricky at first, but it doesn’t have to be. Imagine having a clock that always shows the exact time without you lifting a finger.
Sounds great, right? In this guide, you’ll discover simple steps to get your atomic clock running perfectly. By the end, you’ll know how to set it up quickly and enjoy precise timekeeping every day. Ready to make your wall clock smarter and more reliable?
Let’s dive in!
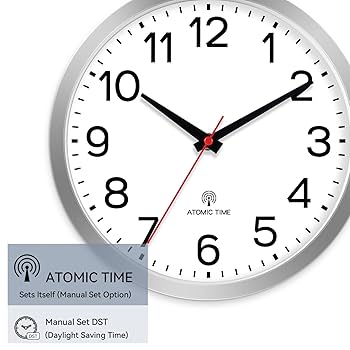
Credit: www.amazon.ca
Choosing The Right Atomic Wall Clock
Choosing the right atomic wall clock ensures accurate time and fits your space well. It requires attention to features, power source, and style. Picking a clock with the best options makes your experience smooth and satisfying.
Features To Look For
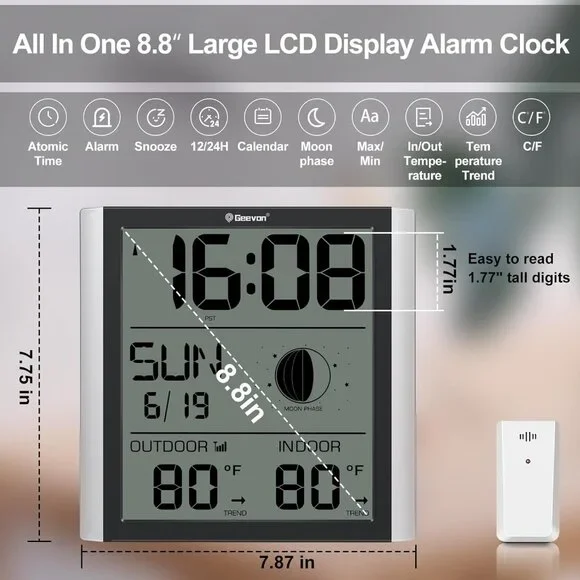
- Automatic time setting for accuracy
- Easy-to-read display with clear numbers
- Daylight saving time adjustment
- Temperature and humidity sensors
- Multiple time zone settings
- Silent sweep movement to avoid ticking noise
Battery Types And Lifespan
Choose clocks using AA or AAA batteries for easy replacement.
Long-lasting batteries reduce maintenance frequency.
Some models use rechargeable batteries for eco-friendliness.
Check battery life ratings before buying.
Design And Size Options
Clocks come in various shapes like round, square, or rectangular.
Pick a size that fits your wall space and room style.
Materials range from plastic to metal or wood finishes.
Simple designs suit modern rooms; ornate styles fit classic decor.
Preparing Your Clock For Setup
Preparing your atomic wall clock for setup is a crucial step that ensures accurate timekeeping and smooth operation. Taking the time to carefully unbox, inspect, and position your clock can prevent common issues like weak signal reception or battery drain. Let’s walk through the essentials so your clock can perform at its best right from the start.
Unboxing And Inspection
Start by opening the box gently to avoid damaging any parts. Check the clock face, hands, and casing for scratches or dents. Sometimes, small defects can affect the clock’s ability to synchronize properly.
Look inside for all included items such as batteries, mounting hardware, and instruction manuals. Missing components can slow down your setup or cause frustration later.
Inserting Batteries Correctly
Use fresh, high-quality batteries to give your clock a strong start. Pay close attention to the polarity markings inside the battery compartment—placing them incorrectly can prevent the clock from powering on.
Consider using alkaline batteries rather than rechargeable ones for longer life and consistent power. If your clock has a battery door, make sure it closes securely to avoid interruptions.
Selecting The Ideal Location
Position your atomic clock where it can easily receive the radio signal, typically near a window or an exterior wall. Avoid placing it near electronic devices or metal objects that could block or interfere with the signal.
Think about the clock’s visibility and accessibility too. Can you see it clearly from your usual spots? Is it easy to reach if you need to adjust or replace the batteries?
Choosing the right spot can be the difference between your clock syncing perfectly or constantly struggling to find the correct time. Where in your home do you think would give your clock the clearest signal?
Synchronizing With The Atomic Signal
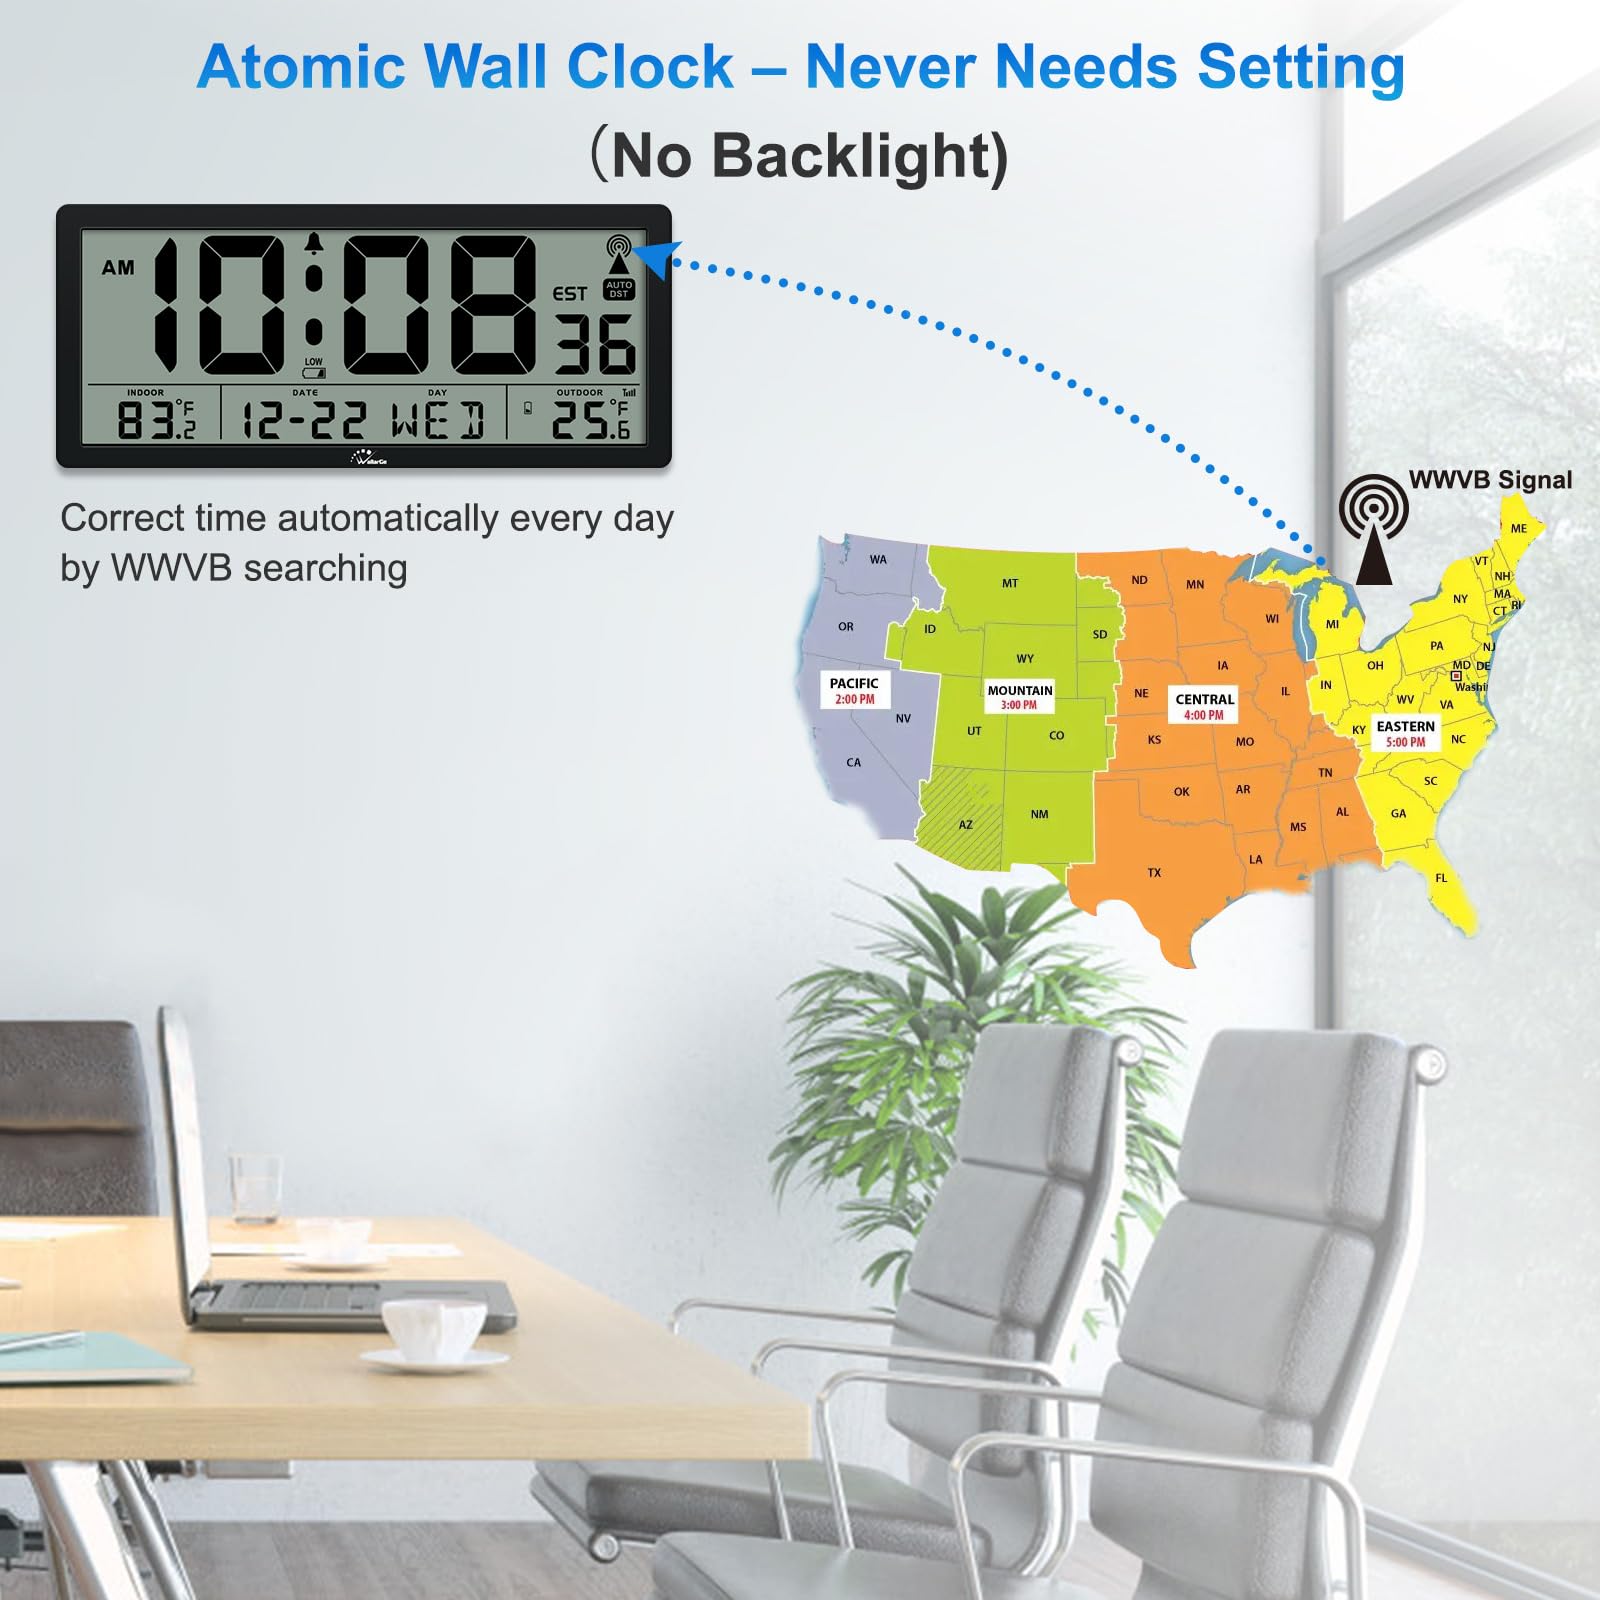
Setting an atomic wall clock ensures accurate timekeeping. The clock receives signals from a radio tower. This synchronizes it with the official time. Understanding the synchronization process is crucial. It helps in ensuring your clock always displays the correct time.
Understanding Signal Reception
Atomic clocks receive signals from a central location. These signals are sent via radio waves. The clock must be in a location with good reception. Thick walls or metal objects can block signals. For best results, place the clock near a window.
Best Practices For Signal Strength
To maximize signal strength, follow a few simple tips:
- Keep the clock away from electronic devices.
- Avoid placing it near large metal objects.
- Position it in an open area, like a living room.
- Place it on an outer wall for better reception.
Troubleshooting Weak Signals
Weak signals can disrupt time accuracy. If your clock isn’t updating, try these solutions:
- Reposition the clock to a new location.
- Check batteries and replace if needed.
- Ensure there’s no interference from nearby devices.
- Consult the clock’s manual for additional help.
These steps should improve signal reception significantly.
Manual Time Setting Options
Manual time setting options let you control your atomic wall clock precisely. This is useful when the clock does not update automatically. Sometimes, signal interference or battery issues affect automatic timekeeping. Knowing how to set the time manually keeps your clock accurate.
When To Set Time Manually
Set time manually if the clock shows the wrong time. This can happen during power outages or weak radio signals. Also, after changing batteries, the clock may need a reset. Traveling to different time zones might require manual adjustment too. Manual setting ensures your clock matches local time quickly.
Step-by-step Manual Adjustment
Start by locating the clock’s control panel on the back. Open the battery compartment if needed to find buttons or dials. Press and hold the time set button to enter manual mode. Use the hour and minute controls to adjust the time. Confirm the setting by pressing the set button again. Watch the clock display to verify the changes. Adjust slowly to avoid skipping numbers.
Using Buttons And Dials
Buttons and dials vary by clock model but work similarly. Buttons typically include “Set,” “Hour,” and “Minute.” Press “Set” to activate manual mode. Use “Hour” and “Minute” buttons to change time. Some clocks have dials to turn for time changes. Turn the dial clockwise to advance the time. Turn it counterclockwise to go back. Stop when the display shows the correct time. Finish by pressing “Set” again to save settings.
Maintaining Accurate Time
Maintaining accurate time on an atomic wall clock ensures it stays reliable and useful. These clocks sync with radio signals but need simple upkeep to keep perfect time. Small actions can prevent time drift and keep the clock working smoothly.
Regular Battery Replacement
The battery powers the clock’s receiver and movement. Replace batteries every 12 months to avoid power loss. Use fresh, high-quality alkaline batteries for best results. Low battery power can cause the clock to lose sync or stop.
Adjusting For Daylight Savings
Many atomic clocks update for daylight savings automatically. Check your clock’s manual to confirm this feature. If your clock does not adjust, change the time manually twice a year. Set the clock forward or backward by one hour as needed.
Handling Time Zone Changes
Atomic clocks rely on location settings to show correct time. Change the time zone setting if you move or travel. Refer to your clock’s instructions to adjust the time zone properly. This keeps the clock aligned with local time signals and avoids errors.

Credit: manuals.plus
Common Issues And Fixes
Even the most advanced atomic wall clocks can face hiccups. Knowing the common problems and their fixes saves you time and frustration. Let’s look at some typical issues and how you can quickly solve them to keep your clock accurate and reliable.
Clock Not Receiving Signal
If your atomic clock isn’t syncing with the radio signal, the most likely culprit is interference. Thick walls, electronic devices, or even metal objects nearby can block the signal.
Try moving your clock closer to a window or away from other electronics like routers or microwaves. Sometimes, simply repositioning the clock by a few feet makes all the difference.
Also, check if there’s a strong signal in your area by searching online for your clock’s signal source coverage map. If you live too far from the transmitter, the clock may never sync properly.
Incorrect Time Display
When your clock shows the wrong time, it might be stuck in a previous timezone or daylight saving setting. Make sure you’ve selected the correct time zone on the clock’s settings.
Double-check the manual for specific instructions on adjusting time zones and daylight saving time. Some models require manual tweaks even though they sync automatically.
If you’ve recently changed batteries, the clock might take a few minutes to reset and display the correct time. Patience can be key here.
Resetting The Clock
If your clock is acting up and nothing else works, a reset can clear errors and start fresh. Most atomic clocks have a reset button or a sequence of buttons to press.
Refer to your clock’s manual for the exact reset steps. After resetting, place the clock near a window overnight to give it the best chance to sync with the atomic signal.
Have you noticed your clock resetting itself unexpectedly? This can indicate low batteries or a hardware problem. Replacing batteries with fresh ones often solves this issue.
Credit: badfeelingmag.com
Frequently Asked Questions
How Do I Set The Time On An Atomic Wall Clock?
To set an atomic wall clock, insert batteries and place it near a window. It automatically syncs with the atomic signal to display the correct time.
Why Is My Atomic Clock Not Updating Time?
Your atomic clock may not update if it’s far from a signal source or has weak batteries. Move it closer to a window and replace batteries if needed.
How Long Does Atomic Clock Synchronization Take?
Atomic clocks usually synchronize within a few minutes to a few hours after setup, depending on signal strength and location.
Can I Manually Set Time On An Atomic Wall Clock?
Most atomic clocks allow manual time setting as a backup. Check your clock’s manual for specific instructions on manual adjustments.
Conclusion
Setting an atomic wall clock is simple and quick. Just follow the steps carefully for accurate time. Your clock will stay precise without constant adjustments. Enjoy the convenience of automatic time updates every day. This small device makes tracking time easy and stress-free.
Give your room a modern touch with this smart clock. Now, you can trust your clock to always show the right time. No more guessing or manual changes needed. A reliable atomic wall clock keeps you on schedule effortlessly.


