
Setting an atomic wall clock might sound tricky, but it’s actually easier than you think. If you want your clock to show the exact time without constant adjustments, this guide is for you.
You’ll learn simple steps that make sure your clock stays perfectly in sync with the official time. Keep reading, and you’ll discover how to set your atomic wall clock quickly and confidently.
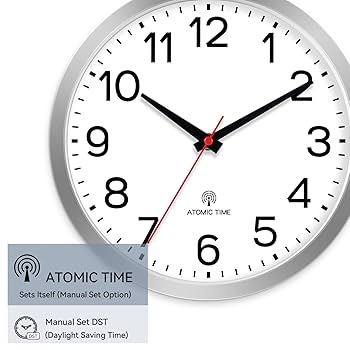
Credit: www.amazon.ca
Choosing The Right Atomic Wall Clock
Choosing the right atomic wall clock can feel overwhelming with so many options available. But knowing what to look for simplifies the process. Your choice impacts accuracy, style, and how well the clock fits your daily routine.
Types Of Atomic Clocks
Atomic wall clocks mainly come in two types: radio-controlled and GPS-synchronized. Radio-controlled clocks receive signals from atomic clock stations, ensuring precise time without manual adjustments.
GPS-synchronized clocks tap into satellite signals, offering accuracy even in places where radio signals are weak. Think about where you plan to place your clock—indoors near windows or in remote locations—to pick the right type.
Features To Look For
Beyond accuracy, consider features that match your lifestyle. Look for clocks with easy-to-read displays, especially if you glance quickly or have low light in the room.
- Automatic time zone adjustment:Saves you hassle during travel or daylight saving changes.
- Battery life:Longer battery life means less frequent replacements.
- Additional functions:Some clocks show temperature, humidity, or date—handy extras that add value.
When I first bought an atomic clock, I ignored battery life. Within months, I was constantly replacing batteries, which became frustrating. Now, I prioritize models with long-lasting power to avoid that nuisance.
What features do you find most useful in a clock? Pinpointing your daily needs helps you pick a clock that truly serves your routine.
Credit: badfeelingmag.com
Preparing Your Clock For Setup
Preparing your atomic wall clock for setup is essential for accurate timekeeping. Start by making sure the clock is ready to receive the atomic signal. This process helps avoid errors and ensures smooth synchronization. A careful setup extends the clock’s life and keeps time precise.
Unboxing And Inspecting
Open the box carefully to avoid damage. Check the clock for any visible defects or scratches. Look for all included parts such as the clock body, hands, and mounting hardware. Verify the instruction manual is present for guidance. Confirm the clock face and hands move freely without obstruction.
Installing Batteries Correctly
Use fresh batteries to power your clock. Check the battery type recommended in the manual. Insert batteries following the polarity marks (+ and -) inside the battery compartment. Avoid mixing old and new batteries or different brands. Secure the battery cover firmly to prevent loosening. Proper installation helps the clock start quickly and stay powered.
Setting The Time Automatically
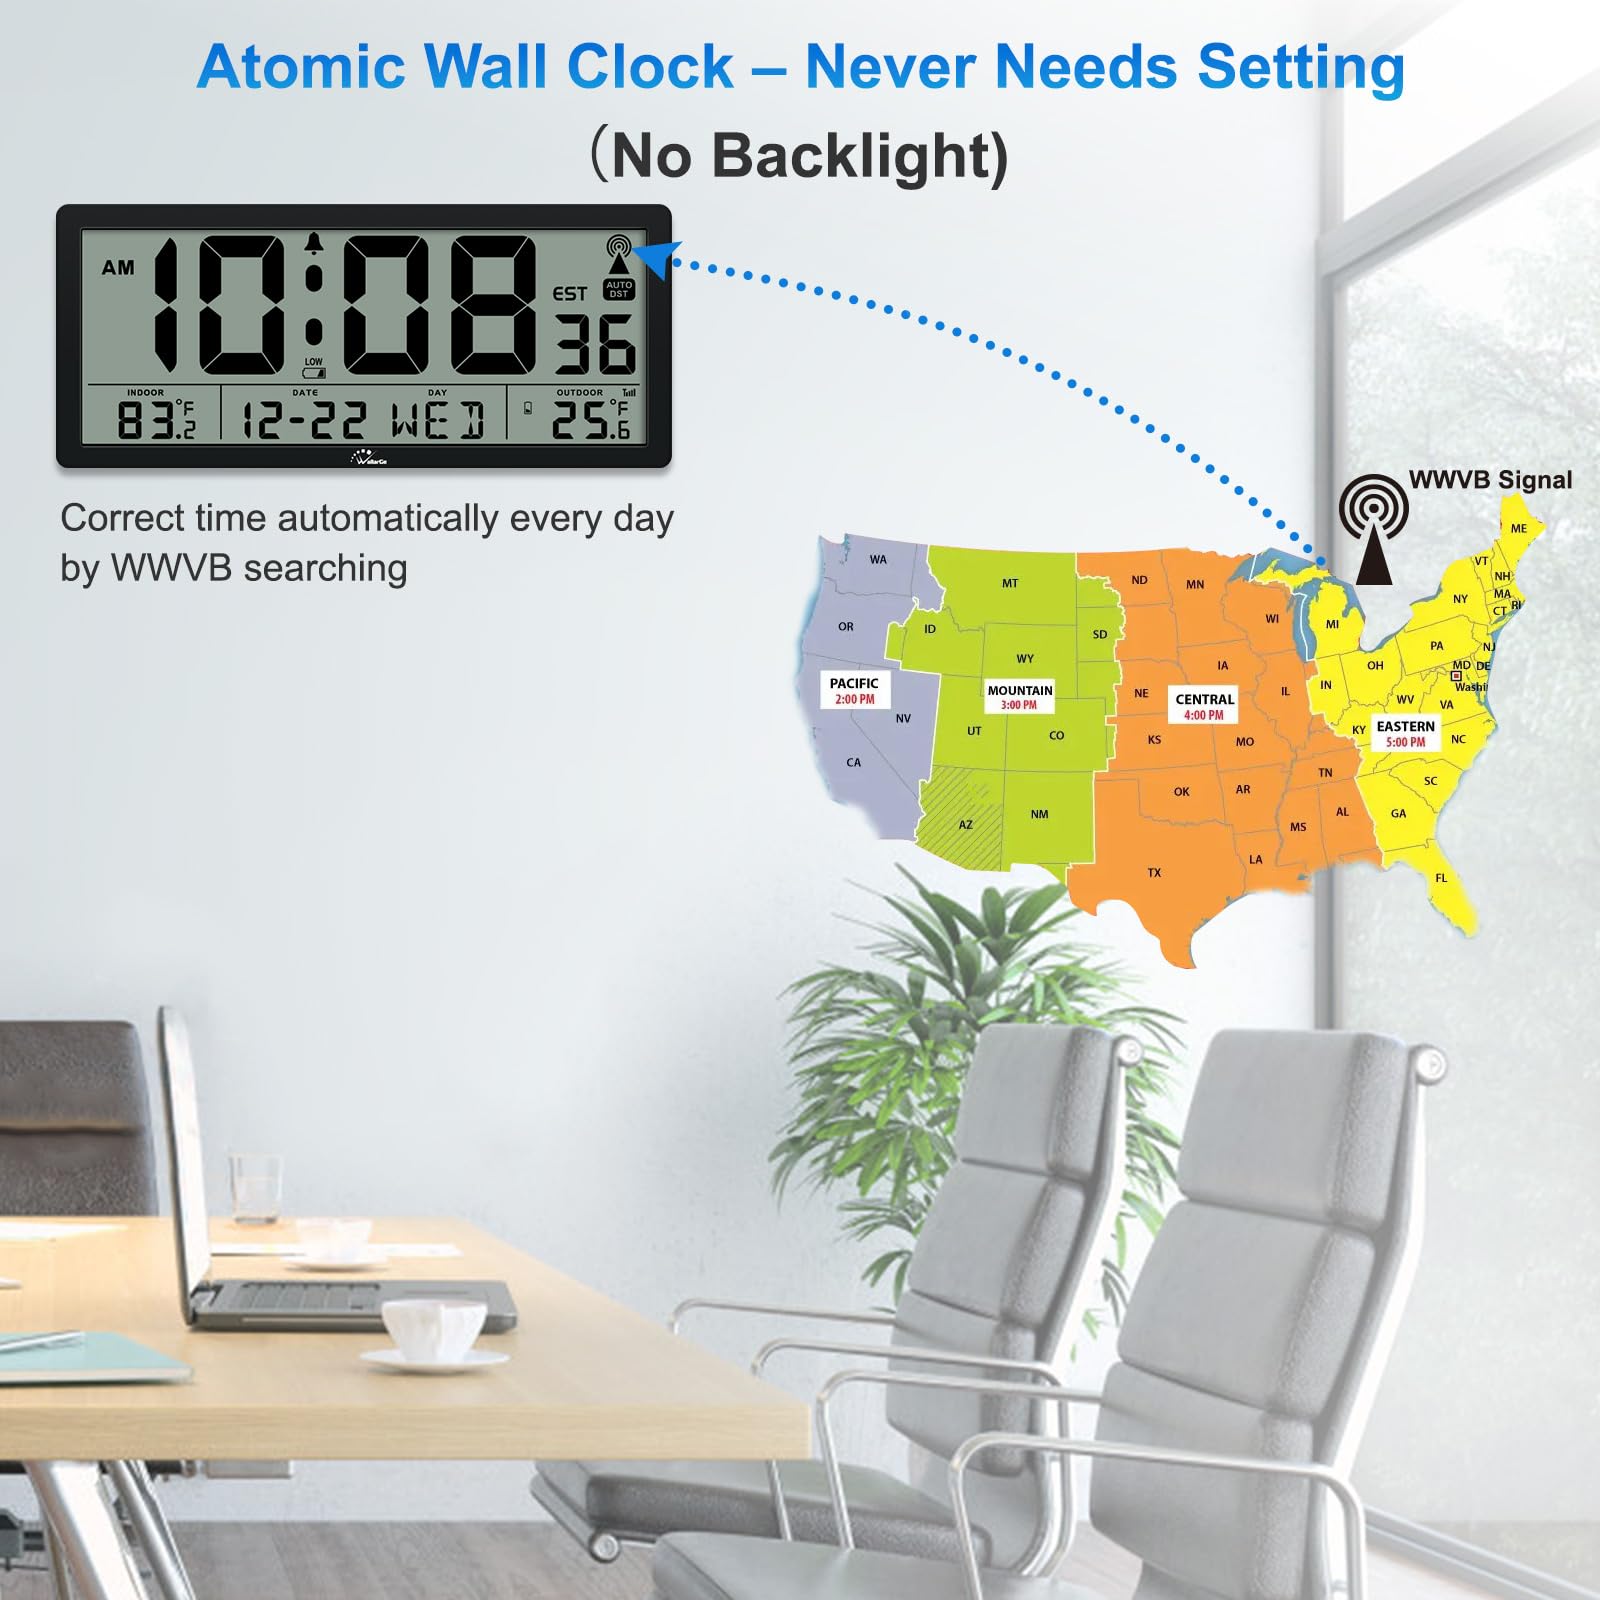
Atomic wall clocks set the time by syncing with radio signals from a national time source. This automatic update ensures the clock stays accurate without manual adjustments. Simply place the clock near a window for the best signal reception.
Setting the time on an atomic wall clock can seem like a mystery, but it’s actually quite simple once you understand the process. These clocks are designed to automatically sync with a radio signal transmitted by a central atomic clock, ensuring precise timekeeping without manual adjustments. This feature not only saves you time but also guarantees accuracy, down to the second.Ensuring Signal Reception
The successful automatic setting of an atomic wall clock hinges on its ability to receive a strong signal. Start by identifying the optimal time for synchronization, often during nighttime when signal interference is minimal. You can check the clock’s manual to see if it provides specific timing recommendations. Consider the environment of the clock. Thick walls, electronic devices, and metal objects can obstruct the signal. If you’ve ever wondered why your clock isn’t setting, it might be time to evaluate its surroundings.Placing The Clock For Optimal Sync
Location is crucial for ensuring your clock sets automatically. Place your clock near a window or in an area with minimal interference. My personal experience taught me that a clock placed on a shelf near a window synced much faster than one in a crowded room. Avoid placing it in basements or areas surrounded by concrete. A simple shift in position could make all the difference in achieving that perfect sync. Does your clock still struggle to update? Experiment with different locations, and remember, patience is key.
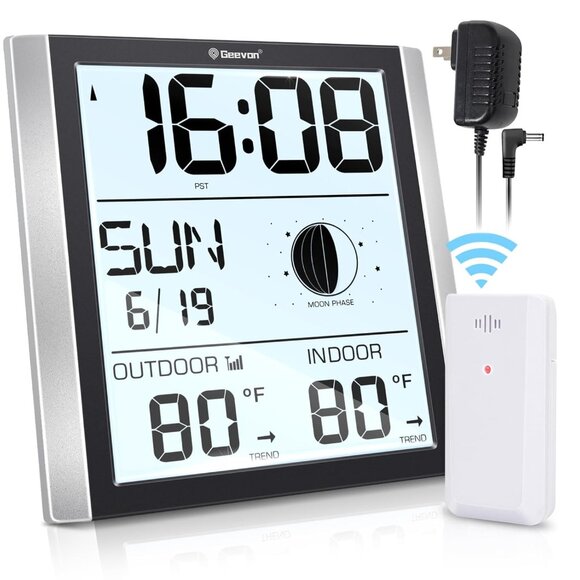
Credit: www.schoolfix.com
Manual Time Setting Options
Manual time setting options let you control your atomic wall clock’s time directly. This is useful when the automatic sync does not work. You can still keep your clock accurate by adjusting it yourself. Understanding how to manually set the time helps maintain your clock’s reliability.
When Automatic Sync Fails
Automatic sync can fail due to weak radio signals or interference. Sometimes, your clock may not receive the time signal. This can happen indoors or in areas with heavy electronic noise. In such cases, manual setting is the best solution. It ensures your clock shows the correct time without waiting for the signal.
Step-by-step Manual Adjustment
Follow these steps to set your atomic wall clock manually:
- Locate the “Set” or “Mode” button on the clock.
- Press and hold the button until the hour digits start flashing.
- Use the “Up” or “Down” buttons to change the hour.
- Press the “Set” button again to move to the minutes.
- Adjust the minutes with the “Up” or “Down” buttons.
- Press “Set” once more to confirm and exit.
Check the time after setting it manually. Adjust again if needed. This method keeps your clock accurate without signal help.
Troubleshooting Common Issues
Setting an atomic wall clock can sometimes lead to unexpected glitches. If your clock isn’t syncing correctly or showing the wrong time, troubleshooting common issues can save you time and frustration. Understanding what usually goes wrong helps you fix it quickly and get your clock back on track.
Signal Interference Solutions
Atomic clocks rely on radio signals to update the time. If your clock isn’t receiving the signal, check for nearby electronic devices that might cause interference. Items like routers, microwaves, or cordless phones can block the signal.
Try moving your clock closer to a window or away from thick walls. Metal objects around the clock can also disrupt the signal, so clear the area if possible. Have you noticed better reception at certain times of the day? Sometimes, signal strength varies, so patience can help.
If interference persists, you can reset the clock to force a new signal search. Usually, holding down the reset button for a few seconds triggers this. Also, check if your clock supports manual time setting as a backup.
Battery And Power Concerns
Weak or dead batteries are a common reason for atomic clocks to lose sync. Even if your clock is still running, low battery power can prevent it from receiving updates.
Replace batteries with fresh, high-quality alkaline ones rather than cheaper options. Avoid mixing old and new batteries as it can cause inconsistent power supply. Is your clock displaying any low-battery indicators? If yes, replacing the batteries should be your first step.
Sometimes, battery contacts can get dirty or corroded. Wipe them gently with a dry cloth to ensure proper connection. If your clock uses a power adapter, verify the outlet and adapter are working correctly by testing with another device.
Maintaining Your Atomic Wall Clock
Maintaining your atomic wall clock ensures it stays accurate and looks great for years. Proper care helps avoid common issues like fading display or inaccurate time signals. Let’s look at simple steps you can take to keep your clock in top shape.
Regular Battery Replacement
The battery is the heart of your atomic clock’s operation. Changing it regularly prevents sudden stops and loss of time accuracy.
Check the battery at least once a year or whenever the clock starts to lag. Using high-quality alkaline batteries can extend performance and reduce corrosion risk.
Have you noticed your clock losing time after a few months? That’s usually a sign to swap the battery. Keeping a spare battery handy saves you a last-minute scramble.
Cleaning And Care Tips
Dust and grime can affect your clock’s appearance and sensor function. Clean the clock face and frame gently with a soft, dry cloth.
Avoid using harsh chemicals or water that can damage the electronics. If needed, lightly dampen the cloth with water and wipe carefully.
Position your clock away from direct sunlight and humid areas to prevent fading and moisture damage. How often do you clean your clock? Making it a monthly habit can keep it looking fresh and running smoothly.
Frequently Asked Questions
How Do You Set The Time On An Atomic Wall Clock?
To set an atomic wall clock, insert batteries and place it near a window. It automatically syncs with the atomic time signal within minutes.
How Long Does An Atomic Clock Take To Sync?
An atomic clock usually takes 5 to 15 minutes to sync with the radio signal for accurate time.
Can You Manually Adjust An Atomic Wall Clock?
Yes, you can manually adjust it using buttons if the automatic sync fails or for time zone changes.
Why Is My Atomic Clock Not Syncing?
Common reasons include weak batteries, poor signal reception, or placement away from windows and radio signal sources.
Conclusion
Setting an atomic wall clock is easier than you might think. Just follow the simple steps carefully. Your clock will sync with the atomic time signal automatically. This keeps your time accurate without constant adjustments. Enjoy the convenience of a clock that always shows the correct time.
No more guessing or manual changes needed. A properly set atomic clock helps you stay on schedule every day. Try it yourself and see how smoothly it works.


