
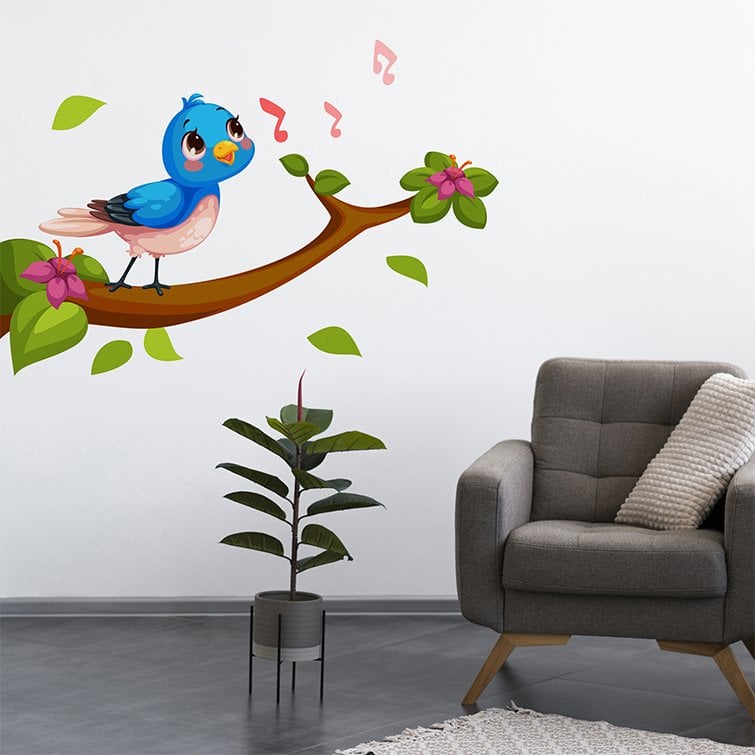
Have you ever thought about giving your walls a fresh, personal touch without spending a fortune? Imagine creating your own wall stickers that perfectly match your style and space.
You might be wondering, “Can I print my own wall stickers? ” The answer is yes—and it’s easier than you think. By the end of this article, you’ll know exactly how to bring your ideas to life, save money, and turn any room into a unique masterpiece.
Ready to find out how? Keep reading and discover the simple steps to print your own stunning wall stickers today.
Benefits Of Diy Wall Stickers
Making your own wall stickers offers many advantages. It lets you control costs and create designs that fit your style perfectly. DIY wall stickers can transform any room with personal flair and creativity.
Cost Savings Compared To Store-bought
Printing your own wall stickers saves money. Store-bought stickers often include extra costs for brand and packaging. DIY stickers only require basic materials and your printer ink. This option reduces expenses, especially for large designs or many stickers.
Customization And Personalization
DIY wall stickers allow complete personalization. Choose your own colors, shapes, and sizes. Add names, quotes, or unique patterns. This makes your space truly reflect your personality and taste. Store-bought stickers can’t match this level of personal touch.
Creative Freedom In Design
Design without limits. Experiment with different styles and themes. Create stickers for holidays, seasons, or special events. You decide every detail, from small accents to large murals. This freedom encourages creativity and makes decorating more fun.
Materials Needed For Printing
Printing your own wall stickers requires specific materials to achieve the best results. Using the right supplies ensures vibrant colors and lasting durability. This section covers the key items needed for printing wall stickers.
Choosing The Right Printable Vinyl
Printable vinyl is essential for wall stickers. It comes in matte or glossy finishes. Matte vinyl reduces glare, while glossy vinyl makes colors pop. Select vinyl with an adhesive suitable for walls. Removable vinyl works best for easy repositioning. Waterproof vinyl protects stickers from moisture and dirt. Always pick vinyl that fits your printer type.
Selecting The Best Printer
Not all printers print on vinyl. Inkjet printers are common for home use. They offer good color quality and detail. Use pigment-based inks for better durability. Avoid dye-based inks; they fade quickly. Some laser printers can print on vinyl but check compatibility first. A printer with a wide color range improves sticker vibrancy.
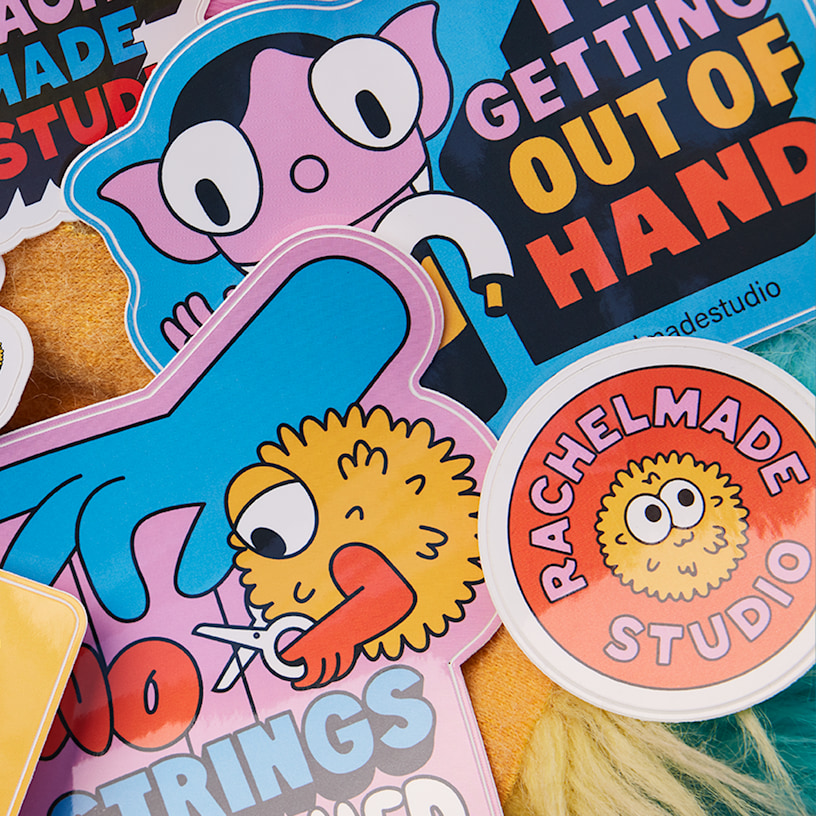
Essential Cutting Tools
Cutting tools shape your wall stickers precisely. A craft knife or X-Acto knife works well for detailed cuts. Scissors are useful for simple shapes. A cutting mat protects surfaces and helps with accuracy. For complex designs, a vinyl cutter machine is ideal. It cuts smooth, clean edges and saves time. Always keep blades sharp for best results.
Designing Your Wall Stickers
Designing your own wall stickers can be a fun and rewarding project. You get to express your creativity and personalize your space. With the right tools and tips, you can create stunning designs that stand out.
Simple Software Options
Choosing the right software is crucial for designing wall stickers. There are several simple programs that can help. Adobe Spark and Canva are user-friendly and perfect for beginners. Both offer templates and design elements to kickstart your creativity. You don’t need advanced skills to use them. They provide drag-and-drop features and easy customization.
Tips For Eye-catching Designs
Creating eye-catching designs requires some thought. Start with a clear theme or message. Use bold colors to grab attention. Contrast is key. Pair light colors with dark ones. This makes elements pop. Avoid overcrowding your design. Keep it simple and focused. Use high-quality images and graphics. They should be clear and sharp. This ensures your stickers look professional when printed.
Sizing And Layout Considerations
Sizing and layout are important for printing wall stickers. Measure your wall space before designing. This helps you choose the right size. Consider the layout of your design. Will it be a single piece or multiple parts? Plan this in advance. Check the resolution of your design. A higher resolution ensures better print quality. Aim for at least 300 DPI for clear prints.
Credit: www.vistaprint.com
Step-by-step Printing Process
Printing your own wall stickers can be fun and rewarding. The process needs careful attention to detail to get the best results. Follow these clear steps to print quality stickers at home.
Preparing The Printer And Material
Choose a printer that supports high-resolution inkjet printing. Use waterproof or vinyl sticker paper for durability. Check the printer settings and select the correct paper type. Clean the printer heads to avoid streaks. Load the sticker paper correctly, with the printable side facing the right way.
Printing Your Designs
Create or select your sticker designs in a suitable graphic program. Set the design size to match your sticker paper. Use vibrant colors and clear images for sharp prints. Preview the print before starting to avoid mistakes. Print a test page on plain paper to check alignment and colors.
Drying And Curing Time
After printing, let the stickers dry on a flat surface. Avoid touching the ink to prevent smudges. Drying time may vary from 10 to 30 minutes. For extra durability, apply a clear laminate over the stickers. Allow the laminate to cure for several hours before use.
Cutting And Finishing Techniques
Cutting and finishing your own wall stickers can be a rewarding experience, but it requires attention to detail and the right techniques. How you cut your vinyl and finish the edges impacts both the look and longevity of your stickers. Let’s dive into some practical ways to handle these steps effectively.
Manual Vs. Machine Cutting
Choosing between manual and machine cutting depends on your budget, skill level, and the complexity of your design. Manual cutting with a craft knife or scissors works well for simple shapes and small projects. However, it demands a steady hand and patience to avoid jagged edges.
Machine cutting, using tools like a Cricut or Silhouette, offers precision and speed. These machines follow your digital design exactly, making them perfect for intricate patterns. If you plan to print wall stickers regularly, investing in a cutting machine can save you time and improve consistency.
Weeding Excess Vinyl
Weeding means removing the extra vinyl around your design. This step is crucial for a clean final look. Use a weeding tool or a fine-point tweezers to peel away the unwanted parts carefully.
Take your time during weeding to avoid accidentally lifting parts of your design. Proper lighting and a flat surface can make this task easier. Have you noticed how much smoother your stickers look when all the background vinyl is removed precisely?
Applying Protective Coatings
Adding a protective coating enhances durability and protects your stickers from scratches and fading. Clear laminate sheets or spray sealants are common options. Laminates provide a glossy or matte finish and shield your stickers from moisture.
Spray sealants are easy to apply but require proper ventilation. Test the coating on a small piece first to ensure it doesn’t react negatively with your vinyl. What kind of finish would complement your space best—shiny and bold or subtle and muted?
Applying Wall Stickers Successfully
Applying wall stickers can transform your space quickly, but getting it right takes some care. You want your stickers to stick smoothly without peeling or bubbles, and that means preparing your surface and applying with precision. Let’s walk through how to make your wall stickers look professionally done, even if it’s your first time.
Surface Preparation Tips
Clean the wall thoroughly before you start. Dirt, dust, and grease can prevent the sticker from sticking properly. Use a mild soap solution and a soft cloth, then let the wall dry completely.
Check for any rough patches or peeling paint. Smooth these out with fine sandpaper or a putty knife. If the wall is freshly painted, wait at least two weeks for the paint to cure before applying stickers.
Aligning And Positioning
Before peeling off the backing, hold the sticker up to the wall to find the perfect spot. Step back and view it from different angles to ensure it’s straight and centered.
Use painter’s tape to temporarily secure the sticker in place. This helps you adjust without committing right away. Mark light pencil guidelines if needed to keep your alignment precise.
Avoiding Air Bubbles And Wrinkles
Start applying from one edge, slowly pressing the sticker down while smoothing it out with a plastic card or squeegee. Move gradually to avoid trapping air underneath.
If you spot air bubbles, gently lift the sticker near the bubble and reapply, or use a pin to prick the bubble and smooth it out. Take your time—rushing often causes wrinkles and bubbles that are hard to fix later.
Have you noticed how much patience can change the final look of your wall stickers? It’s a simple step that makes all the difference.
Maintaining And Removing Stickers
Maintaining your wall stickers properly can extend their life and keep your walls looking great. Removing them without damage is equally important, especially if you want to switch designs or avoid repainting. Let’s look at how you can care for your stickers and take them down safely.
Cleaning Without Damage
Dust and dirt can dull the look of your wall stickers, but harsh cleaning can ruin them. Use a soft, dry cloth or a slightly damp microfiber cloth to gently wipe the surface. Avoid scrubbing or using strong chemicals that might peel or fade the design.
If you notice sticky residue or stubborn spots, try a mild soap diluted in water. Test a small hidden area first to make sure it doesn’t affect the sticker’s color or adhesive. Keeping your stickers clean with gentle care will help them stay vibrant longer.
Safe Removal Methods
Peeling off wall stickers too quickly can tear them or damage your paint. Instead, warm the sticker with a hairdryer on low heat to soften the adhesive. Then, slowly lift a corner and pull gently at a 45-degree angle.
If any residue remains, use a little rubbing alcohol or adhesive remover on a soft cloth to clean it. Avoid scraping with sharp objects, which can harm your wall. Have you ever struggled with sticker removal that left marks? Taking your time makes all the difference.
Reusing And Recycling Ideas
Thinking about what to do with your stickers after removal? Some high-quality vinyl stickers can be reapplied if handled carefully. Store them on wax paper or a plastic sheet to keep them sticky for next use.
If reuse isn’t an option, consider recycling. Many vinyl stickers can be recycled as plastic waste, but check your local guidelines. Another creative idea is to cut old stickers into shapes for crafts or personalized cards. What creative ways could you find to give your wall stickers a second life?

Credit: www.printmagic.com
Troubleshooting Common Issues
Printing your own wall stickers can be fun but may come with some challenges. Knowing common problems and how to solve them helps create better results. This section covers printer issues, peeling troubles, and design tips for smooth printing.
Printer Problems And Fixes
Printer jams stop your project cold. Check for paper stuck inside the printer carefully. Low ink causes dull colors; replace cartridges early for vibrant prints. Wrong paper settings lead to smudges or poor print quality. Set your printer to match sticker paper type exactly. Clean printer heads regularly to avoid streaks and blurred images.
Peeling And Adhesion Challenges
Wall stickers that peel off quickly lose their charm. Clean the wall surface fully before sticking. Dust or grease prevents good adhesion. Press the sticker firmly and smooth out air bubbles. Use a hairdryer on low heat to help the glue stick better on rough surfaces. Avoid sticking on wallpaper or textured walls for best results.
Design Adjustments For Better Results
Small details can get lost in printing. Increase line thickness in your design for clearer edges. Choose bold colors that stand out on walls. Avoid gradients that may print unevenly. Resize your design to fit your wall space perfectly. Test print on regular paper to check colors and size before final printing.

Credit: www.printmagic.com
Frequently Asked Questions
Can I Print Wall Stickers At Home?
Yes, you can print wall stickers at home using printable vinyl sheets and a compatible printer. Ensure your design resolution is high for clear prints.
What Materials Are Needed For Diy Wall Stickers?
You need printable vinyl or sticker paper, a home printer, cutting tools, and transfer tape for easy application.
How Do I Ensure Wall Stickers Stick Properly?
Clean the wall surface thoroughly and let it dry. Apply stickers slowly to avoid air bubbles and ensure firm adhesion.
Are Custom Wall Stickers Cost-effective To Print?
Printing your own wall stickers can be cost-effective for small quantities and personalized designs, saving money on bulk orders.
Conclusion
Printing your own wall stickers can be fun and cost-effective. You control the design and size to fit your space. Basic tools and materials make the process simple. Small mistakes can be fixed without much waste. Remember, practice improves your skills over time.
Enjoy creating unique decorations that reflect your style. Try different ideas and learn what works best. Personal wall stickers add charm to any room. Give it a shot and see how easy it can be.


