
Are you looking to add a unique touch to your home lighting without spending a fortune? A DIY mason jar chandelier might be just what you need.
Imagine a beautiful, glowing centerpiece that combines rustic charm with your personal style. This project is easier than you think, and you’ll feel proud every time you see it brighten up your space. Keep reading, and you’ll discover simple steps to create your own stunning mason jar chandelier that will impress your friends and make your home truly shine.
Choosing Mason Jars
Choosing the right mason jars is key to a stunning DIY chandelier. The jars set the tone for your design and affect how light spreads. Picking jars that fit your style and space makes your project shine.
Types And Sizes
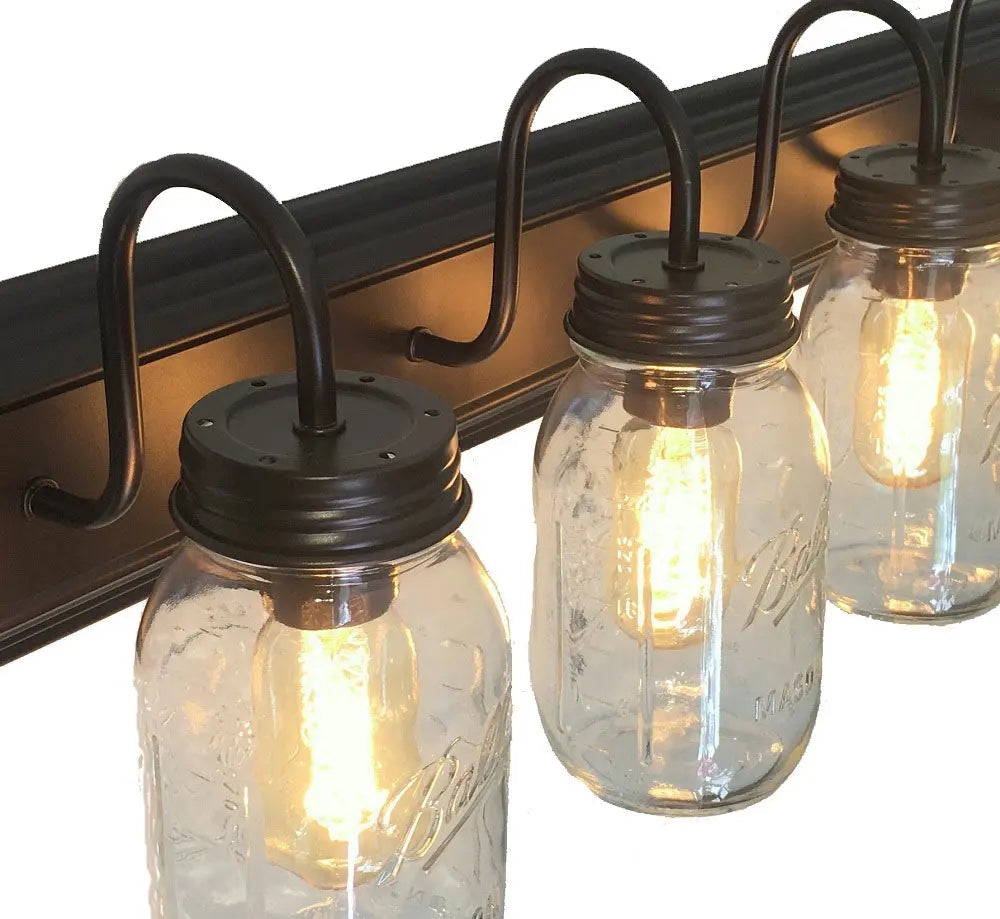
Mason jars come in many styles. Classic jars have smooth glass and a simple shape. Vintage or embossed jars show patterns or logos. These add character and charm to your chandelier.
Sizes vary from small to large. Small jars create delicate lighting. Large jars hold bigger bulbs and give more light. Mixing sizes can create a unique look.
- Regular mouth jars: easy to work with, fit most bulbs.
- Wide mouth jars: offer more space for decorations inside.
- Colored jars: add mood lighting with tinted glass.
Cleaning And Preparing
Clean jars thoroughly before use. Remove labels by soaking jars in warm water. Scrape off glue with a sponge or oil.
Wash jars with soap and water. Dry completely to avoid moisture inside. Check for cracks or chips that can weaken the jar.
Prepare lids by drilling holes for wiring. Smooth edges with sandpaper to prevent cuts. Use rust-resistant materials to keep your chandelier safe and durable.
Selecting Lighting Components
Choosing the right lighting components is key to making your DIY mason jar chandelier both functional and stylish. The bulbs and wiring you pick will determine the chandelier’s brightness, safety, and overall look. Think about how you want your space to feel and what kind of maintenance you’re comfortable with.
Bulb Options
There are several bulb types to consider for your mason jar chandelier. LED bulbs are energy-efficient and last a long time, which means fewer replacements. They also come in warm and cool tones, so you can set the perfect mood.
Incandescent bulbs give off a cozy, vintage glow that complements the rustic charm of mason jars. However, they use more energy and run hotter, which could be a safety concern if your jars are close to the bulbs.
For a modern twist, try Edison-style bulbs. They look stunning inside clear jars and add a decorative touch even when the light is off. Think about how often you want to change bulbs and how bright you need the light to be before making your choice.
Wiring Essentials
Safe and neat wiring is crucial for your chandelier’s success. You’ll need durable electrical wire rated for lighting fixtures and a suitable socket for each bulb. Make sure the wire length fits your ceiling height and the jar arrangement.
Don’t forget to include a reliable switch or dimmer to control the brightness easily. If you’re new to wiring, consider pre-wired sockets and connectors to simplify the process. Always test your connections before final installation to avoid surprises.
Have you thought about how your wiring will hang the jars evenly? Balancing aesthetics with safety is easier when you plan your wiring layout ahead of time. This preparation keeps your DIY project looking sharp and functioning well for years.
Designing Your Chandelier
Create a charming light fixture using mason jars for a warm, rustic look. Gather simple materials and arrange jars to fit your space and style. This DIY chandelier adds a cozy touch to any room.
Designing a DIY Mason Jar Chandelier is an exciting task. It allows creativity and personal style to shine. The process involves planning, choosing, and crafting. This section will guide you through creating a stunning chandelier.Layout Ideas
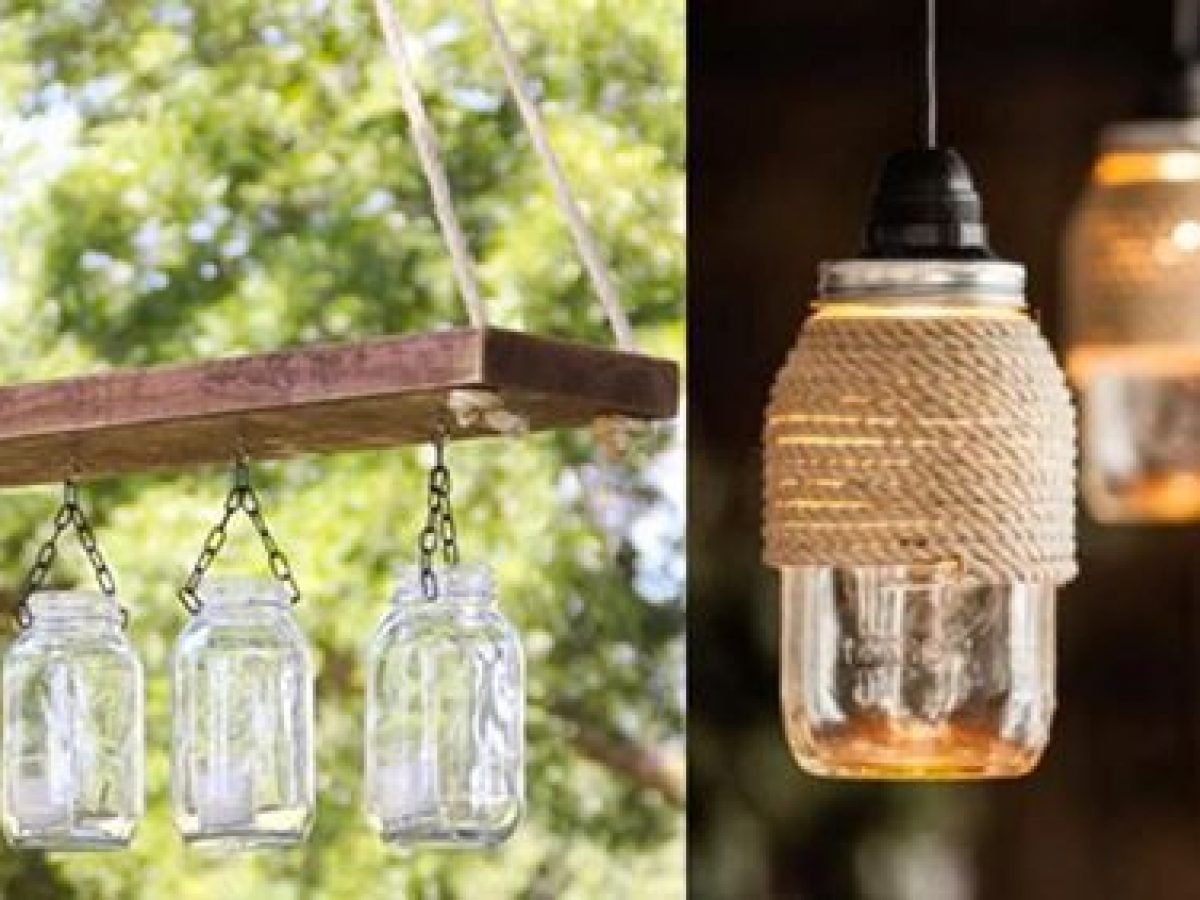
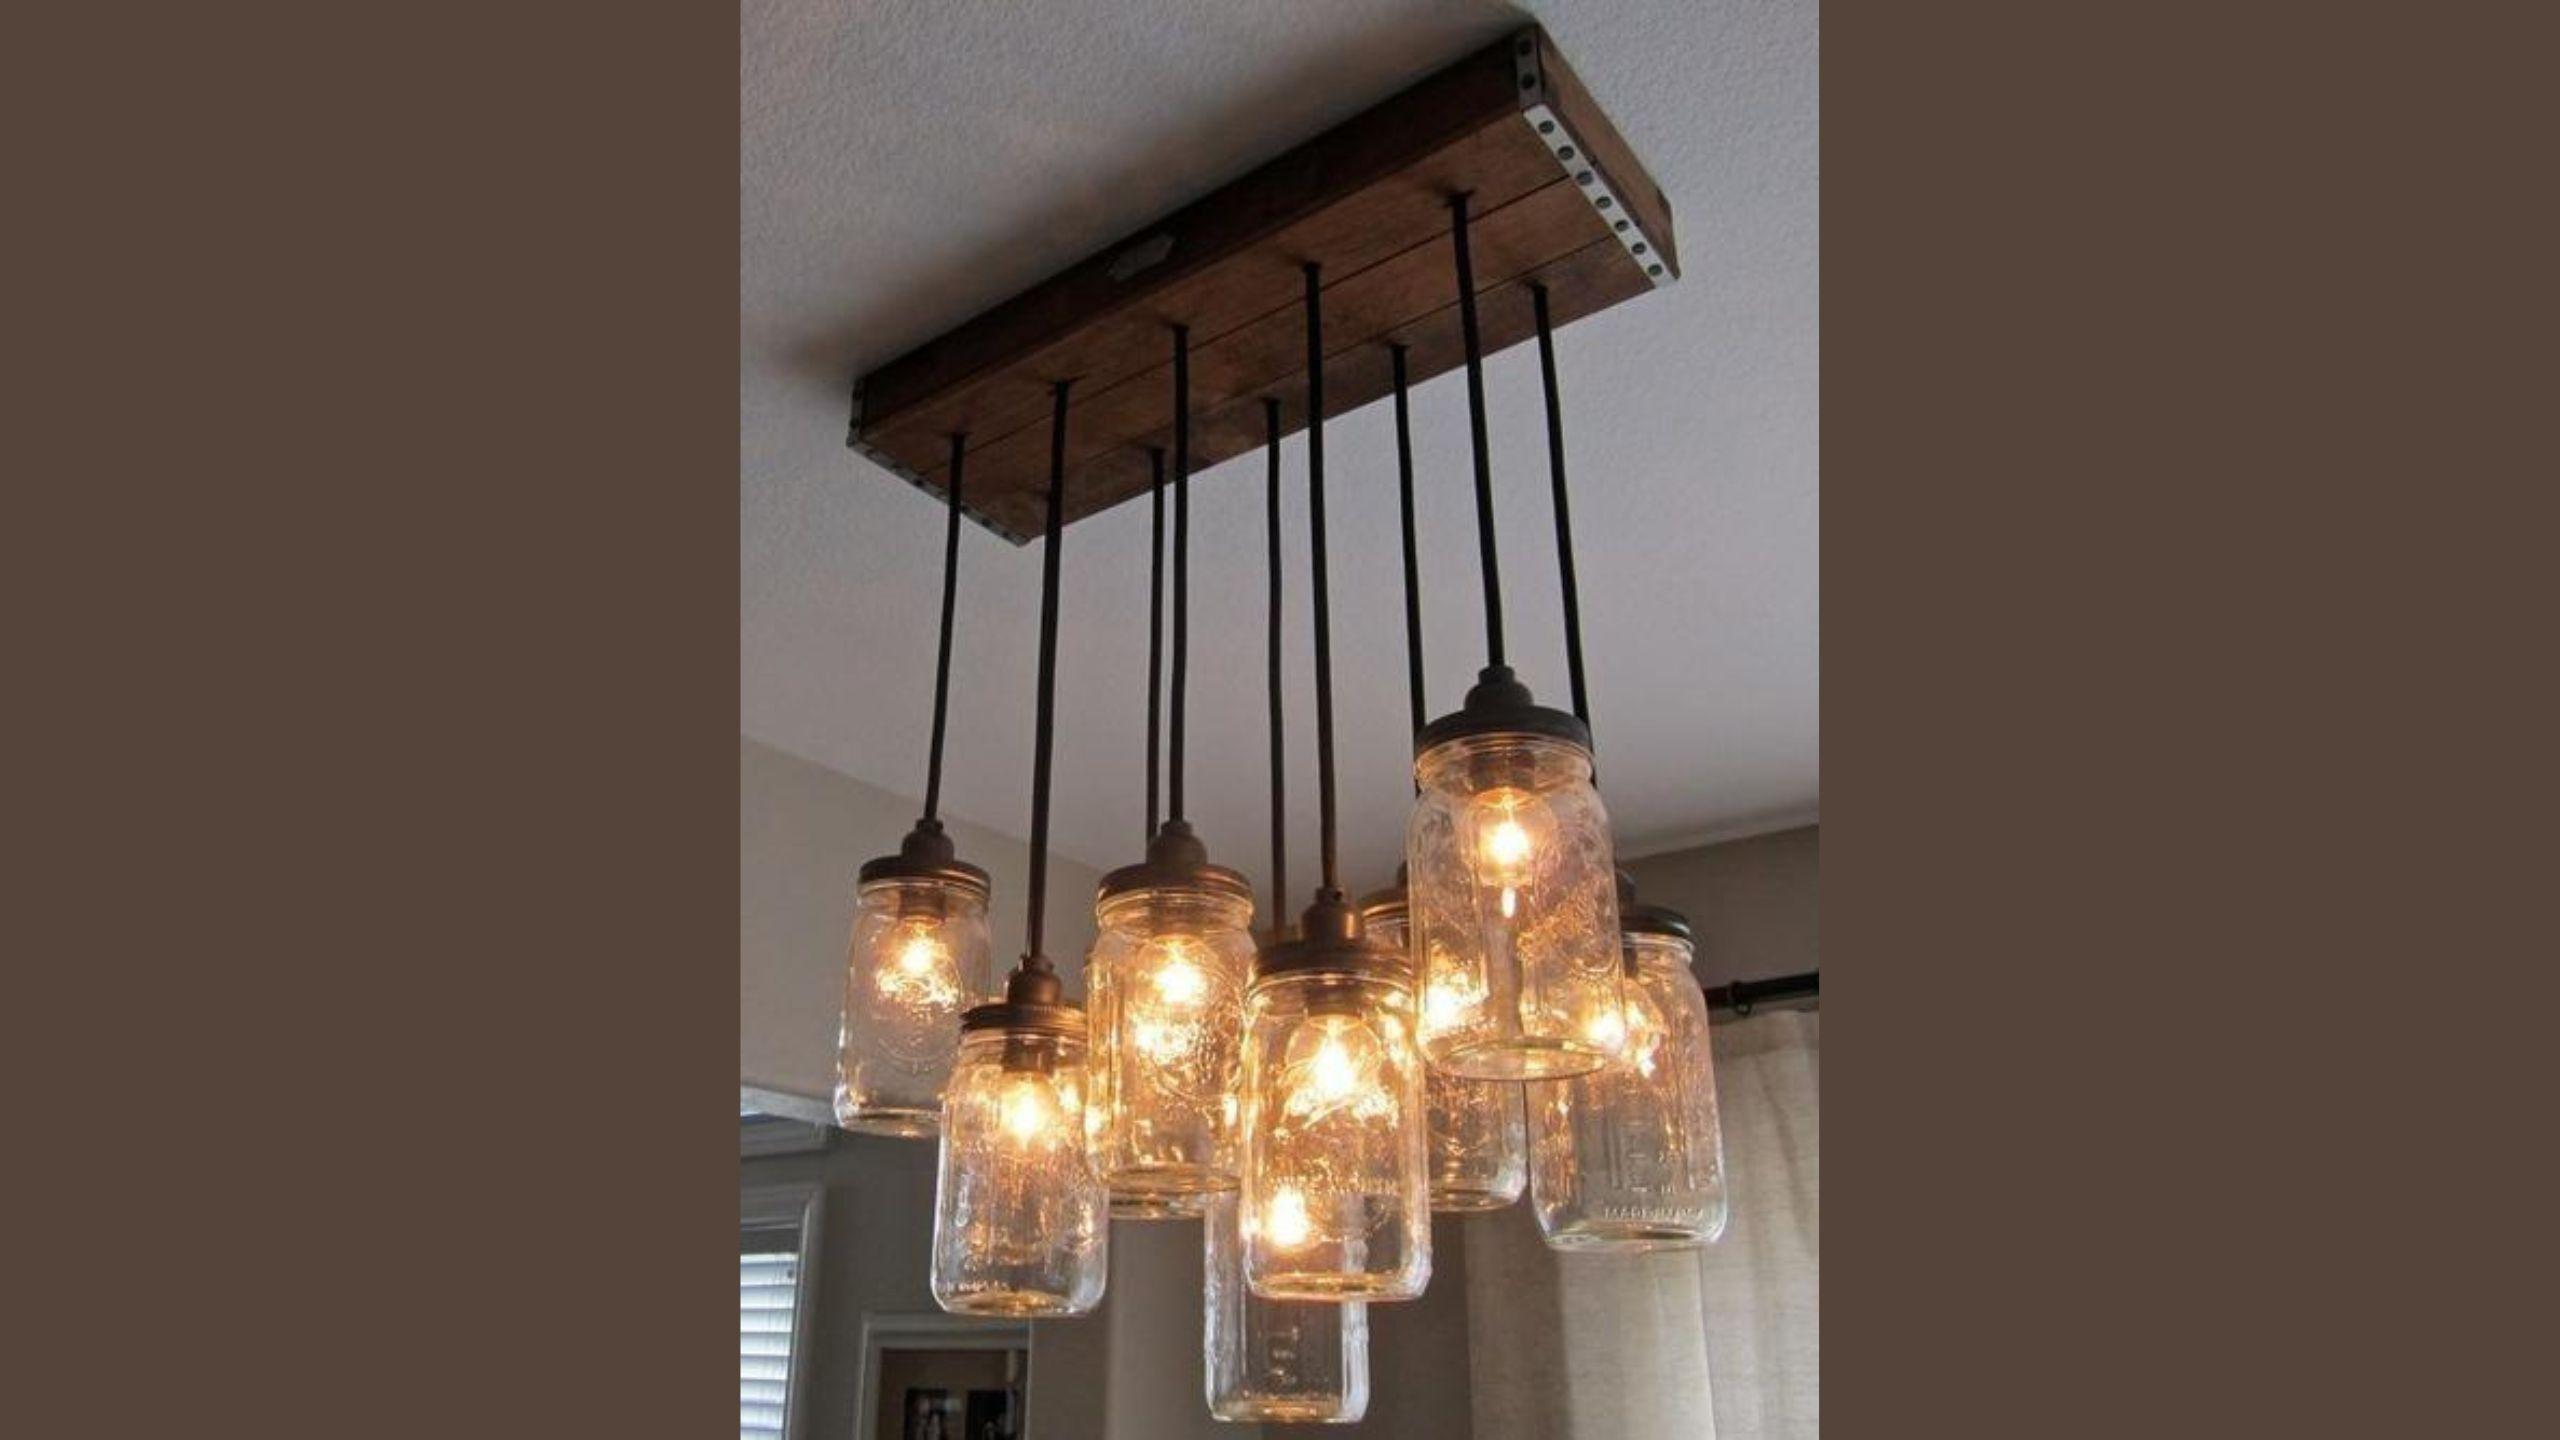
Consider the room’s style and purpose. For a rustic look, use varied jar sizes. Group them in a cluster for a cozy effect. A linear arrangement suits modern spaces. Use identical jars for a uniform look. Play with heights to add interest. Arrange jars in a circle for a classic appeal.Hanging Techniques
Select the right method for hanging. Use a sturdy ceiling hook for safety. Chains offer adjustable height options. Cords provide a sleek, minimalist look. Ensure each jar is securely attached. Test the balance before final installation. Consider weight distribution for even hanging. Use a dimmer switch for adjustable lighting.Step-by-step Assembly
Building your own mason jar chandelier brings a charming, rustic look to any space. The process is simple and fun. Follow clear steps to ensure your chandelier is safe and beautiful. Prepare tools and materials before starting to save time. Focus on each part carefully to create a sturdy fixture.
Drilling And Wiring
Begin by drilling holes in the jar lids for the wiring. Use a drill bit suitable for metal to avoid cracking. Keep holes centered and wide enough for wires to pass through. Thread the electrical wire through each lid carefully. Attach sockets inside the lids for the bulbs. Secure connections with electrical tape or wire nuts. Test the wiring before moving to the next step to ensure safety.
Securing Jars
Attach the lids with wiring to the jars tightly. Check that each jar fits well and is stable. Use strong hooks or chains to hang the jars from the chandelier frame. Space the jars evenly for a balanced look. Confirm each jar is secure to avoid falling. Adjust the height of each jar as preferred. This gives your chandelier a neat, uniform appearance.
Final Touches
Add bulbs suitable for your chandelier’s size and style. Choose LED bulbs for energy efficiency and low heat. Turn on the chandelier and inspect for any loose parts. Clean the jars to remove fingerprints or dust. Paint or decorate the frame if desired. This step personalizes your chandelier to match your decor. Enjoy the warm, inviting light your new chandelier creates.
Safety Tips
Building your own mason jar chandelier is a rewarding project, but safety must be your top priority. Ignoring key precautions can turn your beautiful creation into a hazard. Let’s look at practical safety tips that keep your DIY chandelier stunning and secure.
Electrical Precautions
Working with electricity requires respect and care. Always turn off the power at the circuit breaker before starting any wiring. Use insulated tools to reduce the risk of shocks.
Choose light bulbs that match the wattage limit of your sockets. Overloading can cause overheating and even fires. Make sure all wiring connections are tight and secure to prevent sparks.
If you’re unsure about any electrical step, ask a professional electrician for advice. It’s better to be safe than sorry when dealing with electricity.
Weight And Support
Mason jars add significant weight to your chandelier, so strong support is essential. Check the ceiling joist or beam where you plan to hang your chandelier—can it handle the weight?
Use sturdy hooks or mounting brackets designed for heavy loads. If your chandelier feels heavy in your hands, it needs extra reinforcement.
Don’t forget to test the fixture’s stability before hanging it permanently. Give it a gentle shake to ensure it won’t fall unexpectedly.

Credit: masonjarlifestyle.com
Creative Variations
Adding creative variations to your DIY mason jar chandelier can transform a simple project into a stunning centerpiece. Small changes can make a big difference in style and mood. Think about what fits your space and personality best.
Colored Jars
Using colored mason jars instantly changes the vibe of your chandelier. You can buy jars in shades like blue, green, or amber, or use glass paint to customize plain jars.
Try mixing different colors for a playful look or stick to one tone for elegance. Colored jars also soften the light, creating a warm, inviting atmosphere in any room.
Have you thought about how lighting color affects your mood? Choosing the right hue might make your space feel cozier or more vibrant.
Incorporating Plants
Adding small plants inside or around your mason jars brings life to your chandelier. Succulents or air plants are great because they need minimal care and fit nicely inside jars.
This mix of light and greenery makes the fixture not only functional but also refreshing. Imagine your chandelier glowing softly with little bursts of green—it’s a great conversation starter.
What if your chandelier could bring nature indoors and brighten your day at the same time?
Seasonal Themes
Change your mason jar chandelier with the seasons to keep your décor fresh. In autumn, fill jars with pine cones or small pumpkins; in winter, add fake snow or fairy lights.
Spring and summer invite flowers, fresh herbs, or colorful beads to brighten the look. Swapping elements is easy and gives your chandelier a new life throughout the year.
Have you tried updating your chandelier to reflect the season? It’s a simple way to keep your home feeling lively and timely.
Maintenance And Care
Keeping your DIY mason jar chandelier in top shape isn’t just about looks—it’s about safety and longevity too. Regular maintenance helps the light shine brighter and lasts longer. Let’s look at how simple care routines can make a big difference.
Cleaning Jars
Dust and grime can dull the sparkle of your mason jars. Wiping them down with a soft, damp cloth every few weeks keeps them clear and bright.
If you notice stubborn spots, use a mild soap solution. Avoid harsh chemicals that can damage the glass or the finish on your chandelier.
Removing the jars occasionally for a deeper clean ensures no buildup inside. Have you ever realized how much dust collects in places you rarely check?
Replacing Bulbs
Bulbs don’t last forever, and changing them promptly keeps your chandelier glowing beautifully. Make sure to turn off the power before you start to avoid any accidents.
Choose bulbs that fit the style and power needs of your chandelier. LED bulbs are a smart choice—they use less energy and run cooler.
Keep a few spare bulbs handy so you’re never left in the dark. Have you thought about how the right bulb can completely change your room’s atmosphere?
Credit: diyjoy.com
Credit: www.magicbricks.com
Frequently Asked Questions
What Materials Are Needed For A Mason Jar Chandelier?
You need mason jars, light bulbs, a chandelier frame, wiring, and a power source. Additional tools include a drill and screwdrivers.
How Do I Safely Wire A Mason Jar Chandelier?
Use insulated wiring and follow electrical codes. Turn off power before wiring and secure all connections tightly.
Can I Customize The Mason Jar Chandelier Design?
Yes, customize jar sizes, colors, and bulb types. Add decorative elements to match your style and space.
How Much Does A Diy Mason Jar Chandelier Cost?
Costs vary by materials and size but generally range between $50 to $150 for a basic chandelier.
Conclusion
Creating a mason jar chandelier adds charm to any room. It saves money and lets you be creative. You choose the style, size, and light you want. The project is fun and rewarding to do yourself. It brightens your space with a personal touch.
Give it a try and enjoy the glow. Simple steps lead to a unique, beautiful light fixture. Your home will feel warm and welcoming. A mason jar chandelier fits many decor styles easily. Start crafting and see your idea come to life.


