
Are your Christmas lights flickering or not lighting up at all? It can be frustrating when your festive decorations don’t shine as bright as they should.
But don’t worry—you don’t need to buy a whole new set. You can fix your string of Christmas lights yourself, saving time and money. You’ll discover simple, step-by-step tips to get your lights glowing again. Keep reading, and soon your home will sparkle with holiday cheer!
Common Issues With Christmas Lights
Common problems with Christmas lights include broken bulbs and loose connections. Testing each bulb and replacing faulty ones often restores the whole string. Checking the fuse and ensuring plugs are secure also helps fix the lights quickly.
Decorating with Christmas lights can turn any home into a festive wonderland, but what happens when those twinkling bulbs suddenly go dark? Before you toss out your string of lights, take a moment to explore some common issues that can cause them to malfunction. Understanding these problems can save you time, money, and frustration, allowing you to enjoy a holiday season full of cheer.Burnt Out Bulbs
Burnt out bulbs are a frequent culprit when your Christmas lights stop shining. A single burnt-out bulb can cause the entire string to fail, especially in older sets that rely on series circuits. To fix this, identify the burnt-out bulb by looking for one that appears darker or has a broken filament. Replacing a burnt-out bulb is simple. Just unplug the lights, remove the faulty bulb, and swap it with a new one. Always keep spare bulbs on hand during the holiday season, so you’re never caught off guard.Loose Connections
Loose connections can disrupt the flow of electricity, causing your lights to flicker or go out entirely. This issue often arises when connections between bulbs and their sockets aren’t secure. Gently push each bulb to ensure it’s snugly in place. If you notice any sockets that are particularly loose, consider securing them with a small piece of electrical tape. Have you ever considered how many connections a single string of lights has? It only takes one loose connection to spoil the entire display.Blown Fuses
Blown fuses are another common issue, particularly if you’re plugging multiple strings into a single outlet. Each string of lights usually has a small fuse located in the plug. These fuses are designed to blow if the current becomes too high, protecting your lights from damage. To check for a blown fuse, unplug the lights and open the fuse compartment in the plug. Replace any blown fuses with new ones of the same rating. Always check the power limits for your lights to prevent future issues. Are you aware of how much power your display is consuming? By addressing these common issues, you can keep your holiday decorations shining brightly throughout the season. A little bit of troubleshooting can go a long way in ensuring your home stays merry and bright.
Credit: www.cbc.ca
Tools You’ll Need
Fixing a string of Christmas lights needs the right tools. Having these tools ready makes the repair faster and easier. It helps you find the problem and replace broken parts safely.
Basic Repair Kit
A basic repair kit has the essential tools for fixing lights. It usually includes:
- Small screwdriver
- Wire cutters
- Electrical tape
- Needle-nose pliers
- Replacement bulbs
These tools help you open light sockets and secure wires. They are the first step to fix broken connections.
Multimeter Use
A multimeter checks if electricity flows through the lights. It measures voltage and continuity. This tool shows where the break or fault is in the string. Use it to test each bulb socket and wire.
Set the multimeter to continuity mode. Touch the probes to the wire ends or bulb contacts. A beep or reading means the circuit is complete. No beep means a break needs fixing.
Replacement Bulbs And Fuses
Having spare bulbs and fuses is important. Some lights stop working because a bulb is burnt out or a fuse is blown. Carry extra bulbs that match your light string’s size and type.
Check the fuse slots on the plug. Replace any blown fuses with the correct size. This step often fixes many problems without more work.
Step-by-step Repair Process
Fixing a string of Christmas lights can be simple with the right approach. This process helps you find the problem and restore the lights quickly. Follow clear, easy steps to get your decorations shining again. Each step focuses on a key part of the repair.
Unplug And Inspect Lights
Always unplug the lights before starting work. Check the entire string for visible damage. Look for broken bulbs, frayed wires, or loose connections. This prevents electric shock and helps spot obvious issues.
Identify The Problem Area
Divide the string into sections to isolate the problem. Test each section by plugging it in briefly. Notice which part does not light up. This narrows down where to focus your repair efforts.
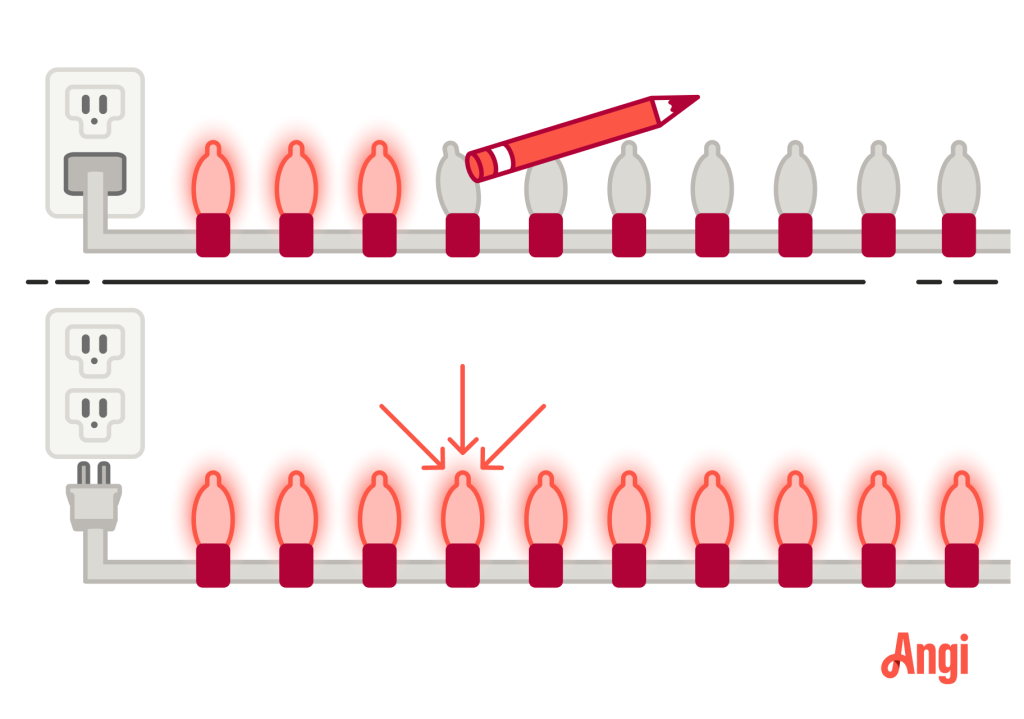
Replace Faulty Bulbs
Find bulbs that look dark or broken. Replace them with new bulbs of the same type. Use spare bulbs that come with the string or buy matching ones. This often fixes the problem quickly.
Fix Loose Wires
Check for wires that are disconnected or loose. Gently twist wires back together or tighten connections. Secure loose wires with electrical tape if needed. Good connections keep the current flowing properly.
Swap Out Blown Fuses
Locate the fuse box on the plug. Open it carefully to remove the fuses. Replace blown fuses with new ones of the same rating. This restores power to the string and can solve many issues.

Credit: blog.1000bulbs.com
Testing Your Repairs
After fixing a string of Christmas lights, testing your repairs is crucial. This step ensures that your work was successful and the lights will function safely and effectively. Testing helps catch any missed issues early, saving time and frustration later. Use simple tools and careful observation to confirm your repairs hold strong.
Plug In And Observe
Start by plugging in the string of lights. Watch closely for any bulbs that do not light up. Check for flickering or dim bulbs, which may indicate a loose connection. Move along the string slowly, noting any spots where the lights fail. Unplug the string immediately if you see sparks or smell burning. This method gives a quick visual check of your repair work.
Use Multimeter For Accuracy
A multimeter provides precise testing for electrical flow. Set it to measure voltage or continuity. Touch the probes to the wire ends or bulb contacts. A steady reading means good electrical flow. No reading or a very low reading shows a break or fault. Test each section of the string to identify hidden problems. This tool helps confirm your repair is complete and safe.
Preventive Tips For Future Use
Keeping your Christmas lights in top shape goes beyond just fixing them when they break. Preventive care can save you time, money, and frustration each holiday season. By adopting smart habits now, you ensure your lights shine bright year after year.
Proper Storage Methods
How you store your lights affects their lifespan more than you might realize. Avoid tangling by wrapping strings around a sturdy spool or a piece of cardboard. Store them in a cool, dry place away from direct sunlight or moisture to prevent damage to wires and bulbs.
Using labeled containers can help you quickly find the right set next year. I once tossed my lights in a box without organizing, and untangling took hours! Taking a few extra minutes now makes decorating easier and protects your investment.
Avoiding Overloading Circuits
Plugging too many lights into one outlet can cause overheating and blow fuses. Check the wattage limits on your extension cords and power strips. Distribute your lights across several outlets or use a power strip with built-in overload protection.
Ever tripped a breaker while decorating? It’s not just annoying—it’s a fire hazard. Think about how many strings you connect and whether your home’s wiring can handle the load. Safety first keeps your holidays worry-free.
Regular Maintenance Checks
Don’t wait for your lights to fail completely to inspect them. Before each season, check for damaged wires, loose bulbs, and corrosion on plugs. Replace any faulty parts immediately to avoid bigger problems later.
Simple tests, like plugging in the lights for a few minutes, can reveal issues early. I learned this the hard way after a dark Christmas Eve. A quick check can prevent disappointment and keep your display glowing brightly.

Credit: www.familyhandyman.com
Frequently Asked Questions
How Do You Identify The Broken Bulb In Christmas Lights?
To find the broken bulb, unplug the lights first. Look for bulbs that are dark or have damaged filaments. Replace any faulty bulbs with exact matches to restore the string’s function.
What Tools Do You Need To Fix Christmas Lights?
You need a bulb tester, replacement bulbs, electrical tape, and wire cutters. These tools help you find faulty sections and safely repair or replace bulbs.
Can You Fix A String Of Lights With A Broken Fuse?
Yes, locate the fuse compartment, usually in the plug. Open it carefully and replace the blown fuse with a matching one to restore power.
How Do You Test Christmas Lights Without Plugging Them In?
Use a bulb tester or multimeter to check each bulb and wire. This avoids electrical hazards and helps identify problem areas before plugging in.
Conclusion
Fixing a string of Christmas lights is easier than it seems. Start by checking bulbs and connections carefully. Replace any broken bulbs to restore the glow. Test the fuse and wiring for any issues. Take your time and work patiently.
Bright, sparkling lights bring joy to your holiday season. With simple steps, you can fix your lights quickly. Enjoy decorating without the frustration of dark spots. A little effort makes your home shine bright and festive.


